
Warping is a common issue that even the most experienced potters face. Unfortunately, there are many reasons why warping might've taken place and we wish there could be one straight answer on how to fix it. A great way to help figure out why one of your pieces warped would be to keep a pottery notebook with you during your creation and firing process. Start writing down anything you did differently and how that might've affected the end result.
Although there is no one reason for warping, there are quite a few common issues that happen in the building and firing process that we want to make you aware of. With past experience, and using some of the great information we found online, we came up with a list of the most common reasons why pieces warp and how you can prevent this from happening in the future.
Clay Building:
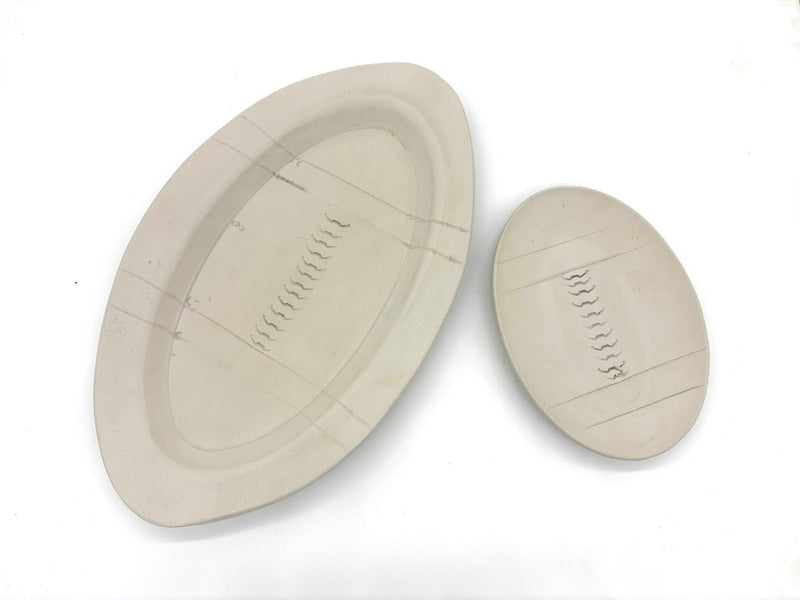
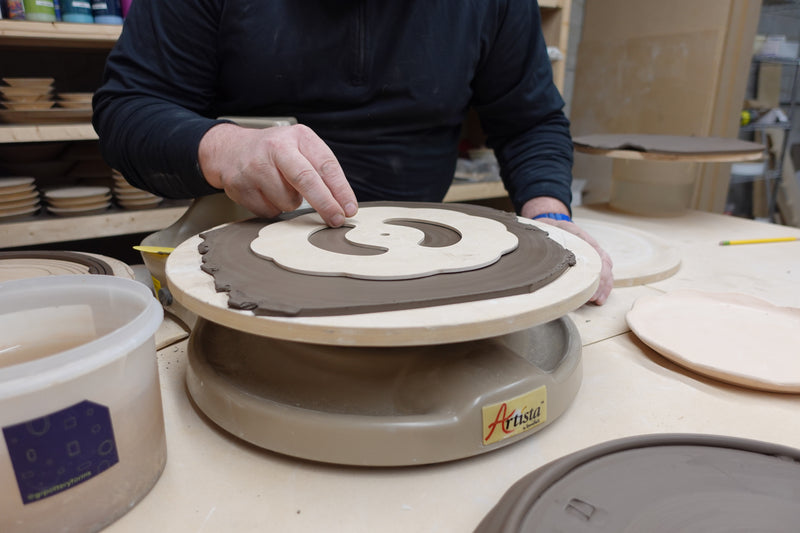
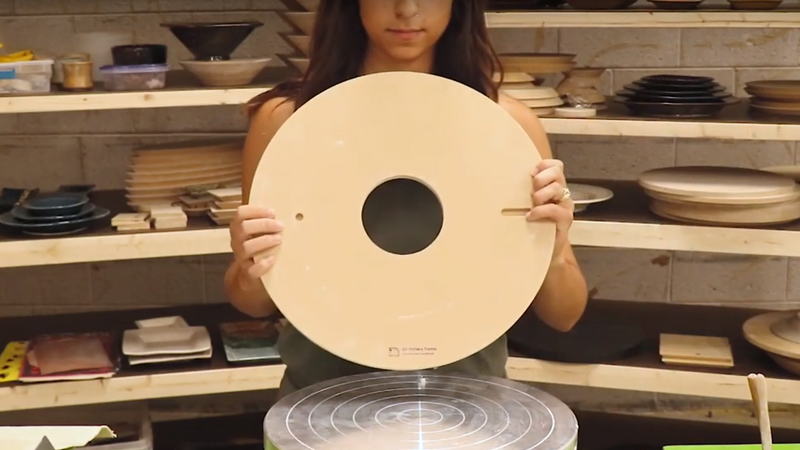
The first step to avoid warping is properly compressing the slab–after rolling it out, we completely compress one side of the slab using a rib.

We then drape the slab over the form, and compress the other side while it’s on the form.

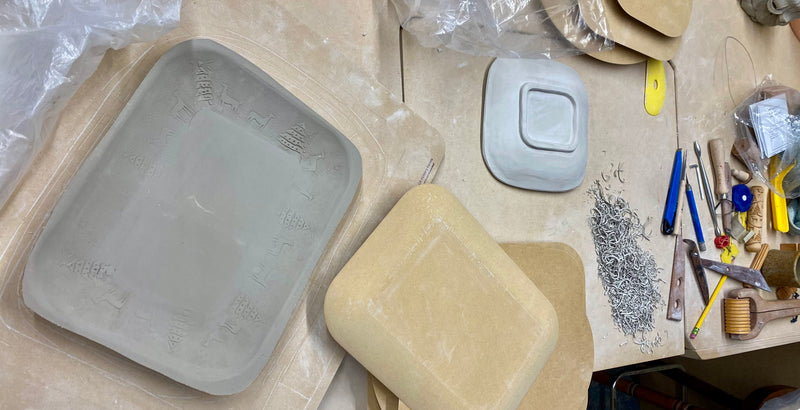
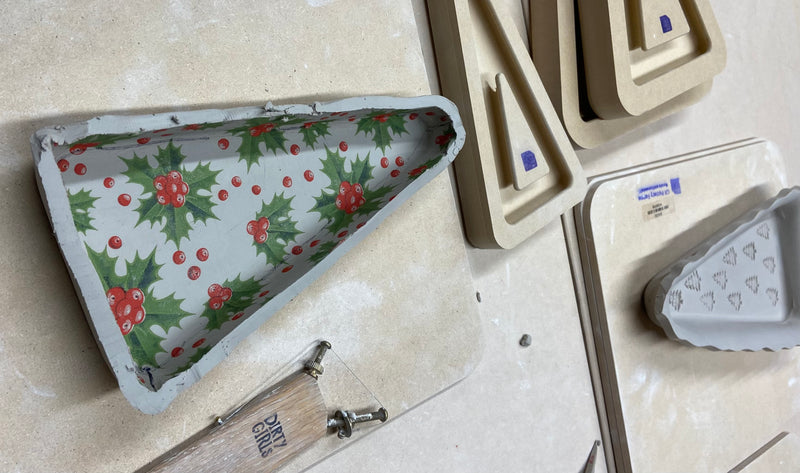
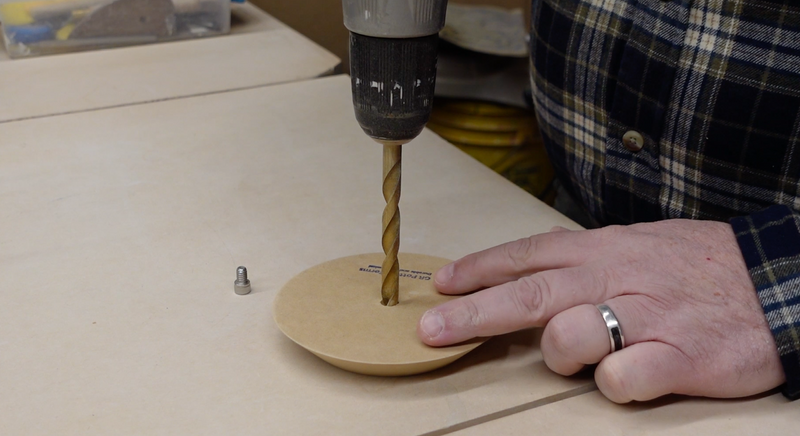
After compression and completing any foot or lip prep (adding spacer), we don’t touch the object until it is quite a stiff leather hard (the form pops out on its own). You should be able to press a finger nail into the clay and leave a mark, but you should not be able to form an impression with the soft part of your finger.

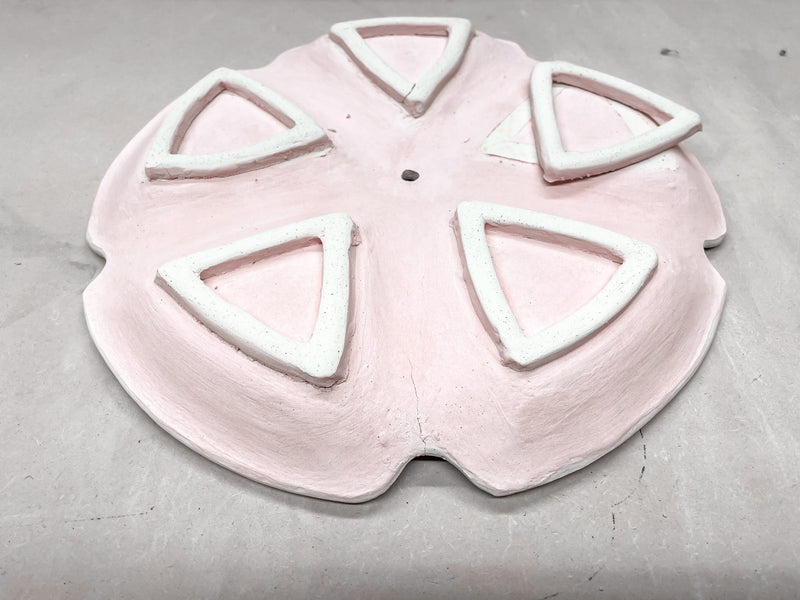
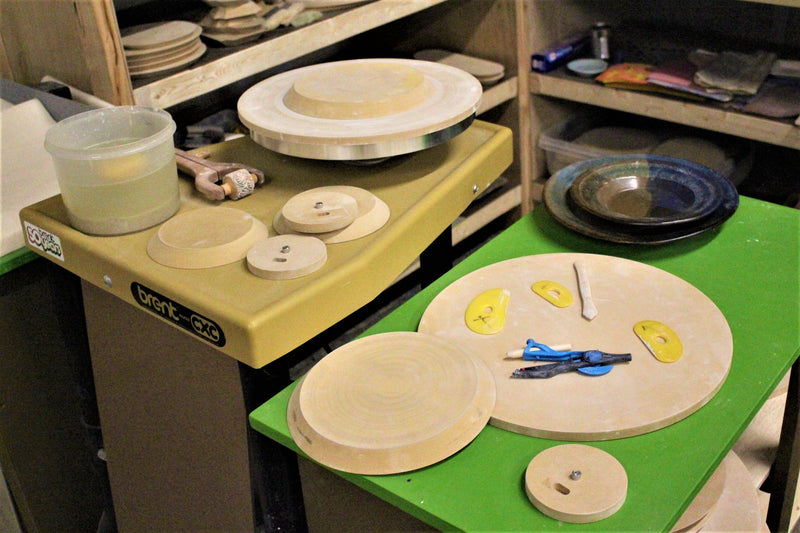
Visit our FAQ page to learn each step we take when creating a platter with our forms, we have found that this is the best way to avoid warping in the creation process.
More hand building tips to prevent warping:
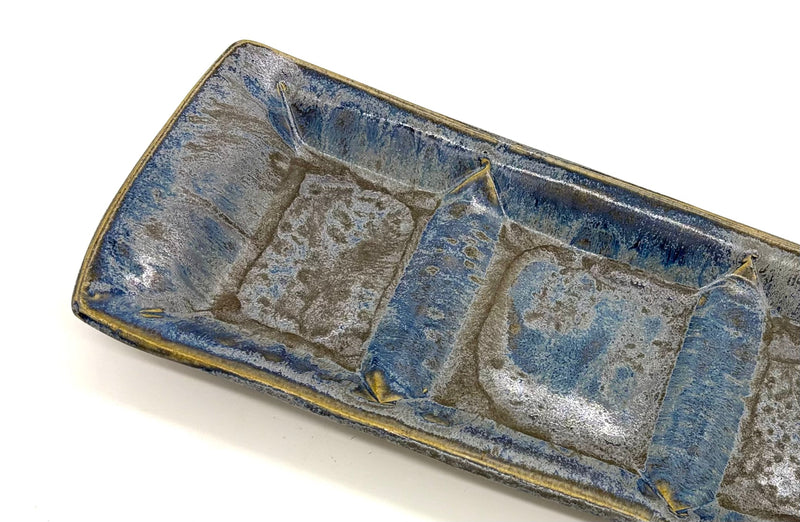
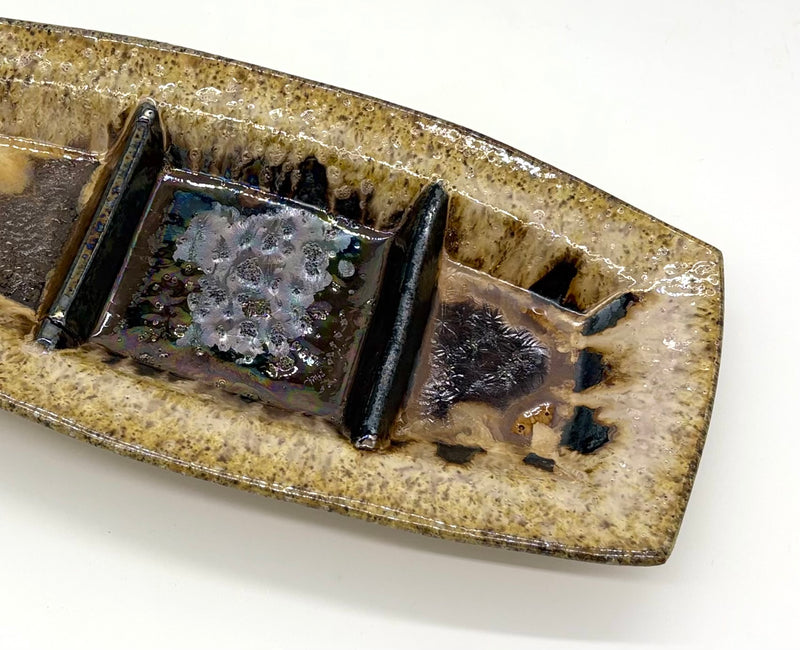
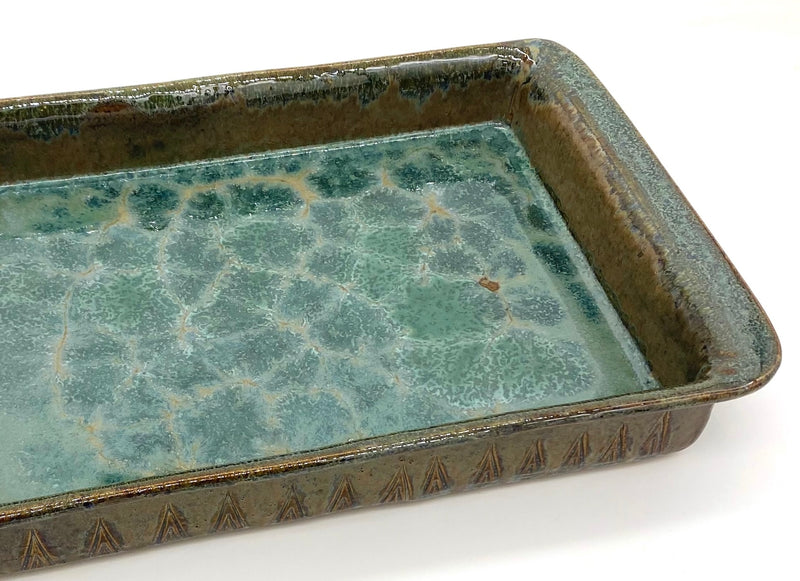
- Warping happens more often with trays that are longer than they are wide.
- Adding two foot rings helps with warping in the middle.

- When cutting the clay off the pug, rather than just opening the bag and slicing off a layer, examine the clay block first. You should be able to distinguish a spiral in the middle.
- The spiral usually ends up facing toward the opening of the bag, so when you just slice a layer off the top, you are taking a whole cross-section of that spiral with you which isn't good.
- To avoid starting off on the wrong foot, take your clay pug out of the bag and cut your slice off the side of the pug. This will help to give you an even section of clay with which to begin preparing your slab.
- Stretch and roll out your slab gradually (don't smash it into shape all at once), flipping and turning it as you go. This will help align the particles on both side of the slab evenly.
- Make sure the clay is thick enough. Thinner plates are more likely to warp, thickness should be even.
- Use a rib to compress the clay after it's been rolled out.
- Make sure to compress the edges and attachment seams.
- The edges of the slab get weaker as you work and move the slab around, so it's important to go back and re-compress those edges to ensure sturdy attachments and strong rims.
- Use the right clay body.
- Porcelain clay is more likely to warp.
- Clay with grog usually makes clay less likely to warp. Extra talc in the clay can also help.
- Avoid stretching the clay out of shape while it's wet because it may remember that shape.
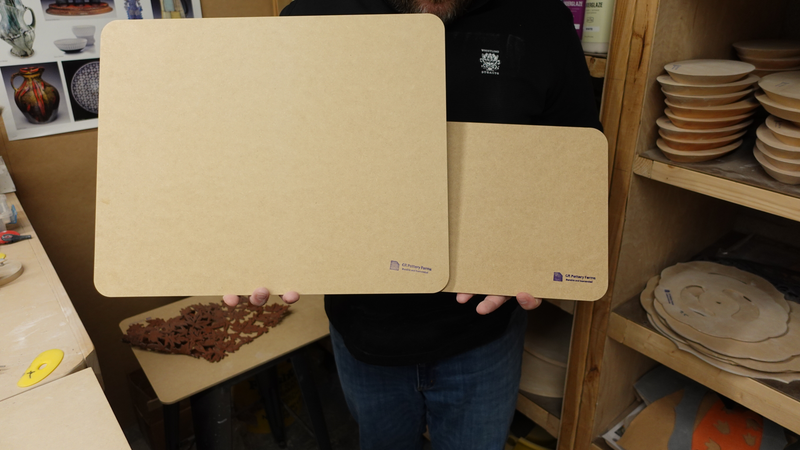
- When carrying a wet clay slab to a different place, make sure you don't stretch it. You can prevent this by placing it on a WA board or a Studio Board.
- Try to keep in mind how you are handling the soft slab. Use boards as often as possible to sandwich the slab and flip it.
- This avoids stretching the slab, which can translate into warping as it dries.
- If you must move it with your hands, make sure to go slow and splay your fingers to give the slab as much support as possible.
Drying Process:
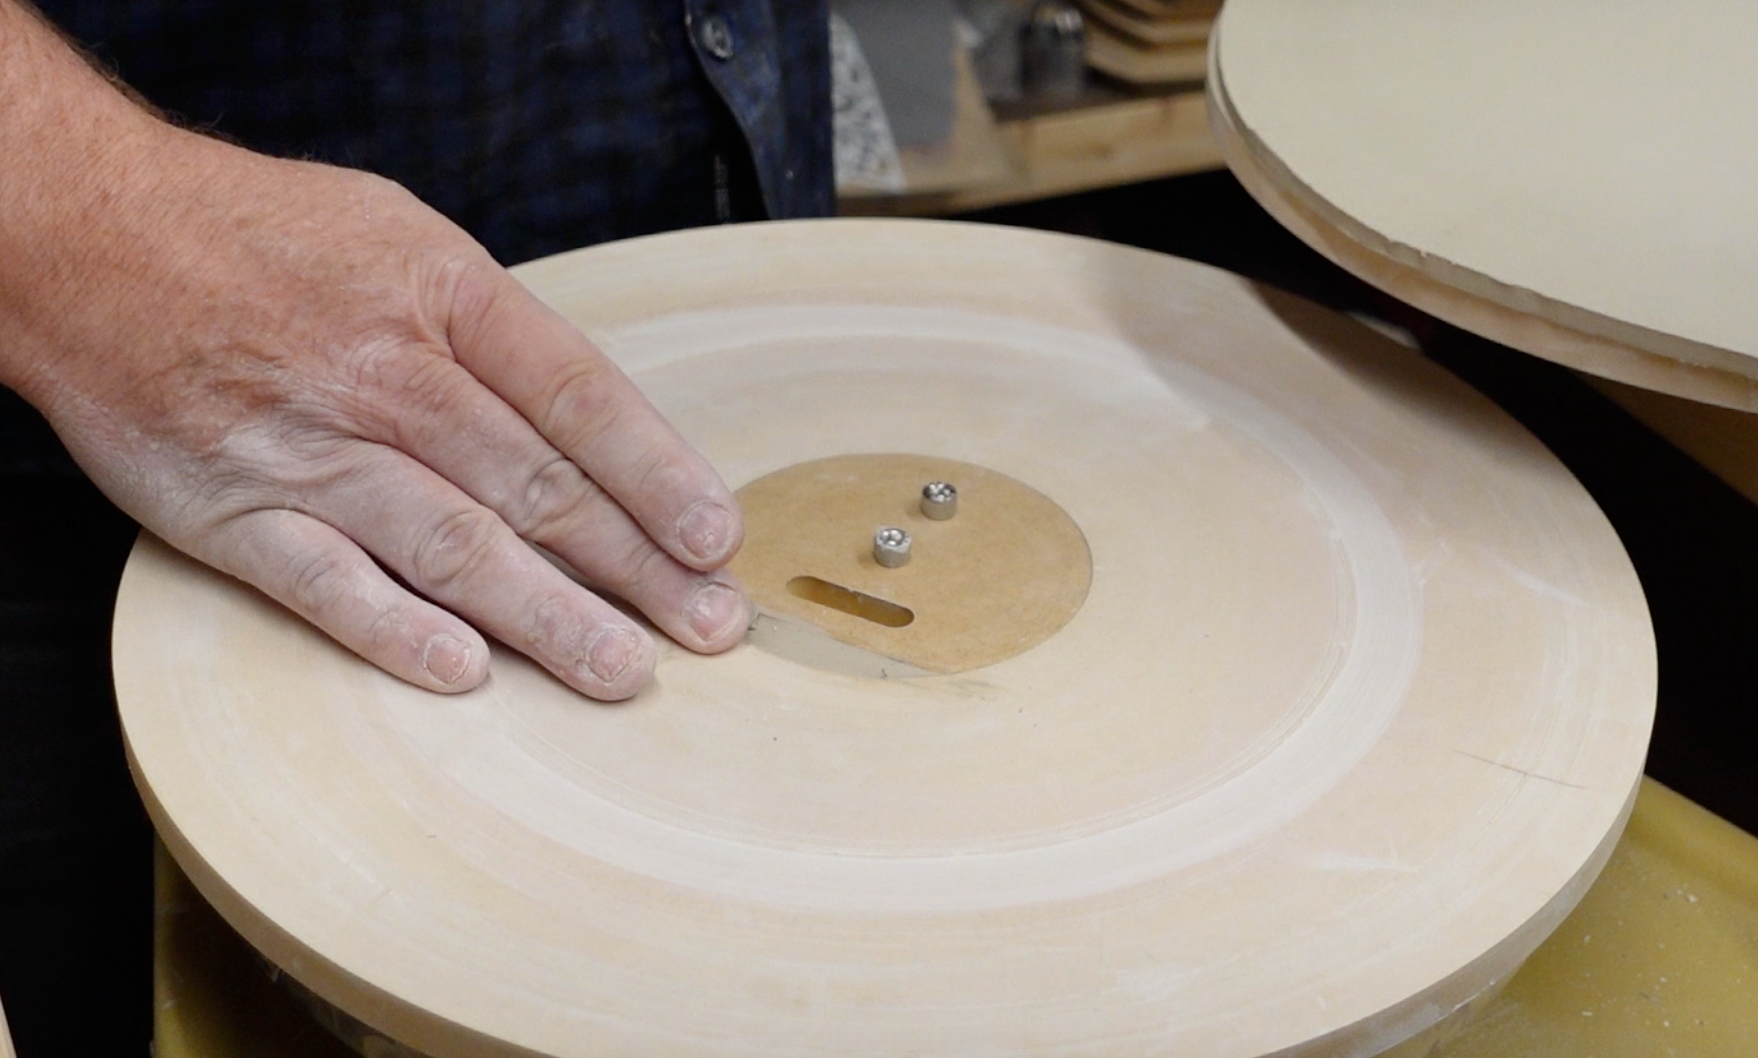
Once the clay is a stiff leather hard, we lift it off the form. If it bends or moves in any way after lifting it off, you’ve taken it off too soon. We’ve found that removing the slab too soon is the single most significant factor toward warping the piece. Also trying to flip it over before it dries enough might cause the ends to start curling upward. I’m sure you know how difficult it is to “be there at the right time,” but the importance of removing the piece at the right time cannot be understated. If you are making objects with a lip you must use a spacer.
More drying tips:
- Once the piece is finished, dry it with care! Slow and steady wins the race. Fast, uneven drying encourages warping.
- Make sure drafts aren't causing uneven drying.
- Leave plates on the form overnight or until leather hard before touching it.
Firing:
- Sometimes if you under fire your clay it is less likely to warp (only do this if the piece isn't functional).
- Keep pieces away from the edge of the kiln.
- You may even want to build "moats" around the piece to ensure even drying.
- If the foot has to span over two shelves it can cause problems, even if the shelves look level. You might want a whole shelf for firing platters, rather than two halves.
- Don't fire your platters in the bottom half of the kiln because it cools too fast.
- Bisque slowly
- Dust your kiln shelves with Alumina Hydrate so the pieces don't drag while they are shrinking.

- Brush the Alumina anywhere on the shelf where your platter is going to touch.
- You can also reuse the Alumina by brushing it into a container after firing (make sure to label it).
- Some people mix the Alumina Hydrate with wax and brush it onto the bottom of pieces to avoid the messiness.
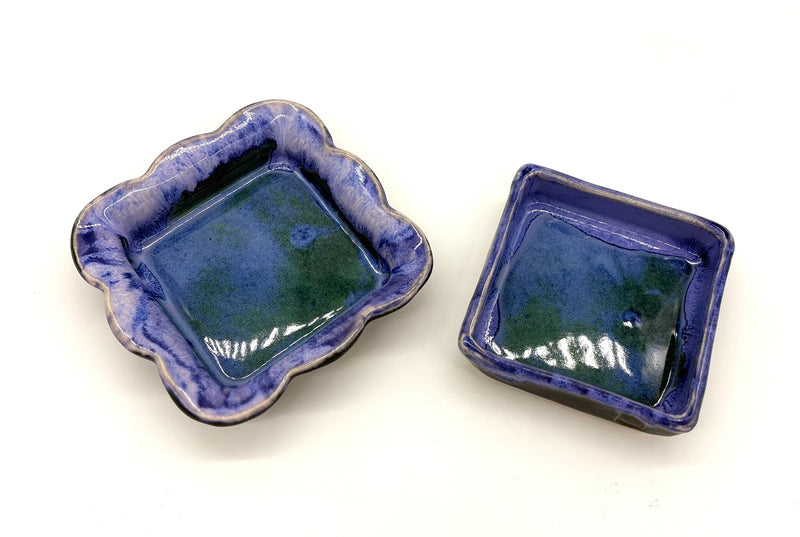
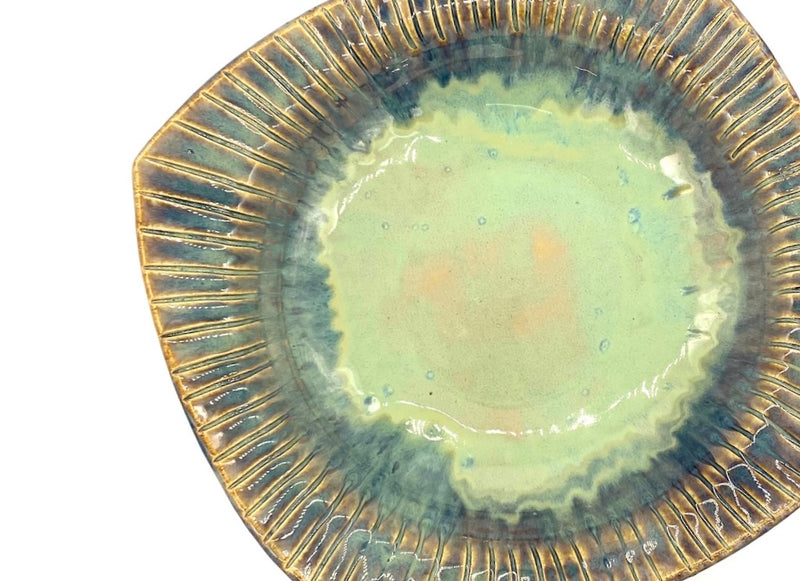
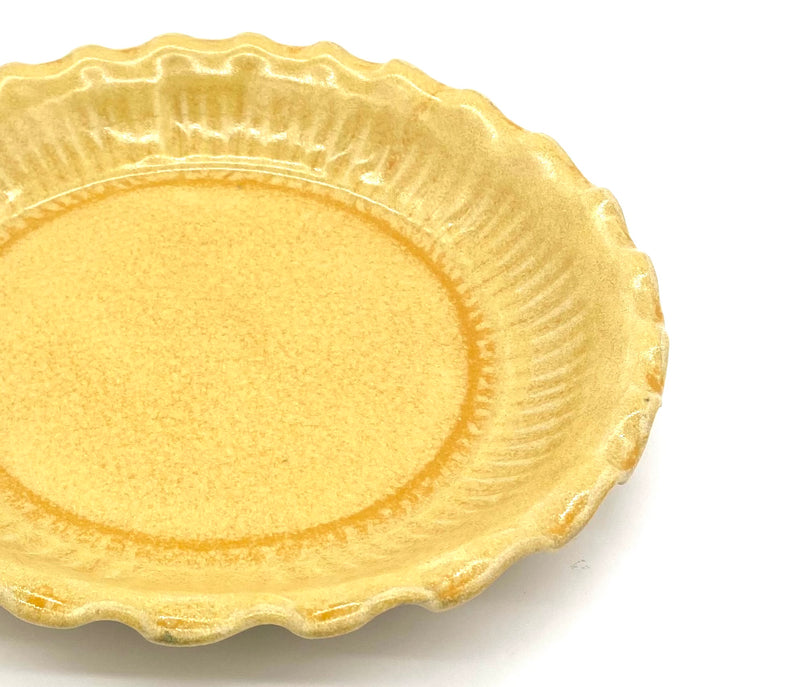
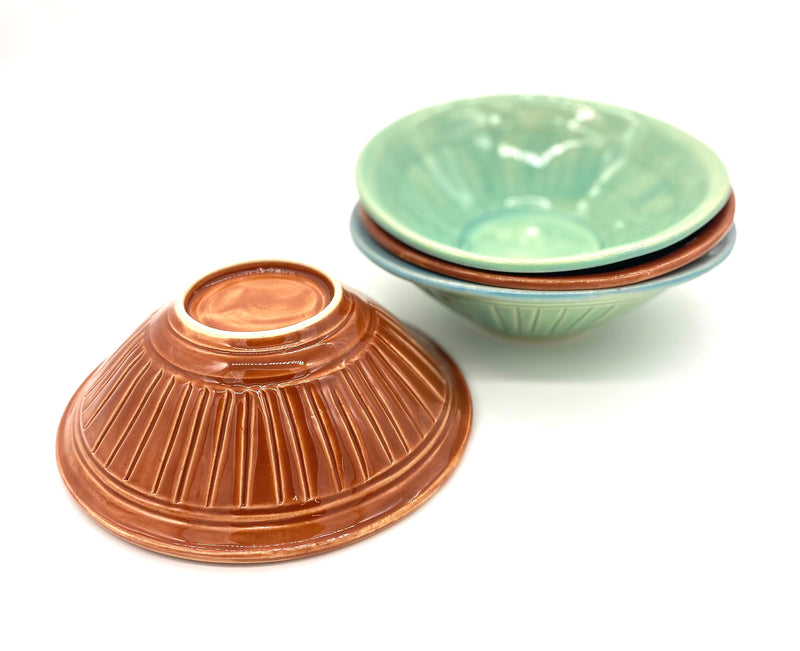
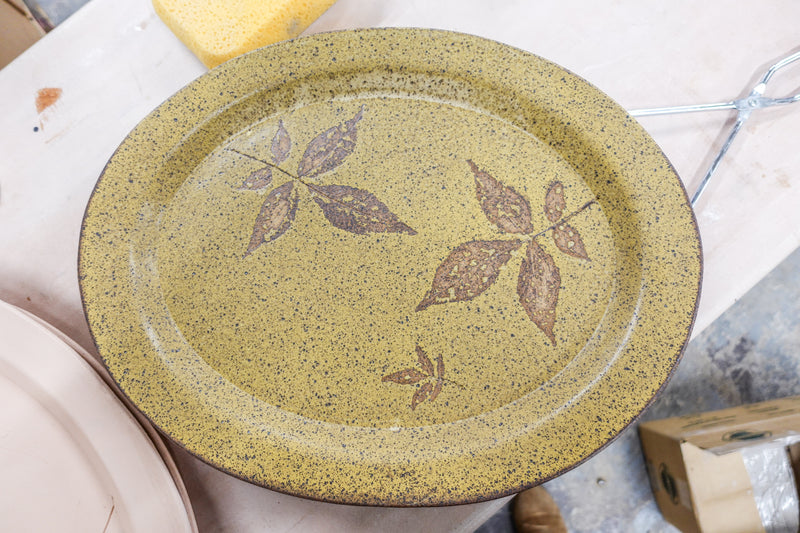
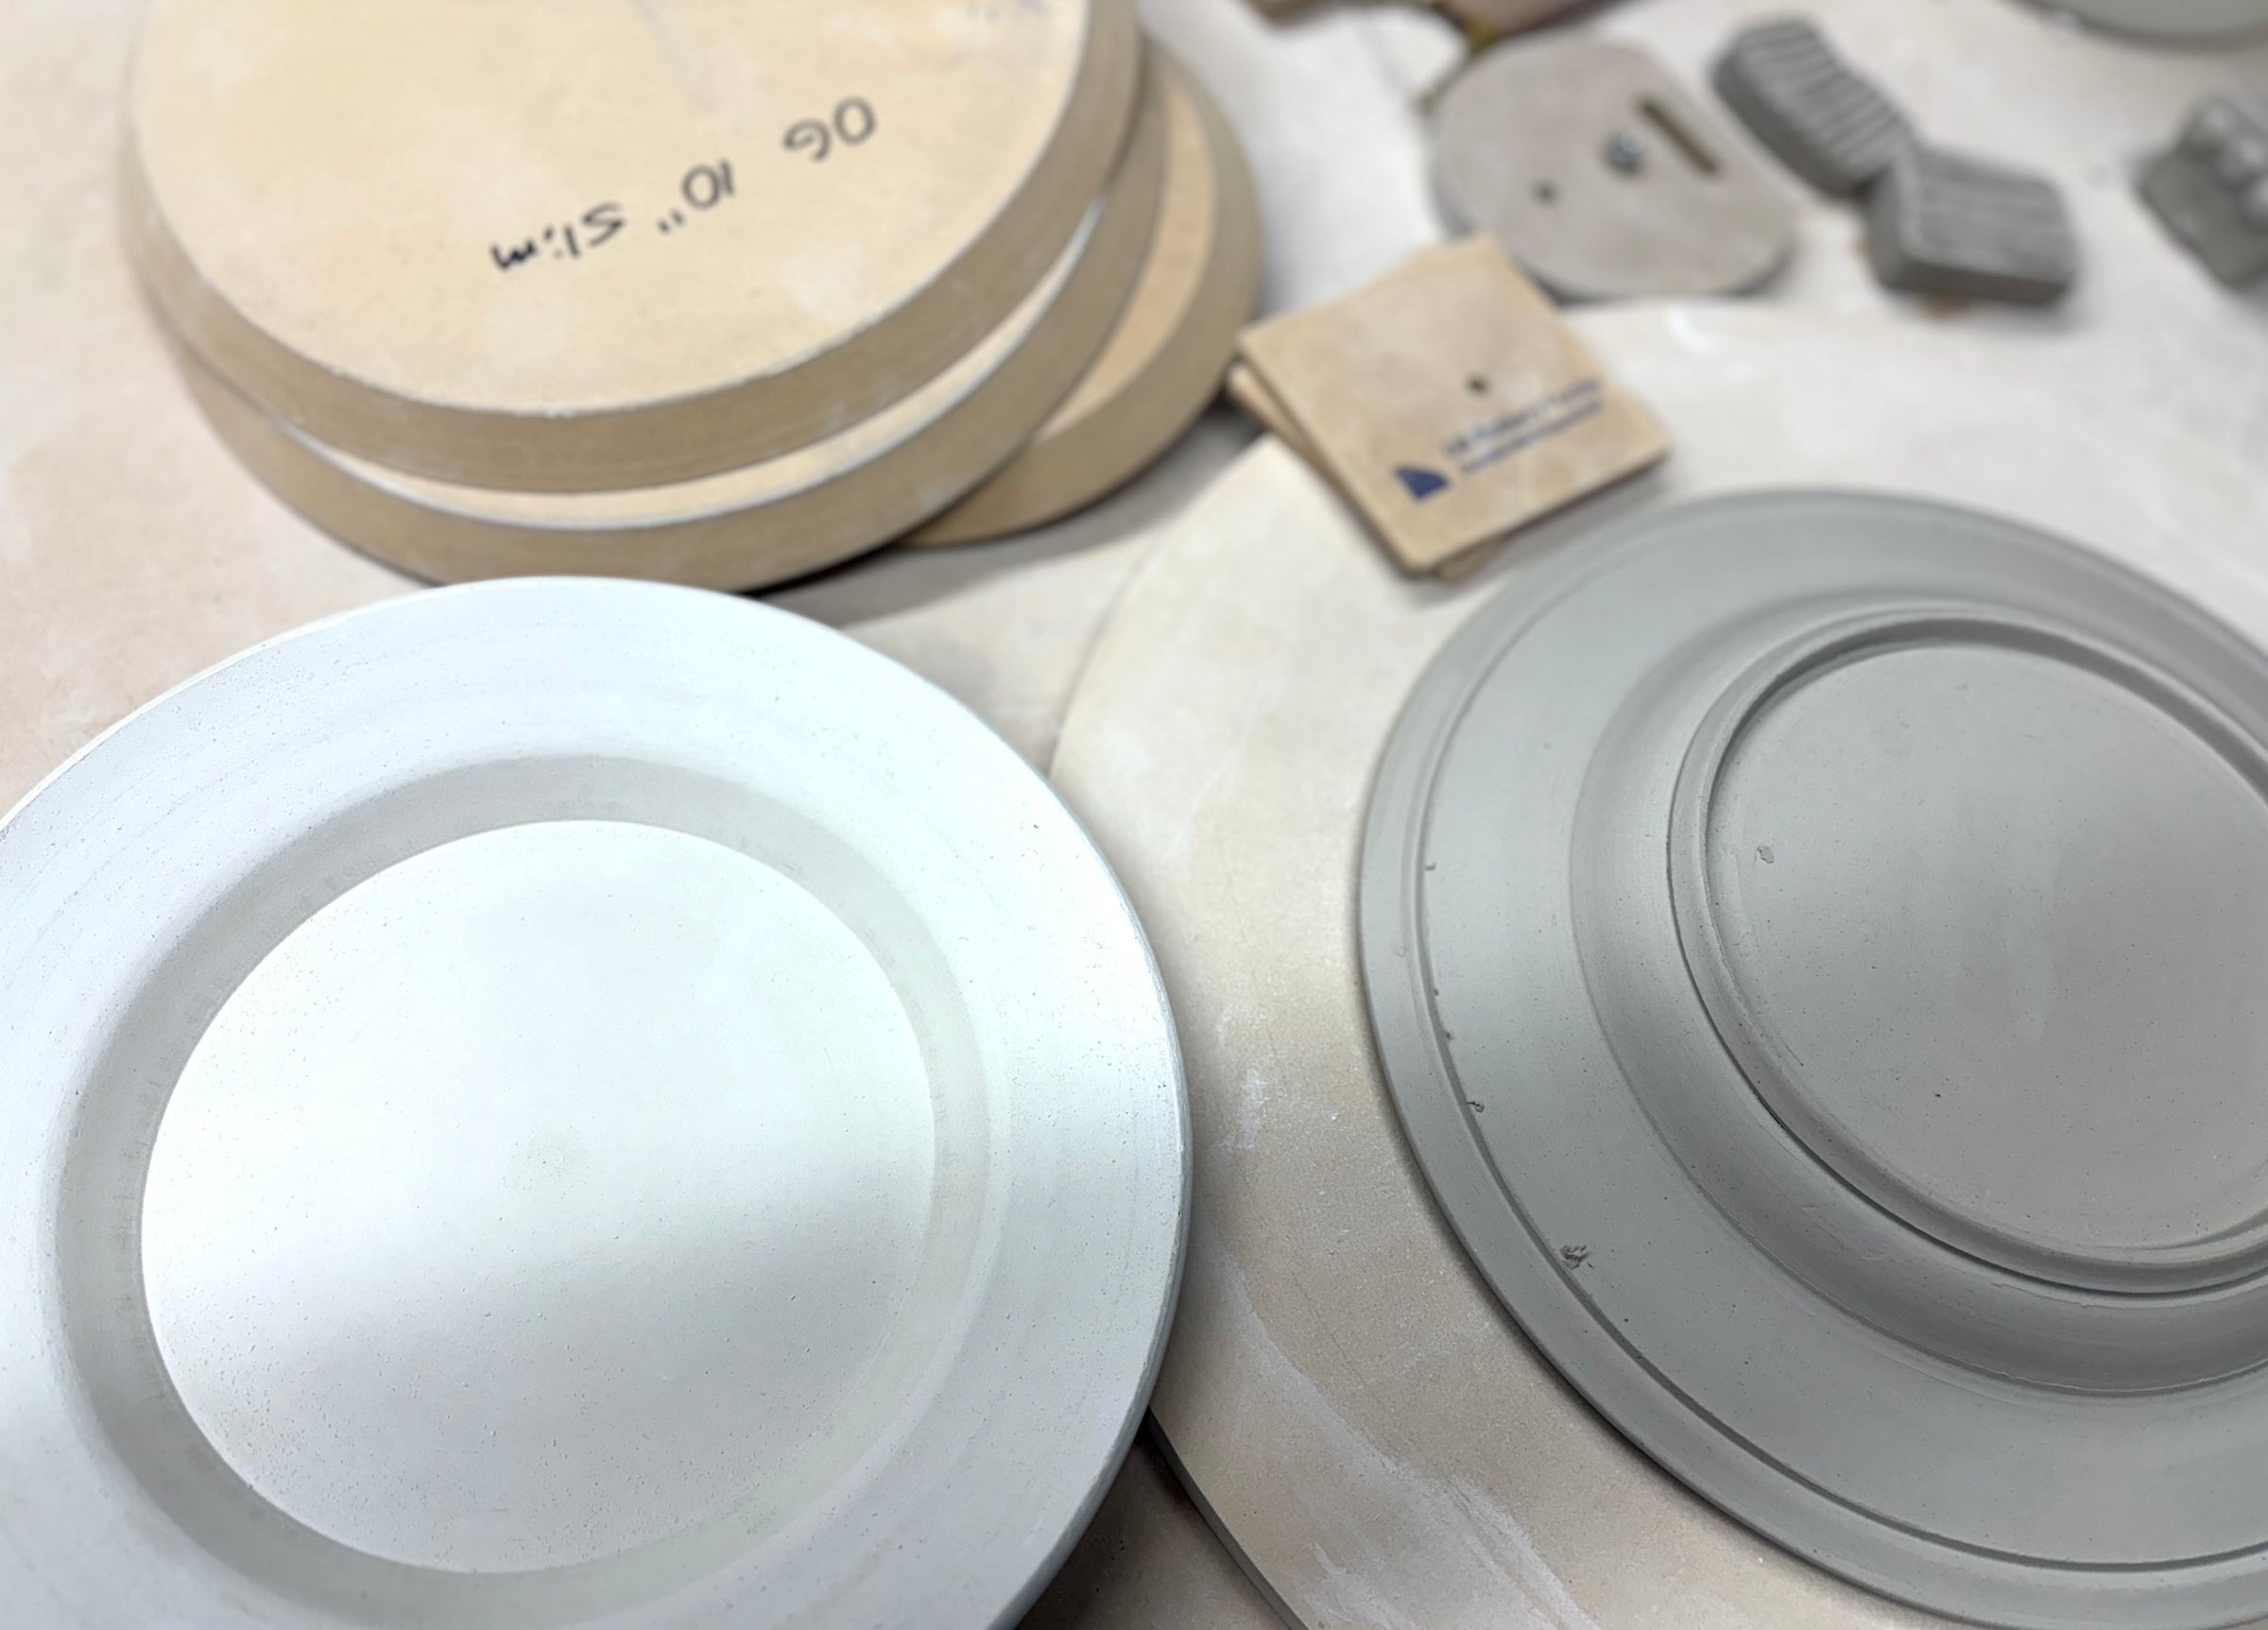
Here are the most common types of warping people experience when using our forms, along with some causes and fixes to prevent this from happening in the future.


Jeff also goes more in-depth on these types of warping and ways to prevent it from happening in one of our livestreams:
We hope this has helped to provide more clarity on how to prevent warping. If you have any questions please contact us by visiting our contact page.
Helpful information we discovered while researching on the internet:
Tools used in this blog:
- Mudtools Rib: https://grpotteryforms.com/collections/mudtools
- Spacer: https://grpotteryforms.com/collections/spacers
- WA Board: https://grpotteryforms.com/collections/all-wa-products/products/wa-board
- Studio Board: https://grpotteryforms.com/collections/studio-boards
- Alumina Hydrate: https://www.theceramicshop.com/product/322/alumina-hydrate/