1. Find Your Inspiration
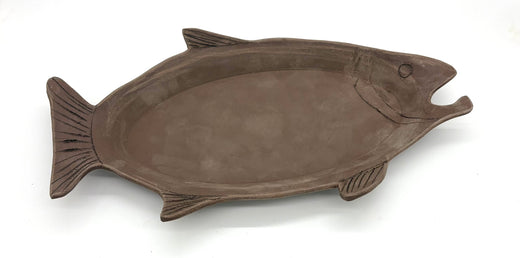
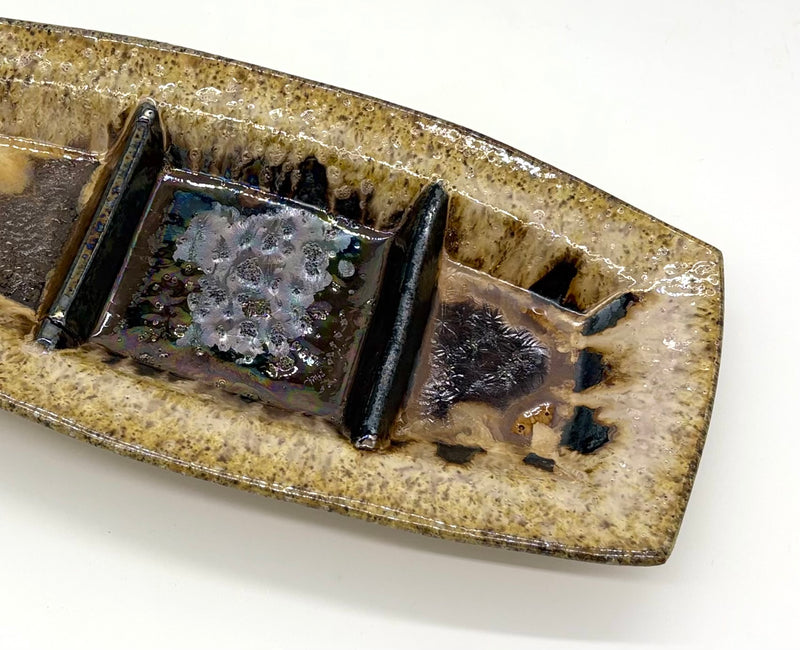
Start by finding an image of a fish that inspires you. It could be a natural fish shape or something more stylized. This image will help guide the design of your platter.
2. Draw Your Design
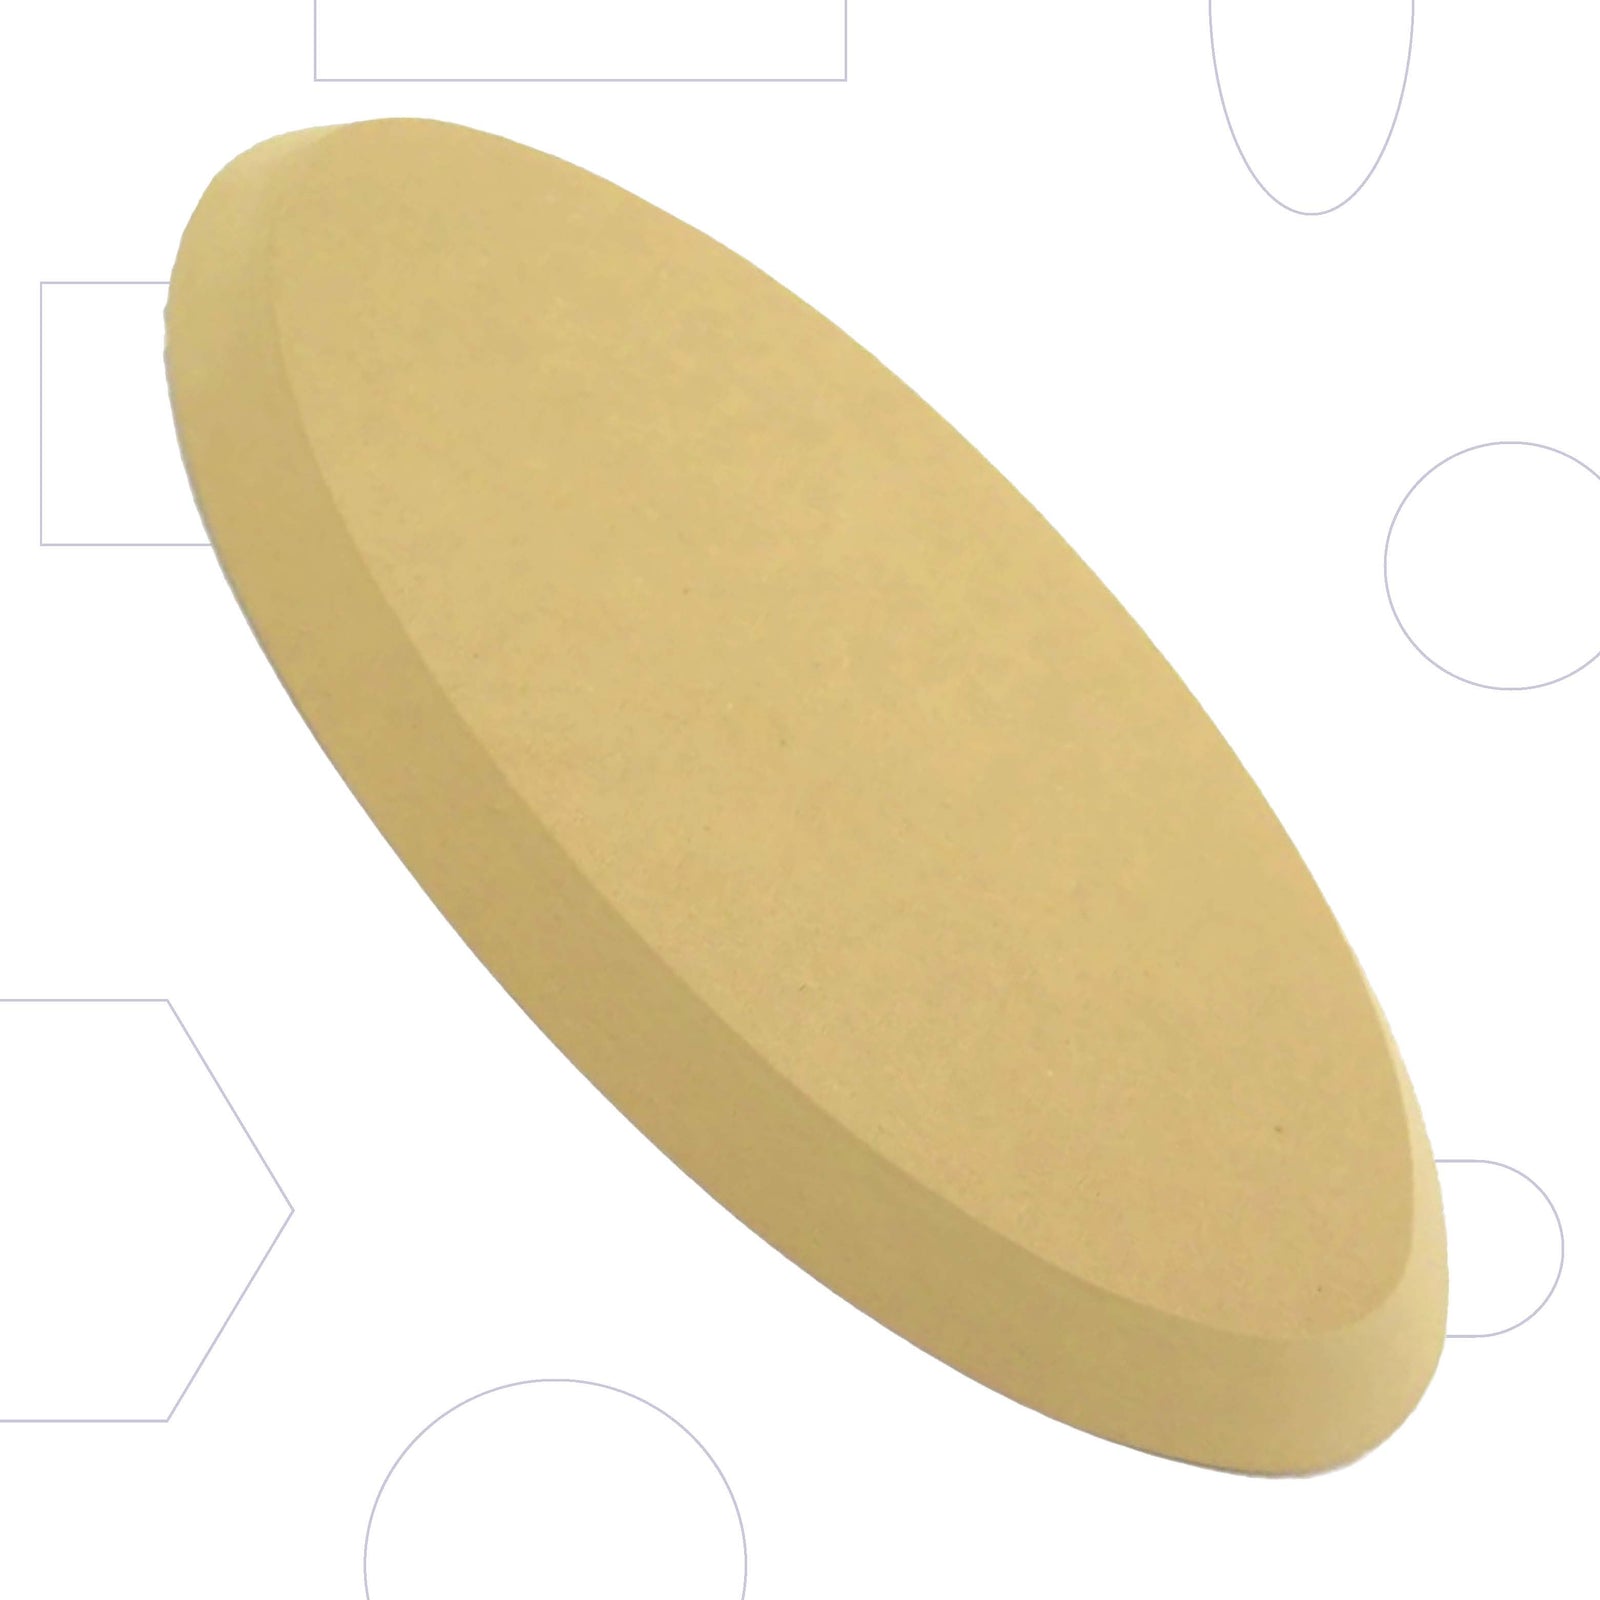
Trace your Form onto a piece of paper and sketch out the outline and design of your fish. This will act as a guide when you're cutting the clay to shape.
3. Prepare the Clay Slab
Roll out a slab of clay large enough to cover the Form, leaving extra around the edges for the fins. Use a Medium Mudtools Rib to compress the clay, ensuring it is smooth and free of air bubbles.
4. Drape the Clay Over the Form
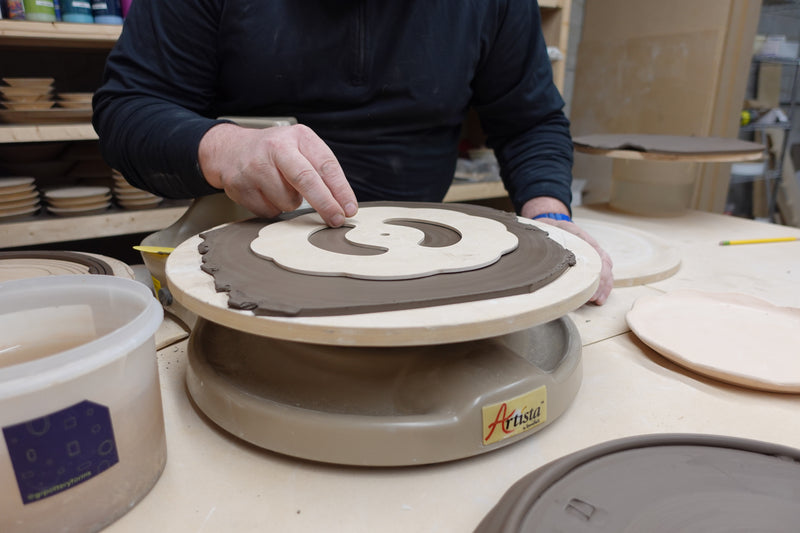
Drape the slab over the Form and start to apply light pressure with your hands.
5. Shape the Clay
With your hands, gently press the clay into the contours of the Form. Apply medium pressure to ensure the clay takes on the shape, but be careful not to thin it out.
6. Compress with a Rib Tool
Use the Medium Mudtools Rib to apply consistent pressure over the entire surface. This will help the clay fully conform to the Form and create a smooth finish.
7. Outline Your Fish Shape
Using a pencil, draw the outline of the fish directly on the clay. This will guide your cutting and help define the shape of your platter.
8. Cut the Rim
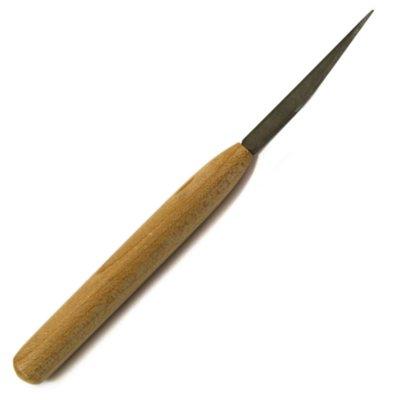
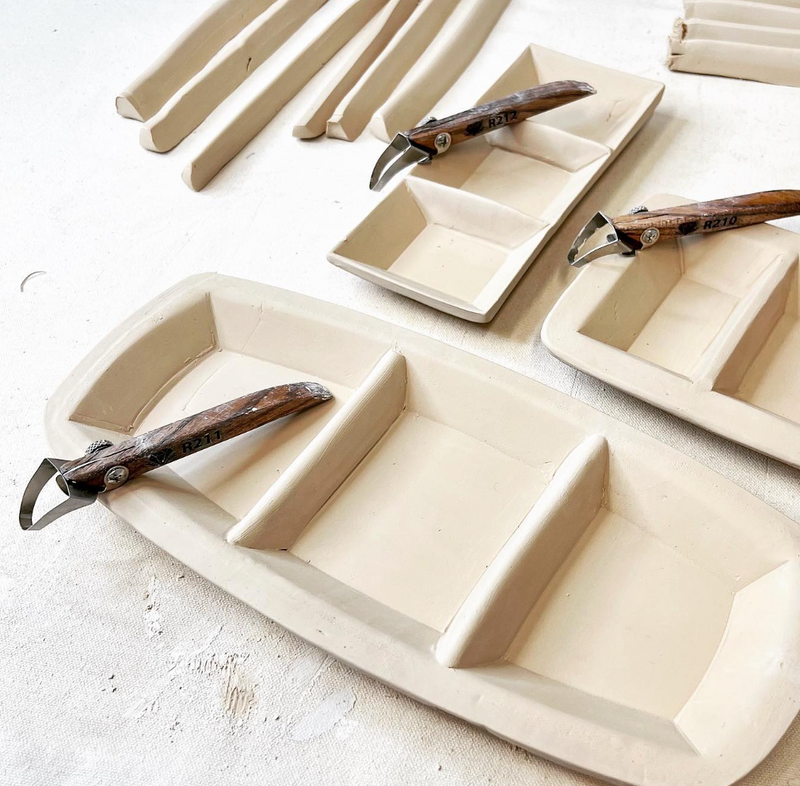
Use a Loonie Clay Knife to carefully cut along the outline of the fish.
9. Cut Strips for the Foot
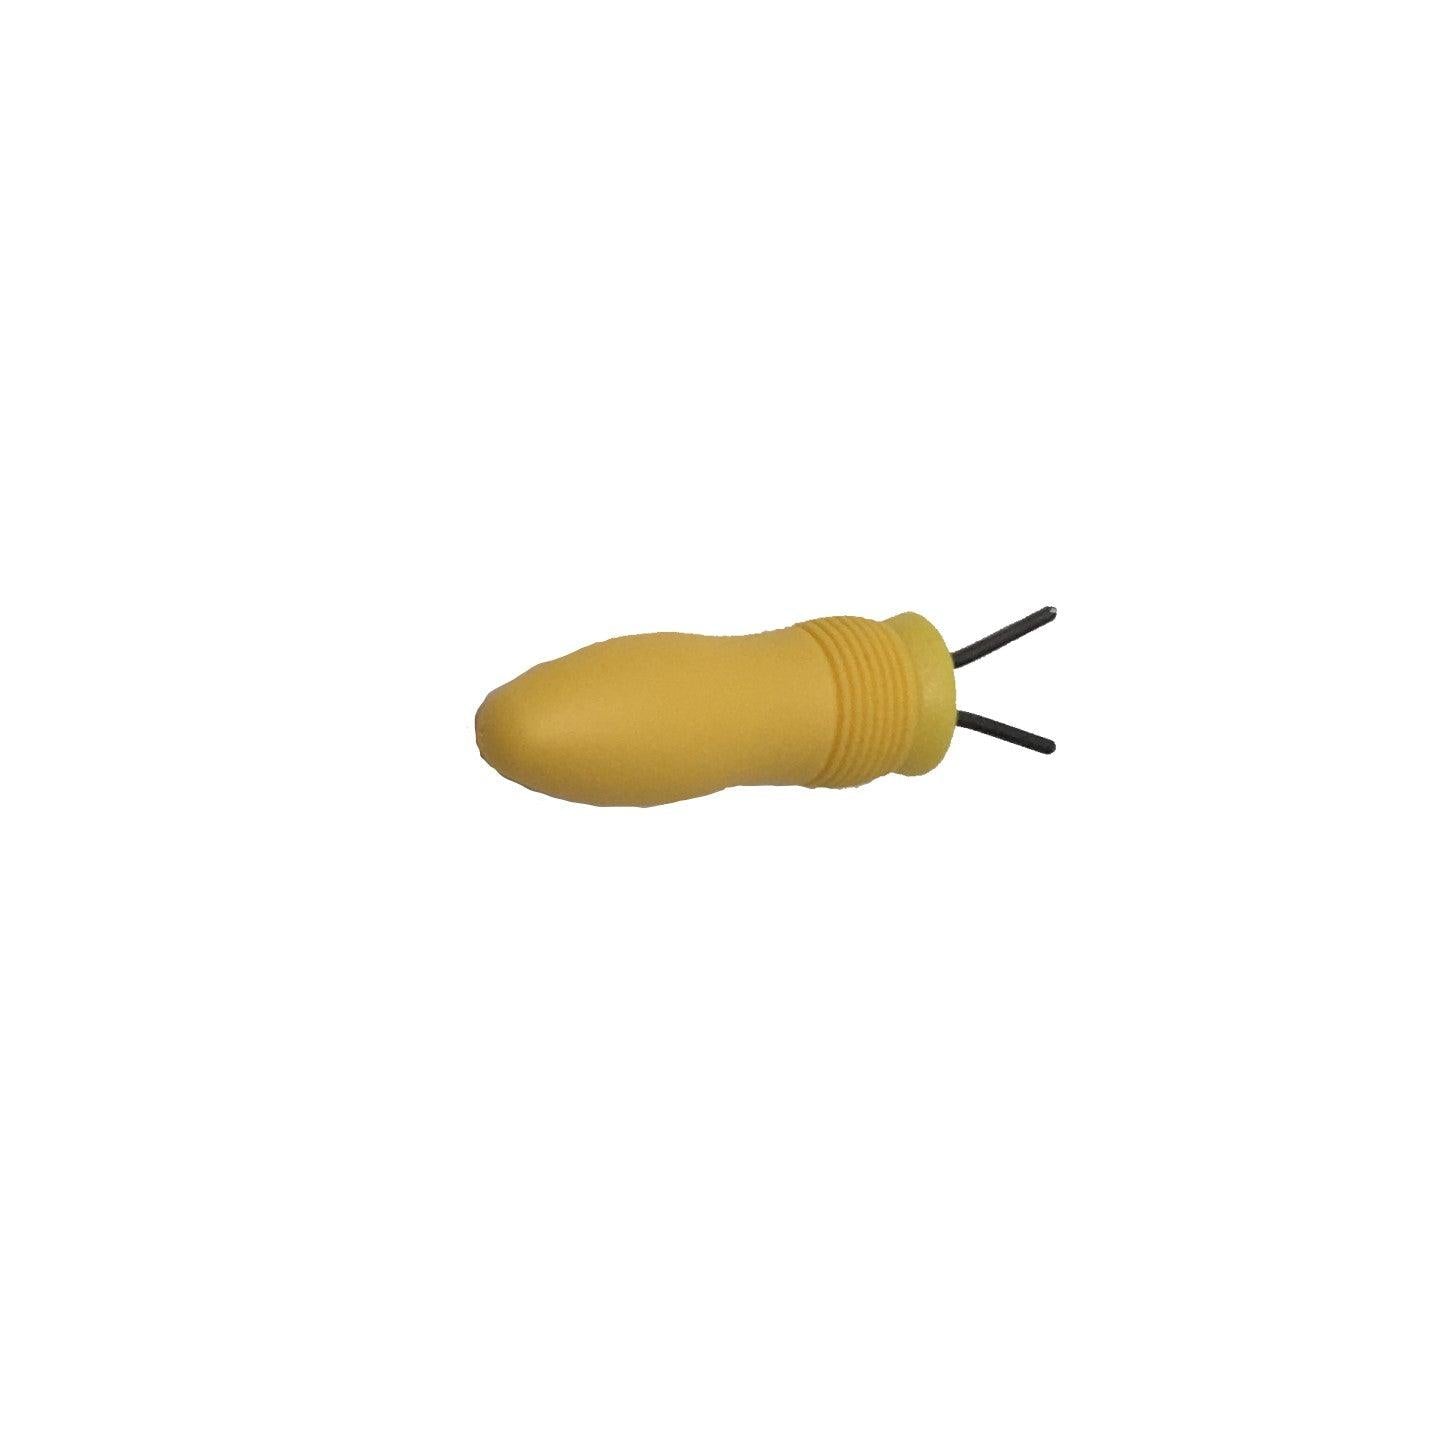
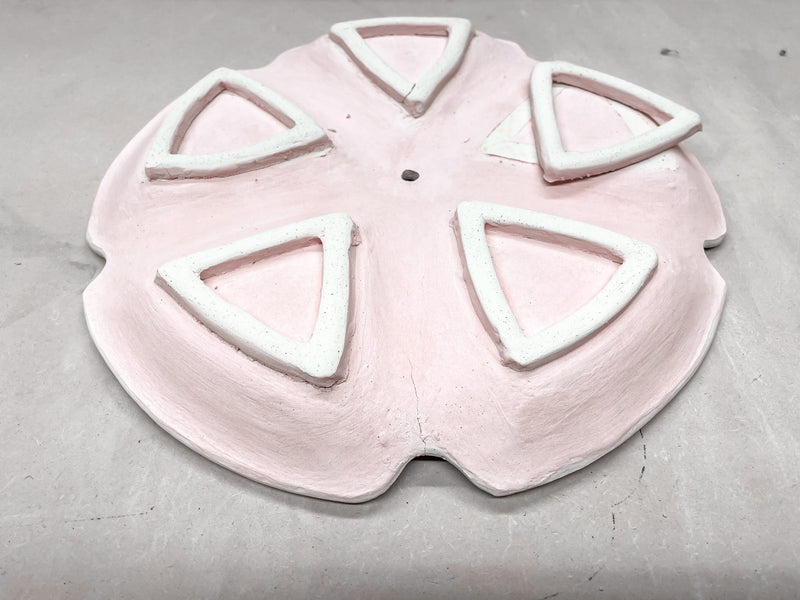
Use a Foot Maker Tool to cut out strips of clay from the leftover material. These strips will become the foot of your platter, providing both support and an elevated look.
10. Attach the Foot
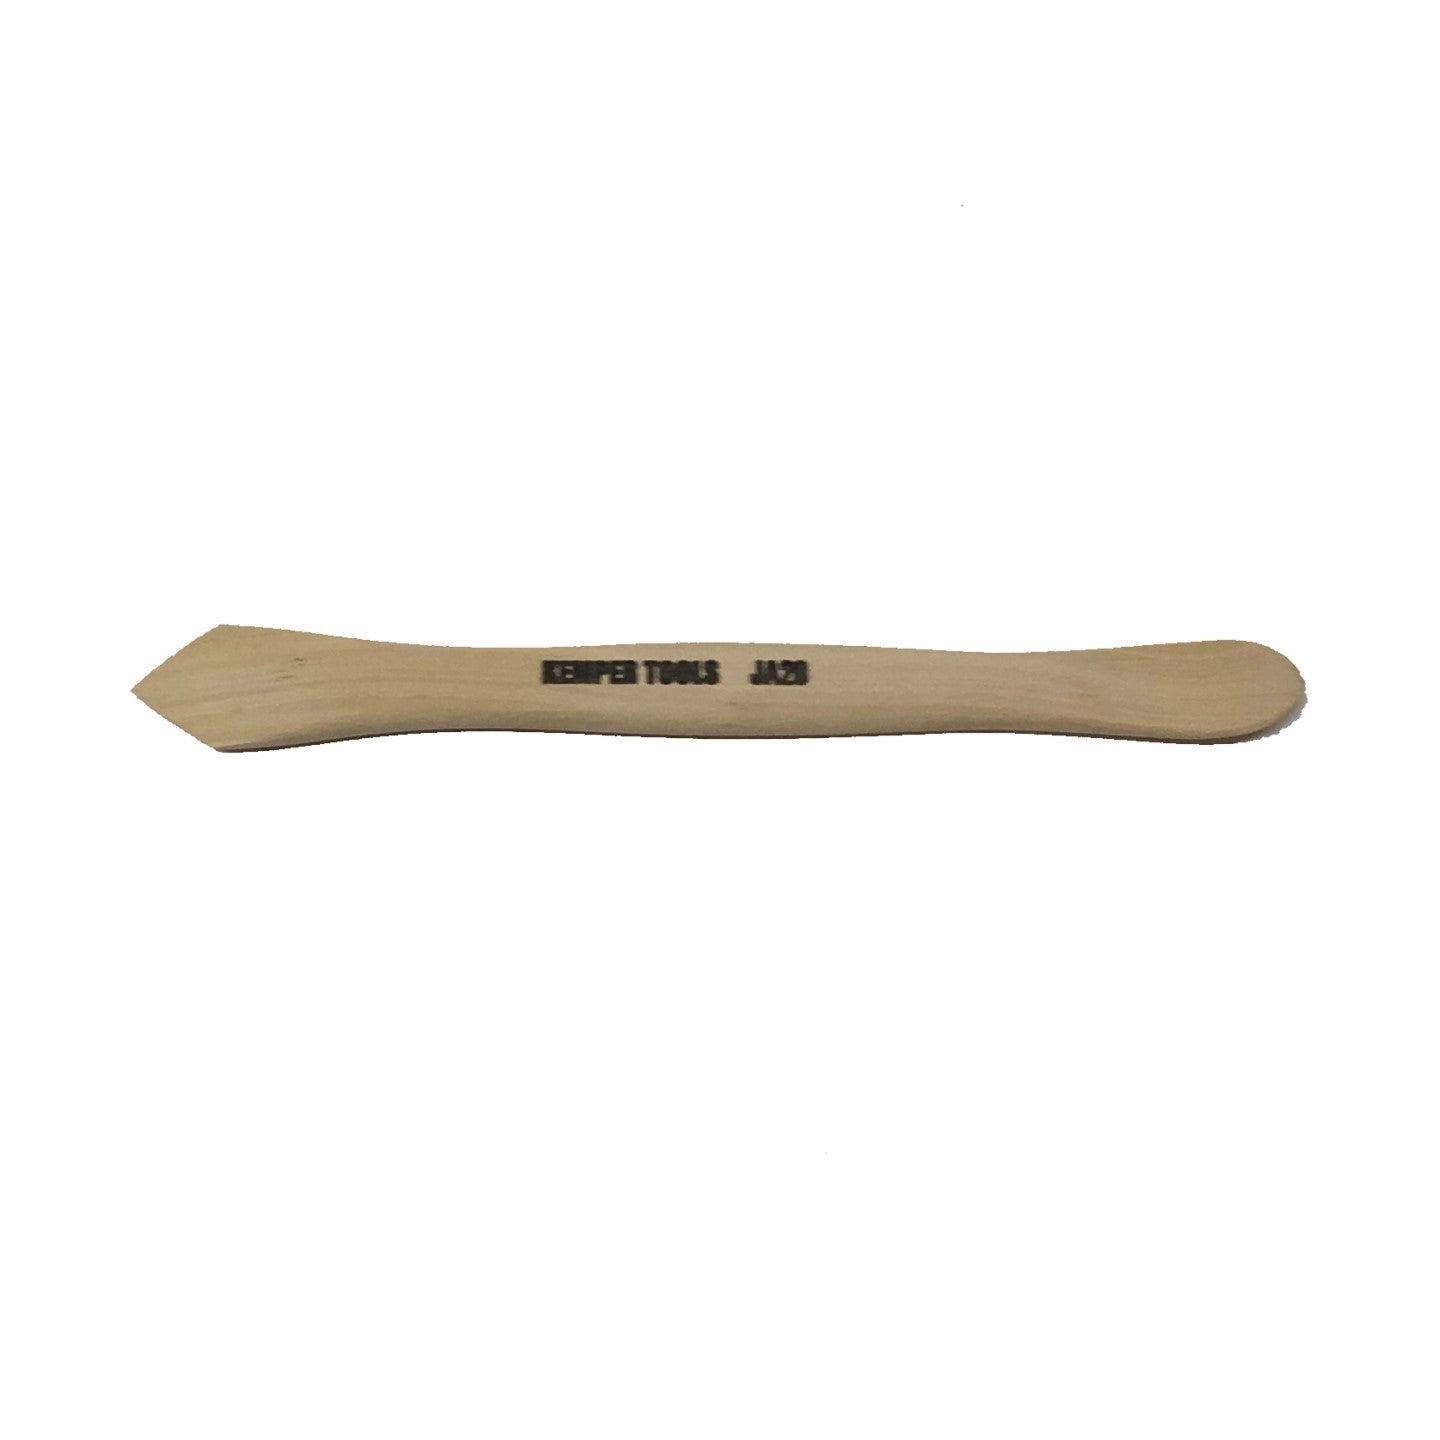
Position the strips of clay along the bottom edge of the platter and use a modeling tool to blend the foot into the base of the platter.
11. Create a Sloped Rim
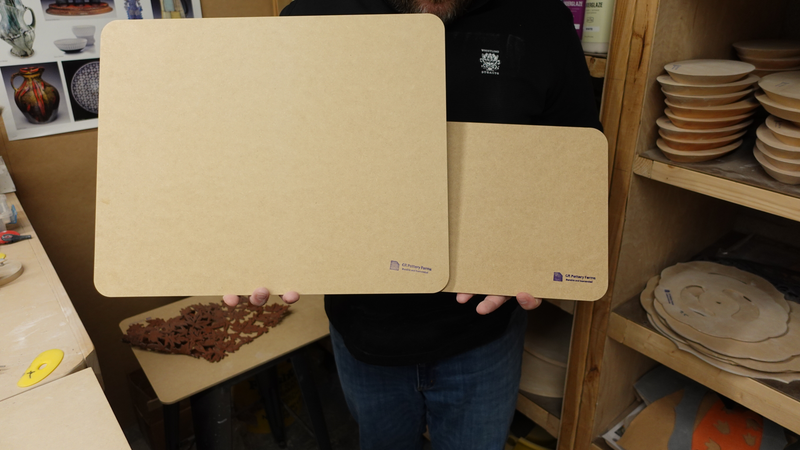
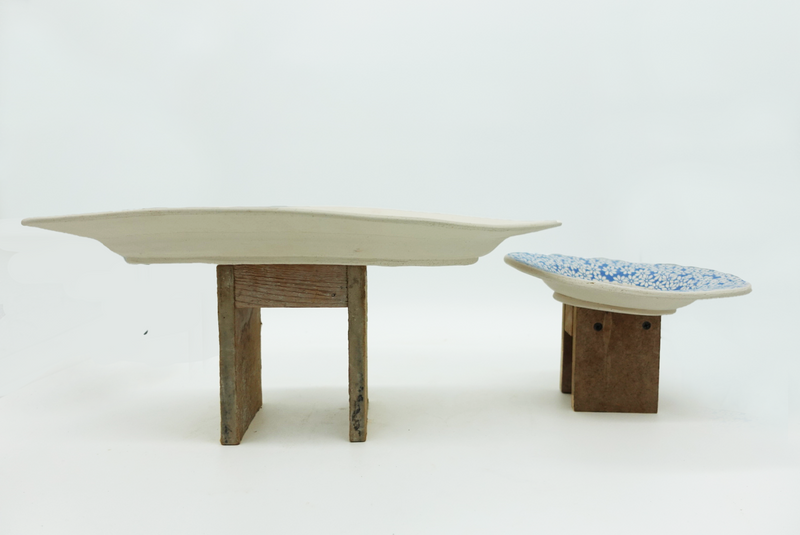
Place the platter on a spacer or smaller Form, and gently press down on the edges to create an angled effect.
12. Allow the Clay to Dry to Leather-Hard
Leave the platter in an undrafted room to dry to leather-hard consistency. It should be firm to the touch but still slightly damp, allowing for further refinement.
13. Trim Any Imperfections
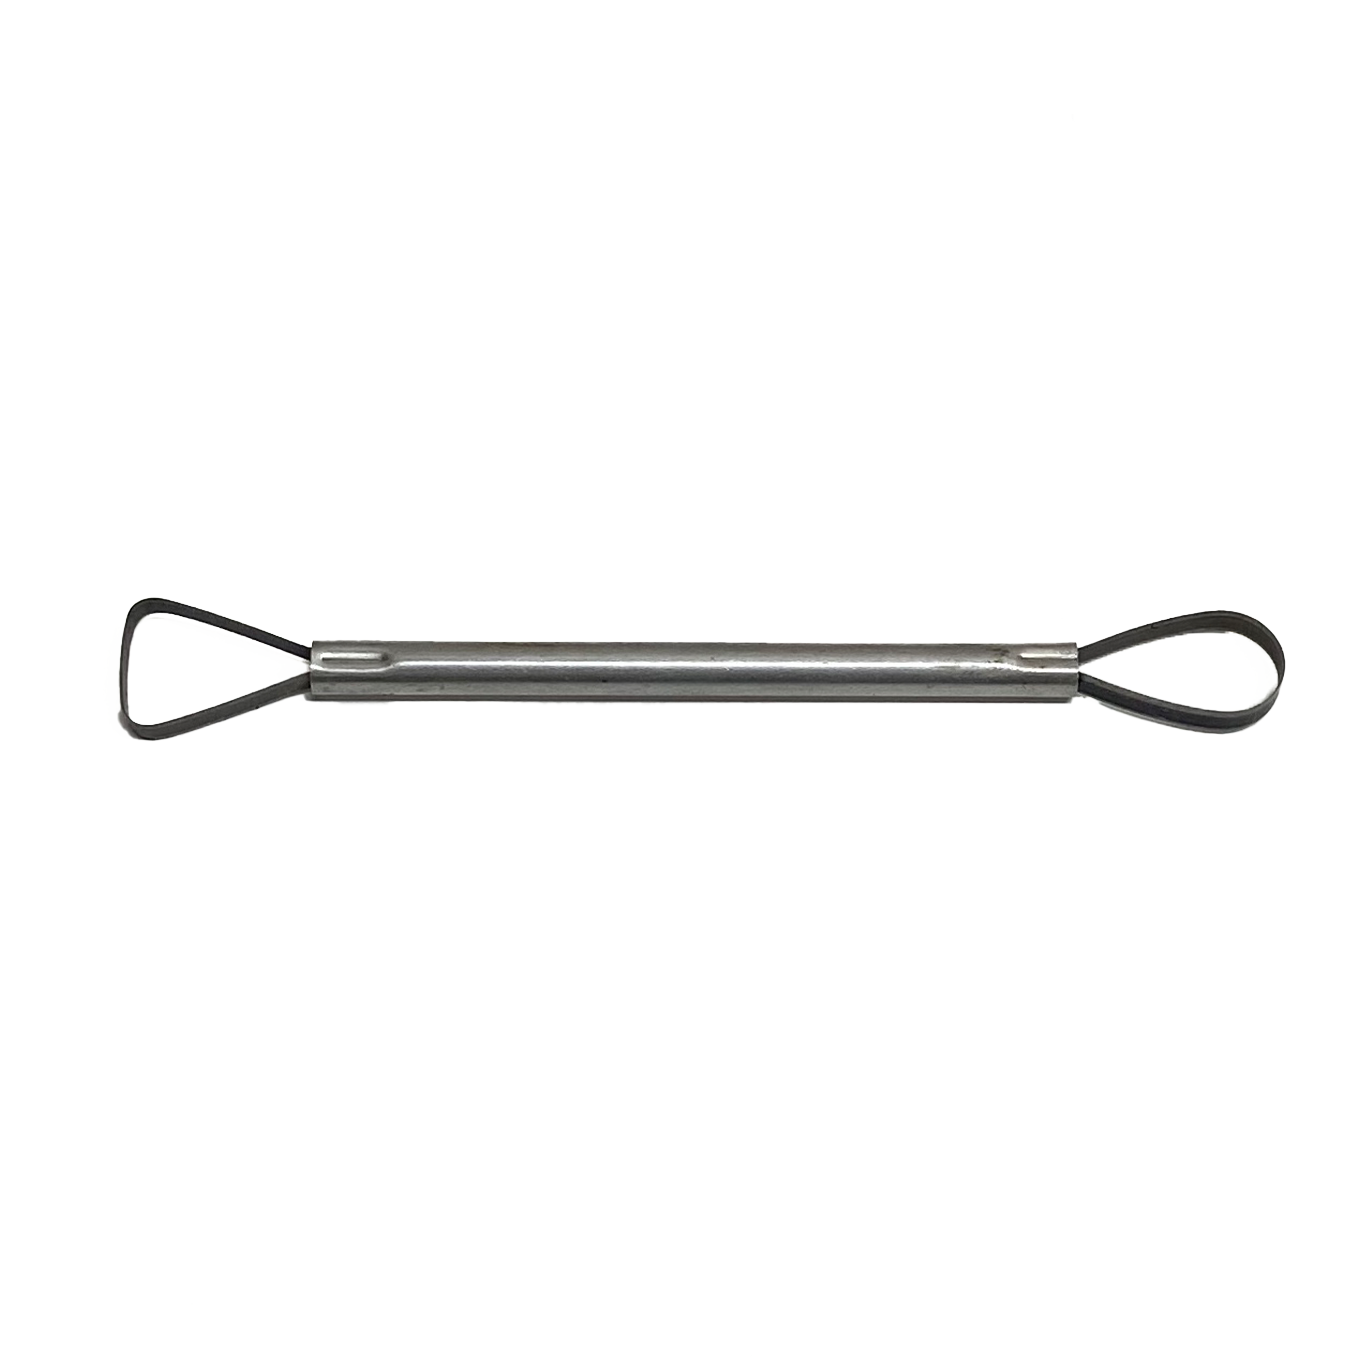
Use a trimming tool to remove any rough edges or uneven areas.
14. Refine the Rim
Once the piece is leather-hard, use a notched rib tool to clean up and round the edges.
15. Dry Completely
Allow the platter to dry fully in a stable, undrafted environment. Ensure it’s completely dry before firing to avoid cracks.
16. Bisque Fire the Platter
Once the platter is dry, bisque fire it according to your clay body’s specifications. This will remove any residual moisture and prepare the piece for glazing.
We hope these steps were helpful on how to create functional pieces with our 8x15" OG Oval. Here is a tutorial video that goes through the above steps:
Tools used in this blog:
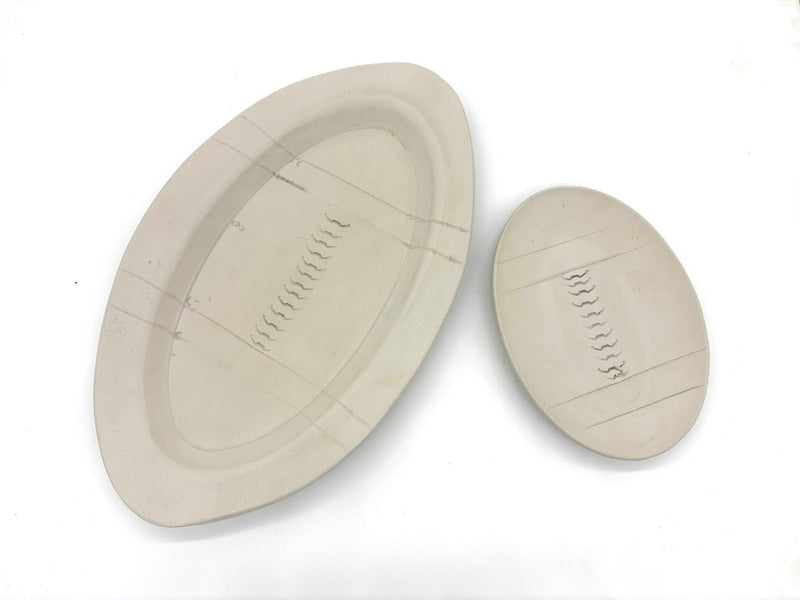
OG Oval 8x15" - https://grpotteryforms.com/products/oval-8x15
Loonie Clay Knife - https://grpotteryforms.com/products/loonie-clay-knife
Modeling Tool - https://grpotteryforms.com/products/tool-modeling-tool
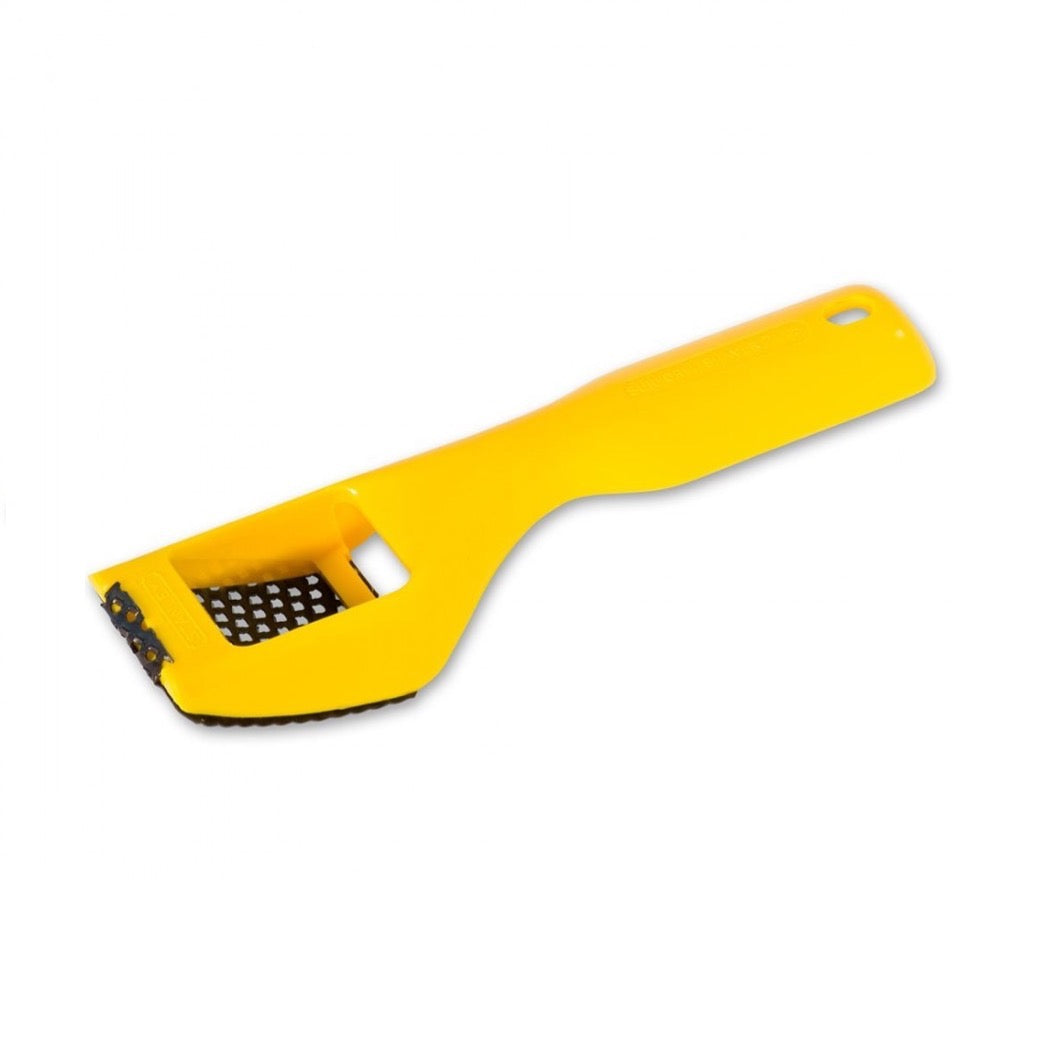
Stanley Surform Rasp - https://grpotteryforms.com/products/tool-stanley-surform
Foot Maker Tool - https://grpotteryforms.com/products/tool-foot-maker
Trimming Tools - https://grpotteryforms.com/products/trimming-tool-flat-round
Notched Rib - https://grpotteryforms.com/products/tool-edge-rounding-rib
Medium Mudtools Rib - https://grpotteryforms.com/products/mudtools-rib-medium-1

