1. Compress the Slab
Start with a slab of clay. Use a rib tool to gently compress the surface, making sure the slab is even and compact. This will remove any air pockets and ensure the clay is dense and strong. Compressing your slab is crucial for the structural integrity of your pasta bowl, so take your time to get it right.
2. Center the Form on the Slab
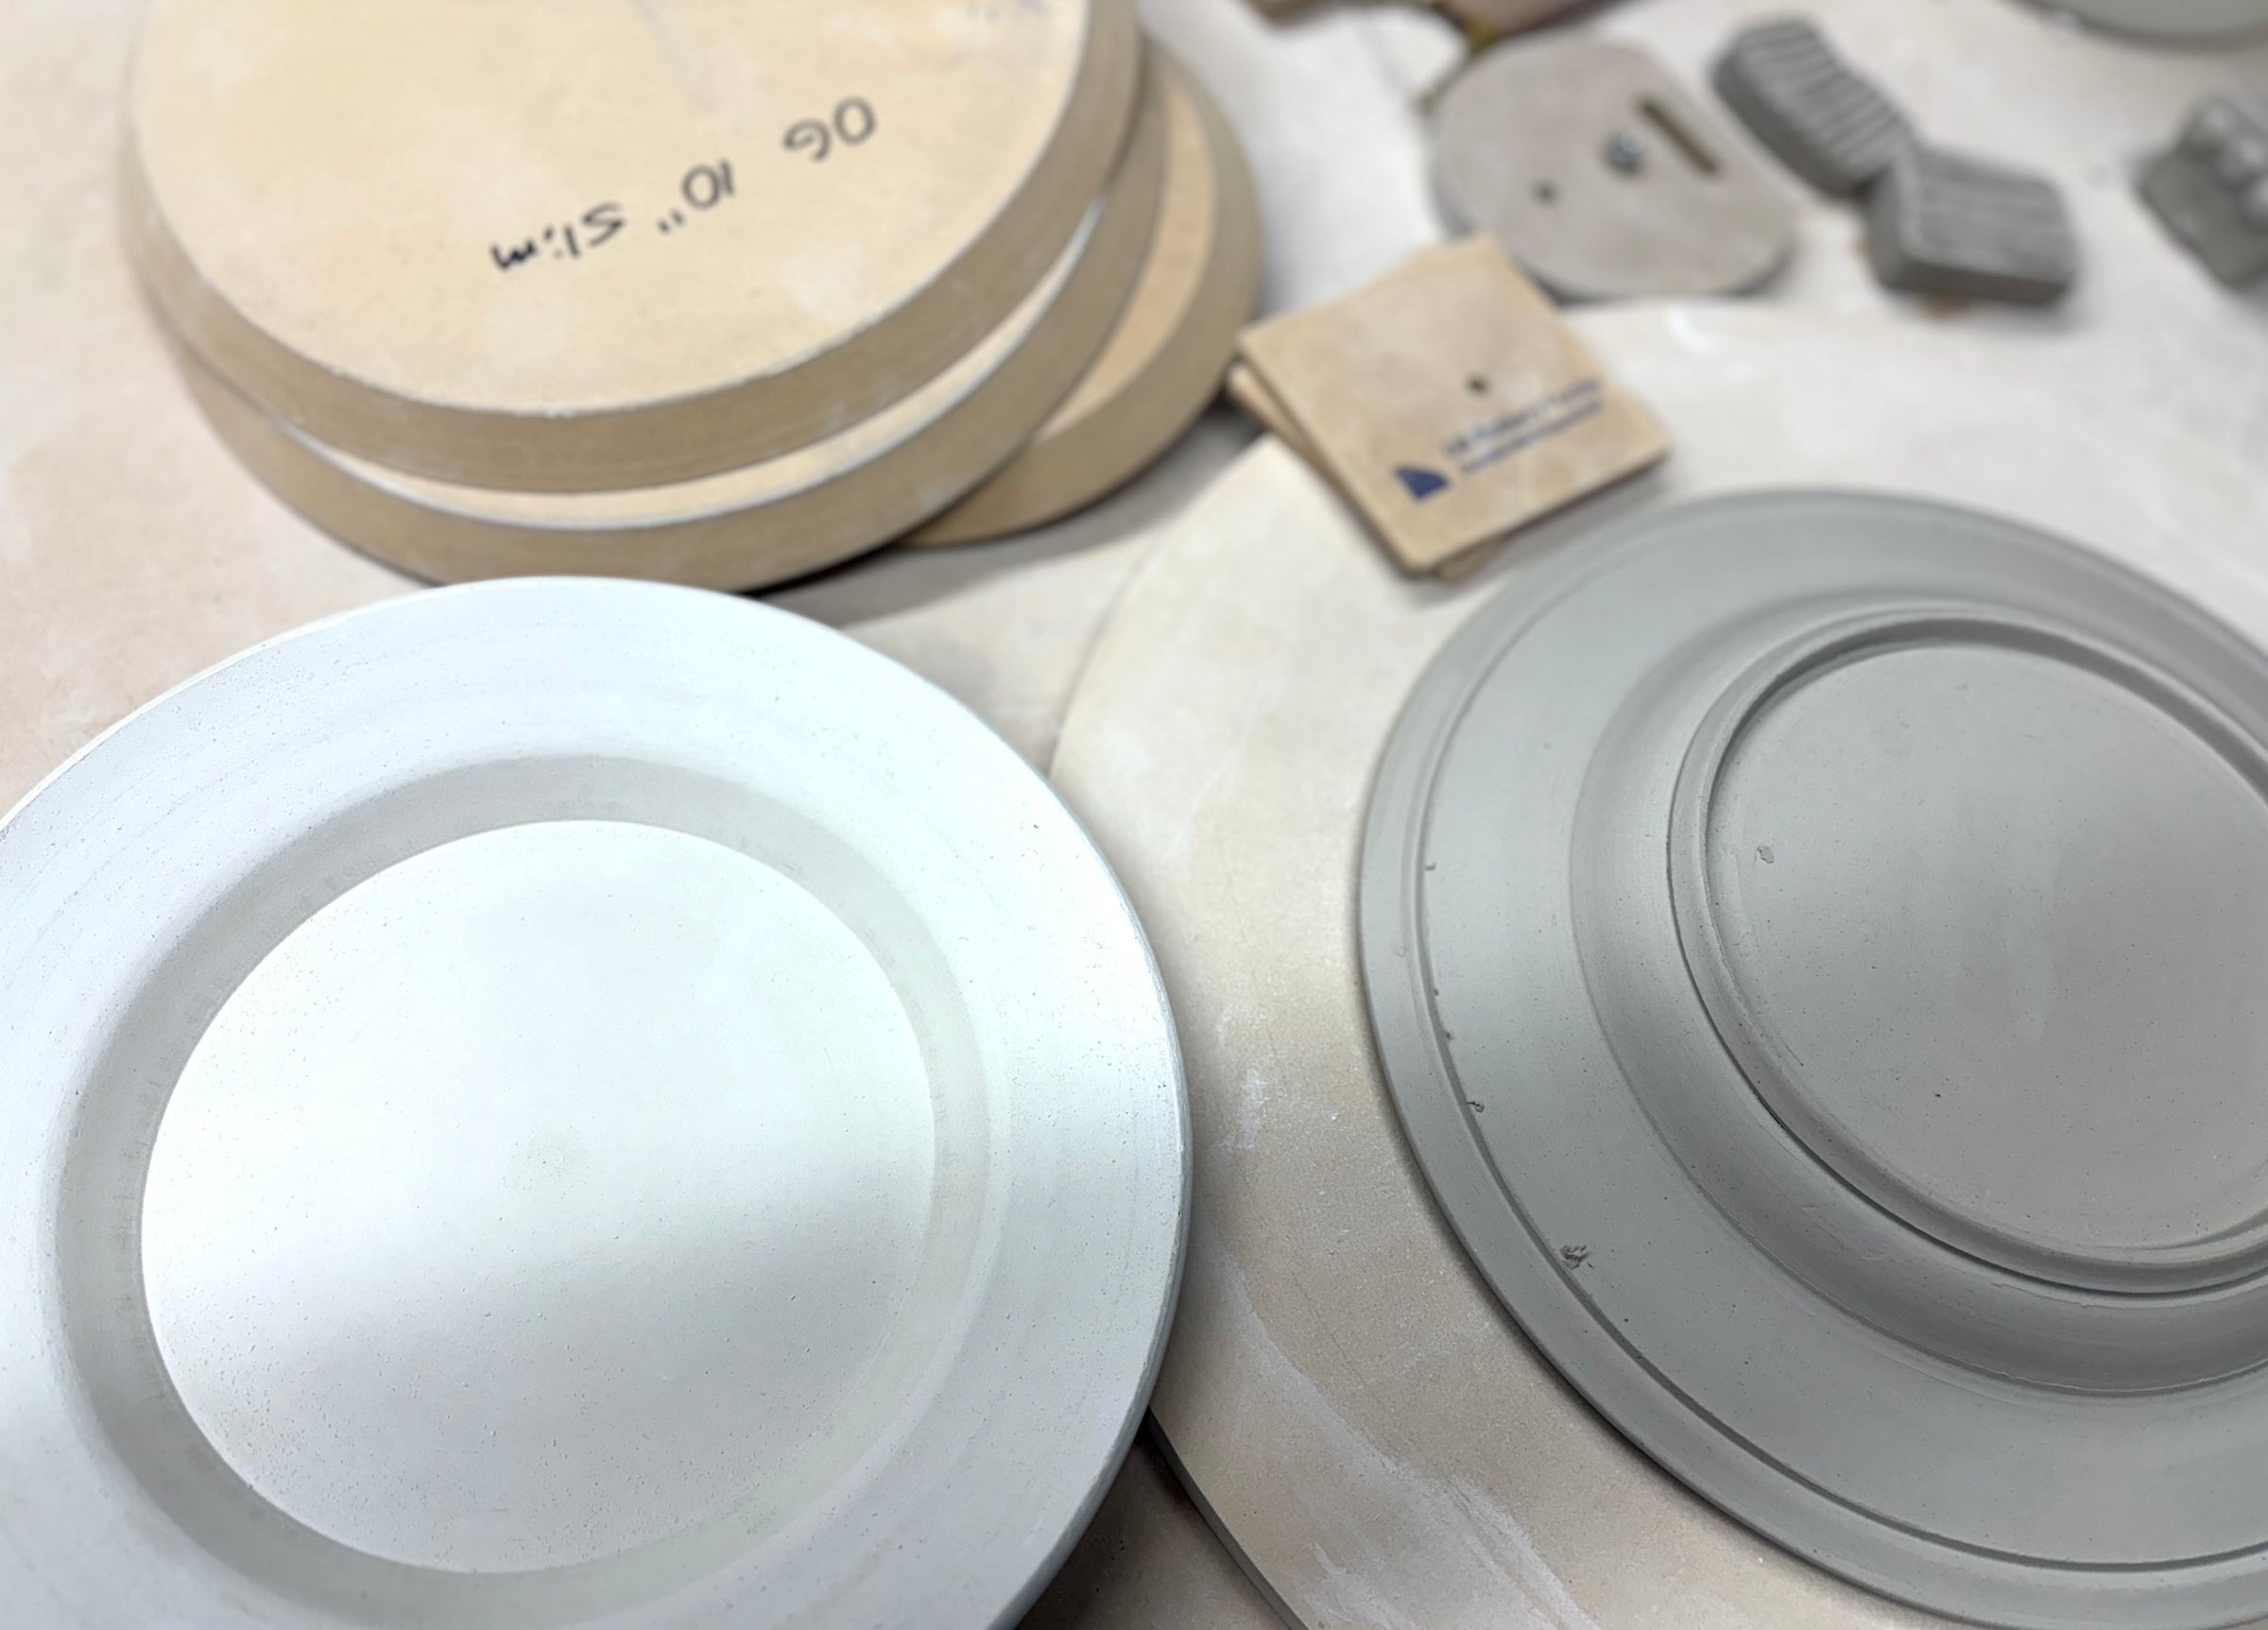
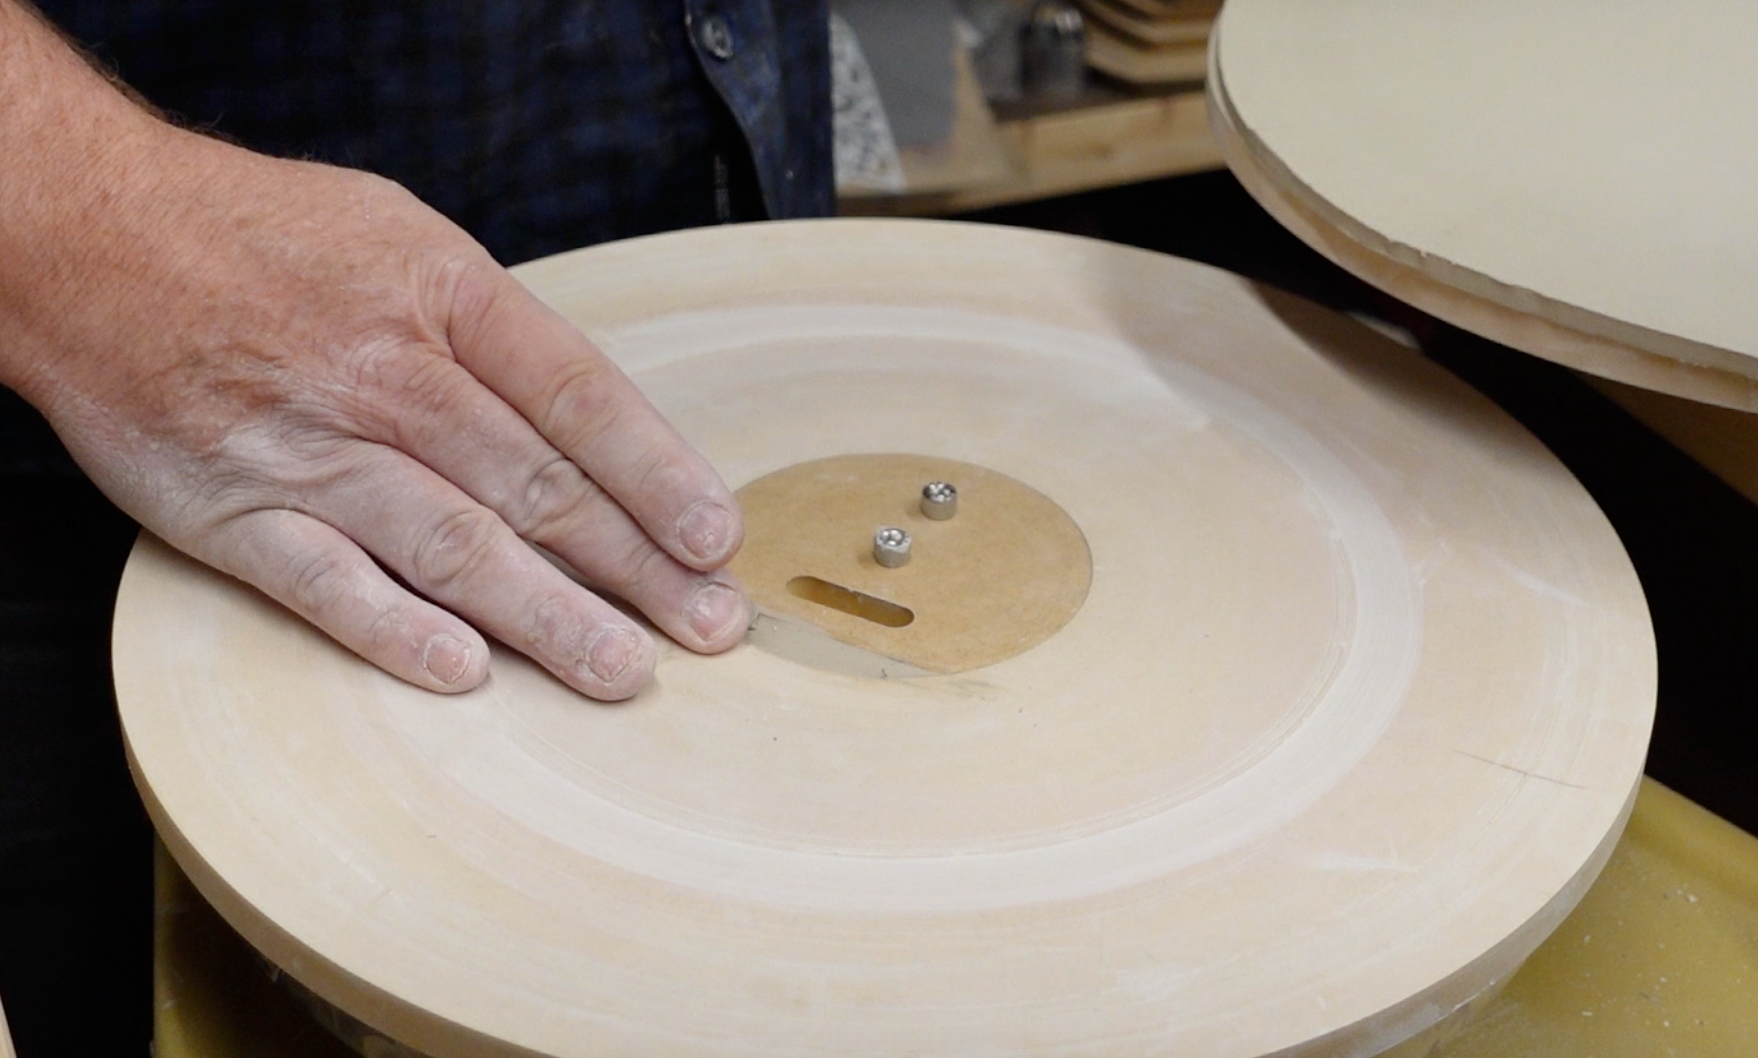
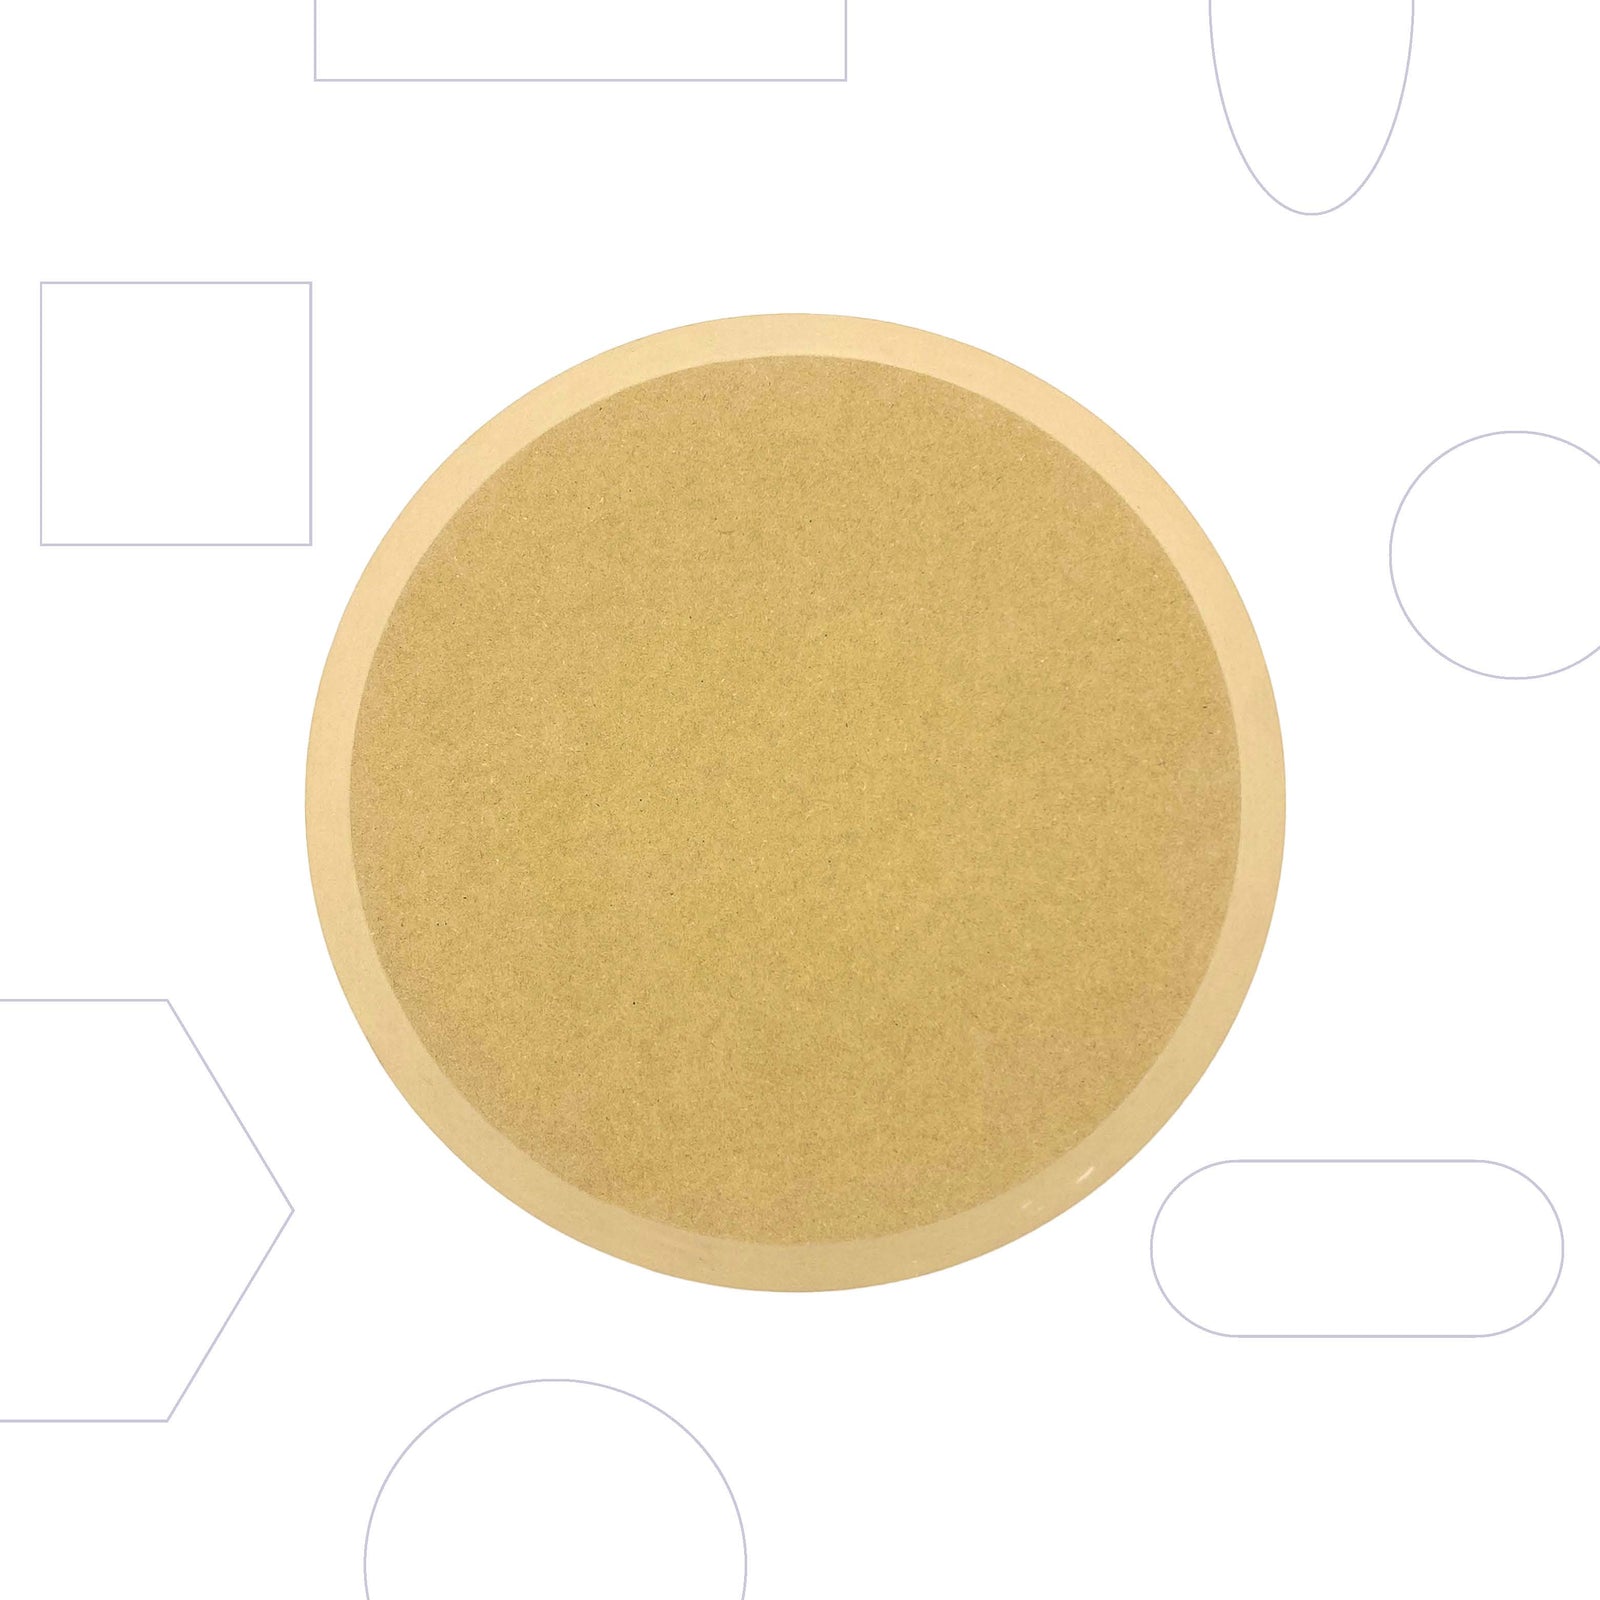
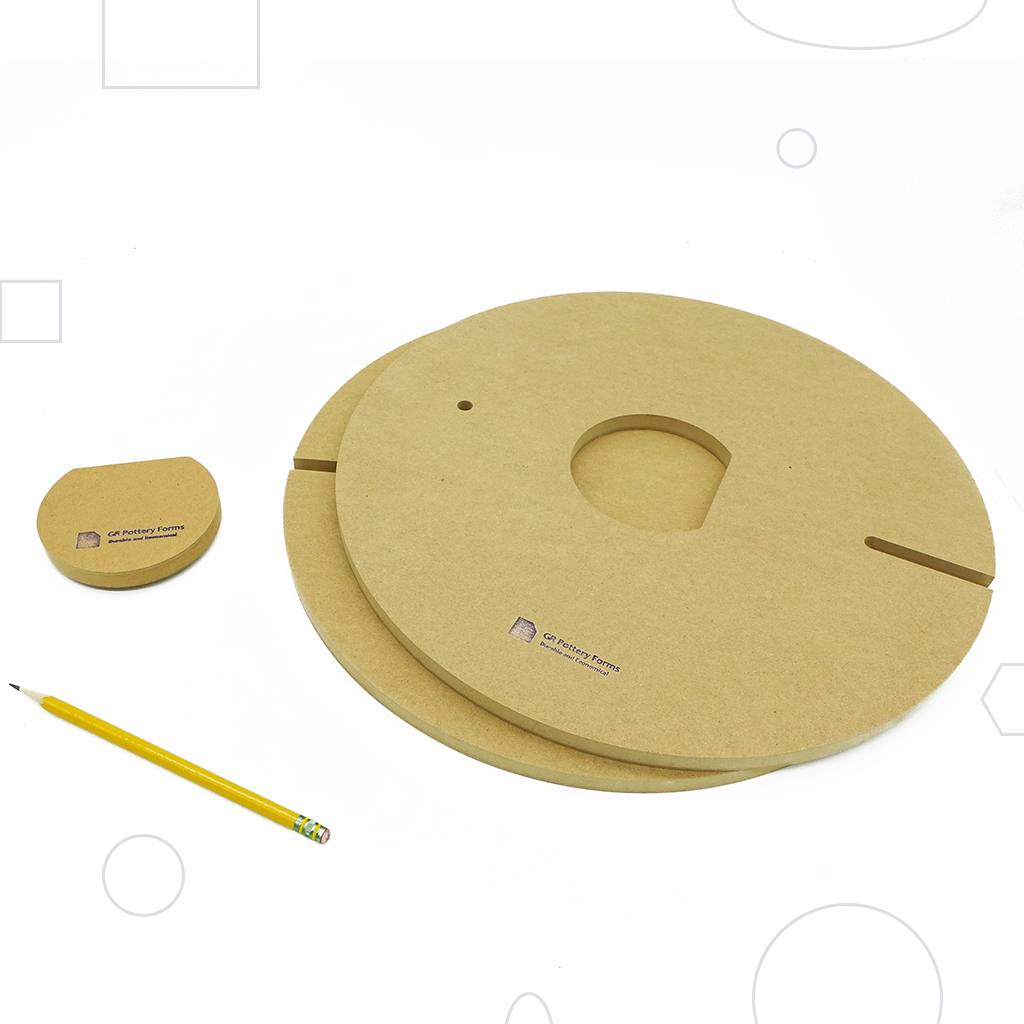
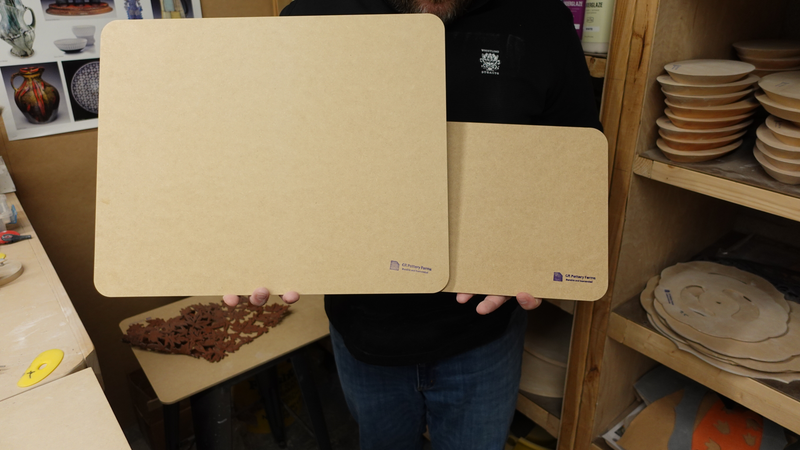
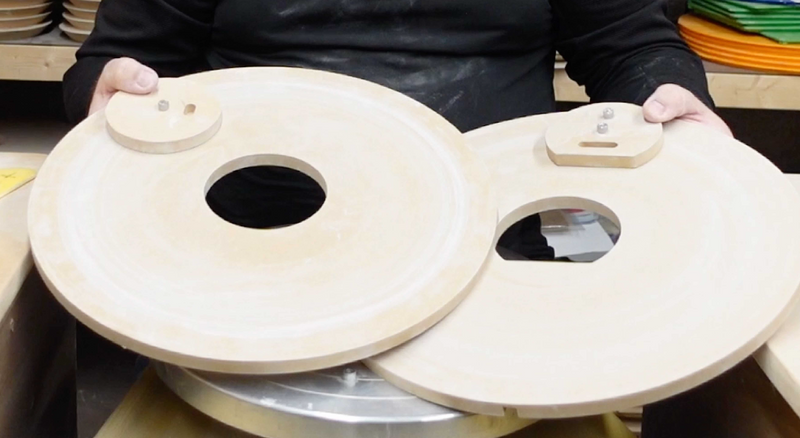
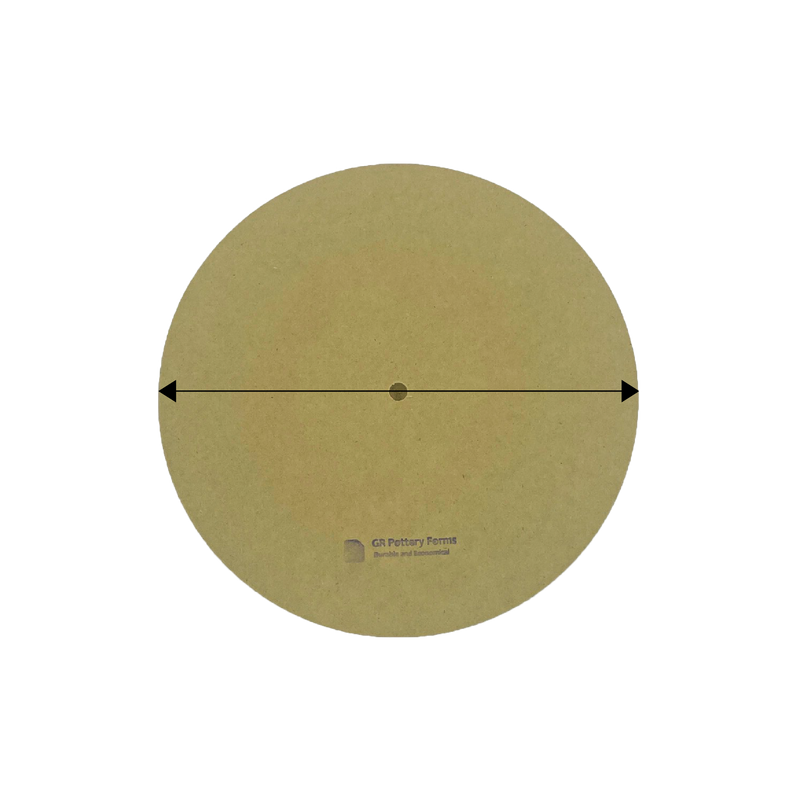
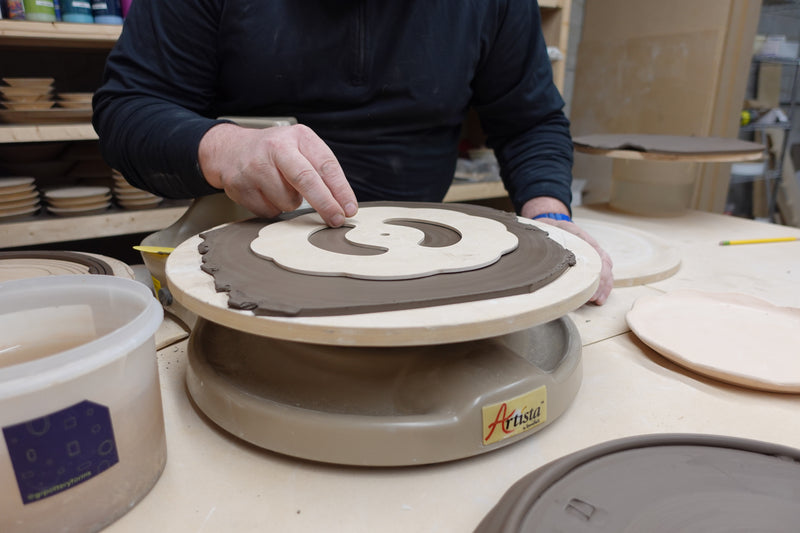
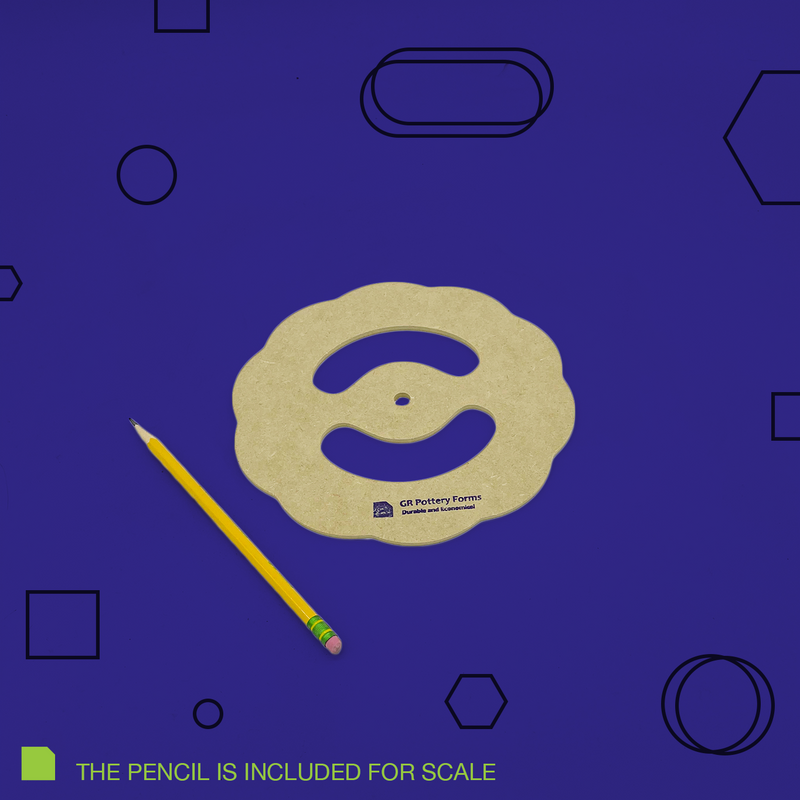
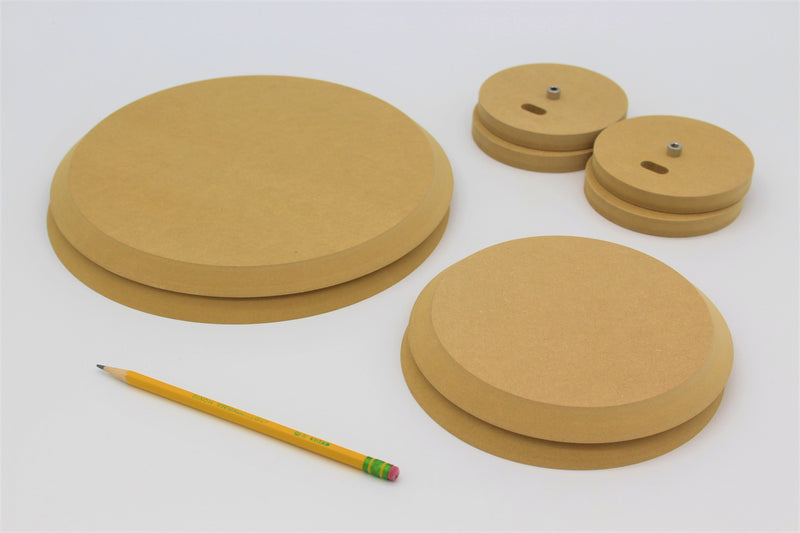
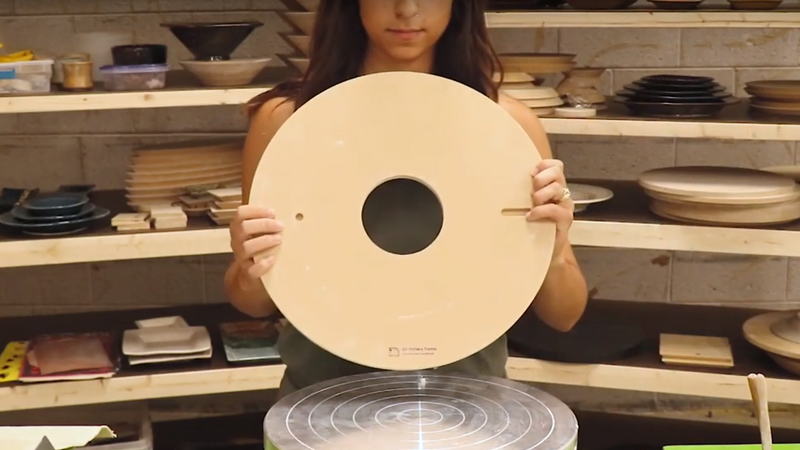
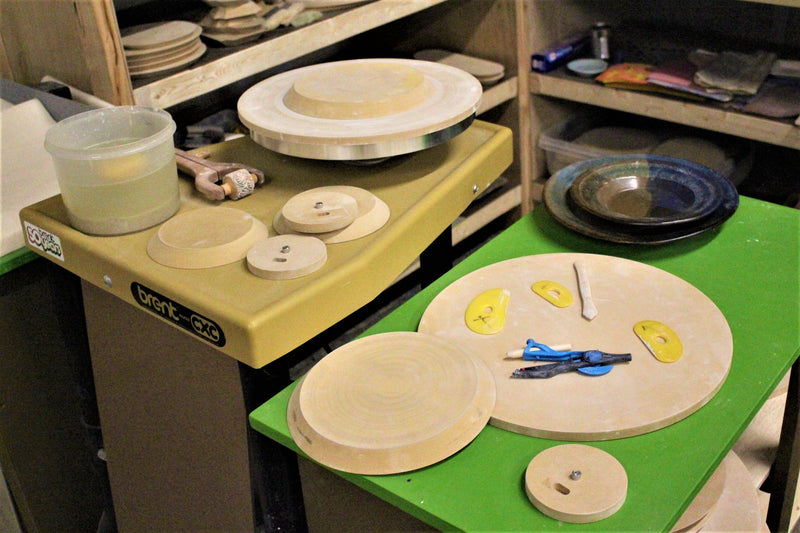
Place your slab of clay onto the wheel, making sure it’s centered. Choose your Forms for your pasta bowl. For the bowl in the video Jeff is using our RD2 Round 6.5” and OG Round 8”. If using the WA2 System, attach the Forms to the system and secure them with the center peg.
3. Drape the Clay Over the Form
Carefully drape your slab of clay over the Form. Make sure it’s centered and that there’s enough excess clay to cover the form entirely, with some clay left over to create the lip or rim. This extra clay is essential for shaping the bowl's edge.
4. Push the Clay Up to the Form
Now, gently begin pushing the clay up to meet the Form. Use your hands or a rib tool to slowly press the clay up the sides of the Form, applying more pressure as you go. This will help shape the clay to match the Form without causing any wrinkles or cracks.
5. Compress Clay onto the Form Using a Rib Tool
Once the clay is up to the Form, use your rib tool to compress the clay onto the Form. This helps eliminate any air pockets and ensures that the clay adheres firmly to the Form’s shape. Compression also smooths out the surface, making it more uniform and preventing cracking during drying and firing.
6. Add Texture with a Wooden Rib
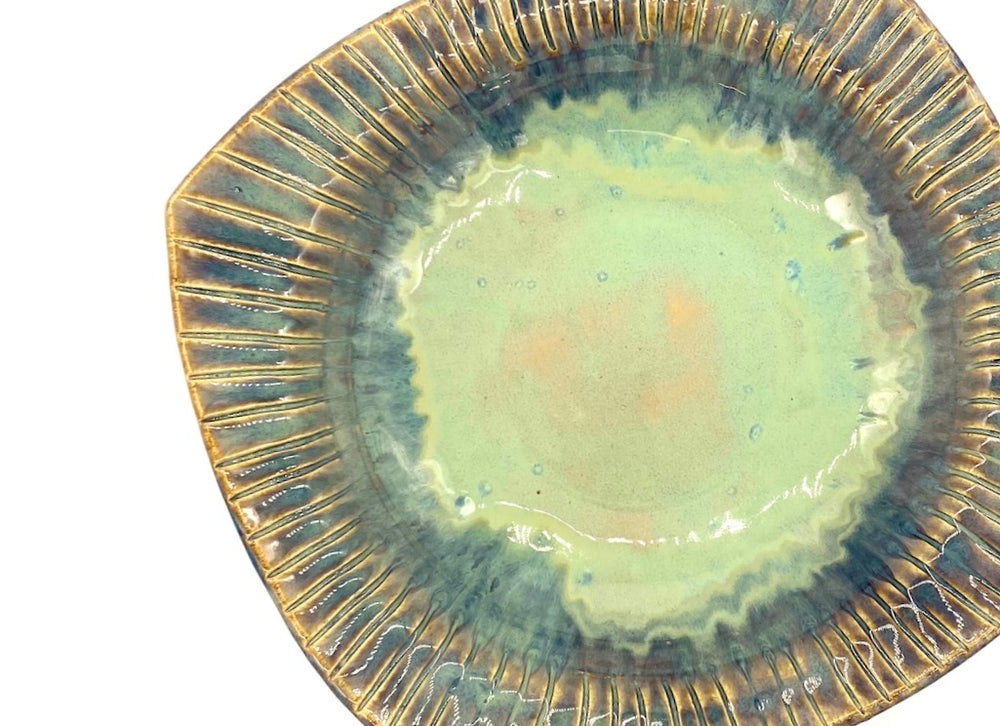
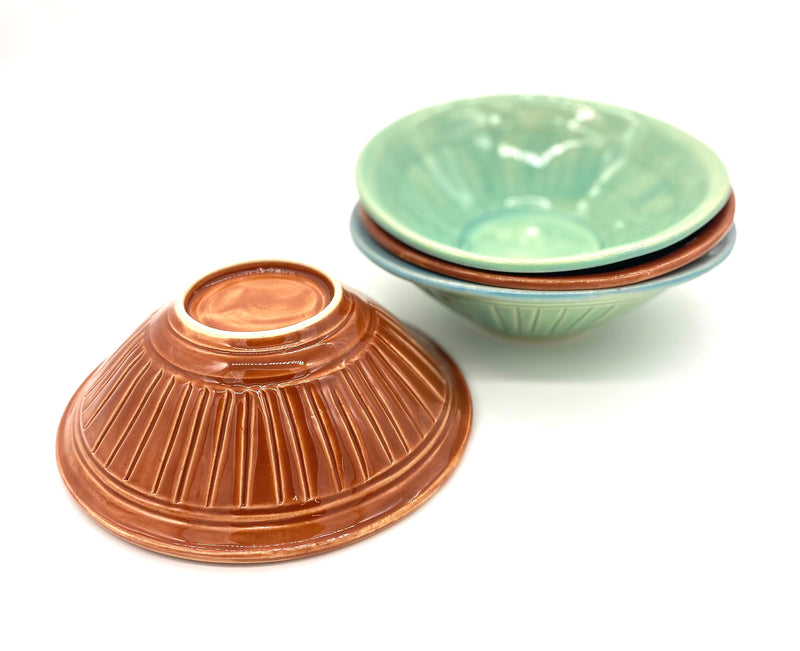
For an added touch, use a wooden rib to gently press patterns into the surface of the clay. This texture will show through as a subtle design on the outside of your bowl, adding visual interest.
7. Enhance with a Modeling Tool
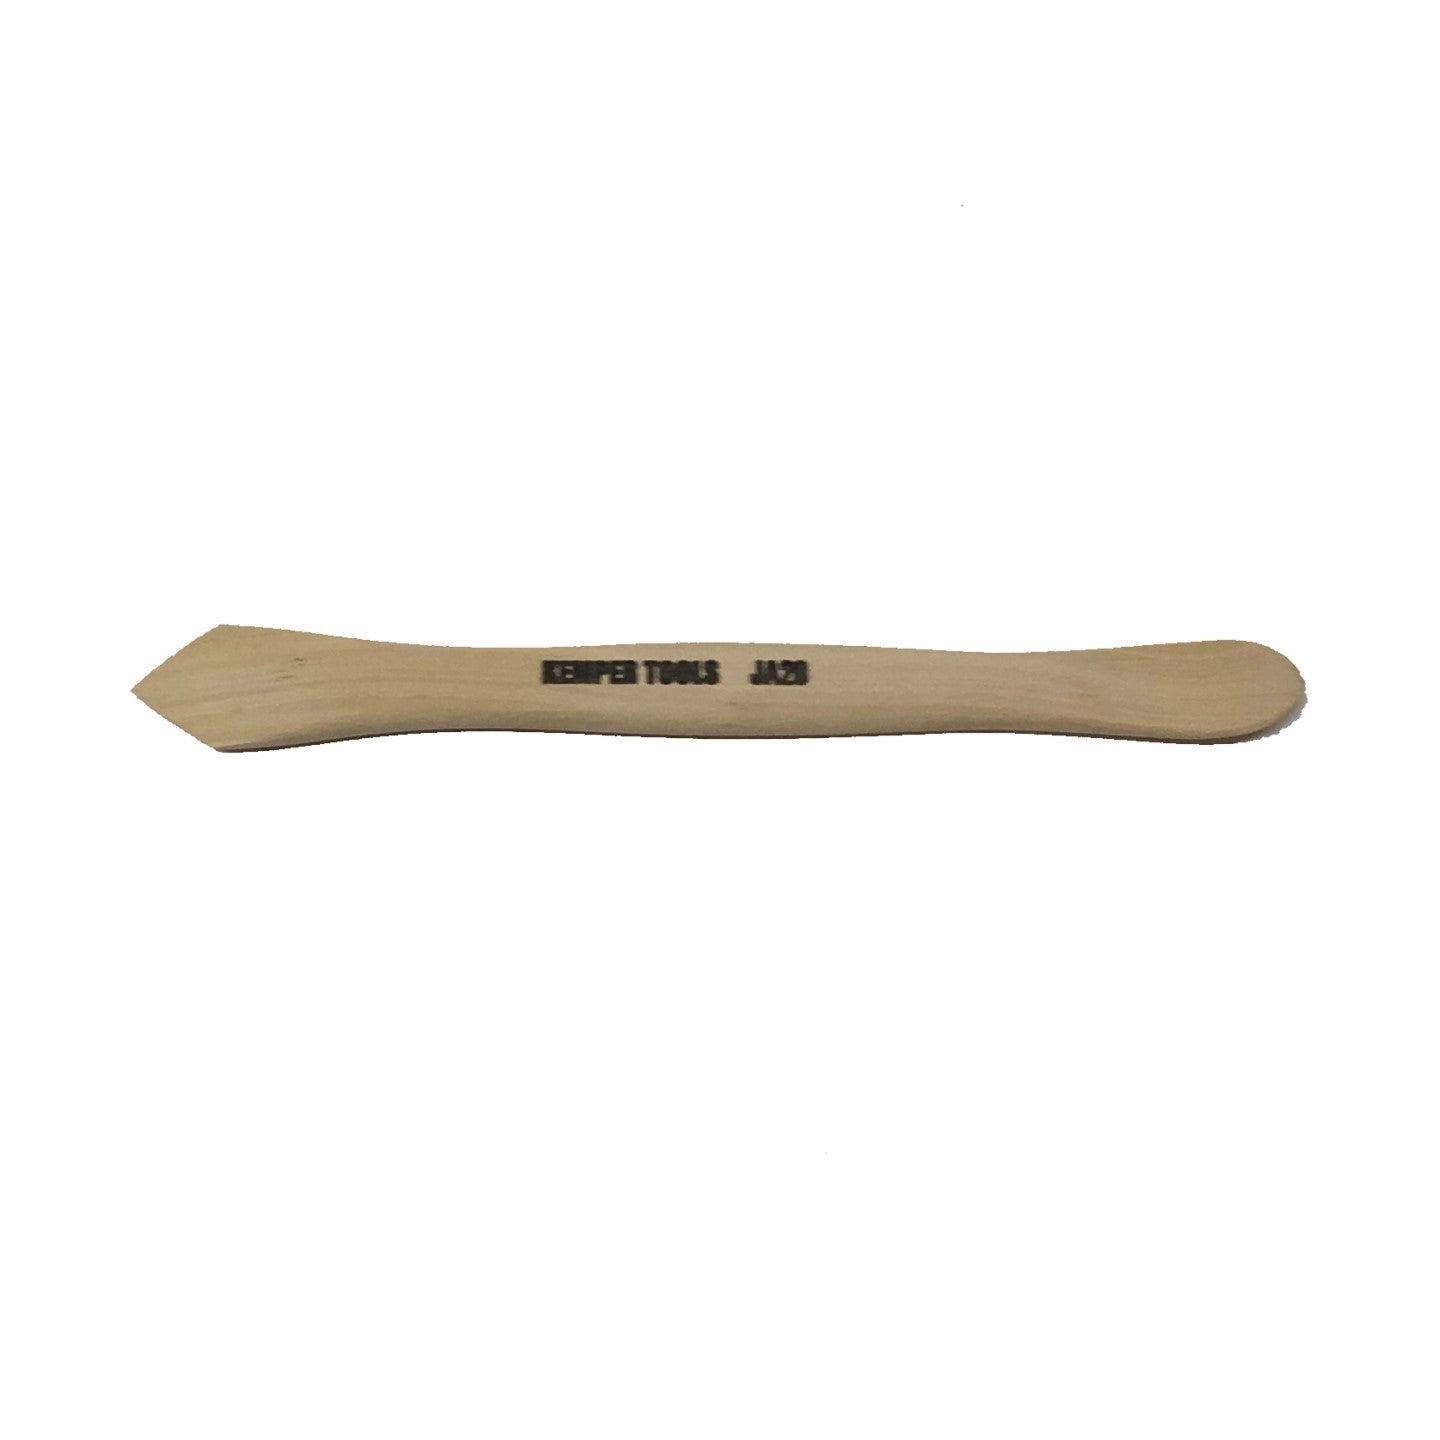
Take a Kemper JA 20 Modeling Tool or similar to carve additional details or patterns into your bowl. This step is great for adding intricate lines or other shapes that will give your pasta bowl a unique, personalized touch. Experiment with designs that will complement the smooth, rounded shape of the bowl.
8. Cut and Shape the Foot
Once you’re happy with the texture and shape, it’s time to create the foot of your bowl. Use a knife to cut a strip of clay to form the foot, leaving enough clay for a rim. The foot should elevate the bowl slightly, creating a more refined, professional look.
9. Attach the Foot
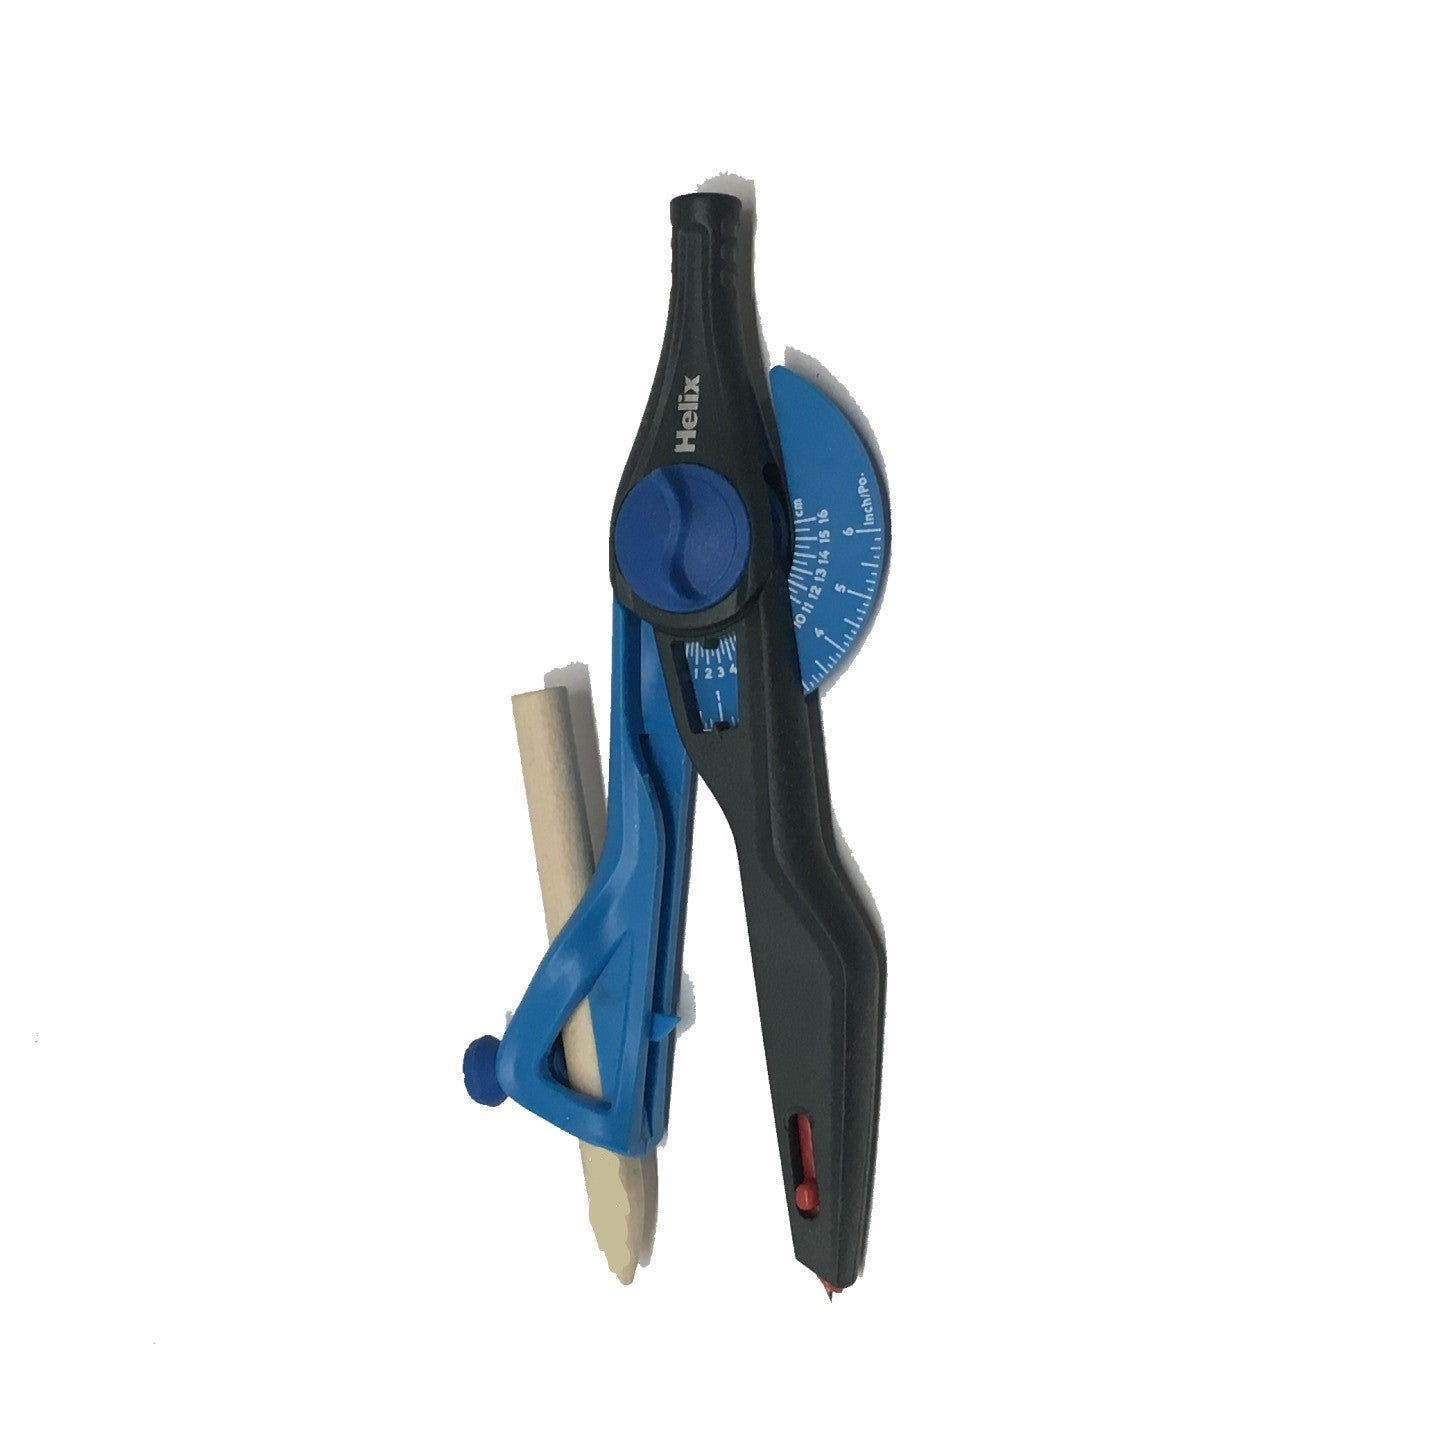
Use the Sue Tool to measure where you want to attach the foot. Mark the spot, then carefully attach the foot to the bottom of the bowl. Compress the foot with your fingers or a damp sponge to ensure it’s securely attached and seamlessly blends into the body of the bowl.
10. Shape the Foot with a Damp Sponge
Use a damp sponge to shape and smooth the foot. The moisture will help your hands glide over the clay without sticking, allowing you to refine the foot’s edges and create a smooth, rounded appearance. This step is crucial for ensuring the bowl’s stability and aesthetic appeal.
11. Set Aside to Dry
Once your bowl is complete, gently release it from the Form by pushing up on the center of the Form. Set the bowl aside and allow it to dry for 4-6 hours, depending on your climate. In drier climates, it may dry faster; in more humid areas, it may take longer. Ensure the bowl is drying evenly to avoid any warping.
12. Remove the Form Once Leather-Hard
When the clay has reached leather-hard consistency (firm but still slightly moist), carefully remove the Form. The clay should hold its shape, and the bowl will feel sturdy to the touch. Leave the Form to dry completely before using it again.
13. Smooth the Inside with a Loop Tool
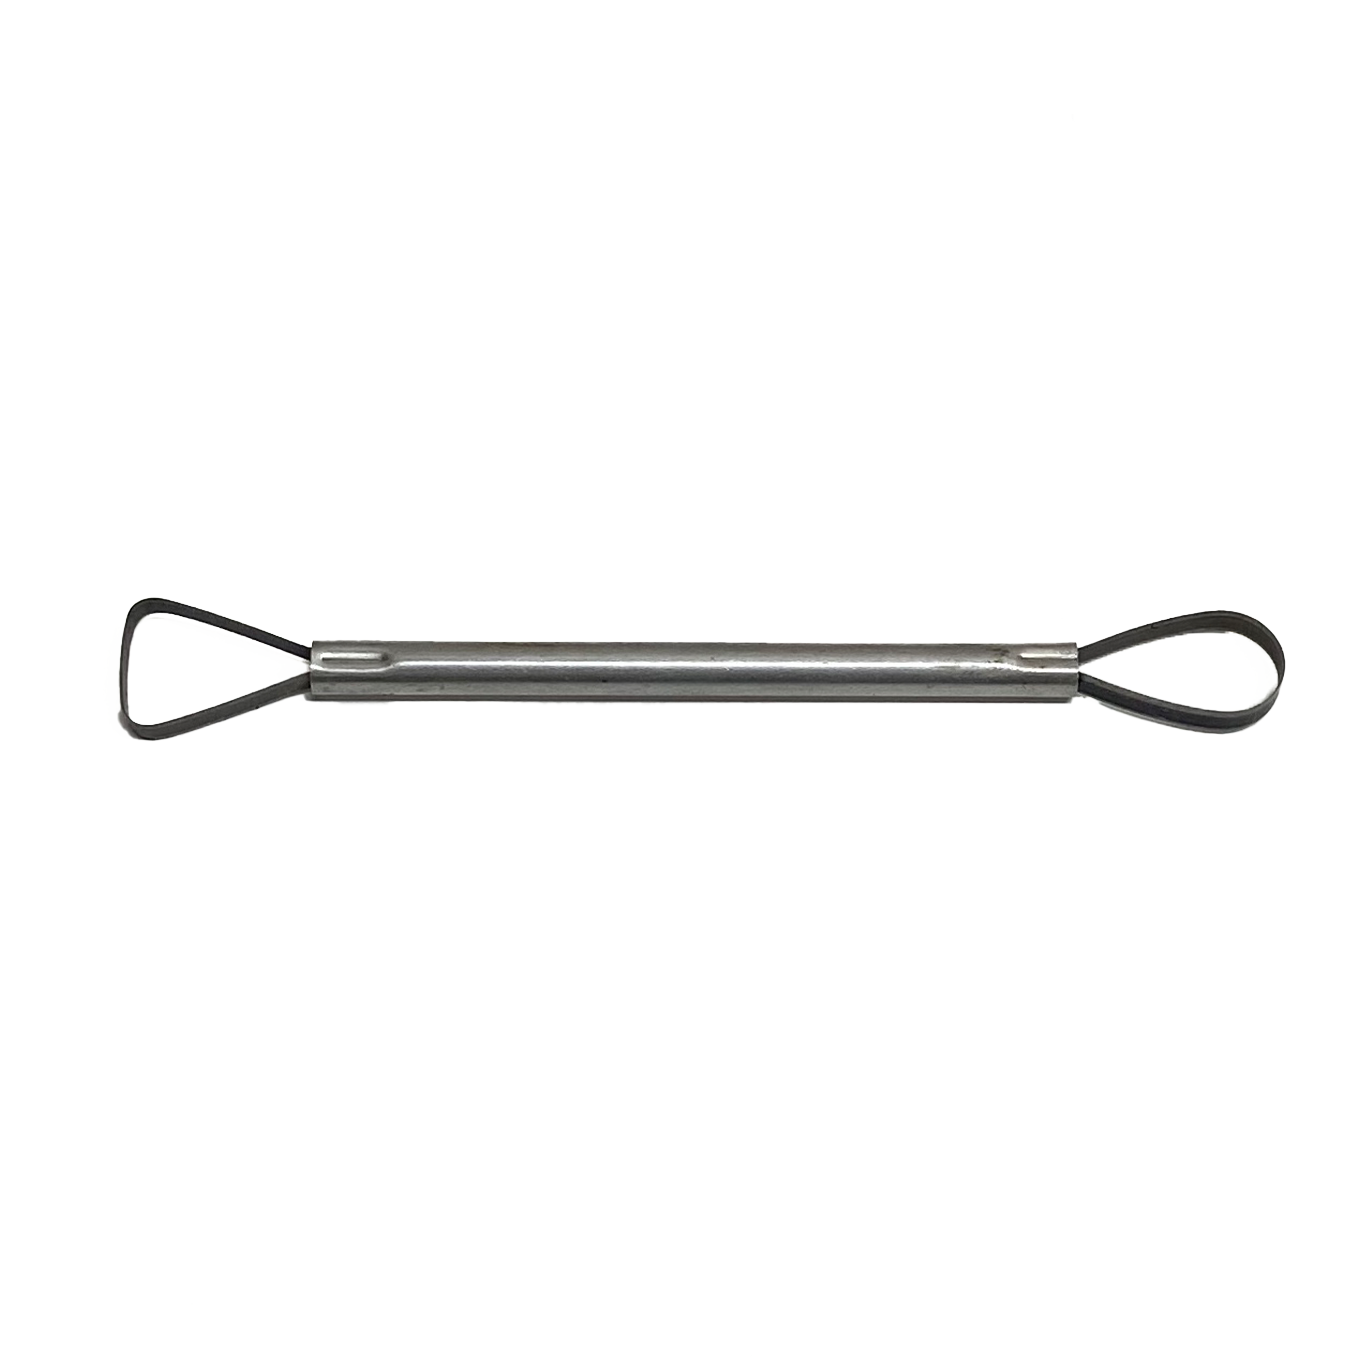
Once the bowl has reached leather-hard consistency, use a loop tool to smooth out any imperfections on the inside of the bowl. This is also the time to refine the shape of the inside walls, ensuring that there are no uneven areas that could affect the final result.
14. Round the Rim with a Notched Rib
Now, use a notched rib to round out the edges of the bowl’s rim. This helps eliminate any sharp or uneven spots and softens the look of the bowl. You can also use this time to clean up any marks or impressions that may have formed on the clay during the shaping process.
15. Allow to Dry Completely
To prevent warping, let the bowl dry upside down on a flat surface. Allow it to dry completely, which can take anywhere from 24-72 hours depending on your local climate.
16. Final Check and Cleaning
Once your bowl is fully dry, take a moment to inspect it for any final imperfections. Use your loop tool to smooth out any remaining rough spots. If you’ve signed your piece, now is the time to remove any raised areas around your signature. Additionally, check the texture for any sharp points that may have developed during drying.
17. Bisque Fire to Cone 06 or 05
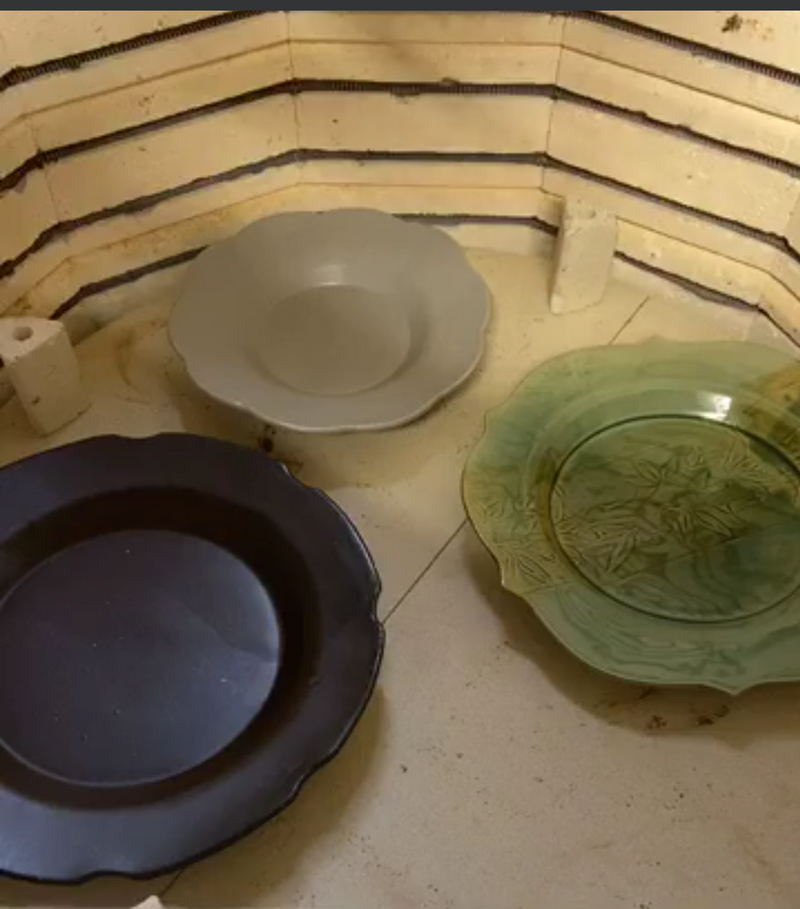
Once your bowl is fully dry, it’s time to bisque fire it. Fire your bowl to cone 06 or 05 in the kiln. The bisque firing helps to burn off any remaining moisture or organic material in the clay, preparing it for glazing.
18. Smooth Edges with a Grinding Stone
After the bisque firing, use a grinding stone to smooth out any sharp edges that might have developed during the firing process. This ensures the bowl is comfortable to handle and perfect for use.
19. Brush Off Dust
After grinding, take a stiff brush and remove any leftover dust or debris. This step ensures the surface is clean and free from particles that could affect the glazing process. If needed, you can also wash the bowl, but make sure it’s completely dry before moving on to glazing.
20. Apply Glaze
Now it’s time to glaze! Choose your favorite glazes and begin applying. Use a brush to apply a thick coat to the inside of the bowl and a thinner coat on the outside. If you’ve added texture to the outside of the bowl, consider brushing a contrasting glaze over those areas to highlight the patterns.
21. Clean the Bottom of the Bowl
Use a damp sponge to clean any glaze from the bottom of the bowl. Be sure to remove all glaze from the base to prevent it from sticking to the kiln shelf during firing.
22. Final Firing
Fire the bowl to the desired glaze temperature, as indicated by your clay and glaze specifications. This will give your bowl its final, glossy finish.
23. Enjoy Your Beautiful Pasta Bowl
Once your pasta bowl has cooled from the final firing, it’s ready to use! Whether it’s for a cozy meal at home or as a special gift, your handmade pasta bowl is sure to add an extra touch of artistry to your pasta dishes. Enjoy!
We hope these steps were helpful on how to create a Pie Plate. Here is a tutorial video that goes through the above steps:
Tools used in this blog:
WA2 System - https://grpotteryforms.com/products/wa2-wa-board?_pos=1&_sid=334b81585&_ss=r
Mudtools Rib - https://grpotteryforms.com/products/mudtools-rib-medium-1
Notched Rib - (Currently Unavailable)
Wooden Kemper Rib - https://grpotteryforms.com/products/kemper-rb2-hardwood-rib
Trimming Tool - https://grpotteryforms.com/products/trimming-tool-flat-round
Loonie Clay Knife - https://grpotteryforms.com/products/loonie-clay-knife Stanley
Surform Rasp - (Currently Unavailable)

