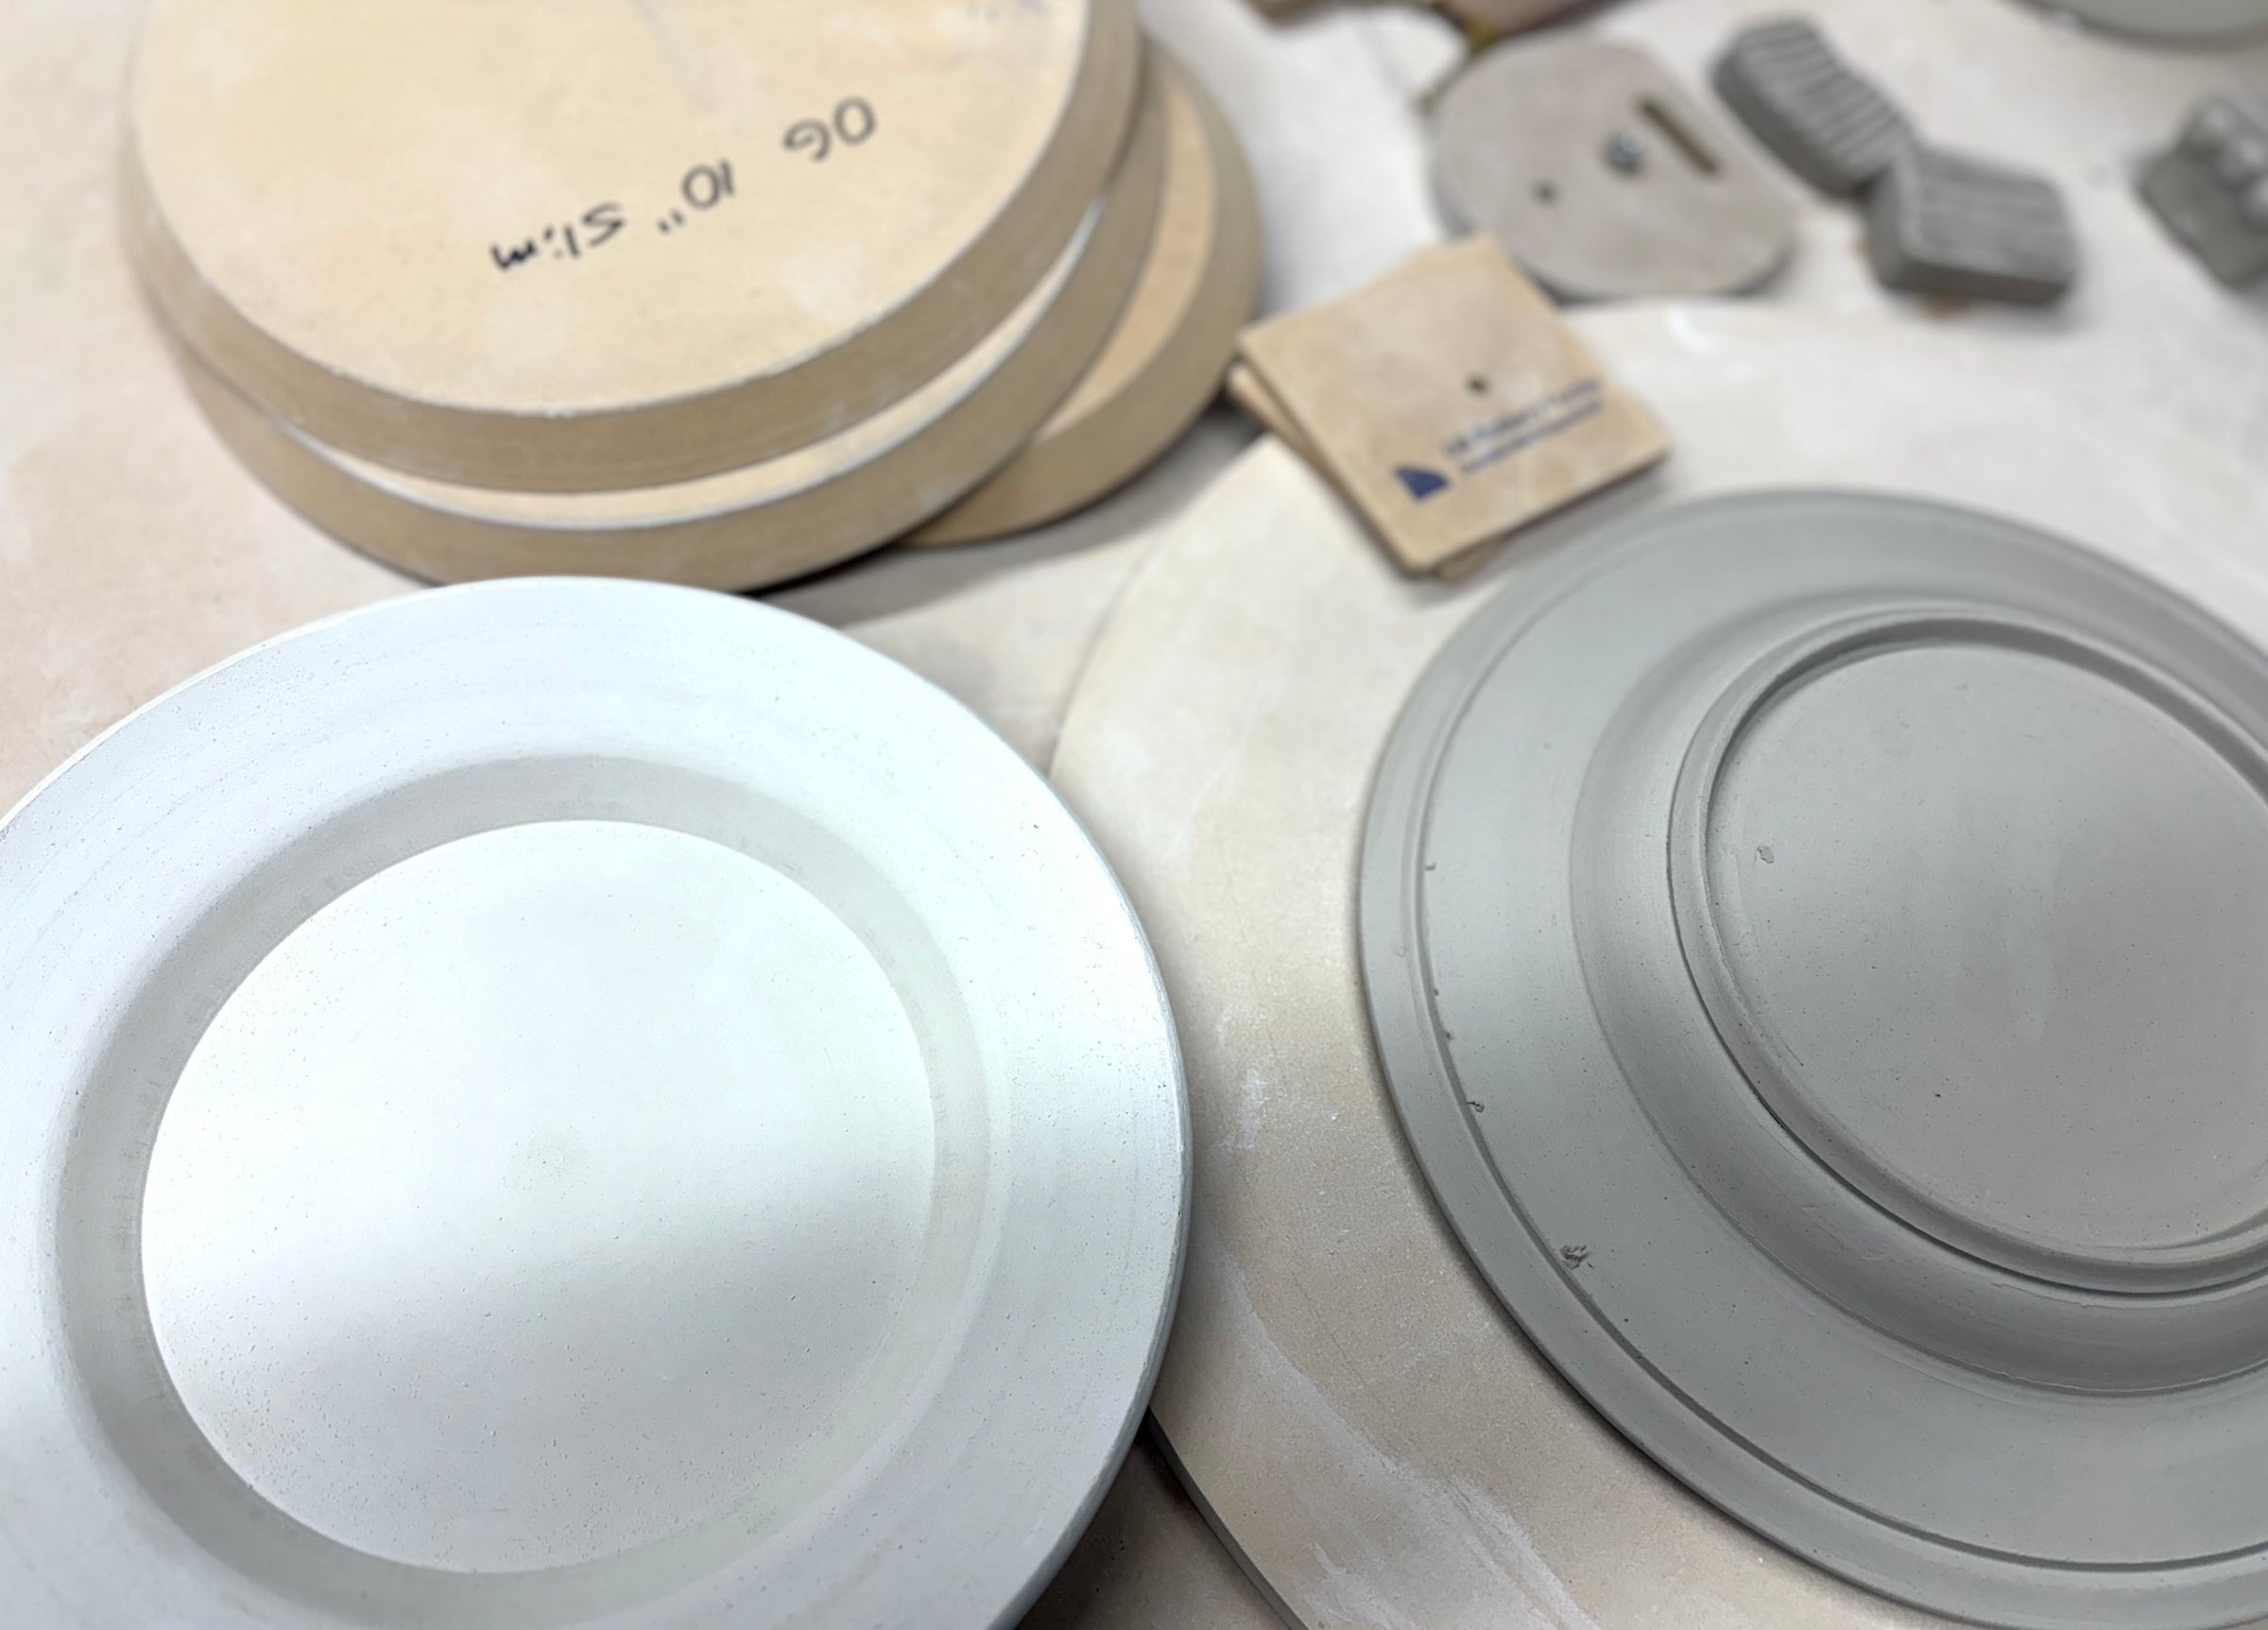
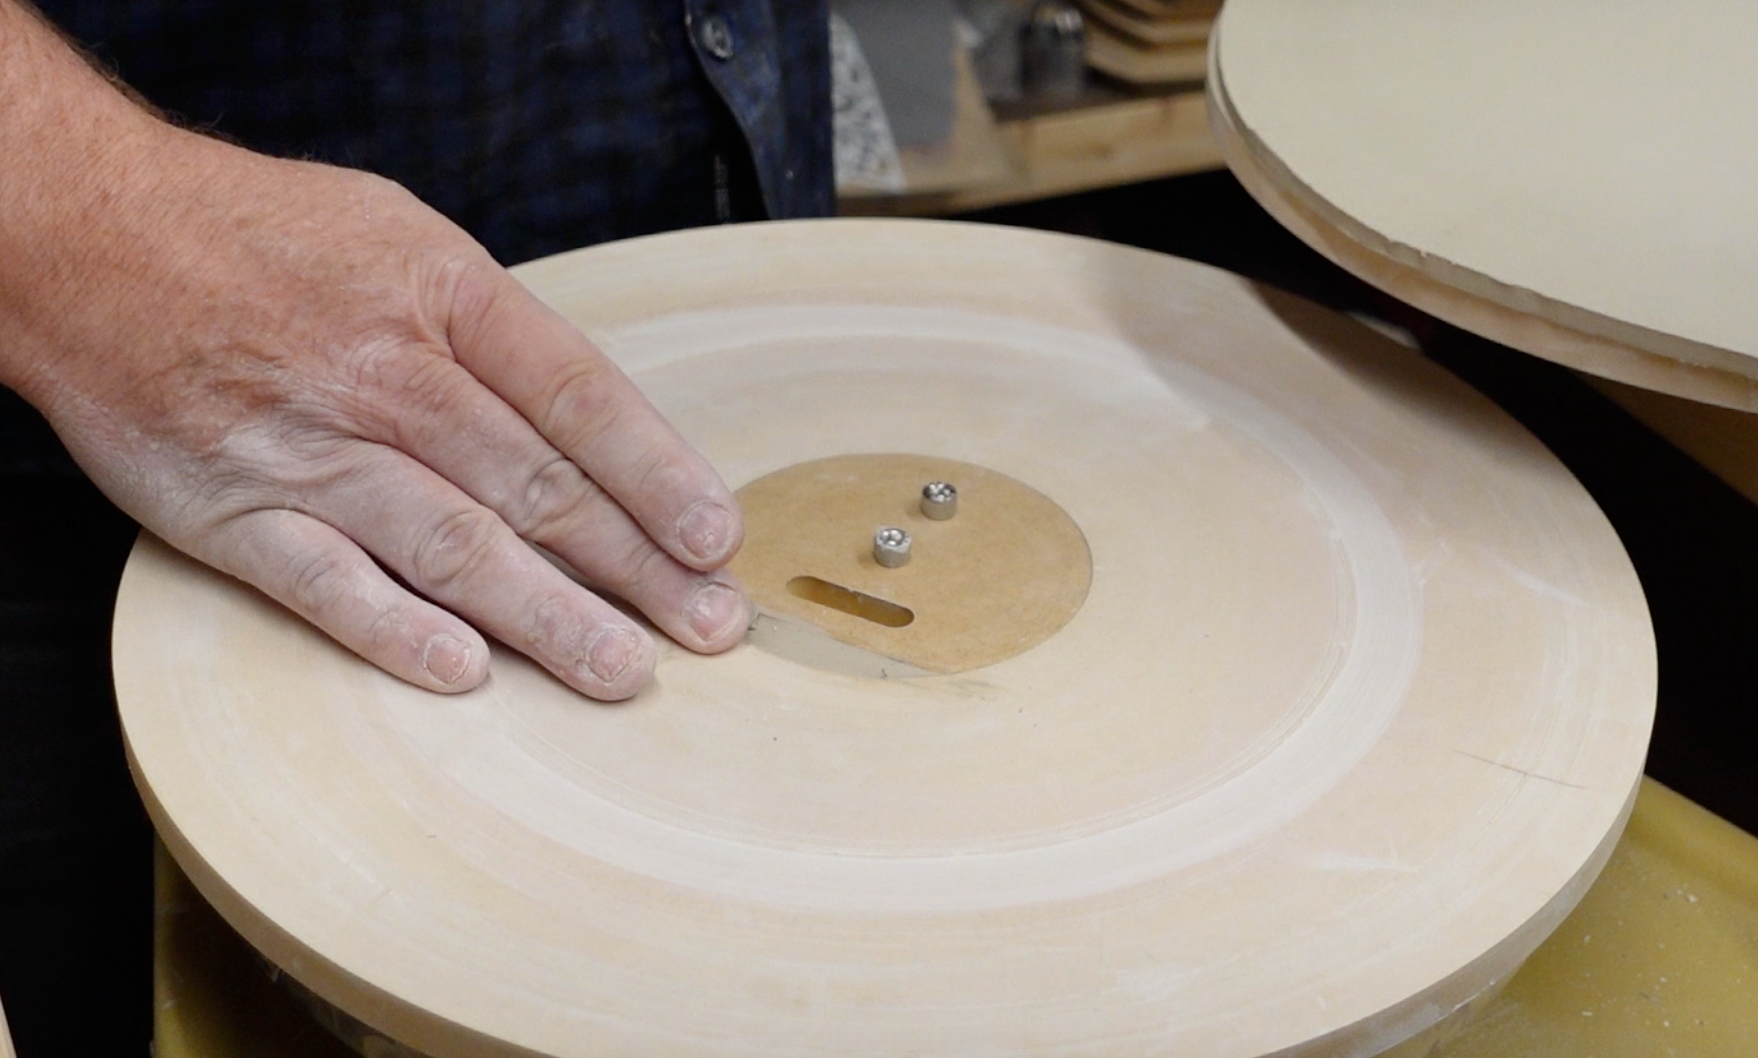
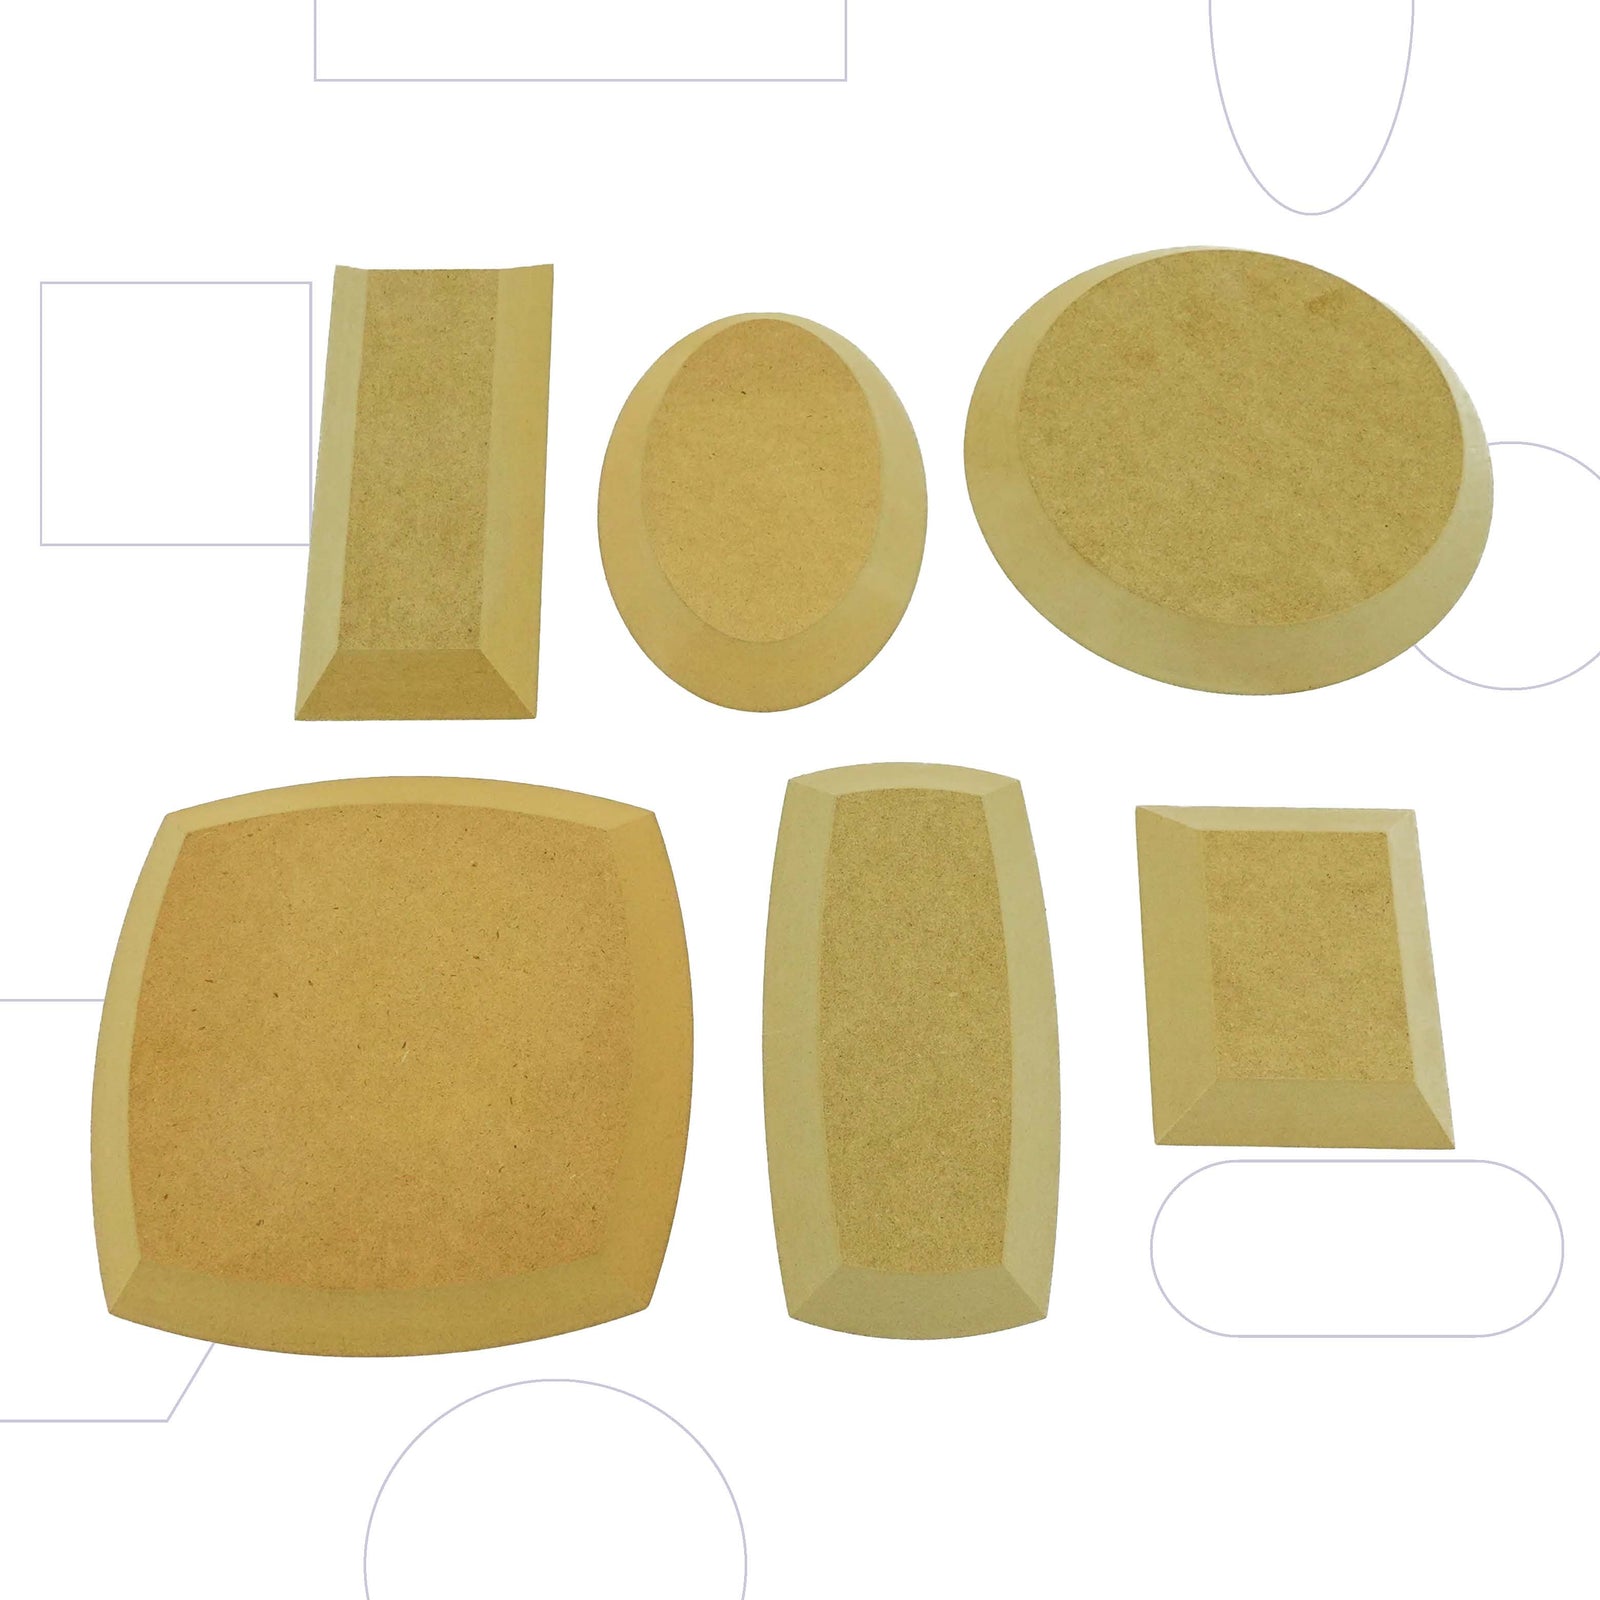
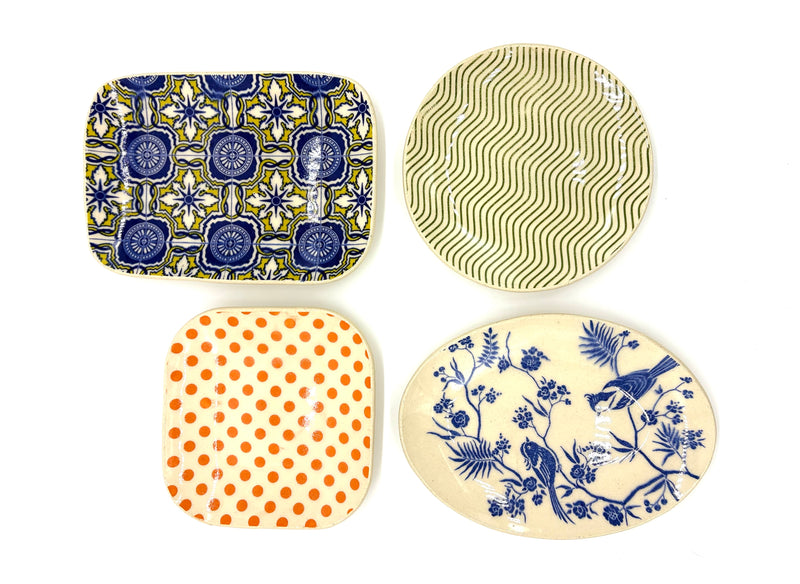
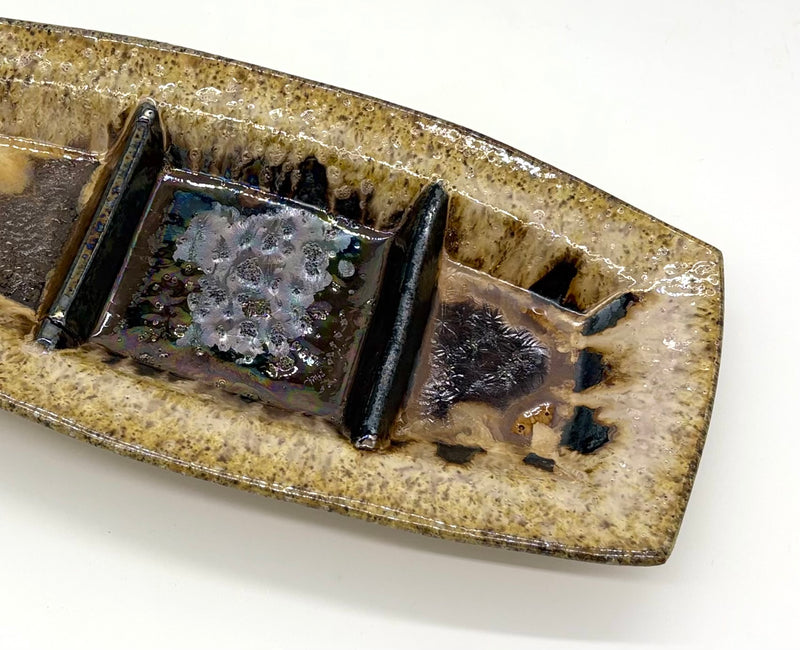
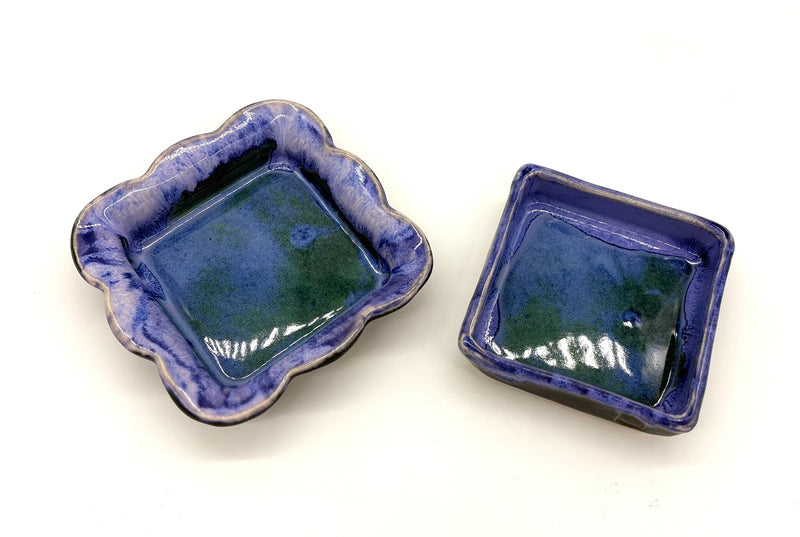
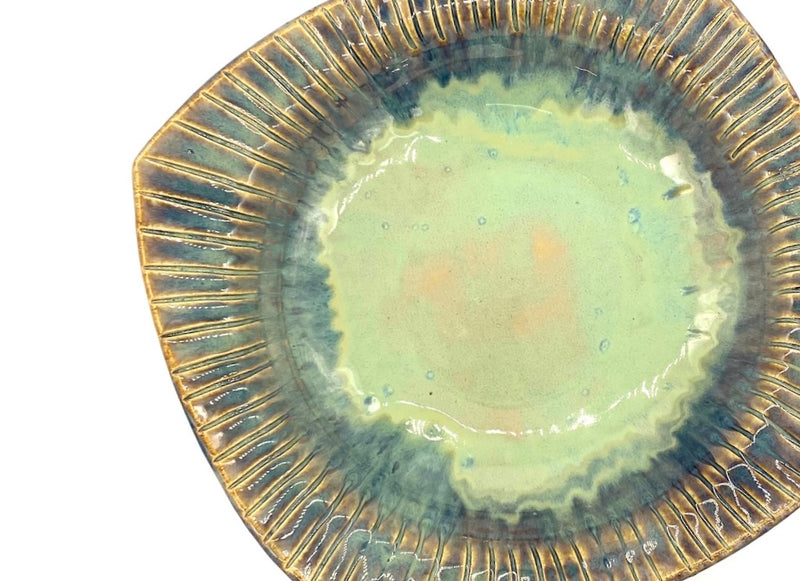
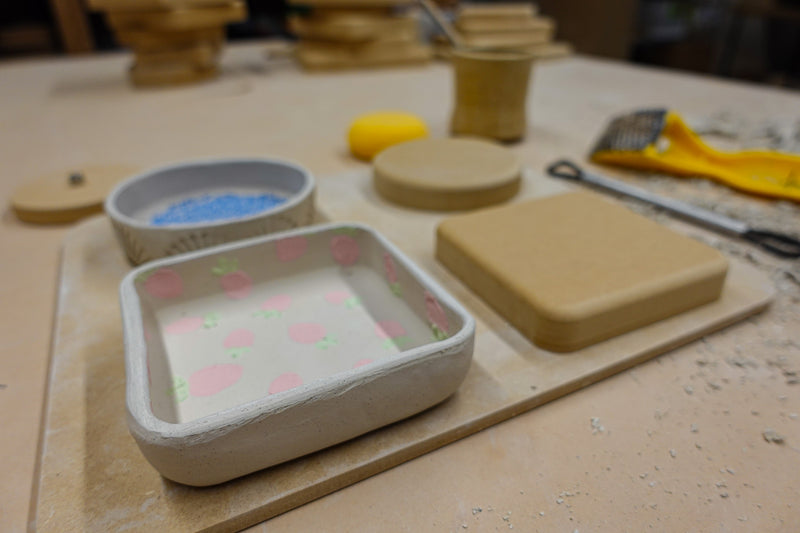
1. Prepare a Slab of Clay
Start by preparing a slab of clay, either with a rolling pin or a slab roller. The key here is to get the slab thin and even. Roll out the clay to about ¼” thick, ensuring you have a nice, smooth surface that will be easy to work with.
2. Cut Clay to Fit Your Form
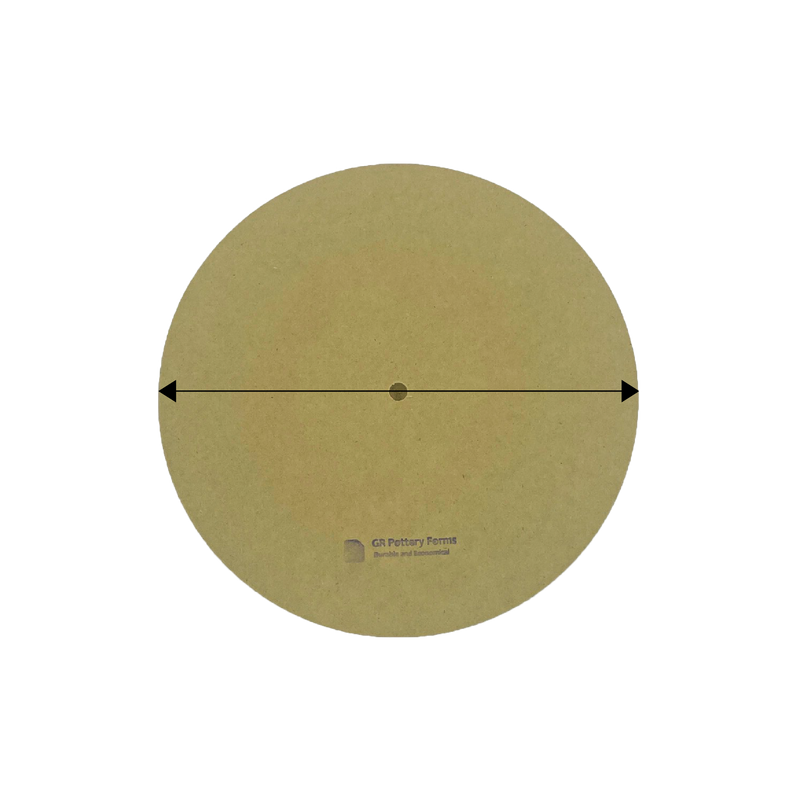
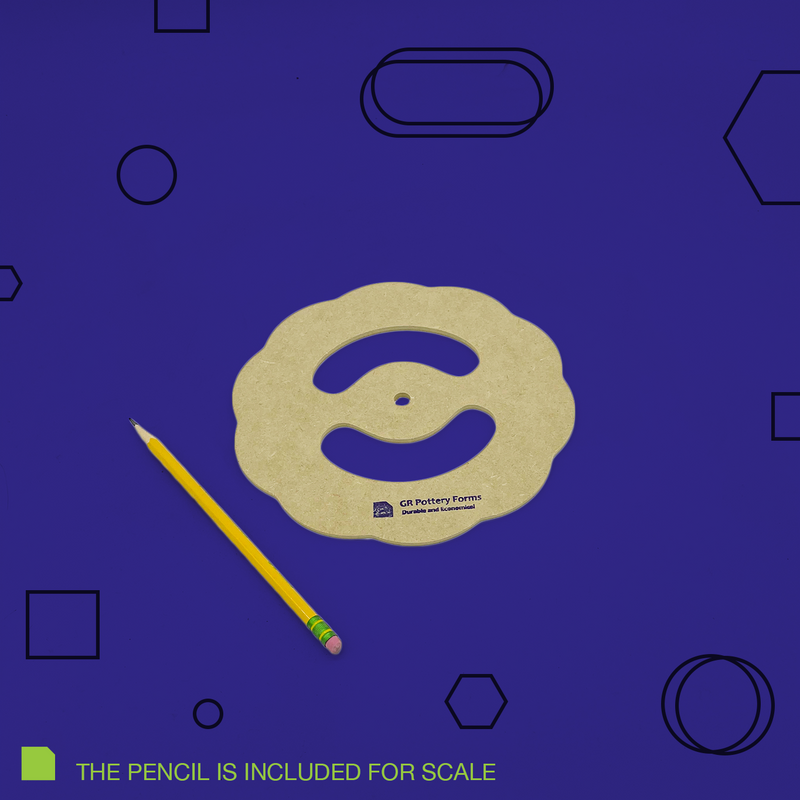
Next, cut a piece of clay about an inch larger than your Form. This gives you enough margin to work with as you shape it. Use a ruler or a measuring tool to ensure you get the correct dimensions.
3. Compress the Clay with a Mudtools Yellow #5 Rib
Using your Mudtools Yellow #5 Rib, gently compress the slab of clay in two directions. Compressing in multiple directions helps remove air bubbles and ensures an even thickness throughout the slab.
4. Add Underglaze Transfers
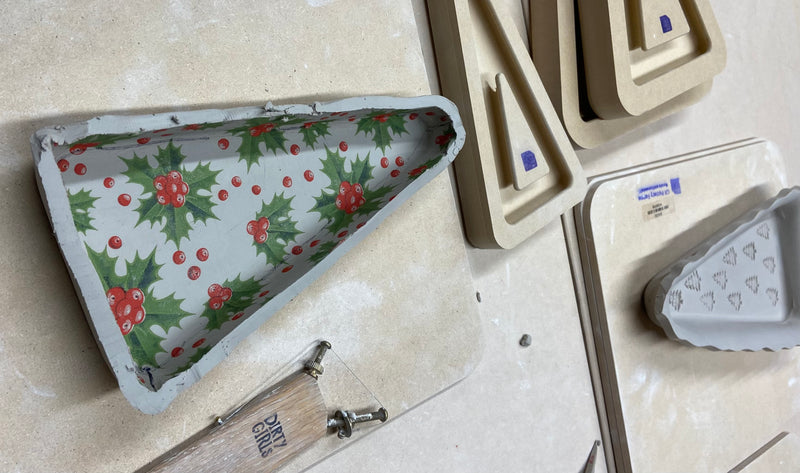
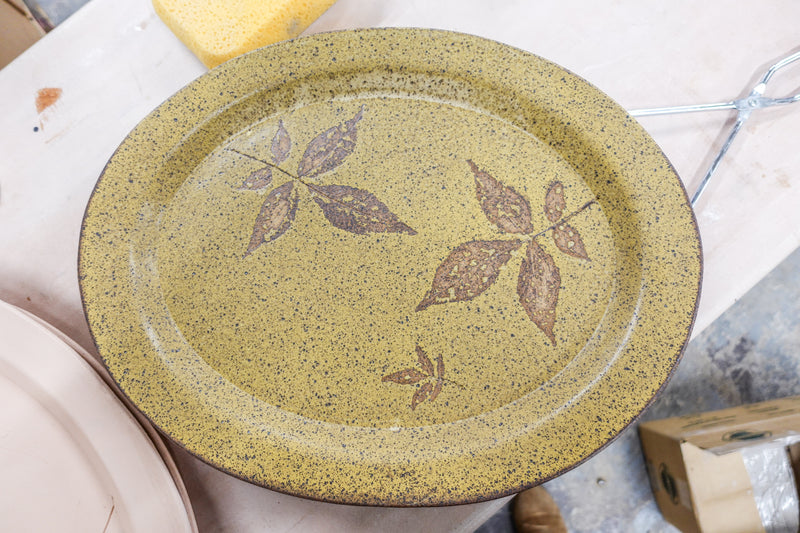
If you're looking to add a bit of color or decoration, now is the time to apply underglaze transfers. Choose your favorite design or pattern, and gently press the transfers onto the slab before you start draping it over the Form. Be sure to do this on the side of the slab that will be facing outwards on the final piece.
5. Drape the Slab Over the Form
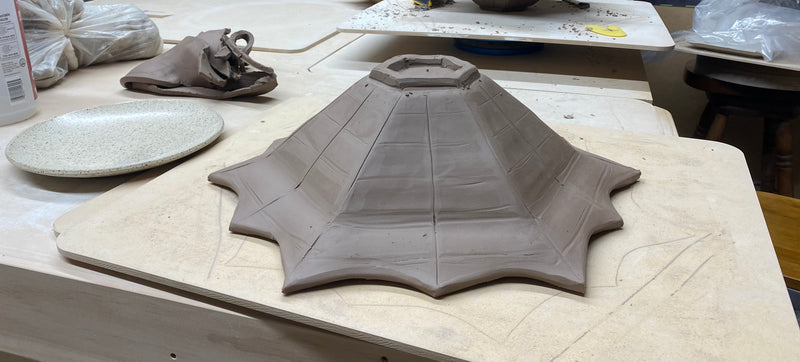
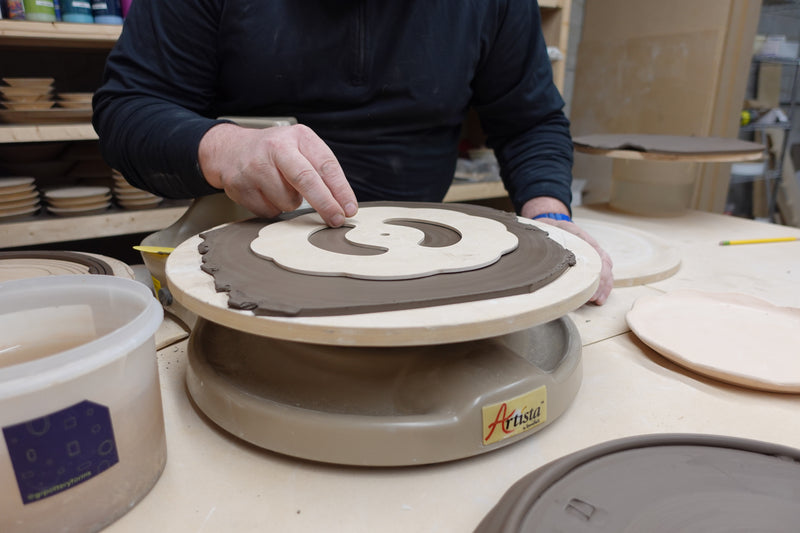
Carefully drape the compressed slab over your Form, ensuring the side with the underglaze transfer is facing down. This way, the transfer will be on the outside of your piece once it’s shaped. Make sure the slab is positioned evenly, covering the entire Form.
6. Gently Push Clay Up to the Form, Adding Pressure as You Go
Using your hands, gently push the clay upward to meet the Form, starting from the base and working your way up. Apply even pressure as you move along to avoid wrinkles or cracks in the clay and help eliminate any trapped air pockets between the clay and the Form. As you do this, the clay will begin to take on the shape of the Form.
8. Final Compression with the Rib Tool
For the final step in shaping, use your Mudtools Yellow #5 Rib to compress the clay. This step is crucial for ensuring even pressure throughout and achieving a smooth, polished surface. Press the rib across the entire slab in multiple directions to make sure the clay adheres properly to the Form and that the surface is as even as possible.
9. Create and Attach the Foot
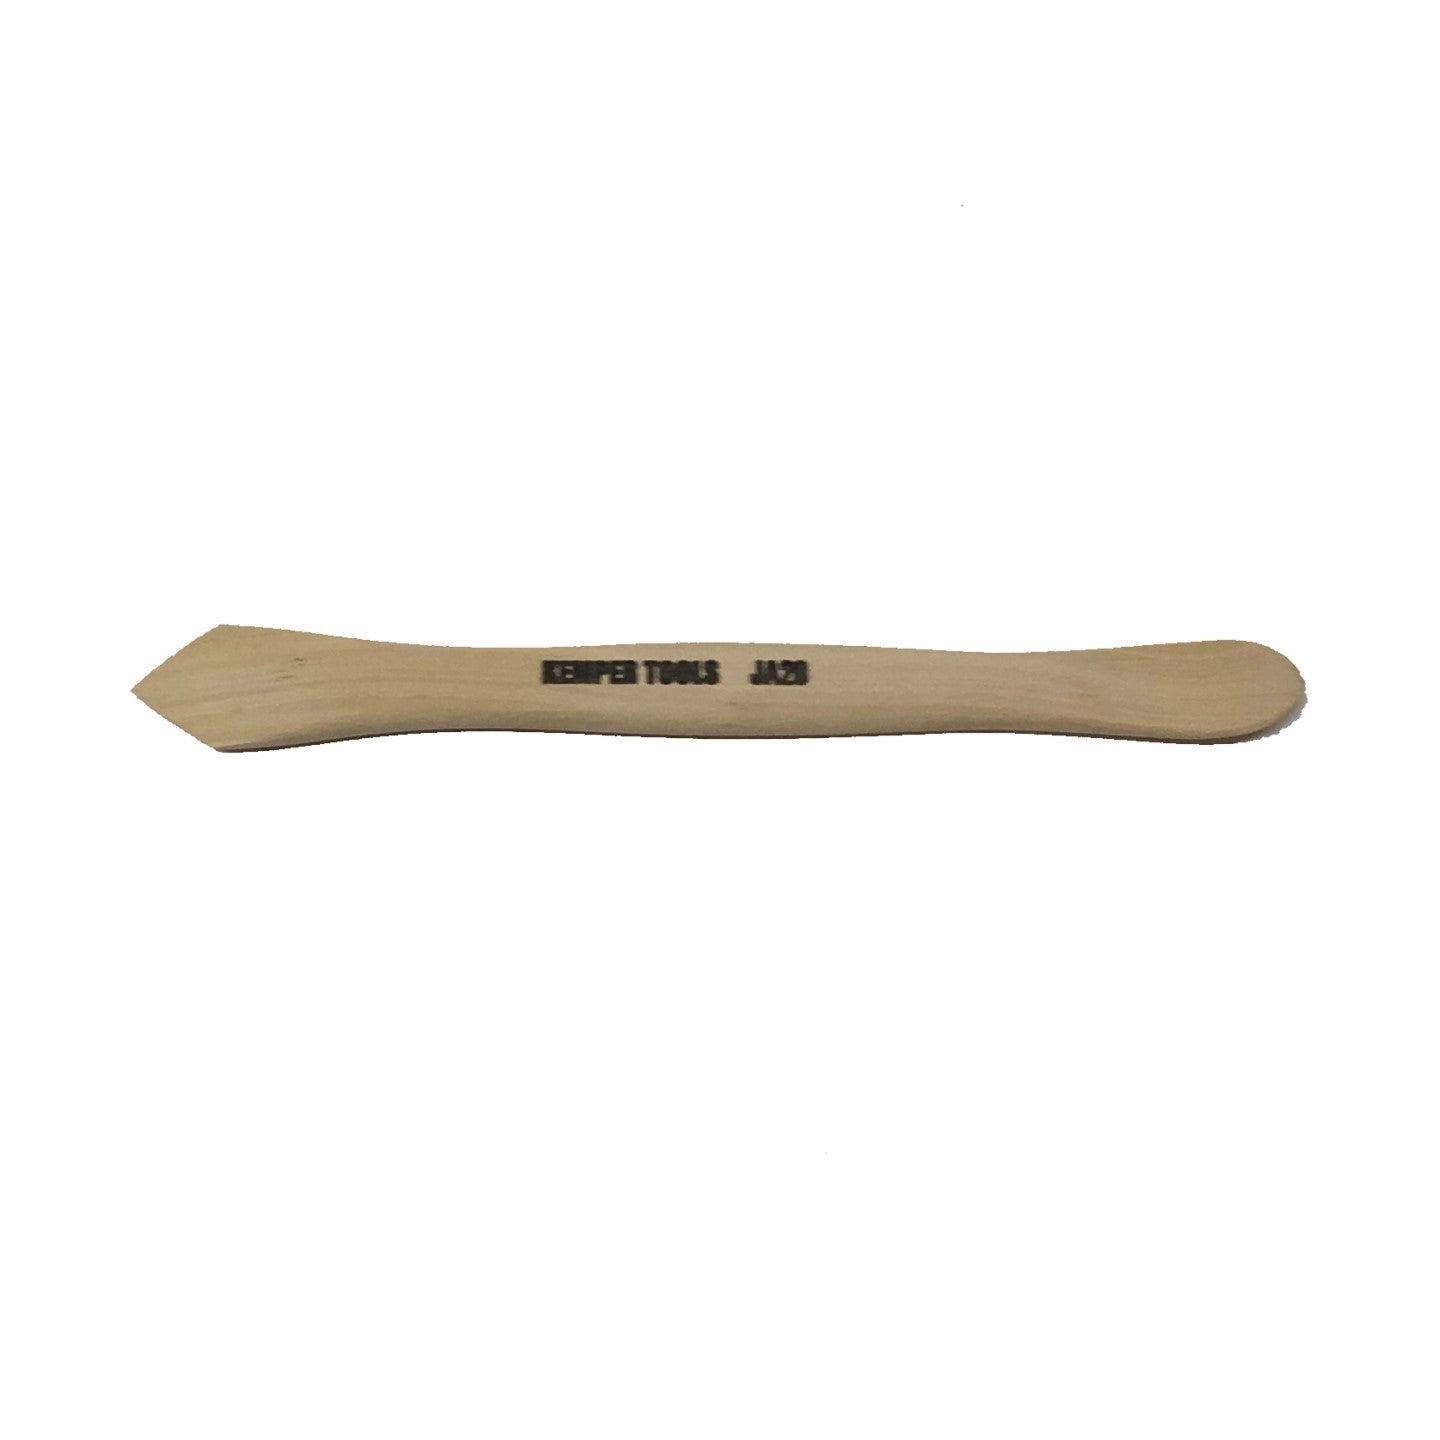
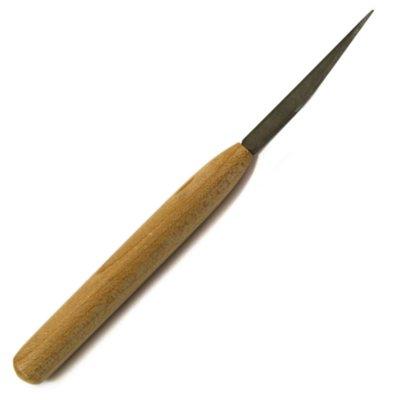
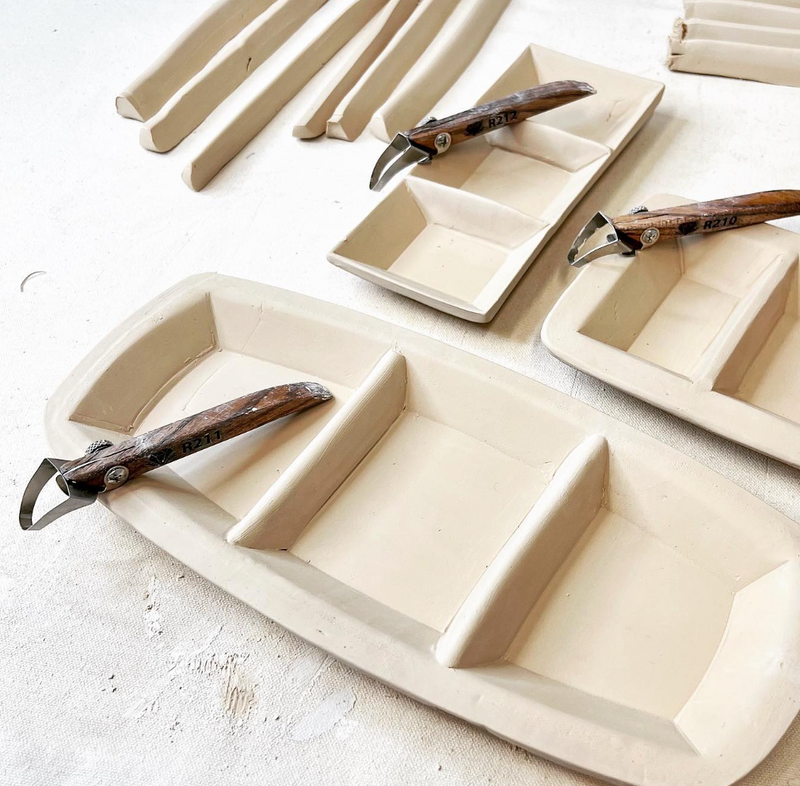
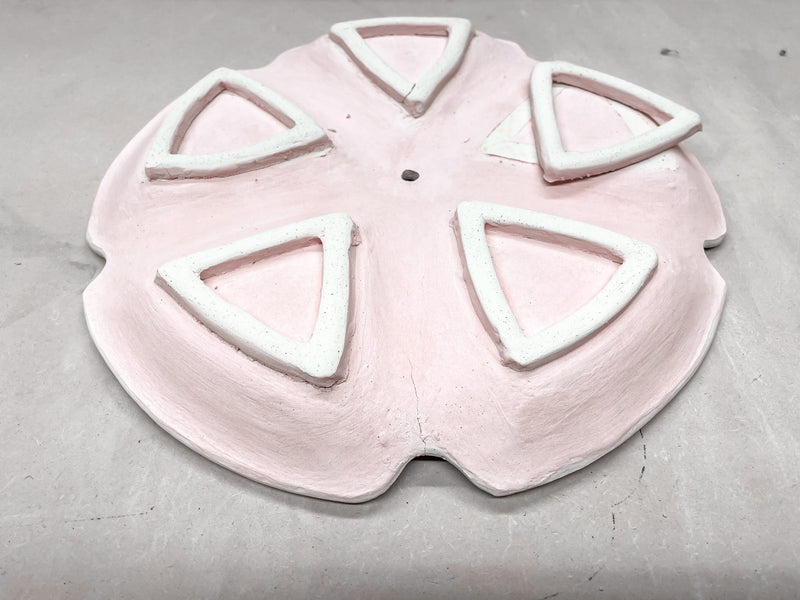
With the remaining clay, or using fresh clay that is the same moisture level, make strips to form the foot of your piece. The Foot Maker Tool is excellent for creating uniform strips. Cut the clay into even lengths, then attach them to the base of the slab using a Kemper JA20 Modeling Tool. This tool will also help you clean up the edges and make sure the foot is securely attached.
10. Cut the Rim to Your Desired Height
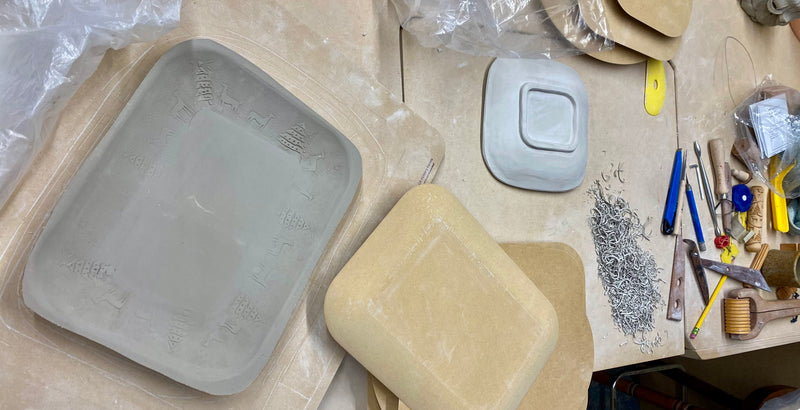
Once the foot is attached, you can begin to trim the top edge of your piece. Decide where you want the rim of your dish or container to sit. Use a wire clay cutter or a knife to carefully trim the slab, either just on the wood or slightly outside the form by about ¼” or more. This will give you a clean, defined edge.
11. Dry to Leather-Hard
After shaping and trimming, lift your Form and clay off the work surface and place it in a draft-free area to dry. Leave it for 4-6 hours, checking periodically for dryness. The piece is ready to handle when it reaches a leather-hard consistency—firm but still slightly damp. At this stage, the Form should slide out of the clay easily.
12. Clean and Smooth the Edges
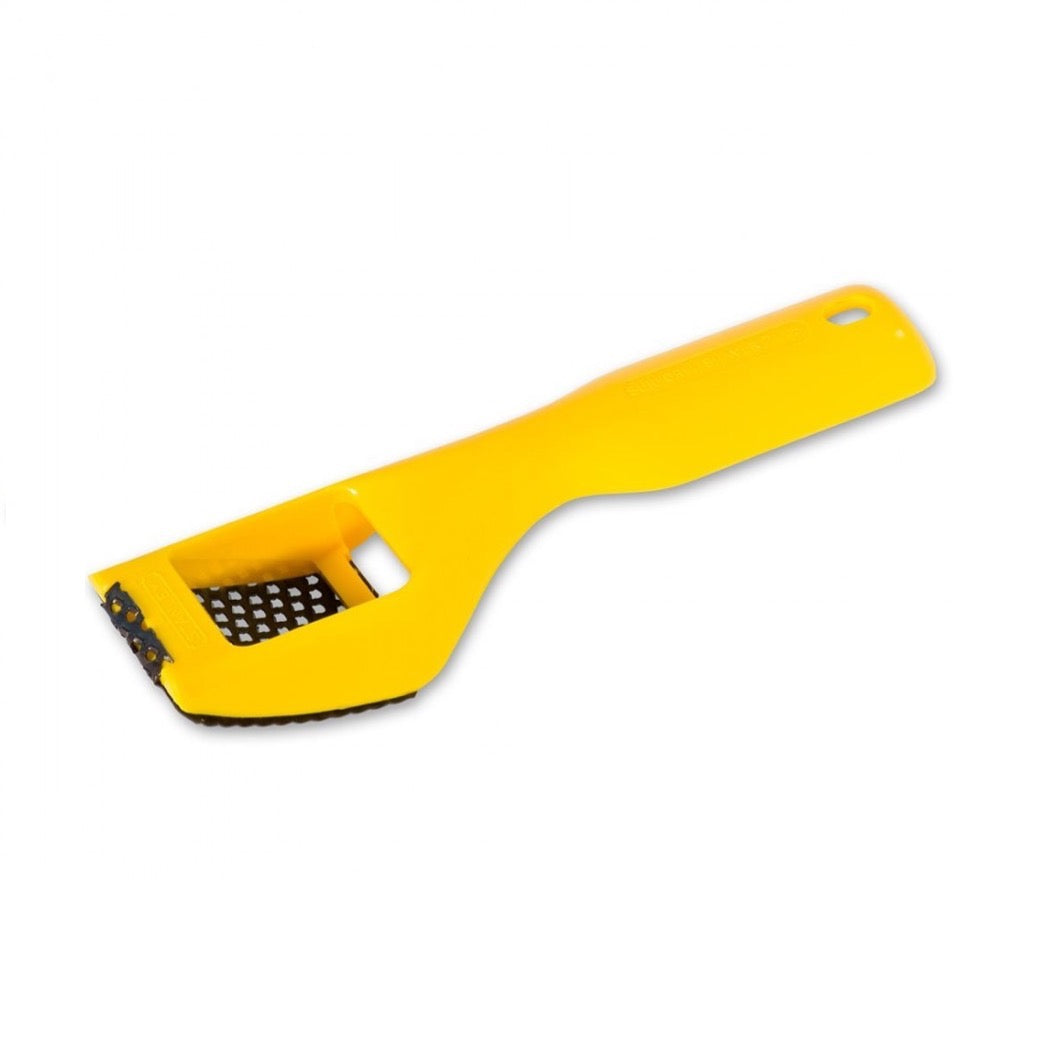
Once the Form is removed, take a rasp and smooth out any rough or uneven edges. This helps refine the shape and ensures the piece looks polished. Follow this by using a notched rib tool to round the edges of the rim. The rounded edges give the piece a more refined and finished appearance, while also softening any sharp lines.
13. Allow the Piece to Dry Completely
Now that the shape is complete, set the piece aside in a draft-free area and allow it to dry completely until it is bone dry. This process could take several days, depending on the thickness of your piece. Be patient—rushing this step could cause cracking or warping during firing.
14. Fire the Piece
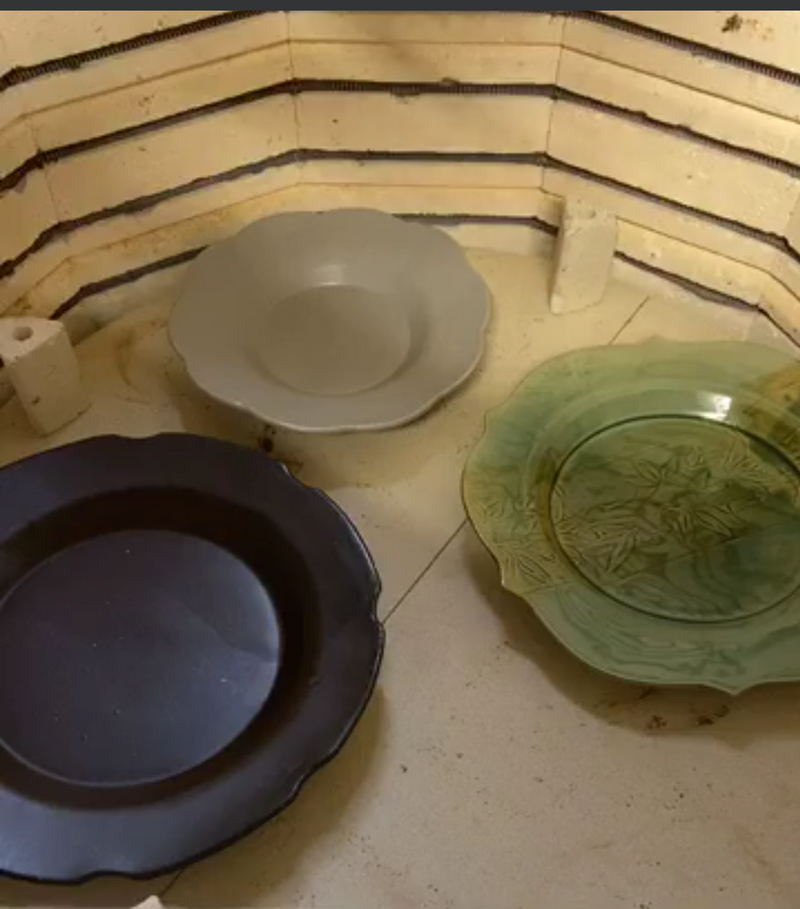
Once your piece is bone dry, it’s ready for its bisque firing. Fire it at the recommended temperature for your clay body. This firing process will remove any residual moisture and prepare your piece for glazing.
We hope these steps were helpful on how to create functional pieces with our OG Starter Set. Here is a tutorial video that goes through the above steps:
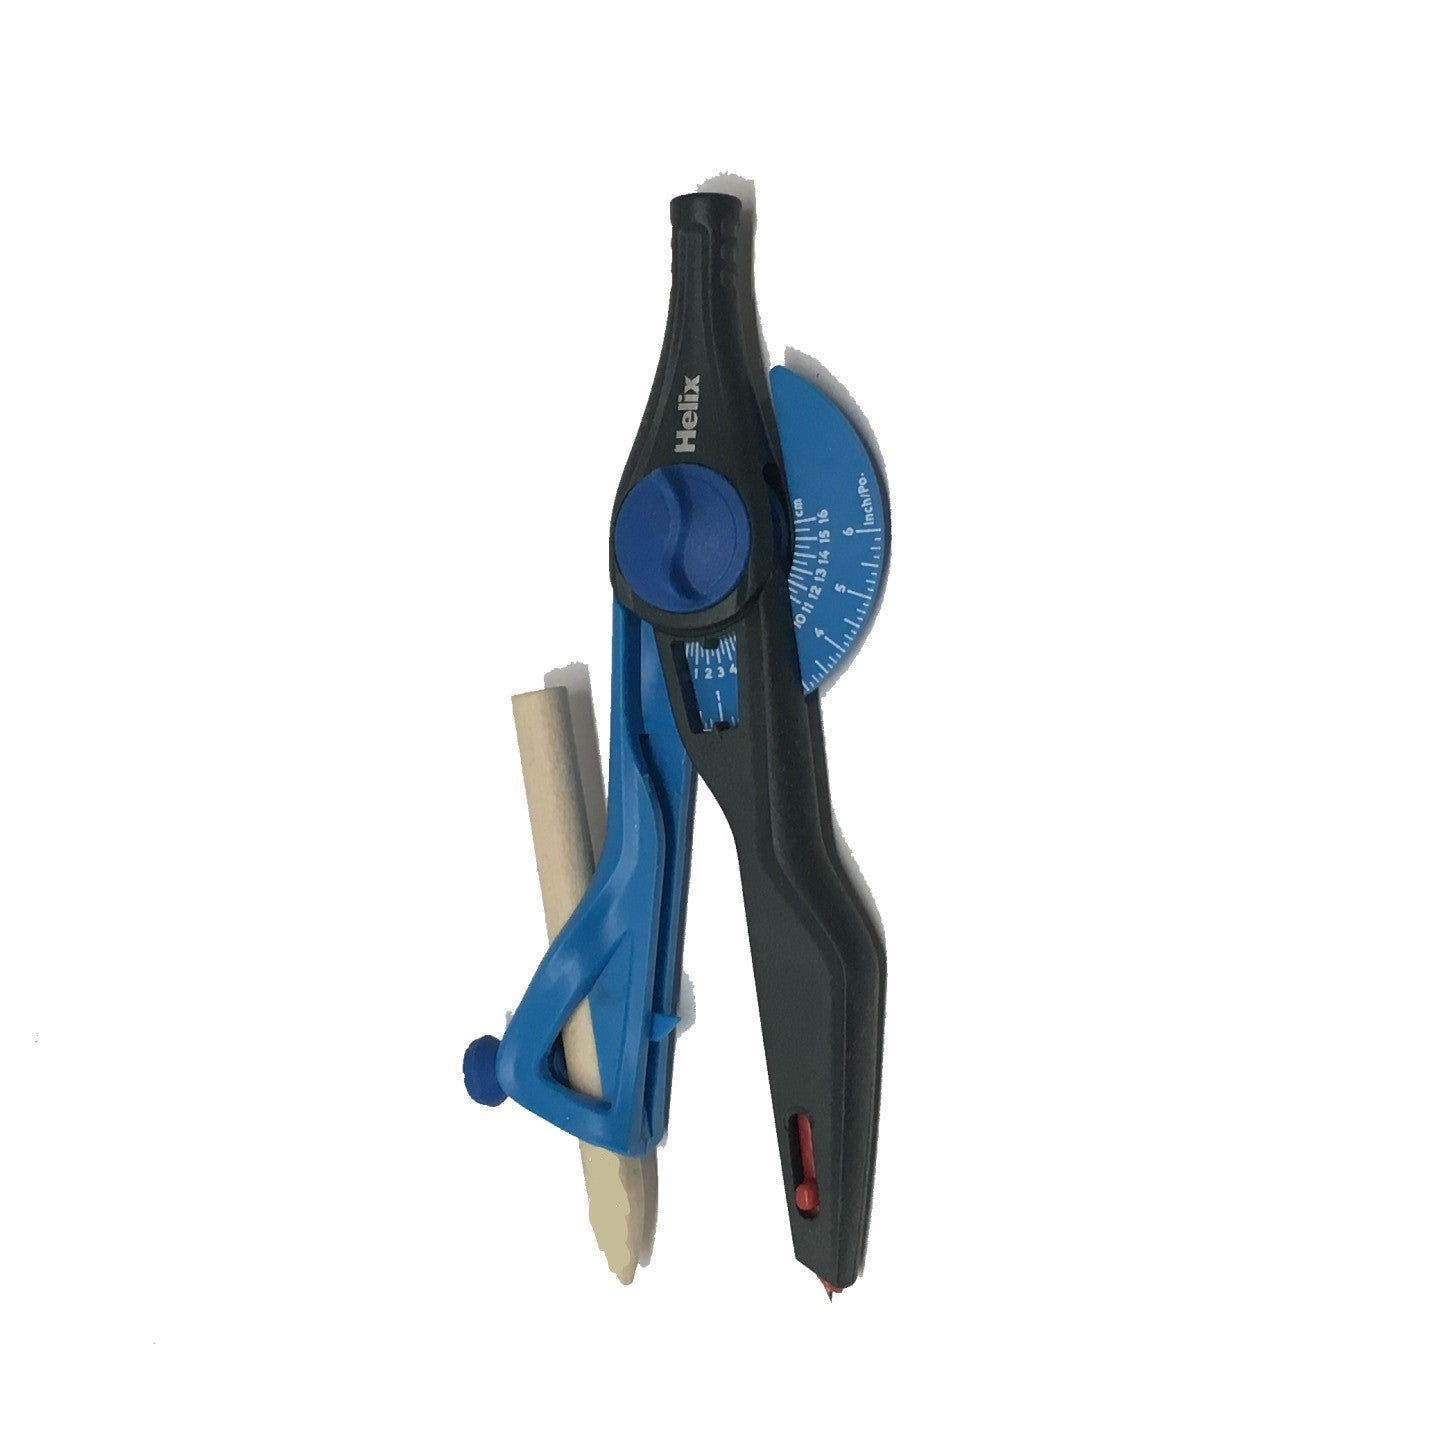
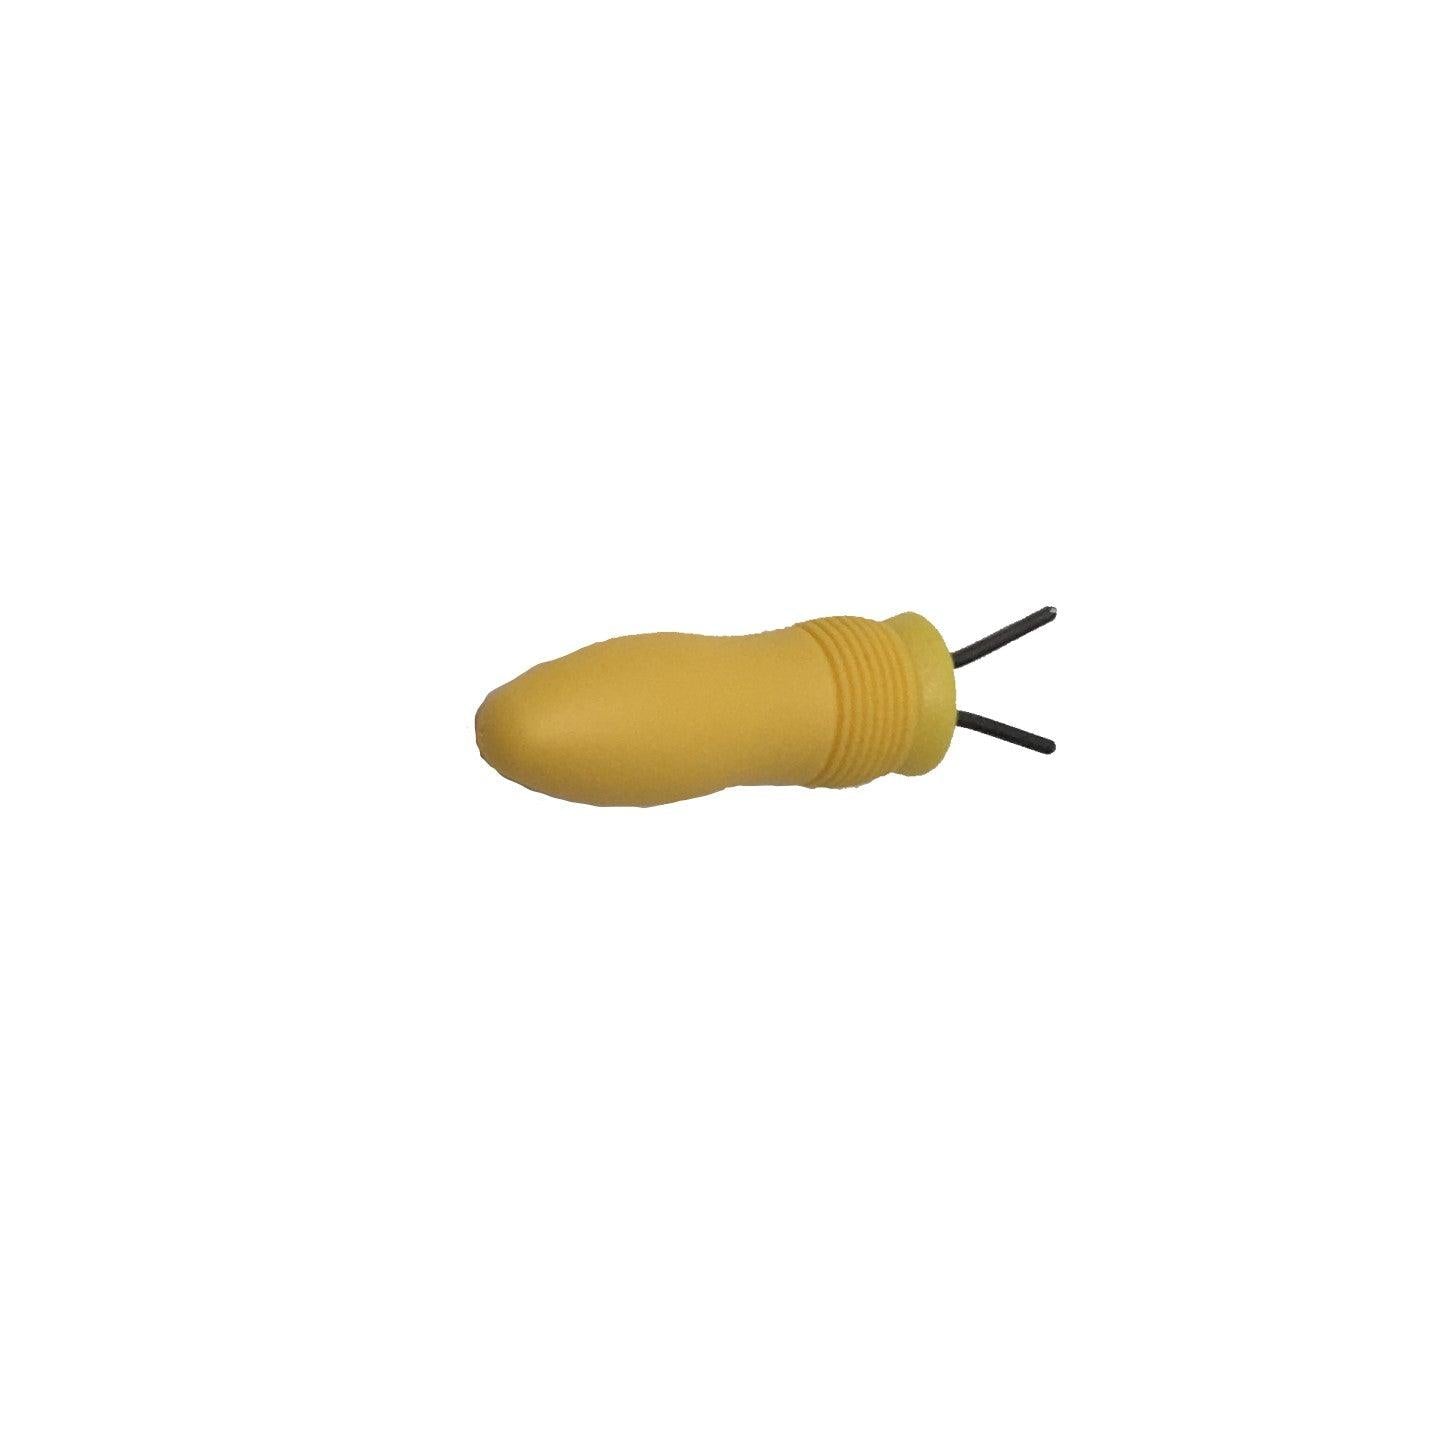
Tools used in this blog:
OG Starter Set - https://grpotteryforms.com/products/mini-assortment-set?_pos=1&_sid=7f52d08c9&_ss=r
Sue Tool - https://grpotteryforms.com/products/tool-sue-tool-blue
Foot Maker Tool - https://grpotteryforms.com/products/tool-foot-maker
Stanley Surform Rasp - https://grpotteryforms.com/products/tool-stanley-surform
Trimming Tool - https://grpotteryforms.com/products/trimming-tool-flat-round
Kemper Modeling Tool - https://grpotteryforms.com/products/tool-modeling-tool
Loonie Clay Knife - https://grpotteryforms.com/products/loonie-clay-knife
Notched Rib - (Currently Unavailable)
Mudtools Rib - https://grpotteryforms.com/products/mudtools-rib-medium-1

