1. Place Clay on the Wheel and Compress the Slab with a Rib Tool
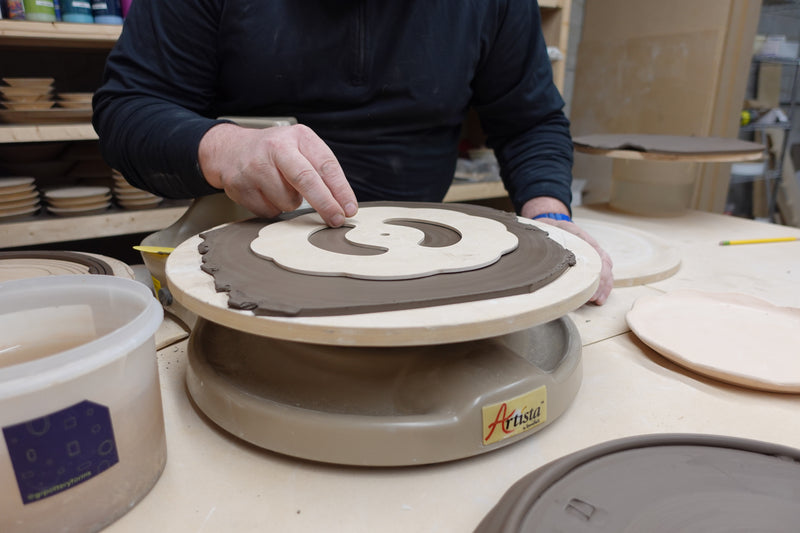
Start by preparing your clay and rolling it out into a slab. You want your slab to be large enough to accommodate the size of your pie plate. Use a rib tool to compress the clay, making the surface smooth and even. Compression is key for strengthening the clay and removing air pockets, which will ensure your pie plate holds up to the heat of baking.
2. Assemble the WA2 and Stack Forms
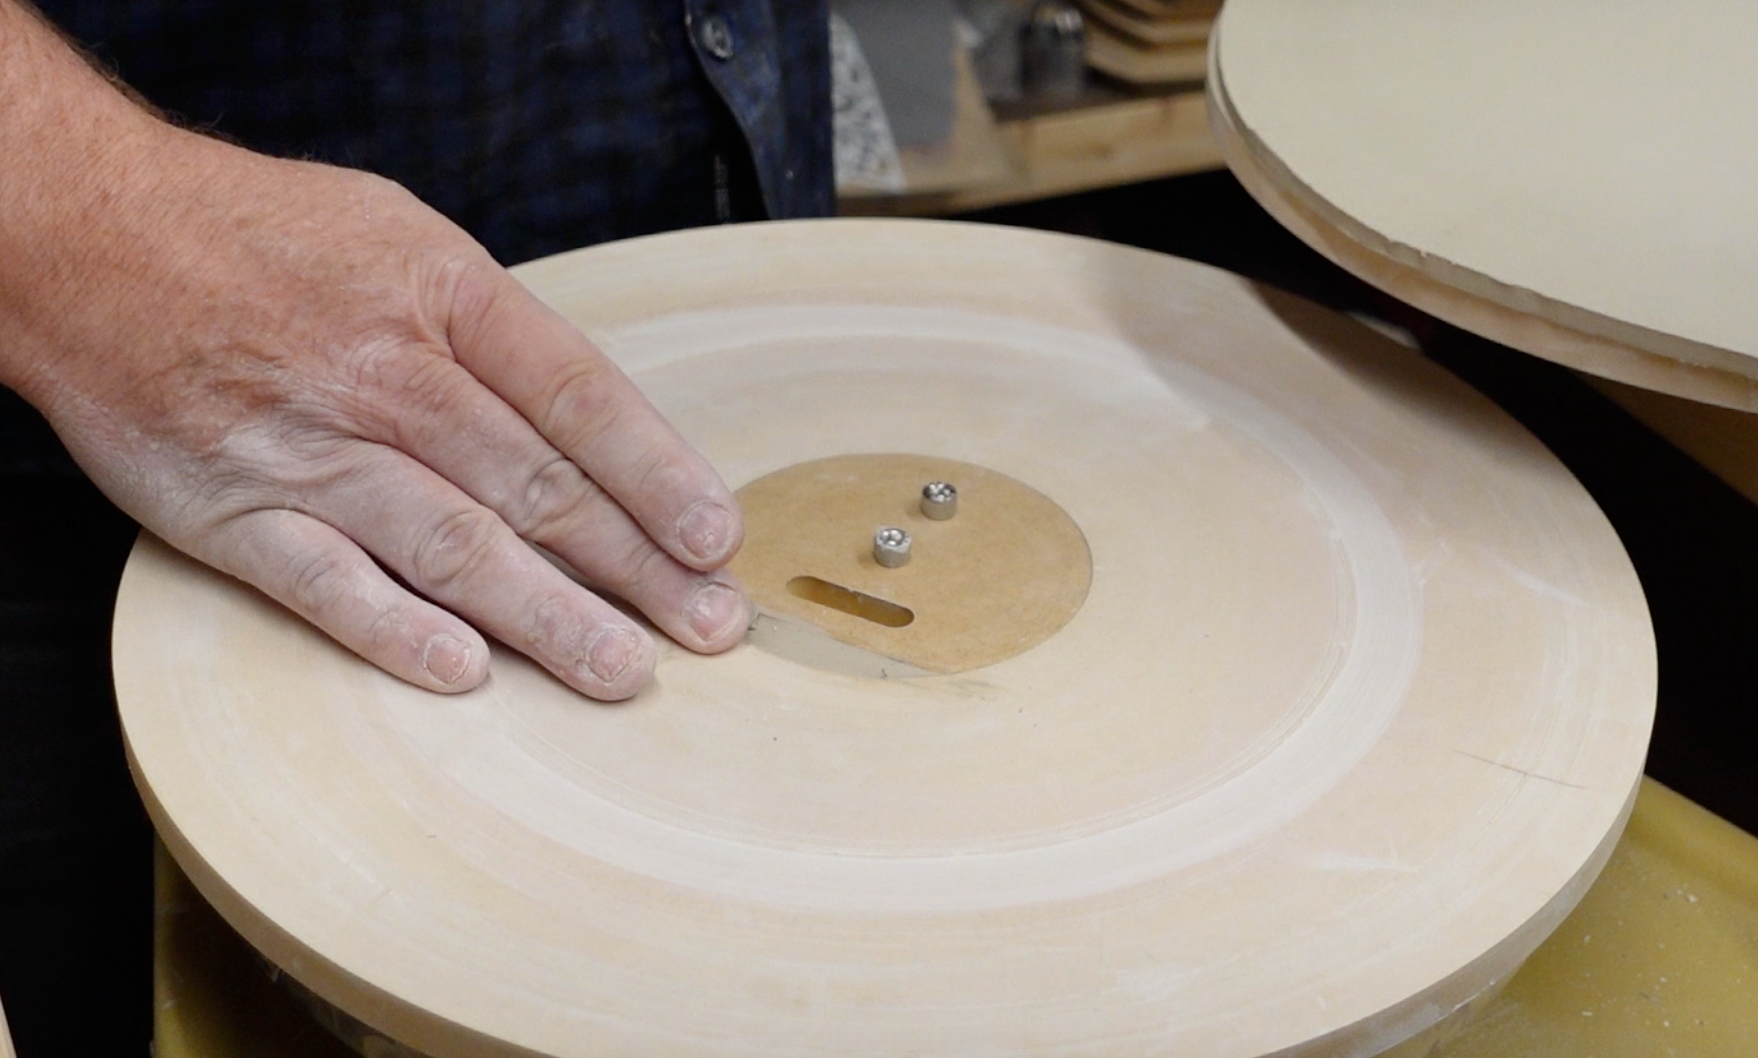
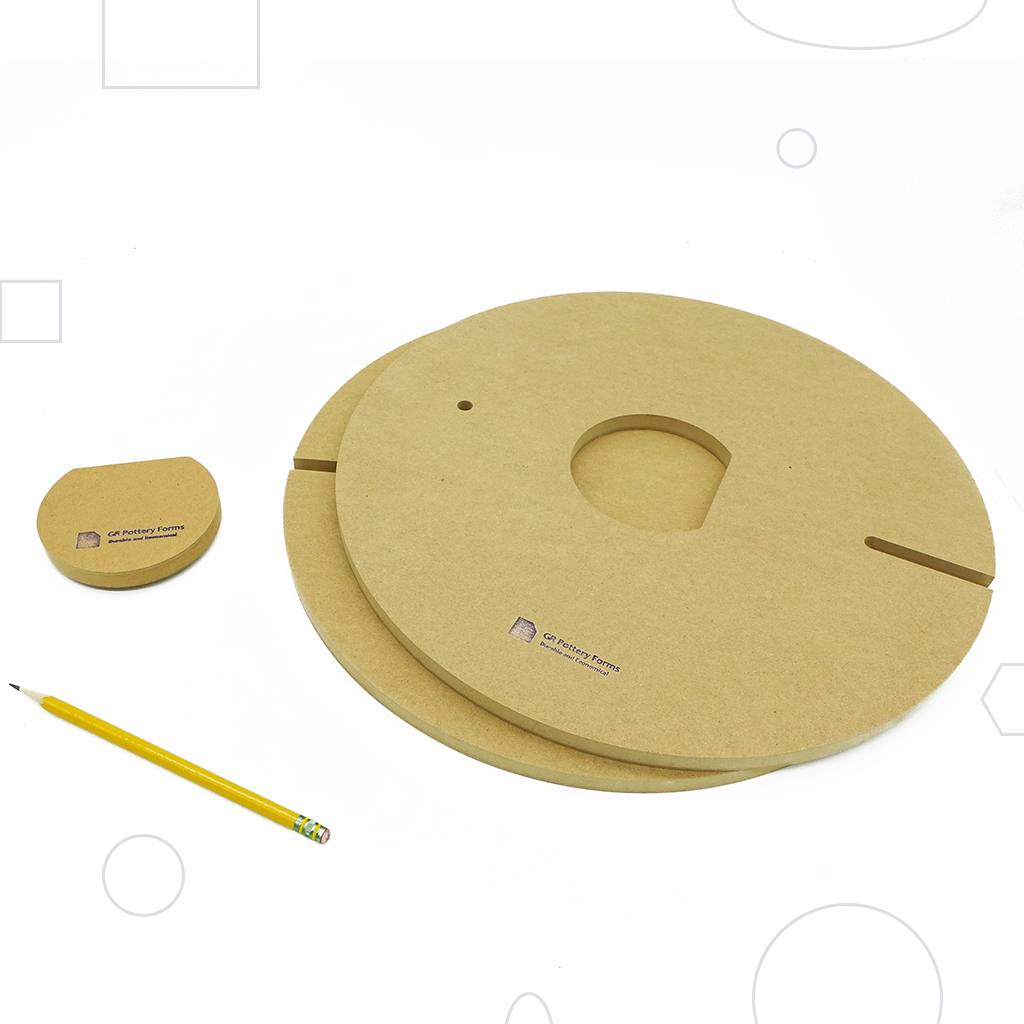
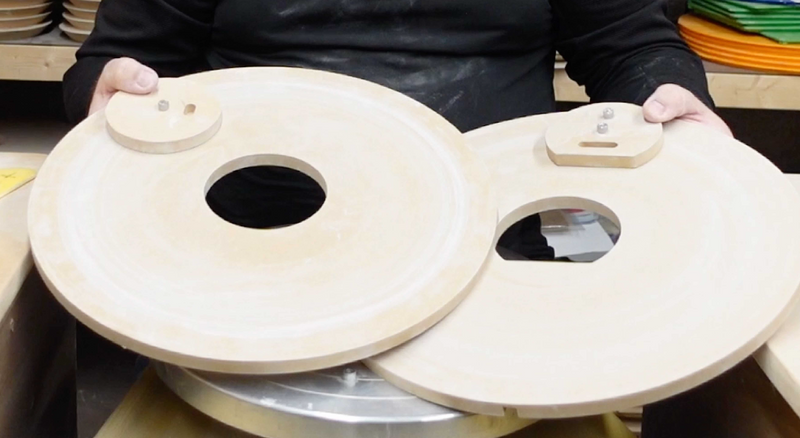
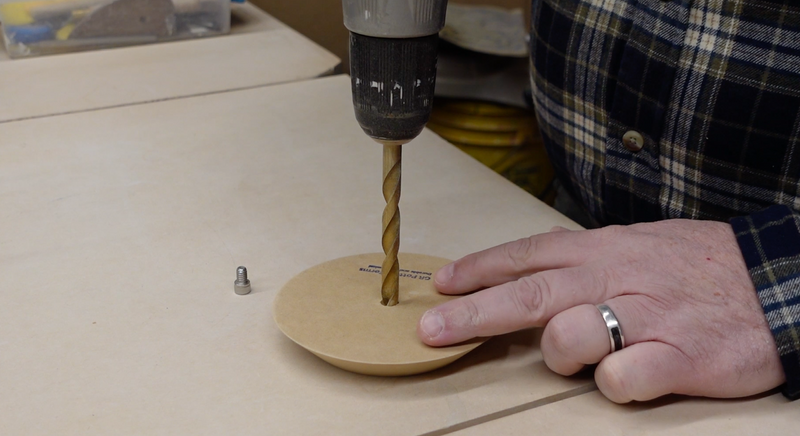
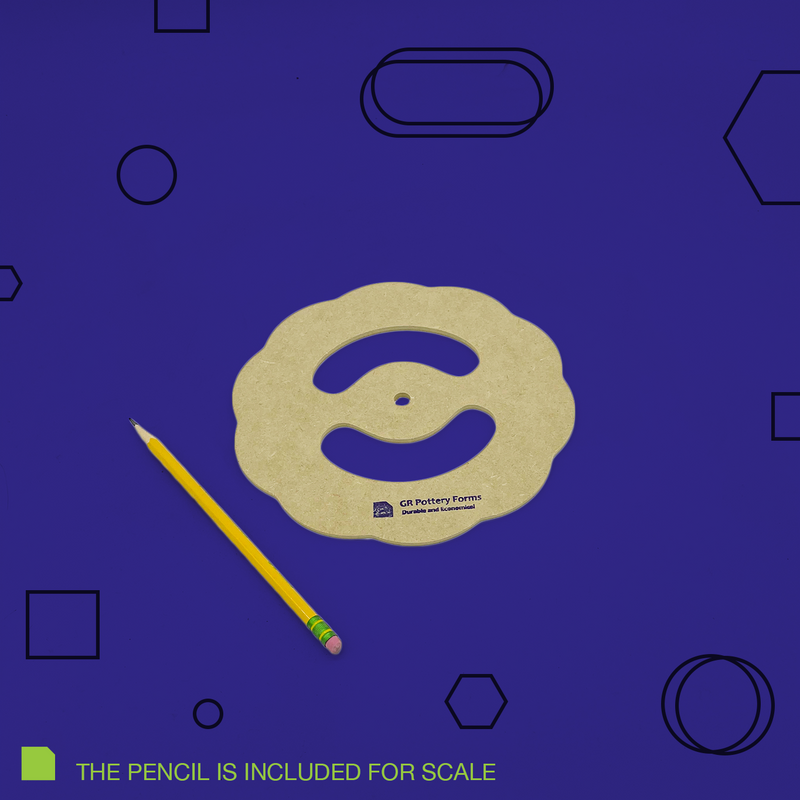
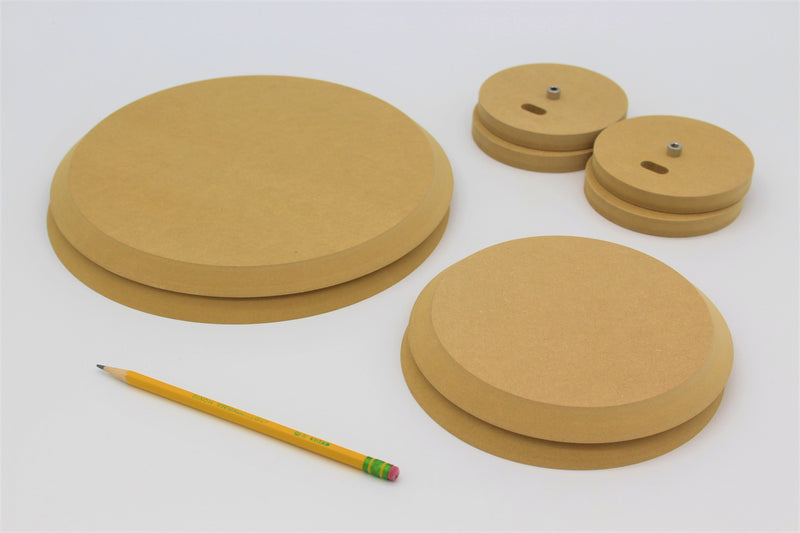
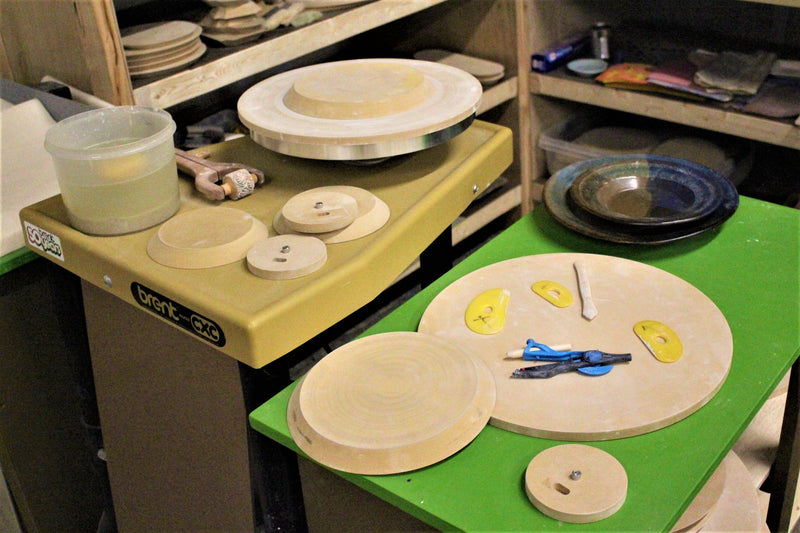
Assemble and attach WA2 System to the wheel, and stack Forms on top.
3. Gently Push Clay Up to the Forms
Now, begin pushing the edges of the clay up towards the forms. Add pressure slowly, working from the outside edges inward. The goal is to mold the clay gently around the Forms.
4. Use a Rib to Compress Clay onto the Forms
Once the clay is positioned on the forms, use your rib tool again to compress the clay onto the form’s contours. Apply consistent pressure as you smooth the surface, ensuring the clay is compact and even. The rib tool will help eliminate any inconsistencies and secure the clay against the forms.
5. (Optional) Use a Wooden Rib to Create Texture
If you want to add some texture to the sides or surface of your pie plate, you can use a wooden rib tool. Gently press the rib into the clay to create patterns or subtle textures that will give your pie plate a more decorative, handmade look. This is an optional step but can add a unique touch to your plate.
6. Use Your Finger to Clean Up the Edges of the Indents
If you’ve added texture, or if there are any rough spots or indentations, use your fingers to clean up the edges. Smooth out any uneven areas to ensure that the surface remains neat and polished.
7. (Optional) Use a Modeling Tool for Additional Texture
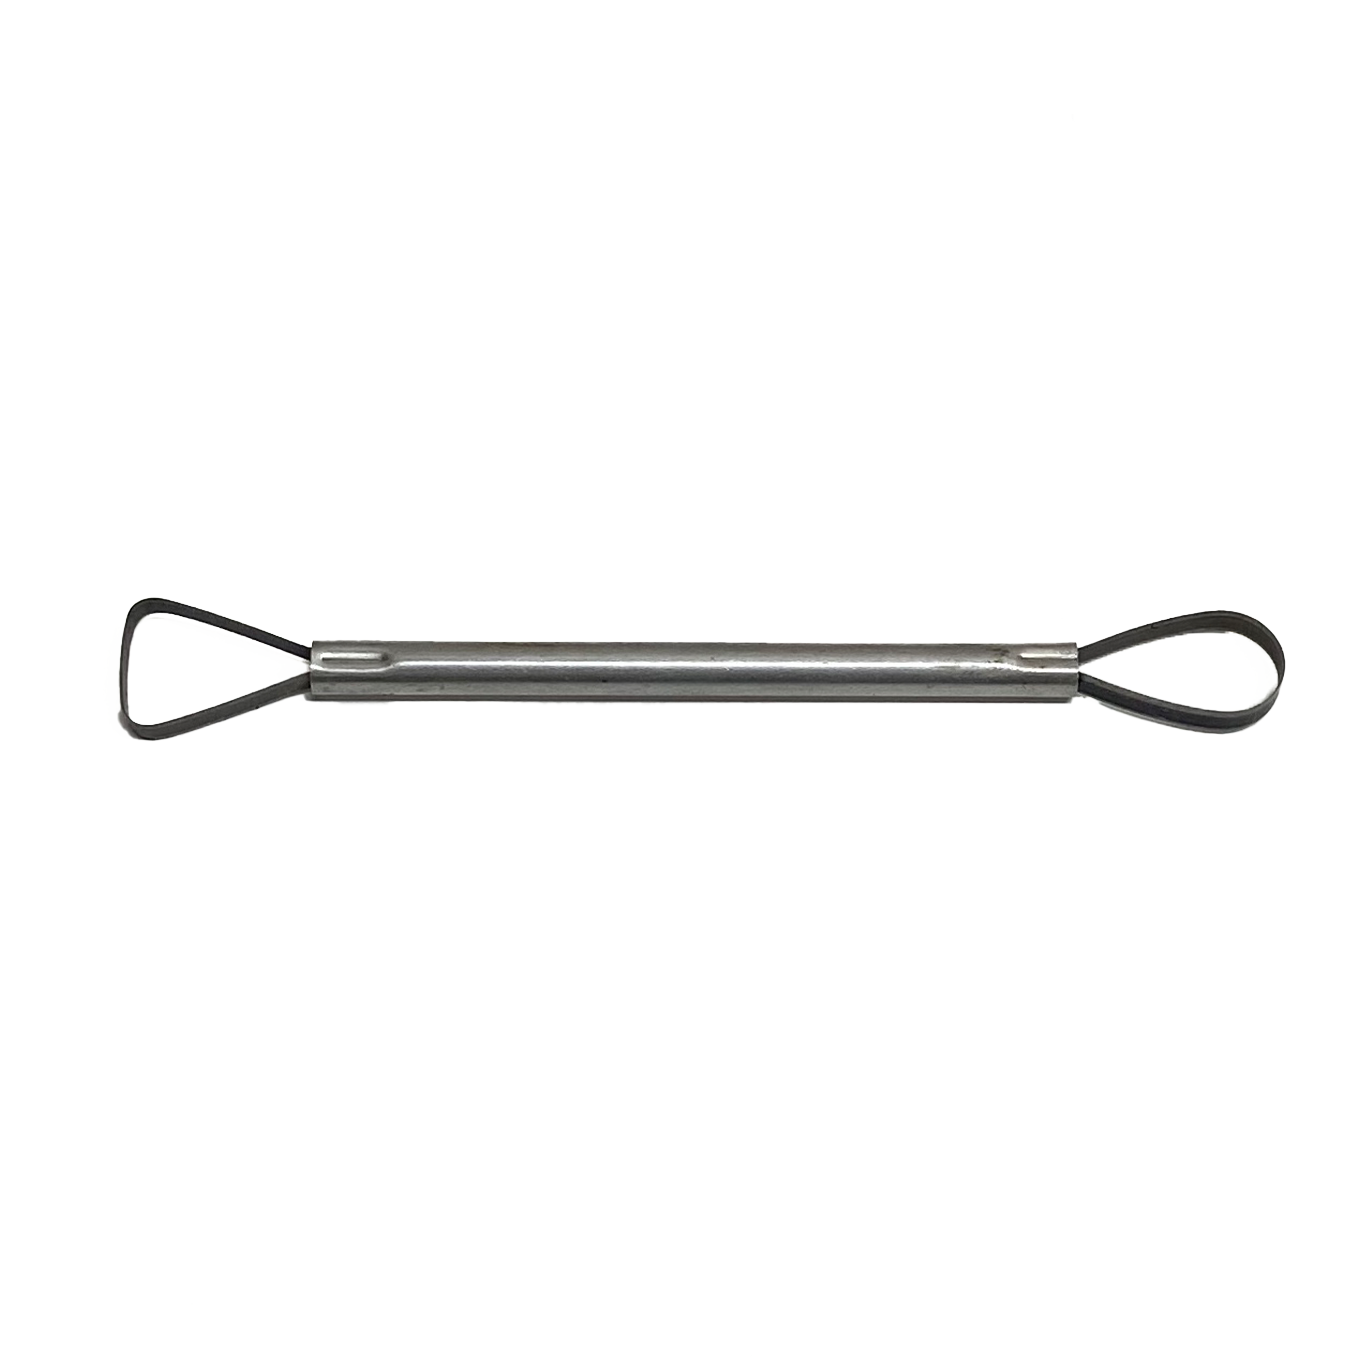
If you’d like to add more intricate texture or a decorative design, you can use a modeling tool. This is where your creativity can really shine. Press the tool gently into the clay to create designs along the sides or surface of the pie plate. This step is optional, but it can really make your plate stand out.
8. Cut the Rim with a Knife
Using a sharp knife or clay cutting tool, carefully cut the rim of your pie plate to your desired shape. The rim can be straight or slightly flared, depending on your aesthetic preference.
9. Clean Up the Rim with a Sponge
After cutting the rim, take a damp sponge and gently clean up any rough edges. This step will give the rim a smooth, refined finish, which will make the pie plate look more polished and professional.
10. Release the Plate from the WA2
Once you’re happy with the shape and rim, it’s time to remove the pie plate from the WA2. Gently push up from the center of the plate, lifting the clay away from the WA2. Be careful not to distort the shape as you do this.
11. Crimp the Edges of the Plate
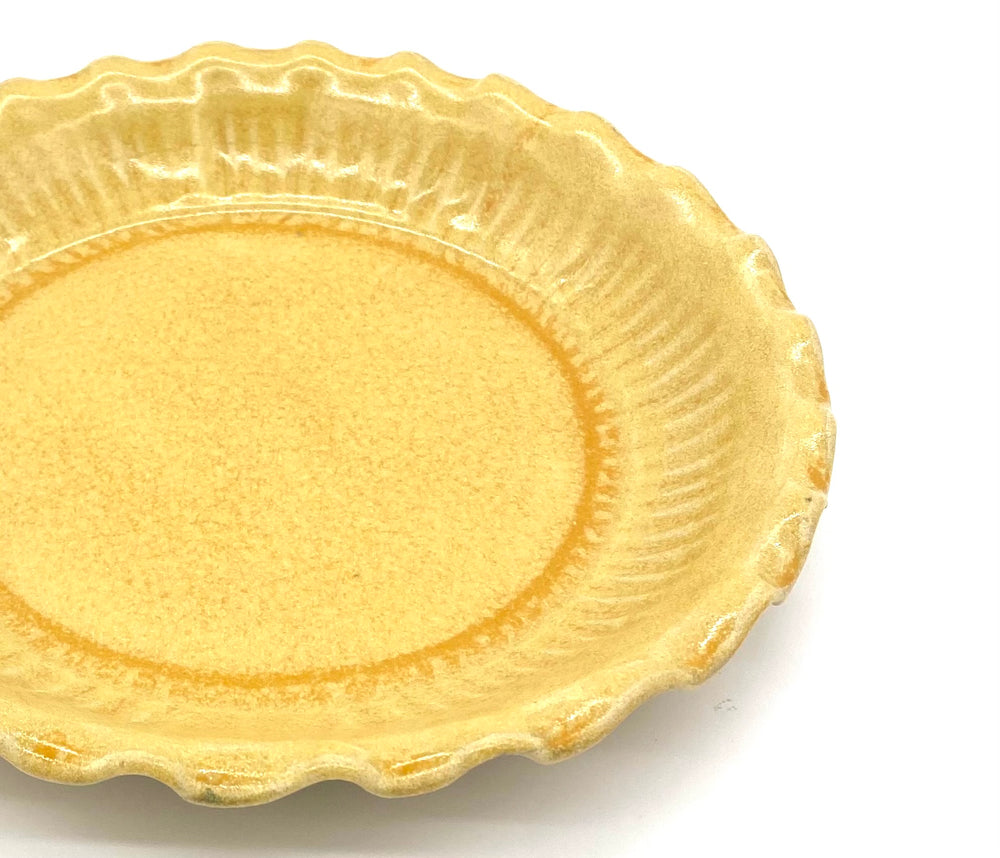
To give your pie plate a more finished, decorative look, use your fingers to crimp or pinch the edges of the rim. This will create a subtle texture and define the shape of the plate. The crimping can also help hold the shape as the clay begins to dry.
12. Let the Clay Reach Leather Hard
At this point, let your pie plate dry to leather hard. This is the stage when the clay is firm enough to handle but still damp enough to make adjustments. Leather-hard clay is ideal for trimming, refining, and cleaning up your piece.
13. Remove Clay from Forms Once Leather Hard
Once the clay has reached leather hard, carefully remove the pie plate from the forms. This will allow you to continue working on the piece without worrying about warping or distortion.
14. Clean Up the Design with a Trimming Tool and Fingers
Inspect the plate for any rough areas or uneven spots. Use a trimming tool to refine the edges and smooth out any inconsistencies. You can also use your fingers to gently smooth the surface and ensure the overall design looks cohesive.
15. Stabilize the Plate for Trimming
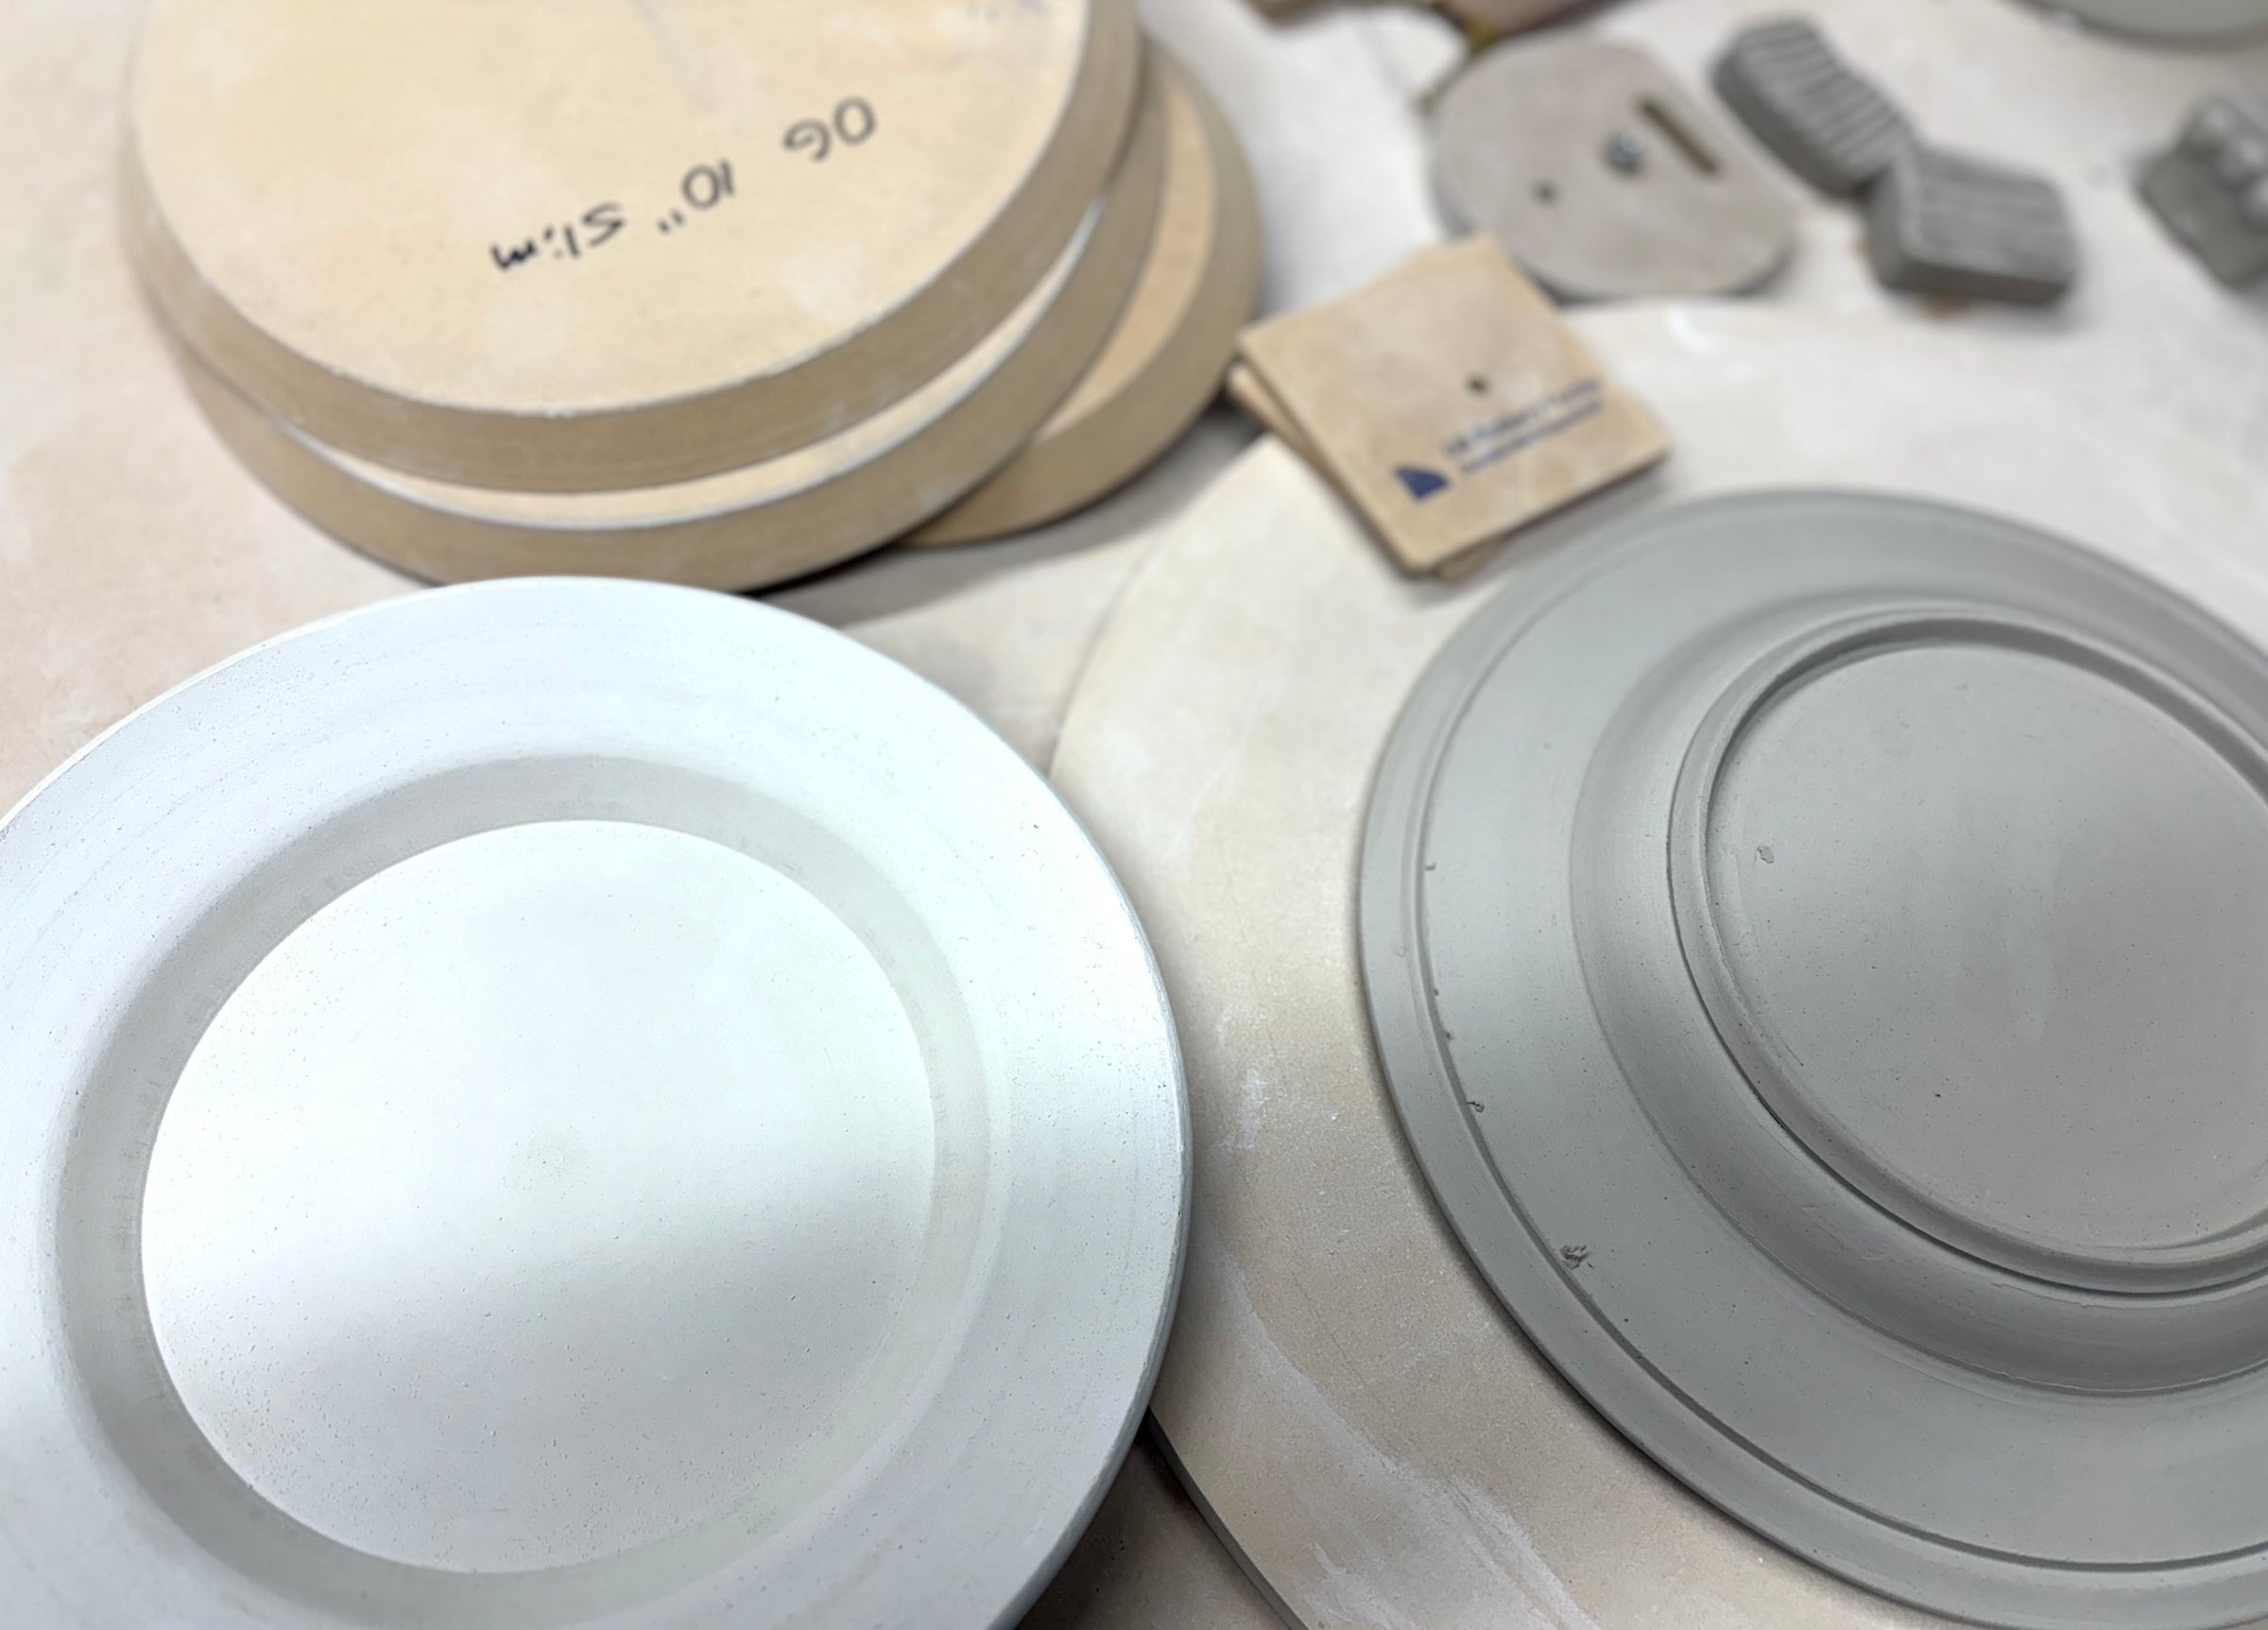
To make trimming easier, place the pie plate on top of another Form or Spacer, to give yourself extra space and stability. This will allow for more room and a controlled trimming process.
16. Round the Rim with a Notched Rib
Use a notched rib tool to round the edges of the plate's rim. This will help create a smooth edge, making the plate look more finished and giving it a refined, professional appearance.
17. Dry the Plate Upside Down to Prevent Warping
To prevent warping, place the pie plate upside down on a flat surface to dry. This allows the plate to dry evenly and helps maintain its shape throughout the drying process.
18. Smooth Sharp Edges with a Grinding Stone
Once the plate is fully dry, inspect the edges for any sharp or rough areas. Use a grinding stone or sandpaper to smooth out these edges, ensuring a polished and smooth finish that feels comfortable to handle.
19. Remove Dust with a Stiff Brush
Before glazing, use a stiff brush to remove any dust or debris from the surface of your pie plate. This ensures that the glaze will adhere properly and that no particles will interfere with the finish.
20. Stir Glaze to Ensure Even Consistency
Mix your glaze thoroughly to ensure all particles are evenly distributed. Stir the glaze well to avoid any clumps or inconsistencies, which could affect the final finish.
21. Brush Glaze onto the Pie Plate
Using a brush, carefully apply the glaze to the surface of your pie plate. Make sure to cover the entire surface evenly, including any textures or details you’ve created. Brush the glaze into the indentations to highlight the designs.
22. Scrape Off Surface Glaze with a Serrated Knife
If any glaze has pooled in areas where you don’t want it, use a serrated knife to carefully scrape it off. This step ensures an even glaze coating and helps highlight any textured areas of the plate.
23. Wipe Off Excess Glaze with a Wet Sponge
After applying the glaze, take a damp sponge and wipe away any excess glaze from the bottom of the plate. This will ensure that the bottom stays clean and free of glaze, which is important for the final firing process.
24. Pour Glaze Over the Plate
For an even, thick coat of glaze, you can pour the glaze over the pie plate. Make sure the glaze covers the entire surface evenly, allowing it to flow into any texture or indentation you’ve created.
25. Spread Glaze with a Brush
Use a brush to spread the glaze evenly across the surface. Ensure that the glaze is distributed smoothly, and there are no streaks or areas that are too thin.
27. Apply Another Coat of Glaze
Once the first coat is dry, apply a second layer of glaze for a smoother, more vibrant finish. Brush it on evenly, ensuring that every part of the pie plate is covered.
28. Wipe Off Excess Glaze with a Wet Sponge
As you did with the first coat, use a wet sponge to wipe off any glaze that has touched the bottom or areas you don’t want it. This will keep your plate clean and free of excess glaze.
We hope these steps were helpful on how to create a Pie Plate. Here is a tutorial video that goes through the above steps:
Tools used in this blog:
OG Round 9.5" - https://grpotteryforms.com/products/round-9-5
OG Round 11" - https://grpotteryforms.com/products/round-11
WA2 System - https://grpotteryforms.com/products/wa2-wa-board?_pos=1&_sid=334b81585&_ss=r
Mudtools Rib - https://grpotteryforms.com/products/mudtools-rib-medium-1
Wooden Kemper Rib - https://grpotteryforms.com/products/kemper-rb2-hardwood-rib
Trimming Tool - https://grpotteryforms.com/products/trimming-tool-flat-round

