When using our Rim Templates, you have the option of draping a compressed slab over the Form and Rim Template by cutting around the template's edge, or precutting the slab using the Rim Template and then draping it over the Form. Either way works great! In this particular demo we are making a plate with a smaller lip.
To help you with this process, we created a step-by-step video tutorial which is embedded at the bottom of this page. However, we wanted to use this blog to go a little more in-depth on the process.
1. Roll out Slab
The first step when creating a plate is to start by rolling out the slab using a slab roller, in this demo we used a Bailey Slab Roller: 16 inch Mini Might II Table Top Slab Roller. If you don't own a fancy machine, rolling it out with a rolling pin works great as well, it will just be a bit more time consuming. We usually roll out our slabs to a 1/4" thick.
2. Compress Slab
After rolling out the slab, use the Mudtools Rib to compress it. Make sure to compress the slab lightly and to not compress for too long to avoid stressing the clay which could result in cracking and warping.

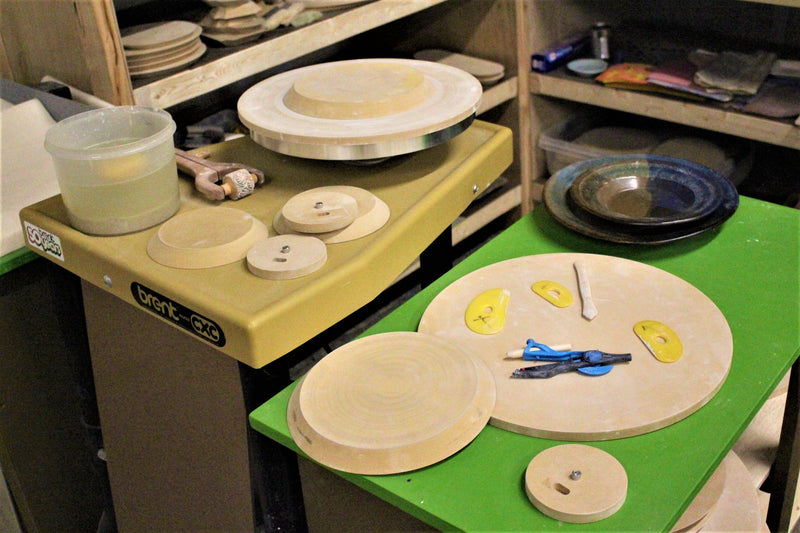
Wheel: Artista by Speedball
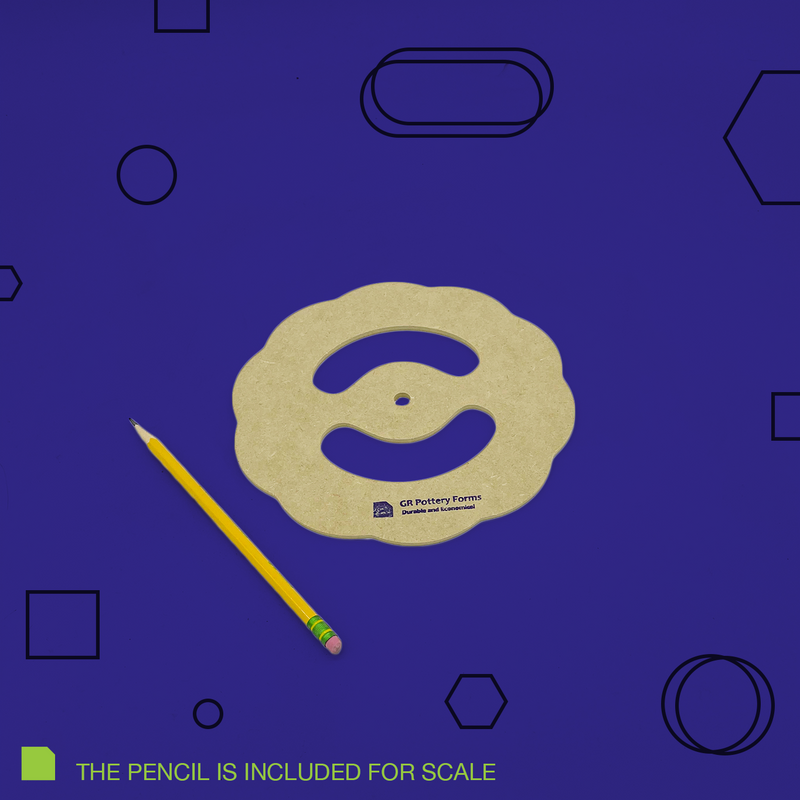
3. Cut Along Rim Template
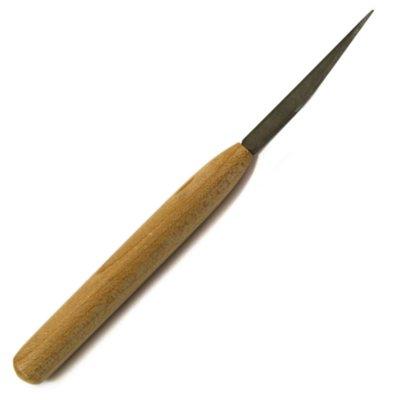
Next, take the Loonie Knife to cut around the edge of the Rim Template (we used a 9.5" Daisy Template). Don't remove the excess clay because you can use it to make the feet.
4. Make Feet
To create the feet, you can either use a knife or the Foot Maker tool, both work great! When using a wheel, you need to slowly put the knife in the clay and hold it steady, it's pretty easy to let the knife slip.

5. Smooth out Edges
Once the feet are cut, carefully place the clay off to the side. Then take a slightly moist sponge and smooth out the edges of the plate. After that, carefully lift the edges of the plate so the clay doesn't stick to the WA Board when flipping it over.

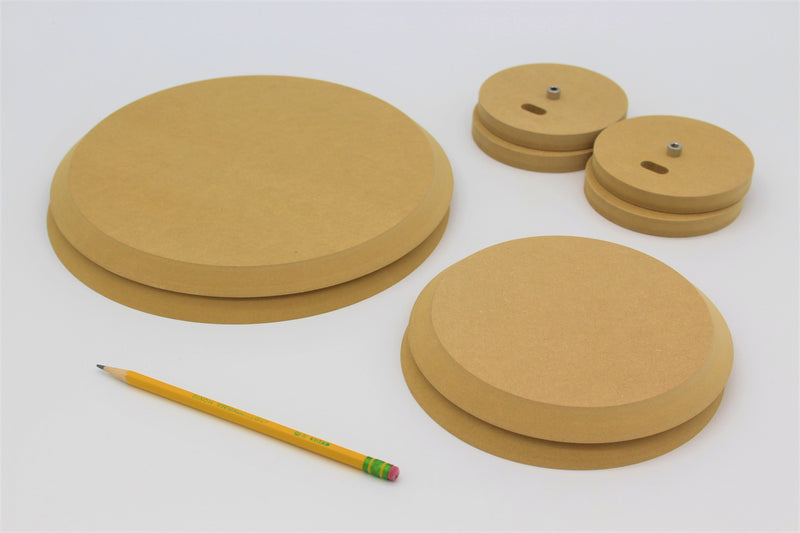
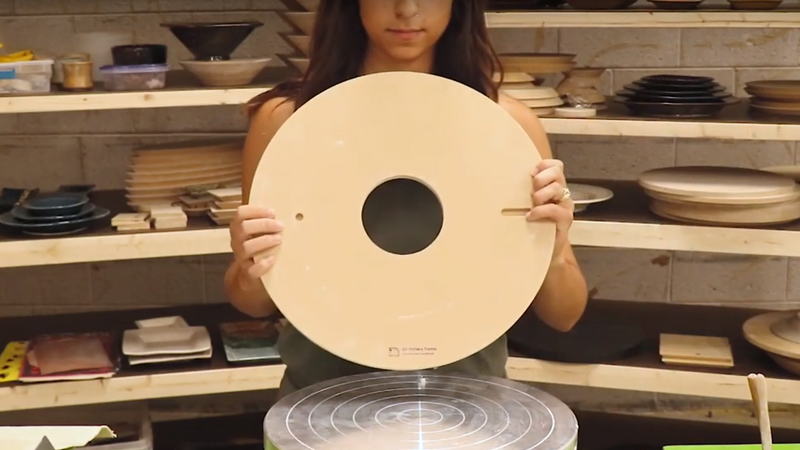
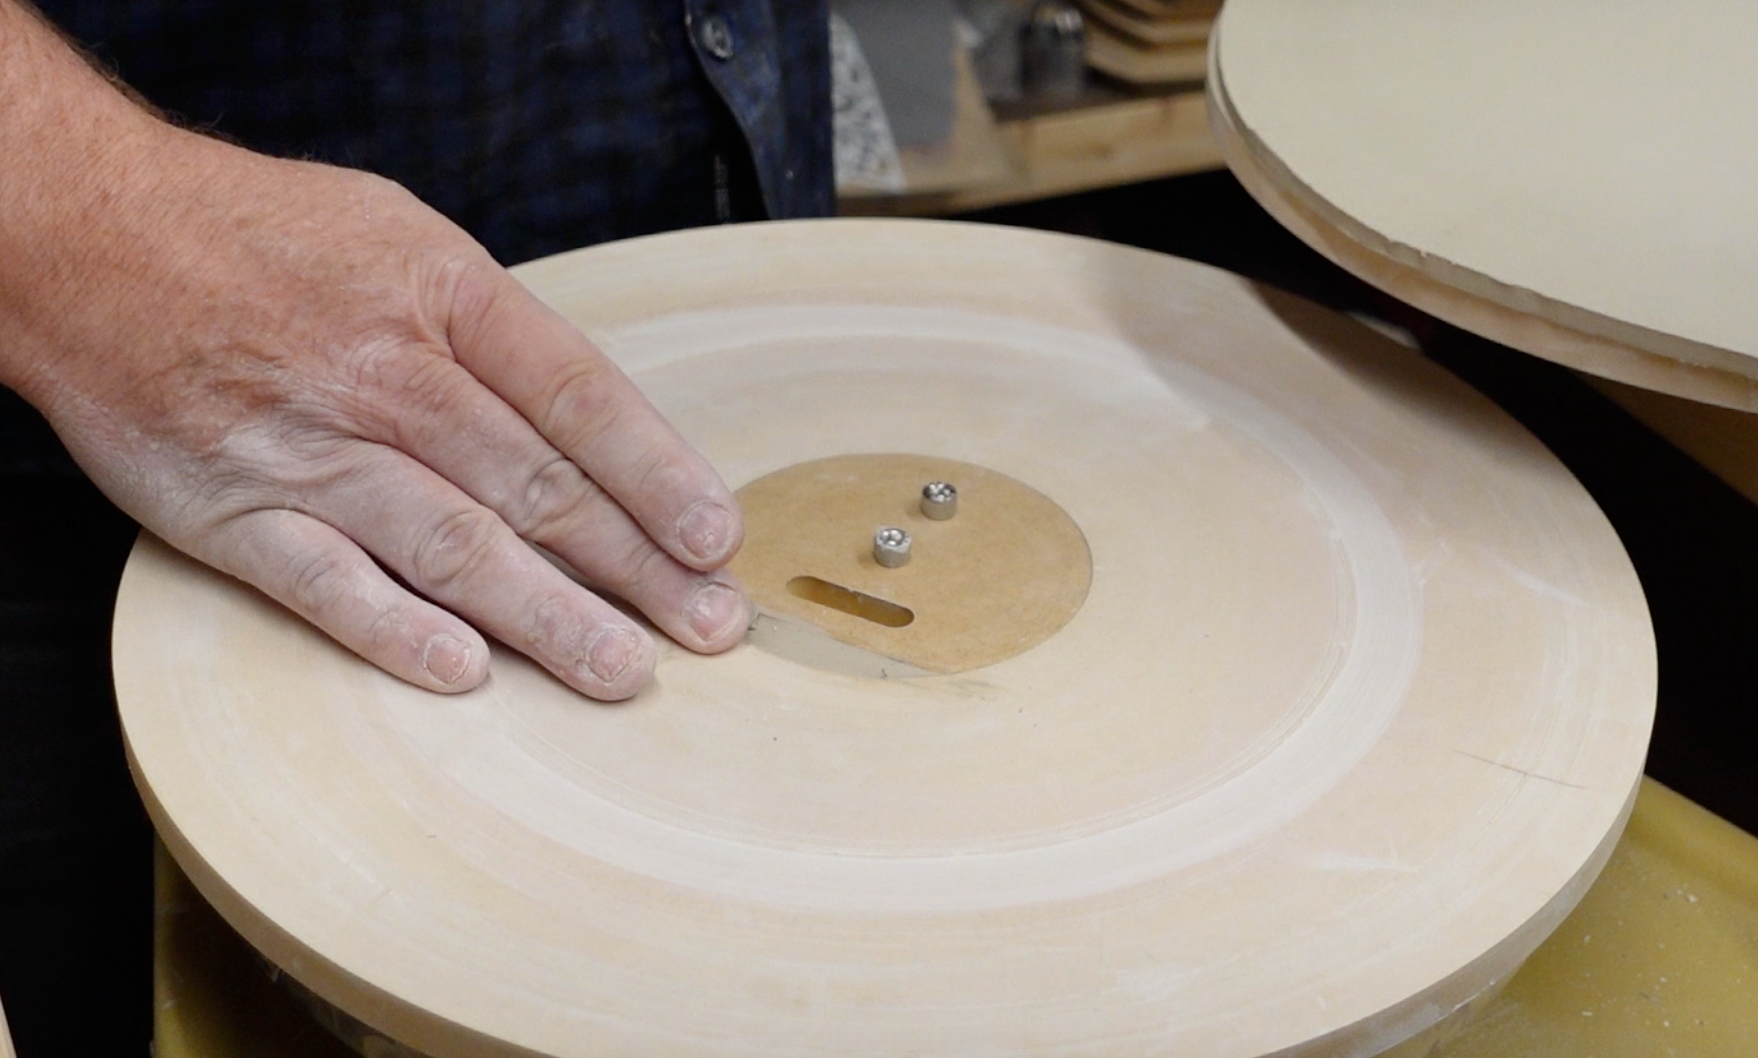
6. Place Form and Flip
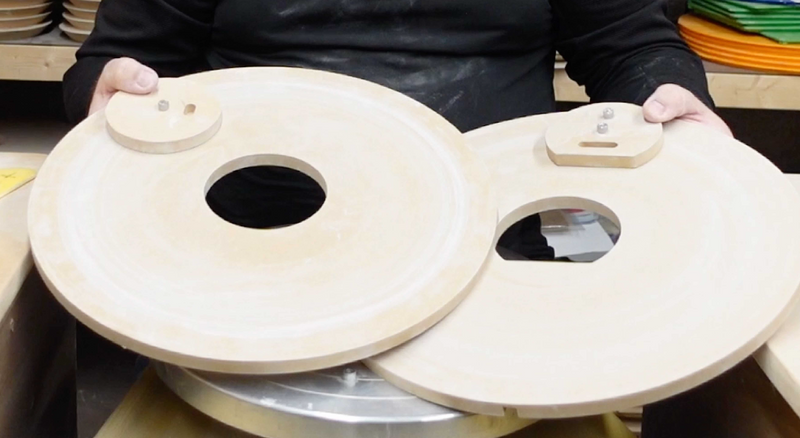
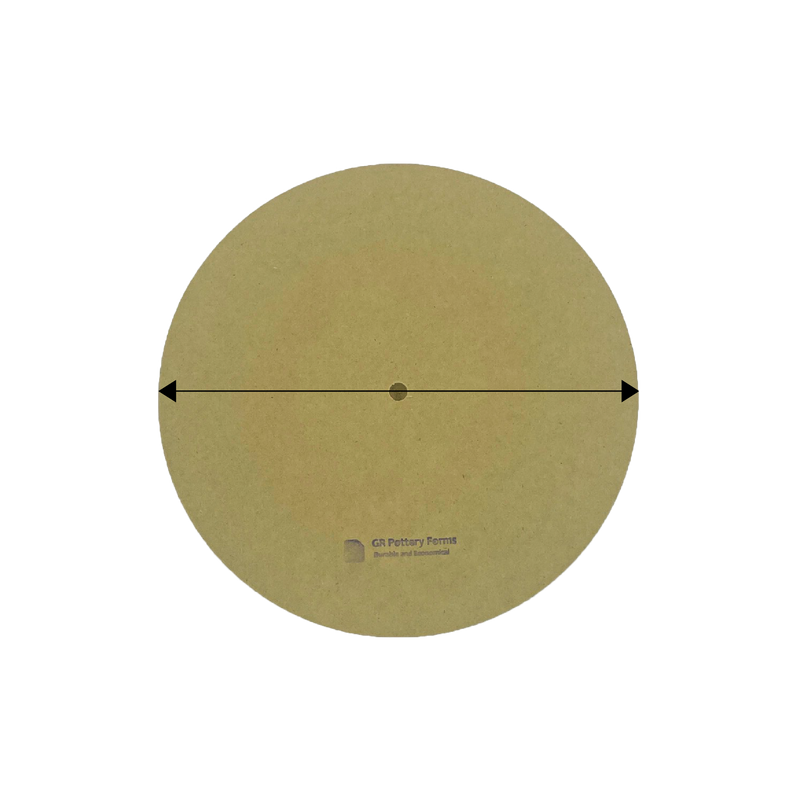
Next, place a Round Form (we used a 9.5" Round Form in this demo) in the center of the clay slab. Then place the pin of the WA Spacer in the hole of the Form. Next, place the WA (Wheel Attachment) on top of the Form and the WA Spacer, the Spacer should now be in the center hole of the WA. Lift the WA off of the wheel and flip everything over, then place the WA Board off to the side. Attach the WA by sliding the linear indent over the wheel's pin, and then rotate the board until it registers with the second wheel pin.

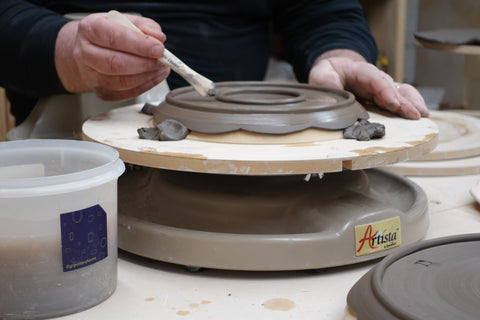
7. Compress Clay onto Form
Lightly press the clay down around the Form's edge to create the plate's lip. Now take the Mudtool's Rib and compress the bottom and edge of the plate, doing this will smooth out the plate and help prevent warping.

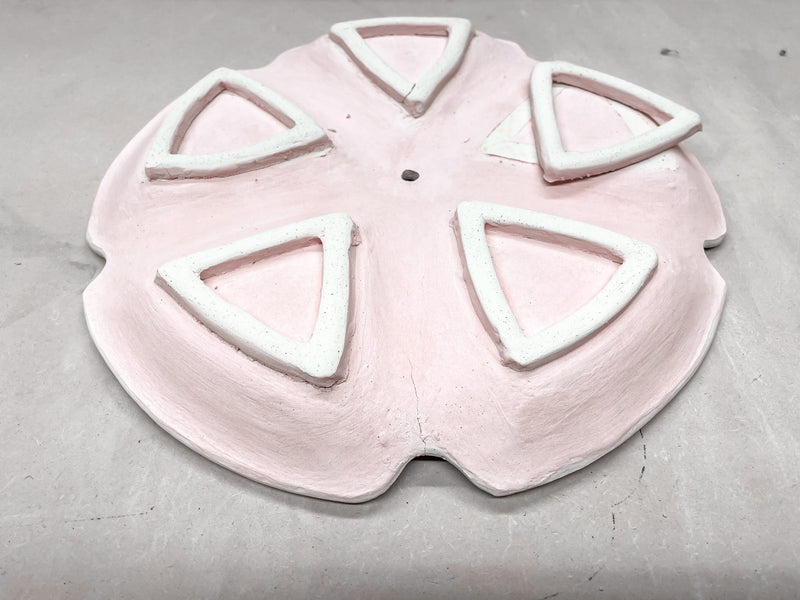
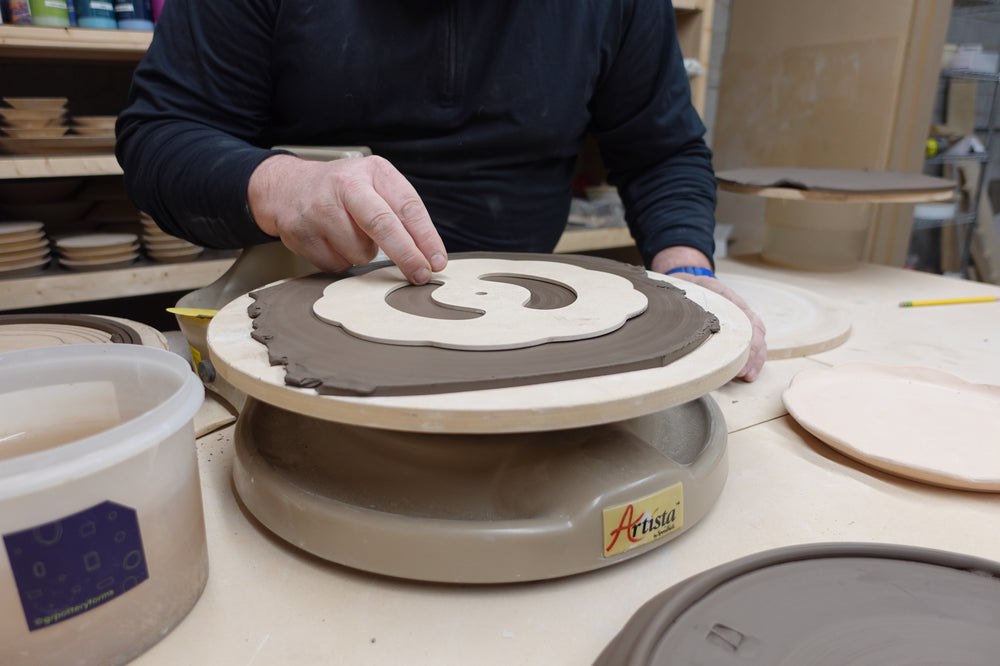
8. Attatch Feet
Now take one strip of the extra clay that was put to the side and place it on the very edge of the plate. You may want to score and slip if your clay is on the dryer side. The clay we used (Brown Bear Clay from Kentucky Mudworks) was pretty moist so scoring and slipping wasn't necessary.

Next, take the Loonie Knife and cut off any excess clay from the foot and place it to the side. Then take both ends of the foot and attach them by rubbing the clay together with your finger tips. Then attach the foot ring the same way, we usually just eyeball where the center point is, but you can also use a measuring tape.

To prevent the Form from shifting when attaching the feet, add balls of clay to the Form and the WA Board, holding everything in place.

Now take a moist sponge and your finger tips to shape and attach the feet. Let the top of the feet glide against the sponge and use your thumb and index finger and slightly pinch the sides of the feet. Then take the Kemper Modeling Tool and let the edges of the feet glide against it, this will help to shape and attach the feet.
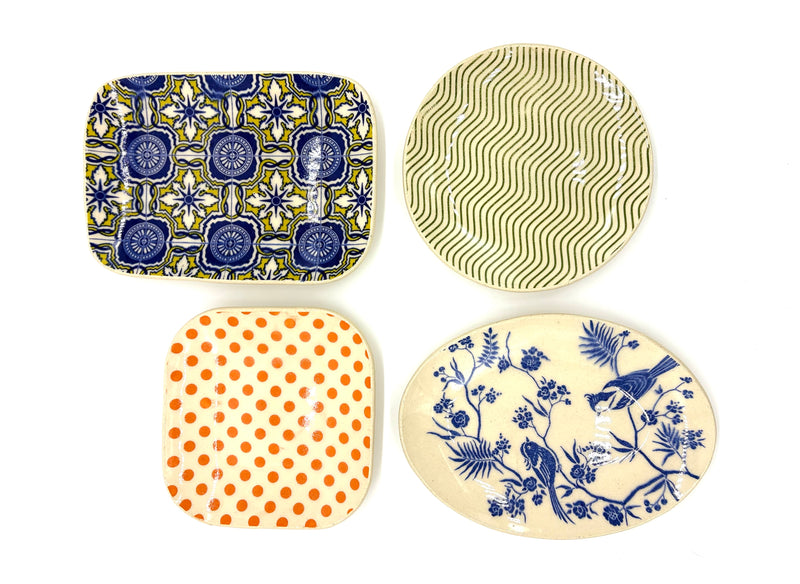
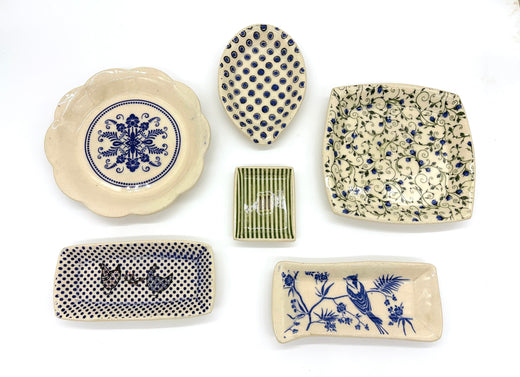
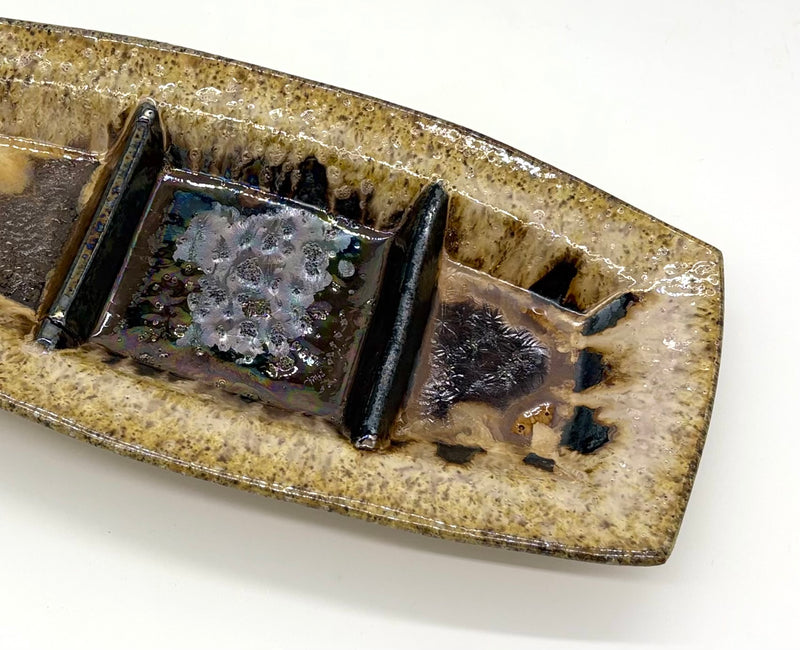
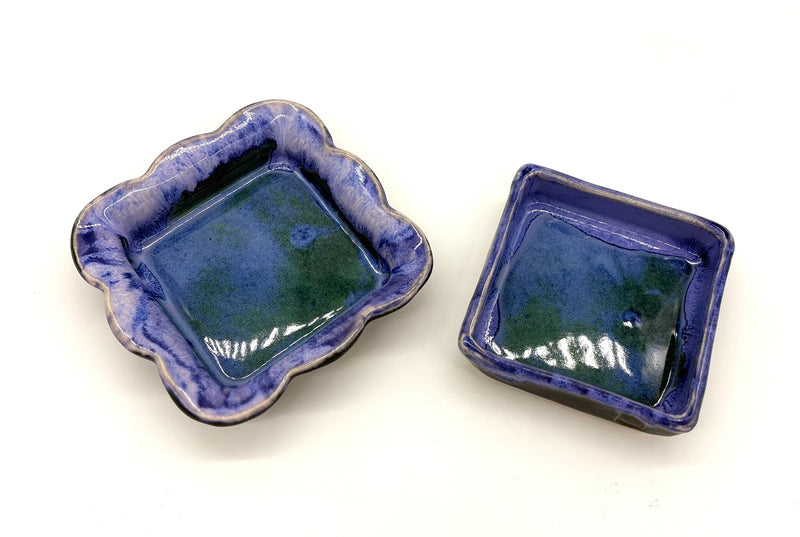
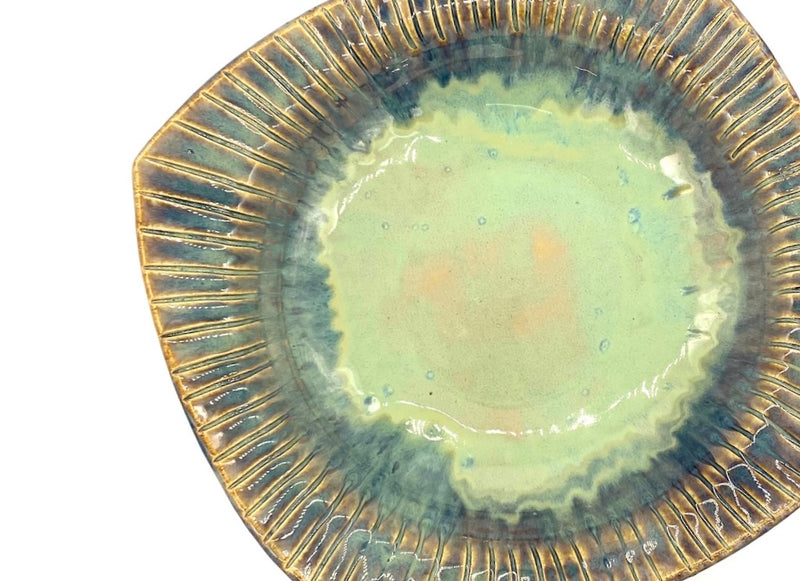
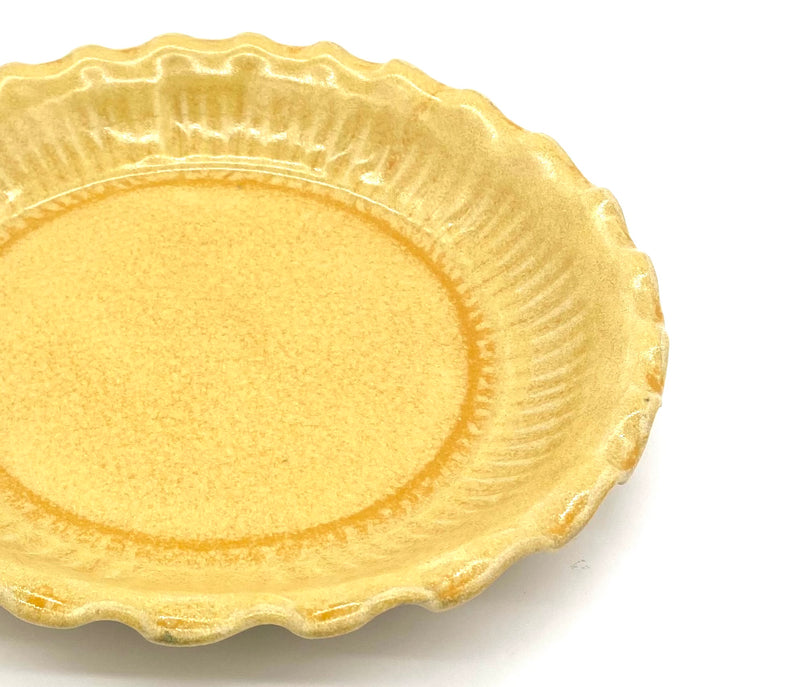
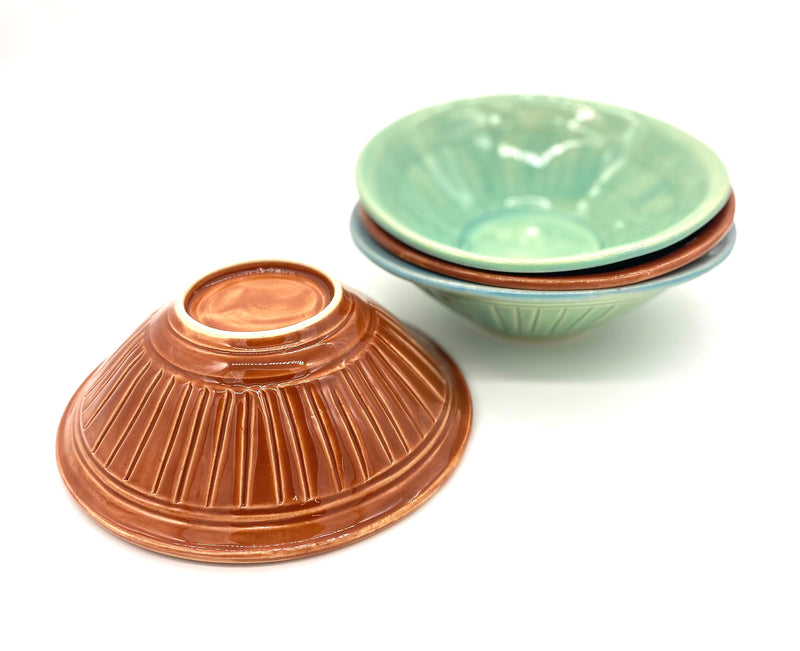
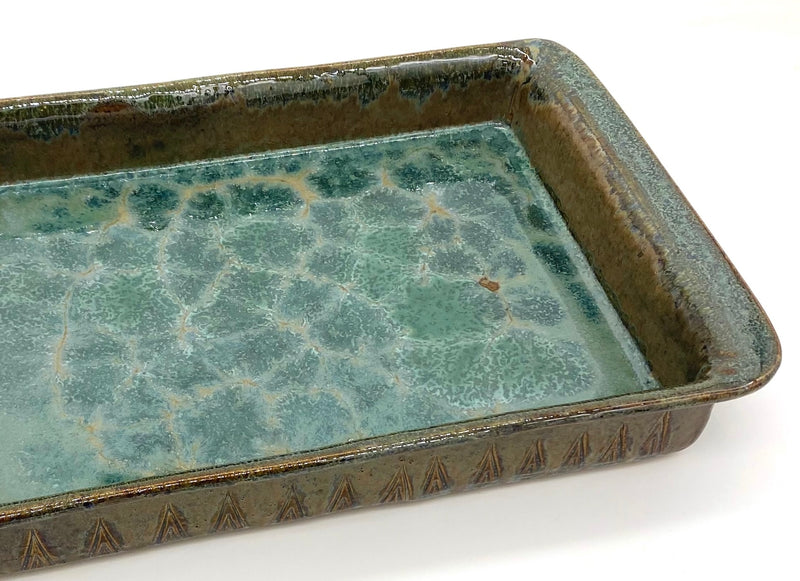
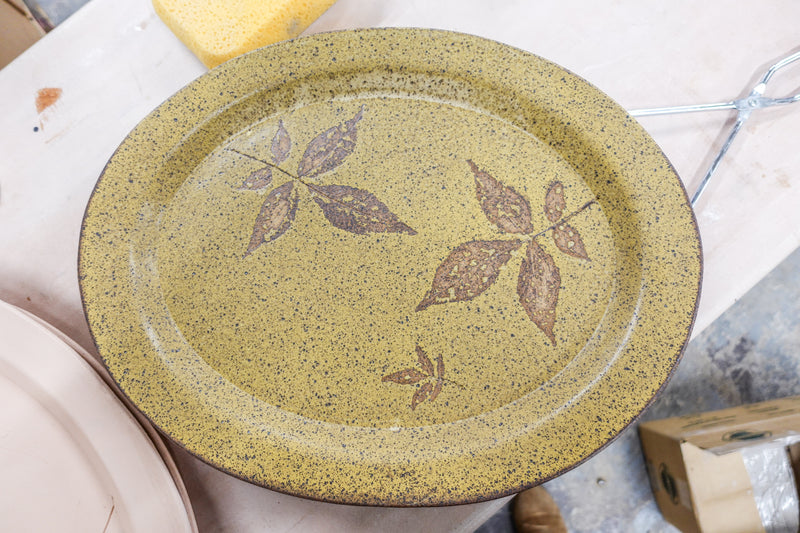
Now take the time to sign your piece and get creative with your glazing!
Here is an entire video that walks you through the above process of making a plate with a beautiful rim by precutting the slab!
Tools used in this blog:
- Rim Templates: https://grpotteryforms.com/collections/rim-template
- 16 inch Mini Might II Table Top Slab Roller: https://www.baileypottery.com/m-400-004.html
- Mudtools Rib: https://grpotteryforms.com/collections/mudtools
- Loonie Clay Knife: https://grpotteryforms.com/products/loonie-clay-knife?pr_prod_strat=copurchase&pr_rec_pid=6593781399712&pr_ref_pid=5775329263776&pr_seq=uniform
- Wheel Attatchment Products: https://grpotteryforms.com/collections/all-wa-products
- Kemper Modeling Tool: https://grpotteryforms.com/collections/kemper-tools/products/tool-modeling-tool