1. Prepare the Clay Slab
Start by preparing your clay. Roll out a slab using a rolling pin or slab roller, aiming for a thickness of about ¼" to ½". Once the slab is rolled out, compress the surface using a Mudtools #5 Medium Rib in two directions. This will remove any air bubbles and ensure the clay is compacted and stable for shaping.
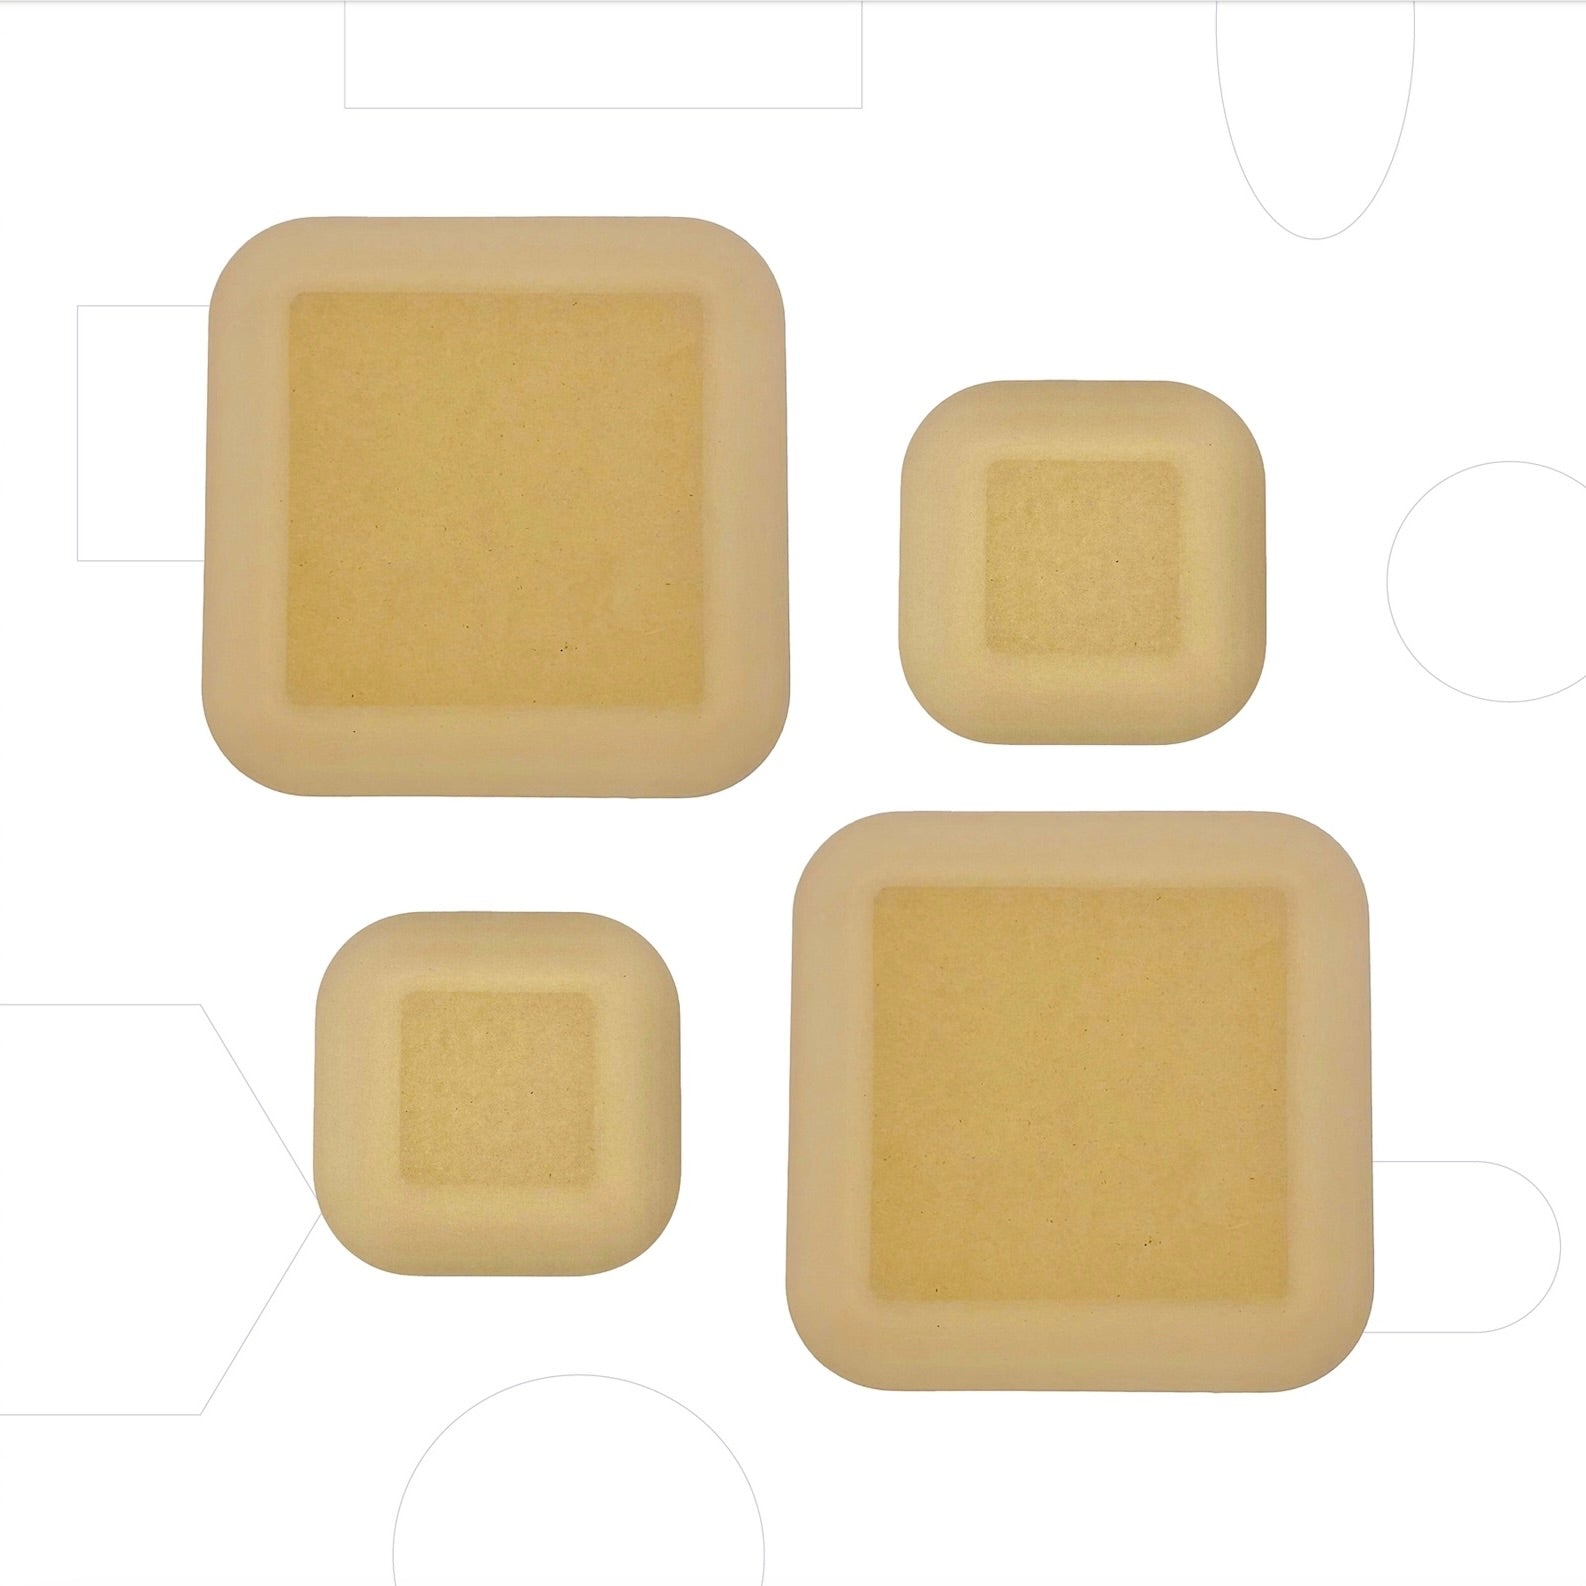
2. Cut the Clay to Fit the RD2 Square Form
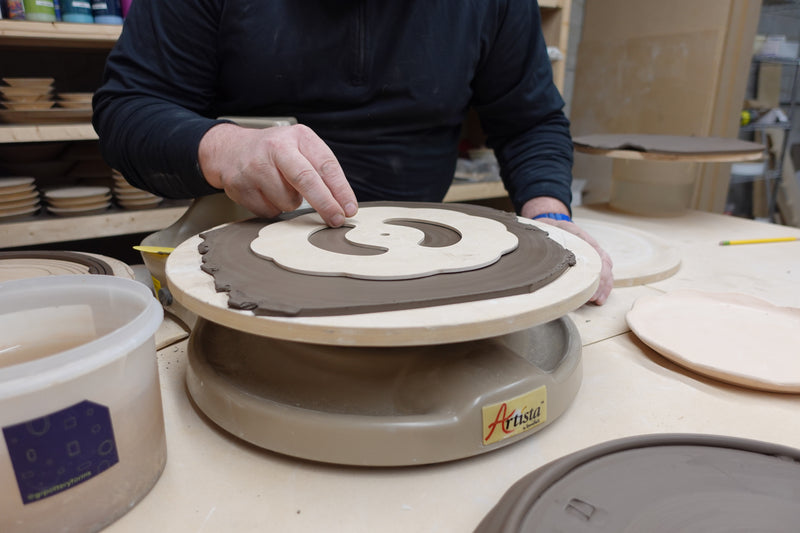
Once your slab is ready, cut the clay to a size that is large enough to cover the RD2 Square Form. Make sure you leave extra clay around the edges to form the foot.
3. Drape the Clay Smooth Side Down on the Form
Once the slab is compressed, carefully drape it over your Form, ensuring that the compressed side is facing down. This is the side that will take on the shape of the Form beneath it, providing a smooth surface for the final piece.
4. Press the Clay into the Form
Using your hands, gently press the clay into the contours of the square Form. Apply even, gentle pressure to avoid stretching or thinning the clay. The goal is to eliminate air pockets and ensure the clay fully conforms to the shape of the Form, creating a smooth and even surface.
5. Compress the Clay with a Rib Tool
Once the clay is pressed into the Form, take a Mudtools #5 Rib and apply consistent pressure over the surface. This will help to compress the clay, ensuring a firm, stable structure and eliminating any air pockets that might have formed during the pressing. The rib tool also helps to smooth the surface, giving the plate a nice, polished look.
6. Trim the Rim with a Wire Tool
Now that your plate is shaped, it’s time to trim the rim. Use a Dirty Girls Slingshot Tool to trim the clay right up to the edge of the RD2 Square Form.
7. Smooth Out the Rim with a Sponge
Once you’ve trimmed the plate, use a damp sponge to smooth out the rim and edges. You can round the edges slightly for a more polished finish, making sure the rim is smooth to the touch.
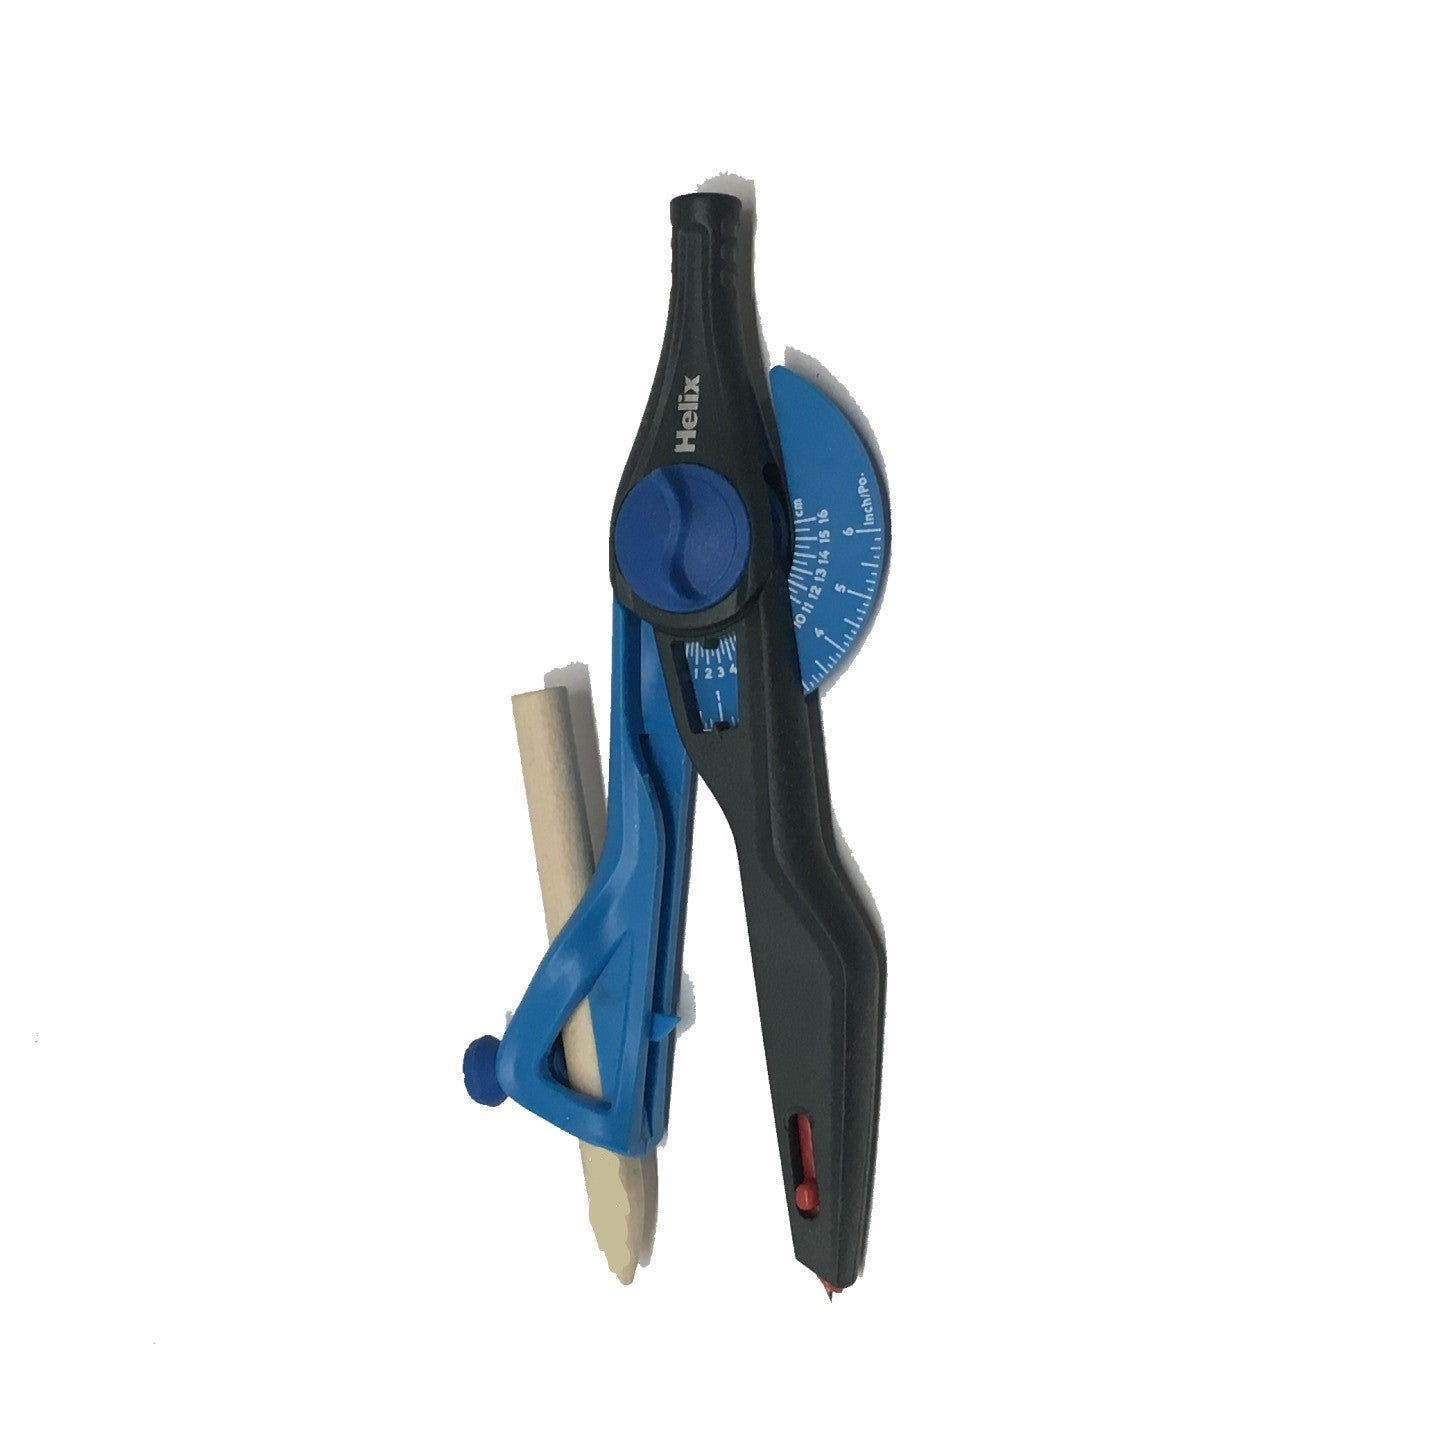
8. Use a Sue Tool to Measure the Placement of the Foot
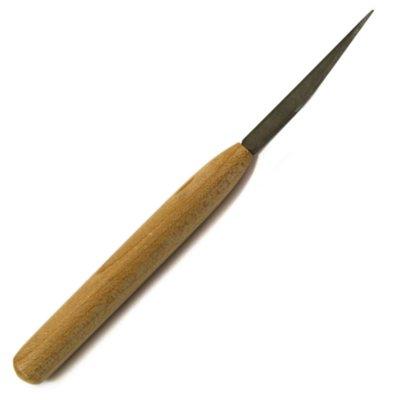
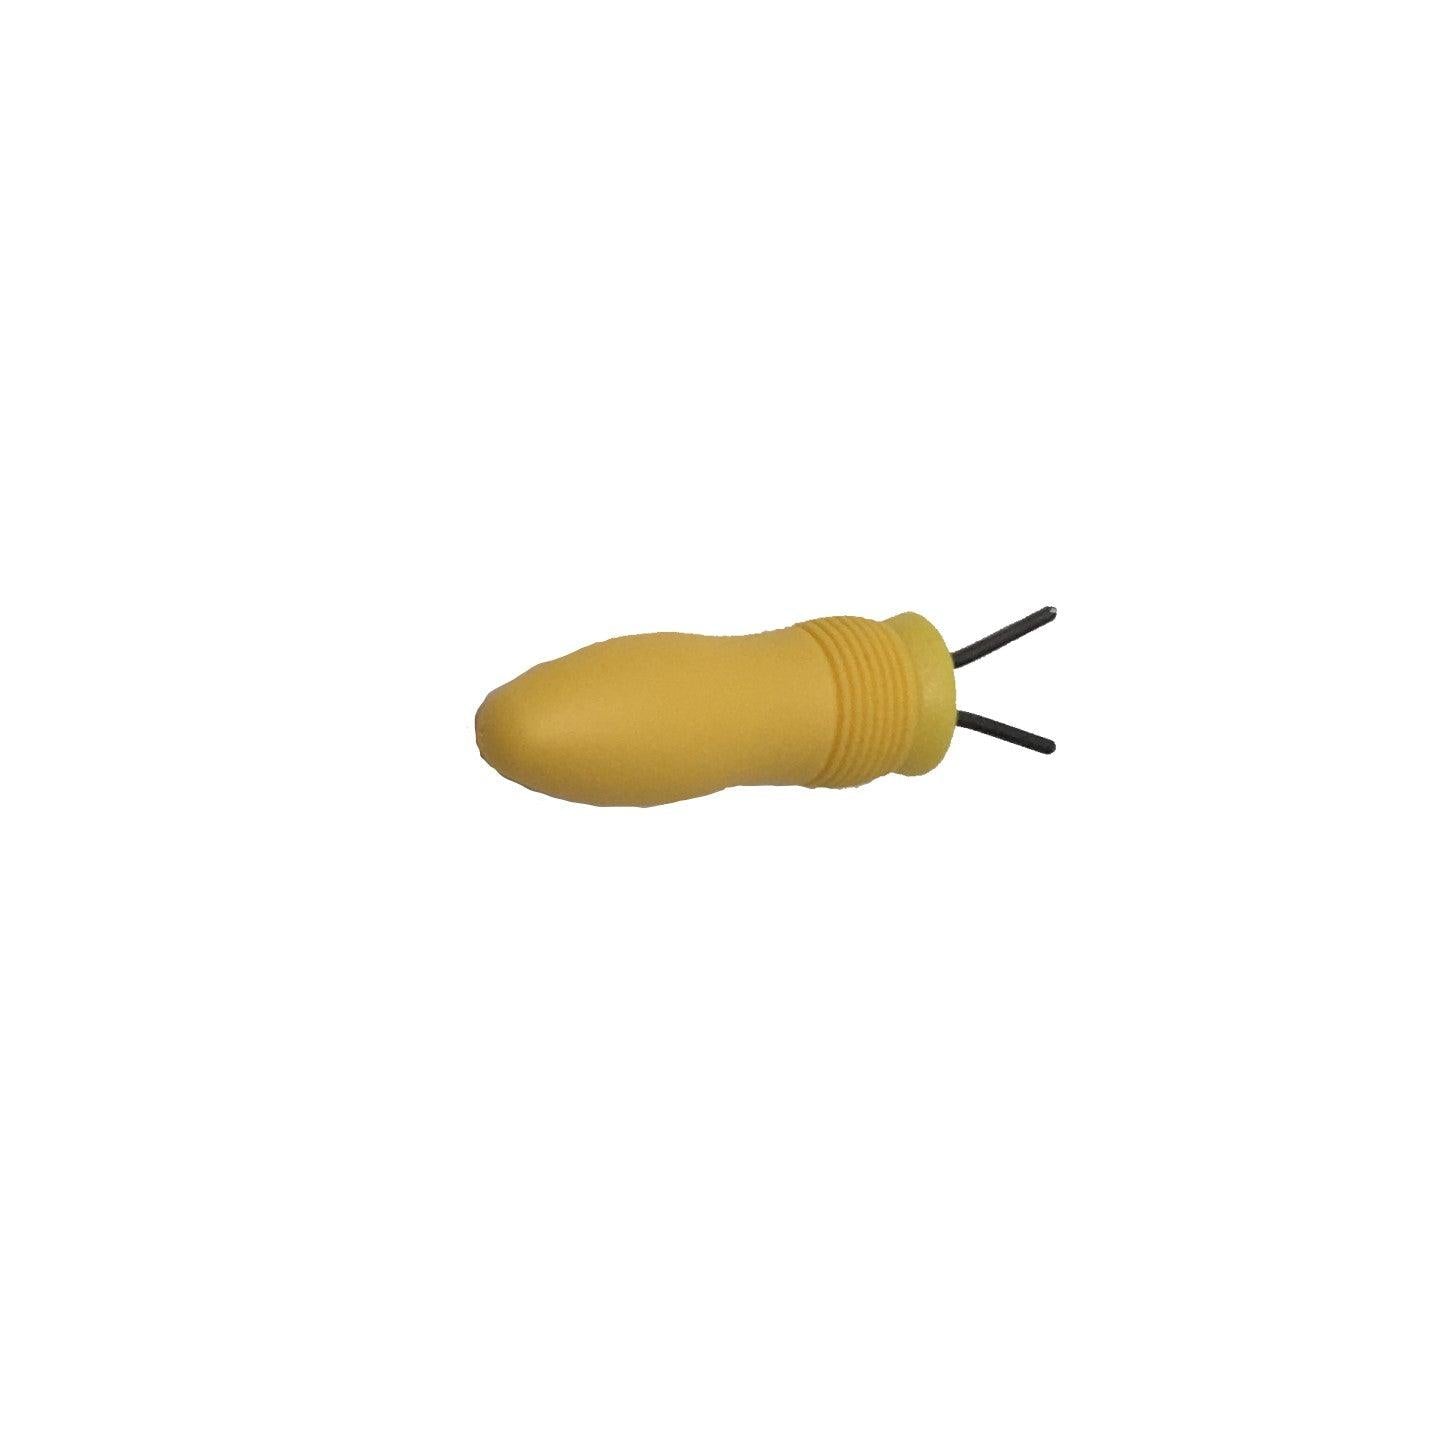
Now, use a Sue Tool to measure where you’d like to place the foot of the plate. Mark a light line around the base where the foot will be attached.
9. Attach the Foot Using a Modeling Tool
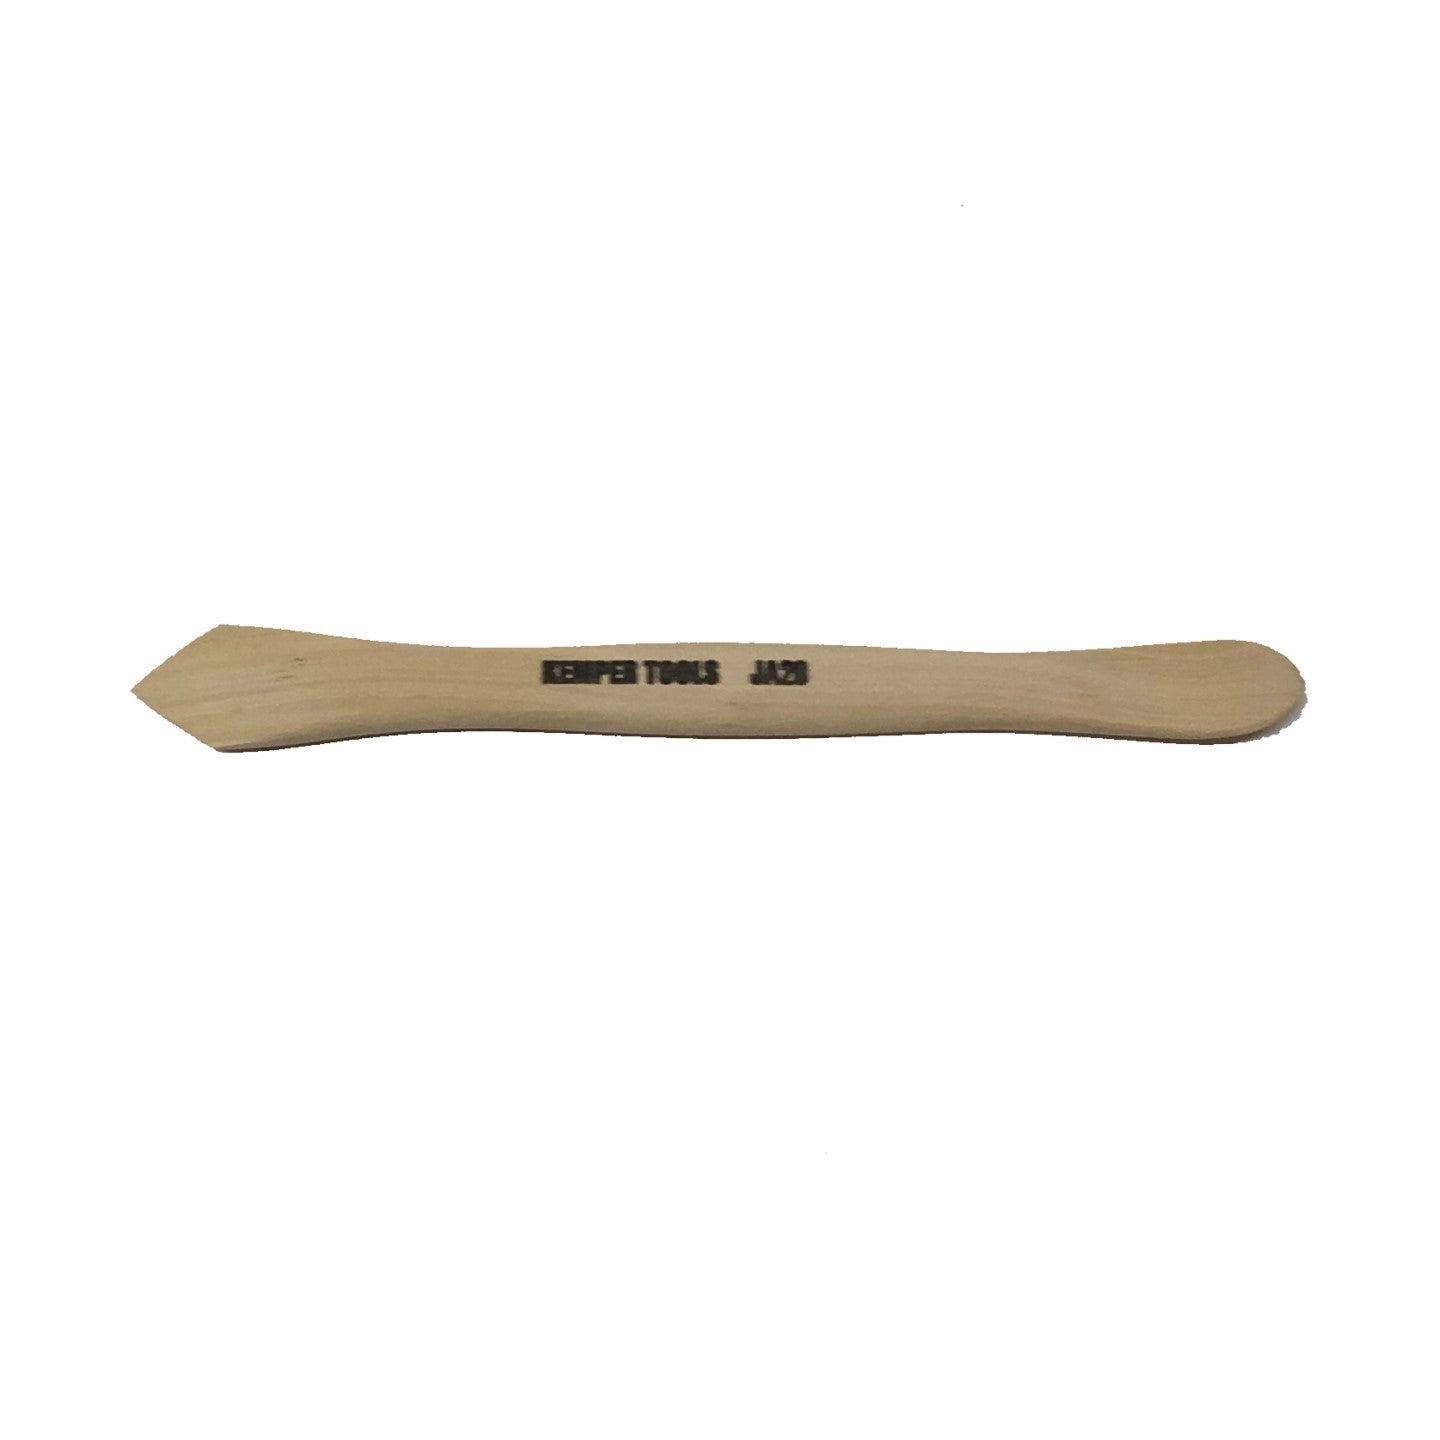
Take a strip of clay and form it into a foot that will sit evenly around the plate. Position the foot on the line you’ve marked with the Sue Tool and gently press it into place using a modeling tool. Blend the edges of the foot into the plate’s base to ensure a seamless connection.
10. Remove the Form Once Leather-Hard
Allow the clay to dry until it reaches leather-hard, which means it’s firm enough to hold its shape but still slightly pliable. Once the plate is leather-hard, carefully remove it from the Form. If the clay is too soft to remove easily, let it dry for a little longer.
11. Refine the Rim with a Notched Rib Tool
At this point, use a notched rib tool to refine and round off the rim of your plate. This tool helps soften any sharp edges, creating a smooth, finished look. Work carefully to make sure the rim is consistent all the way around.
12. Touch Up the Foot with a Loop Tool and Modeling Tool
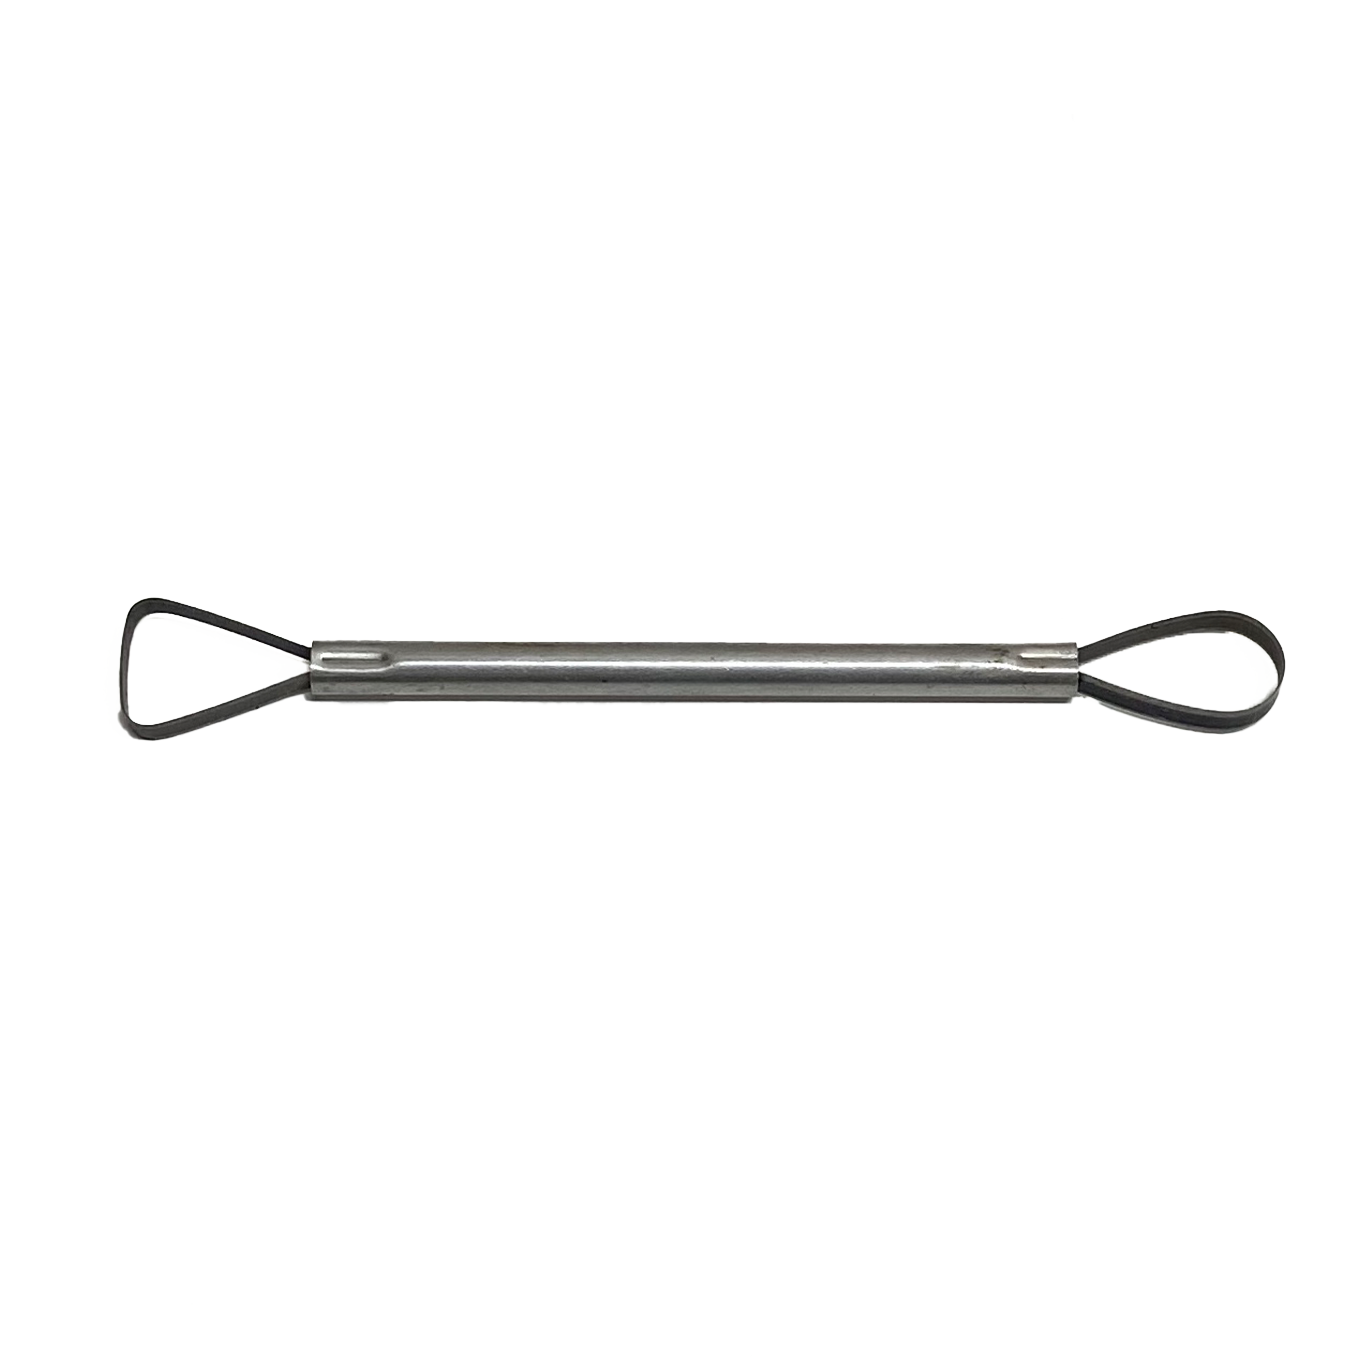
Examine the foot of the plate for any rough spots or imperfections. Use a loop tool to trim any excess clay, and then smooth the edges using a modeling tool. This will give the foot a polished, clean finish and ensure the plate has a stable base.
13. Apply Underglaze in Desired Colors
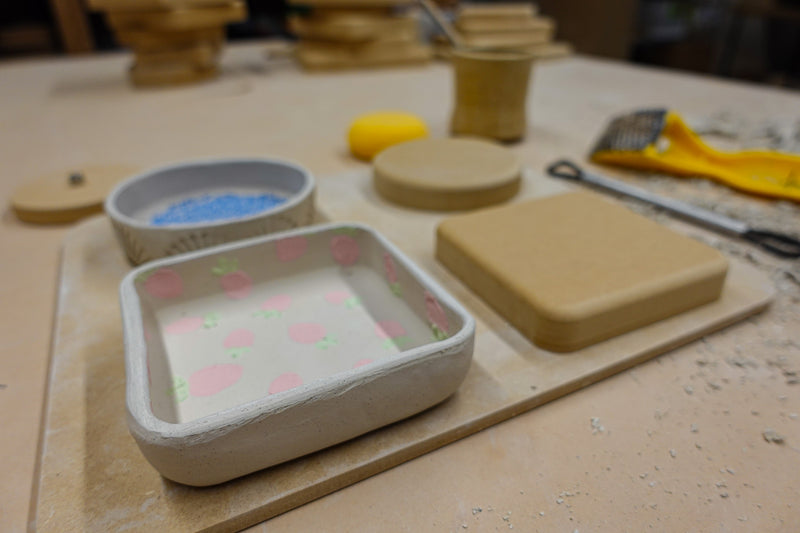
Once you're happy with the shape and texture of your plate, apply underglaze in your desired colors. Use a brush to apply an even layer of underglaze to the surface of the plate. Be creative—this is where you can add any designs, patterns, or color accents to make the plate uniquely yours.
14. Let the Plate Dry to Bone Dry
After applying the underglaze, allow the plate to dry completely to bone-dry. This process can take 24 to 48 hours depending on the climate and thickness of the clay. Be sure to check that the plate is completely dry before firing, as any moisture left in the piece can cause cracking during the firing process.
15. Fire the Plate
Once your glaze is applied and the bottom is cleaned, fire the plate to the appropriate temperature for the glaze and clay body.
16. Dip in Clear Glaze and Refire
After the bisque firing is complete and the piece has cooled, dip it in a clear glaze to give it a glossy, finished look. Once glazed, fire the piece again according to the glaze’s recommended firing temperature. This final firing will set the glaze and complete your piece.
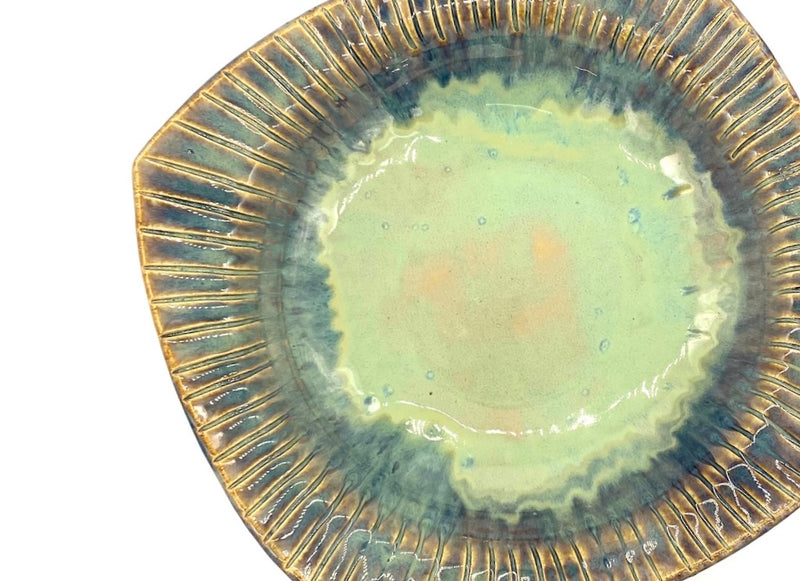
17. Enjoy Your Finished Square Dinner Plate
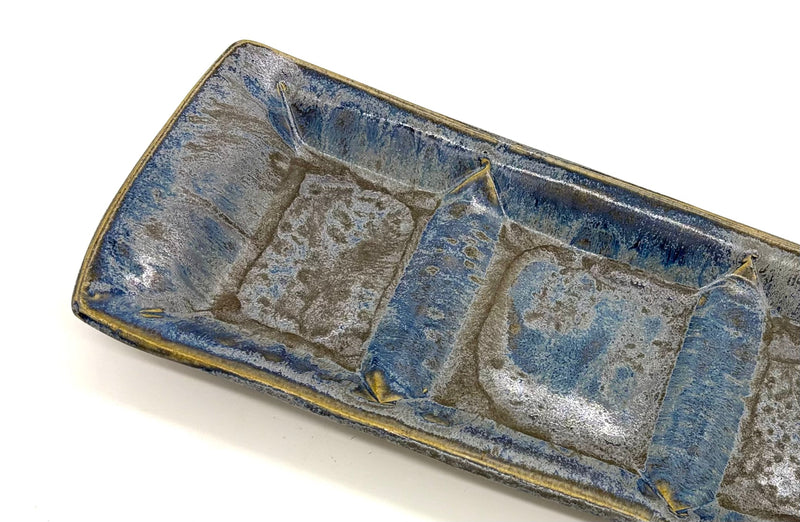
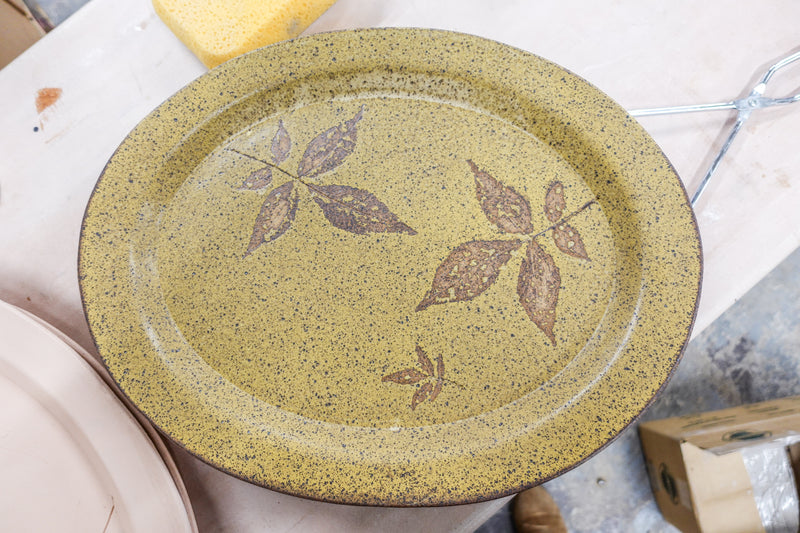
After the firing, your square dinner plate is ready to use! Whether you’ve created a beautiful set for family dinners or a special piece for guests, your handmade square dinner plate is sure to be a stunning addition to your table.
We hope these steps were helpful on how to create functional pieces with our RD2 Square Dinner Set. Here is a tutorial video that goes through the above steps:
Tools used in this blog:
RD2 Square Dinner Set - https://grpotteryforms.com/products/rd2-square-dinner-set-1?_pos=2&_sid=dfe292b13&_ss=r
Medium Mudtools Rib - https://grpotteryforms.com/products/mudtools-rib-medium-1
Notched Rib - (Currently Unavailable)
Sue Tool - https://grpotteryforms.com/products/tool-sue-tool-blue
Loonie Clay Knife - https://grpotteryforms.com/products/loonie-clay-knife
Foot Maker Tool - https://grpotteryforms.com/products/tool-foot-maker
Kemper Modeling Tool - https://grpotteryforms.com/products/tool-modeling-tool
Trimming Tool - https://grpotteryforms.com/products/trimming-tool-flat-round
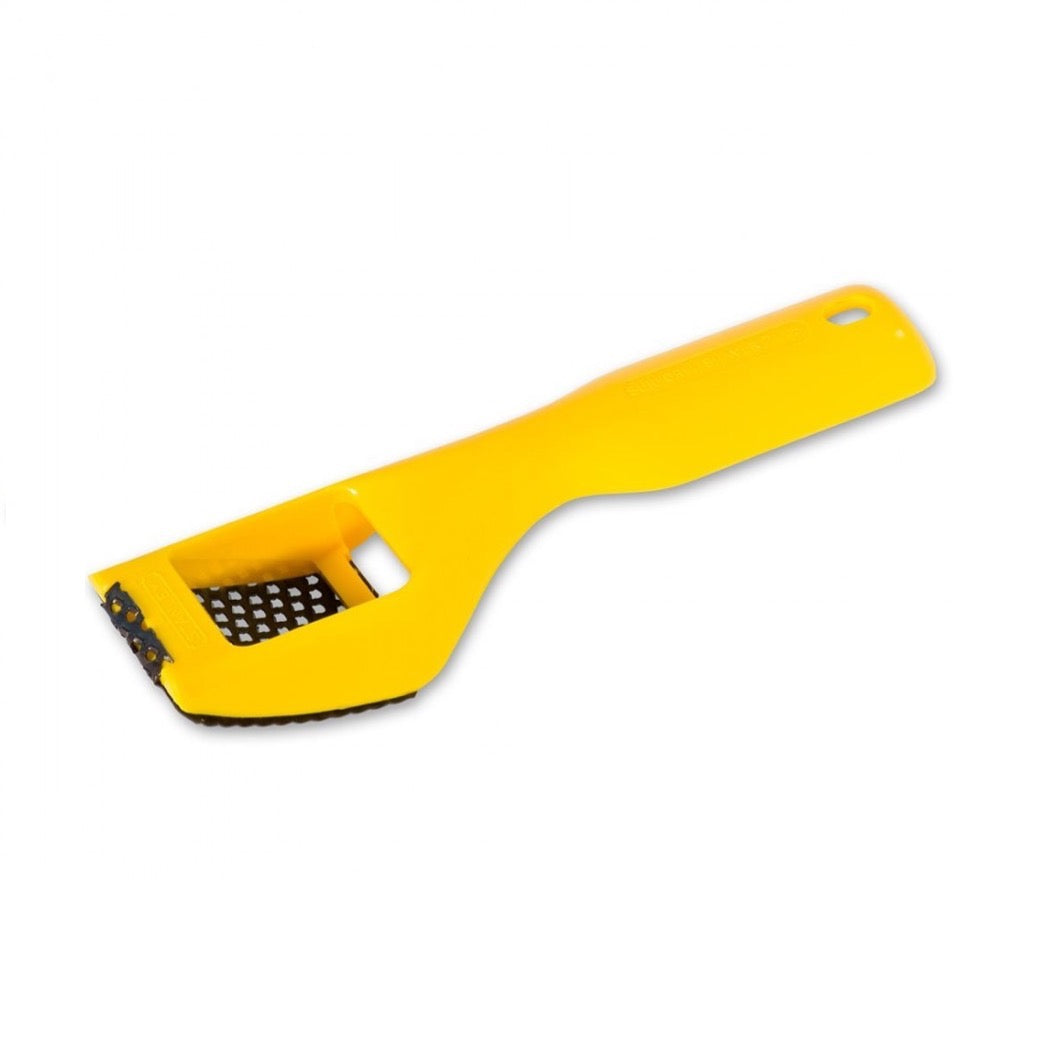
Stanley Surform Rasp - https://grpotteryforms.com/products/tool-stanley-surform

