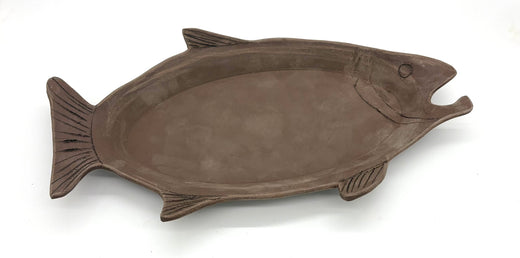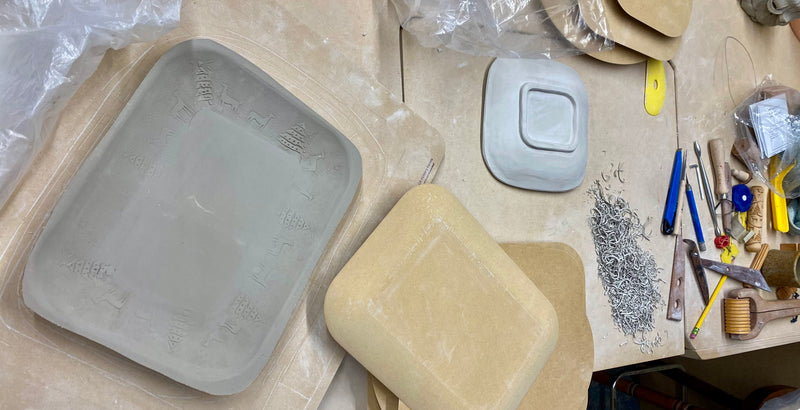
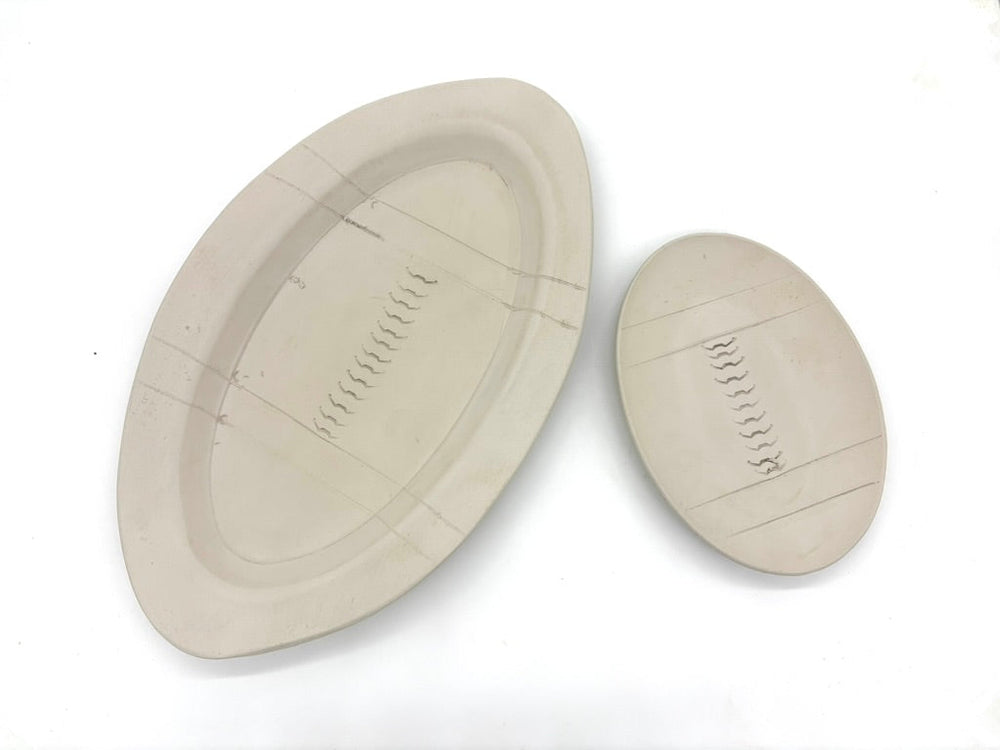
1. Prepare the Clay Slab
Start by rolling out a clay slab that’s large enough to cover your Form, with a little extra around the edges.
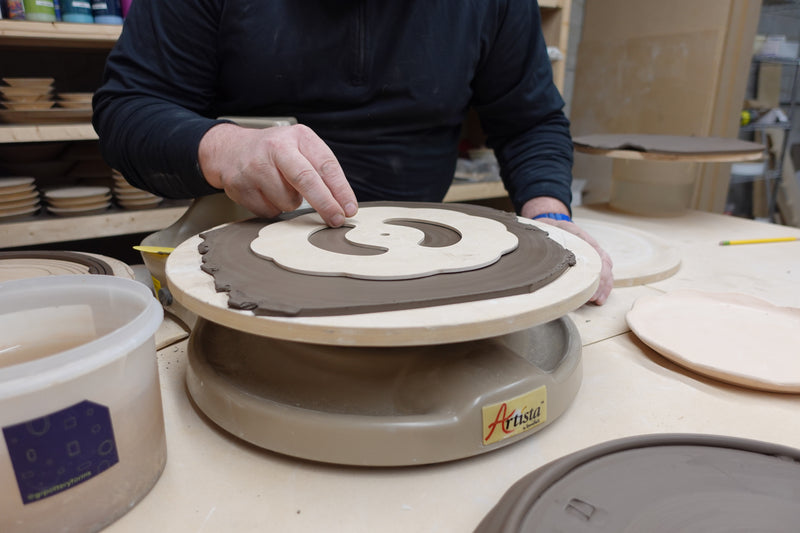
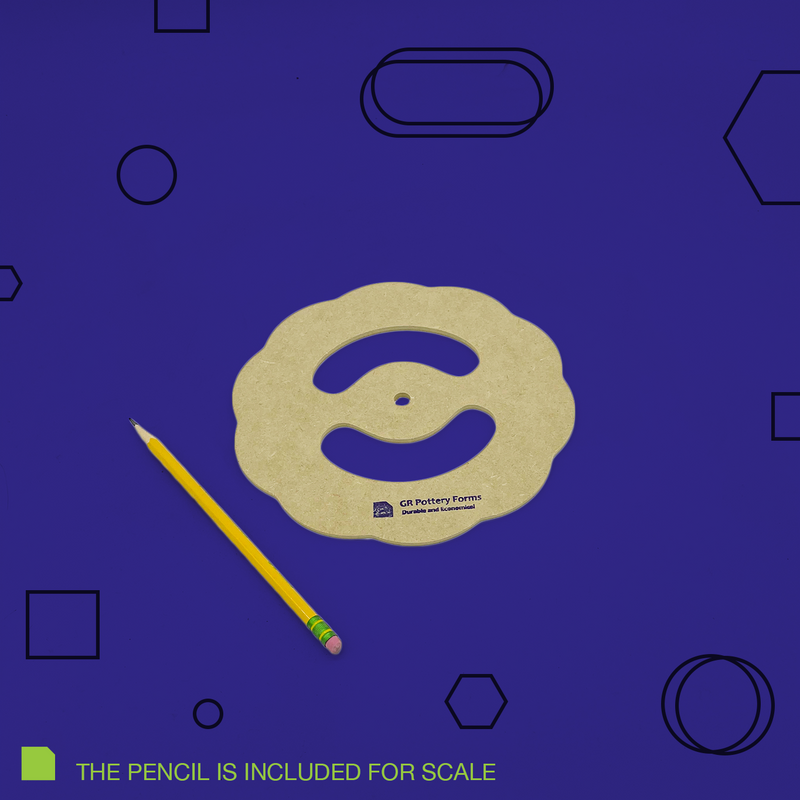
2. Press the Form Into the Clay
Press your Form lightly into the clay to make an impression. This will help you get a clear idea of where you want to place your texture.
3. Add Texture with a Ruler
Now, use a ruler to gently press lines into the clay, creating the signature football threads and stripes. You don’t need to press too hard, just enough to create visible texture.
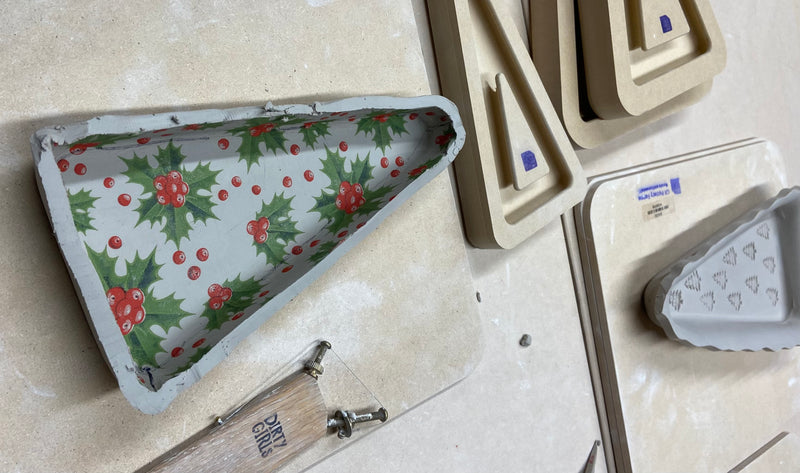
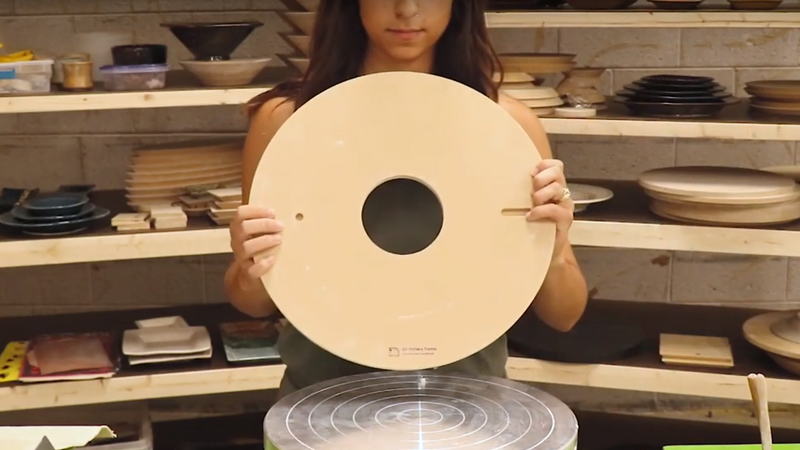
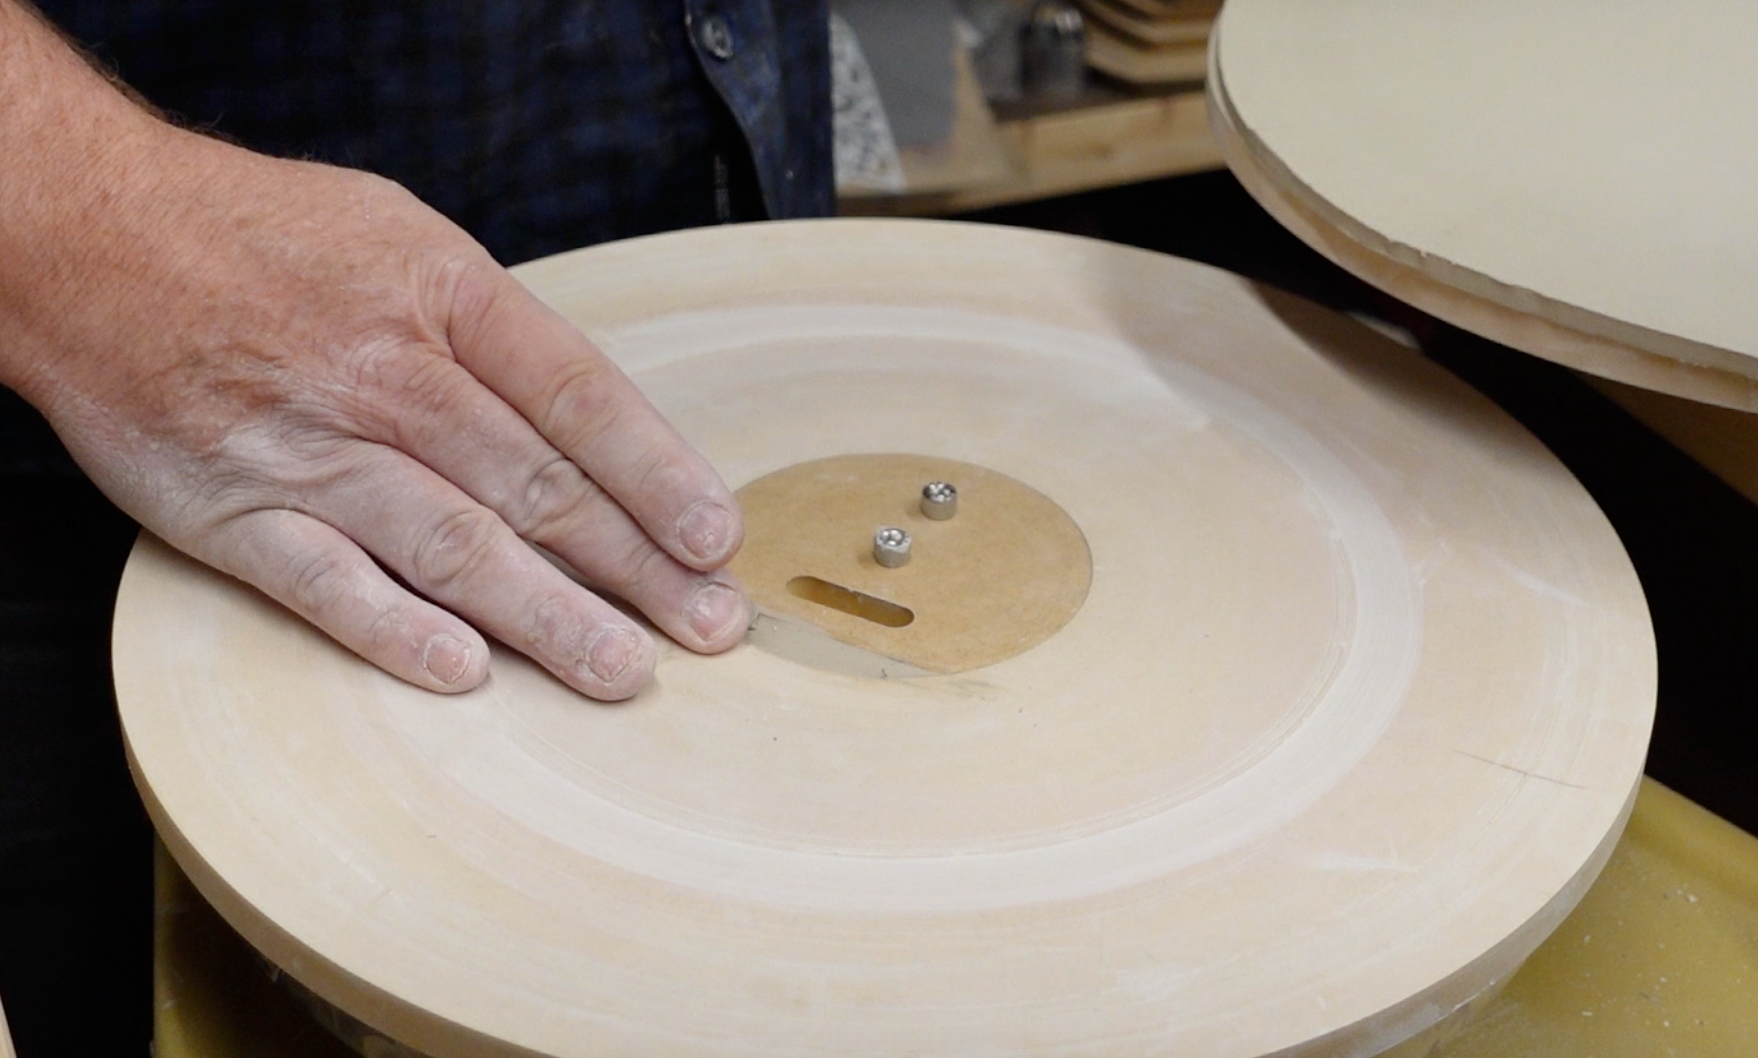
4. Position the Form in the Center
Place the Form in the center of your slab. To prevent it from shifting, put a studio board on top of it, then flip the whole thing over.
5. Press the Clay onto the Form
Gently push the clay up toward the Form. Gradually add more pressure as you work, making sure the clay takes on the shape of the Form without getting too thin.
6. Compress the Clay with a Rib
Take a Mudtools rib and use it to press and smooth the clay into the Form.
7. Mark the Rim
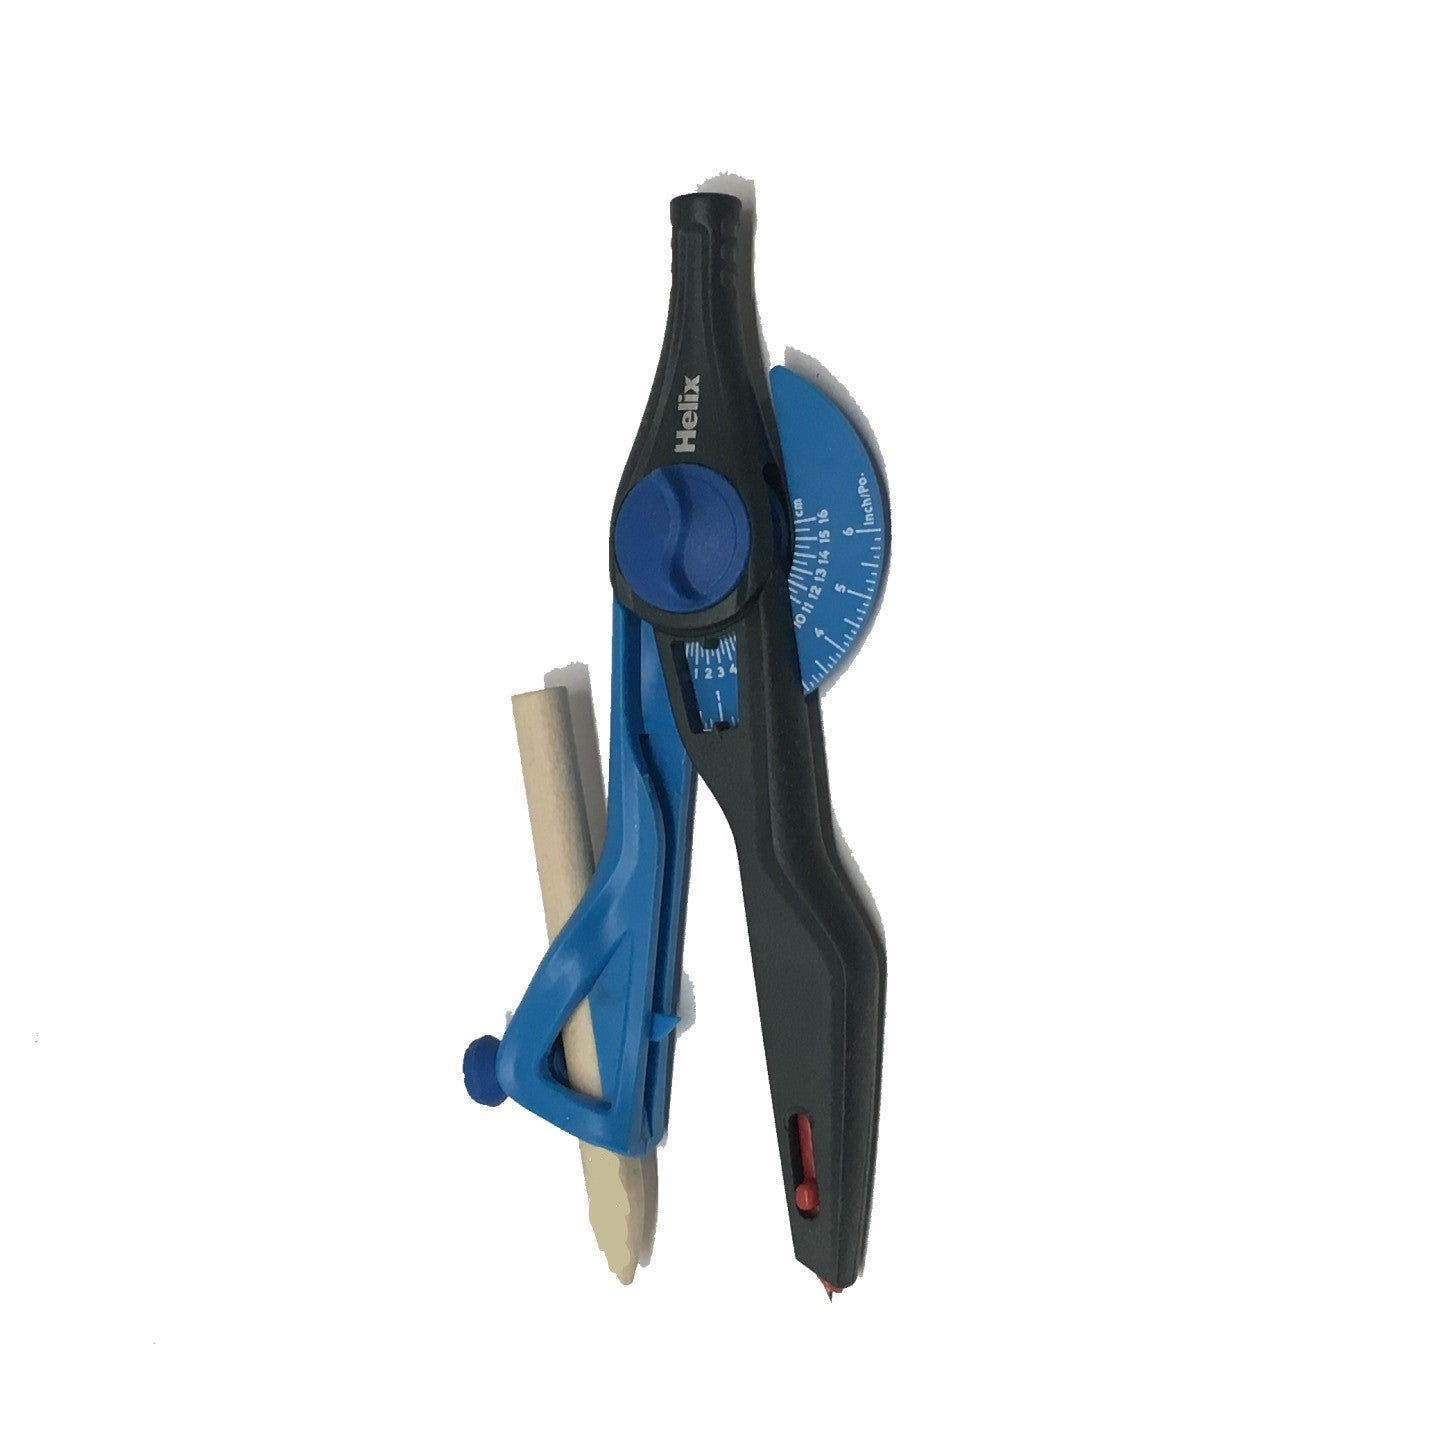
Use a Sue Tool to draw a line around the rim of the platter where you plan to cut. This is your guide for shaping the edge.
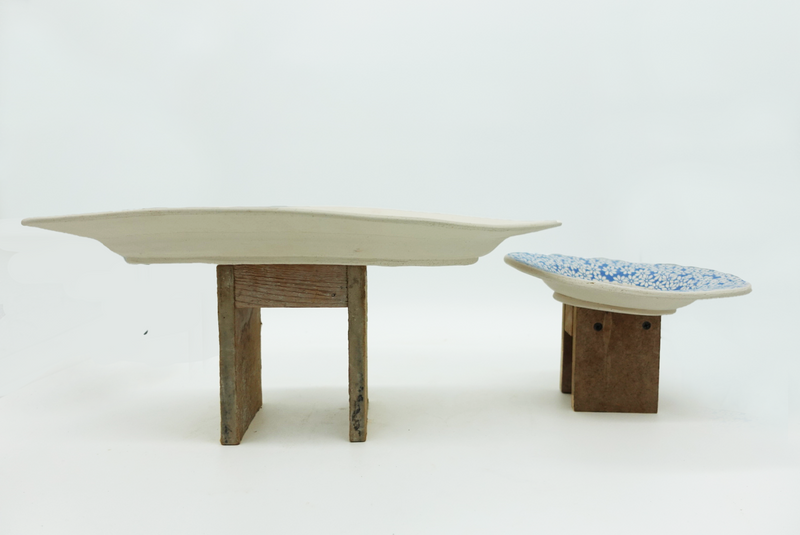
8. Cut Out the Foot
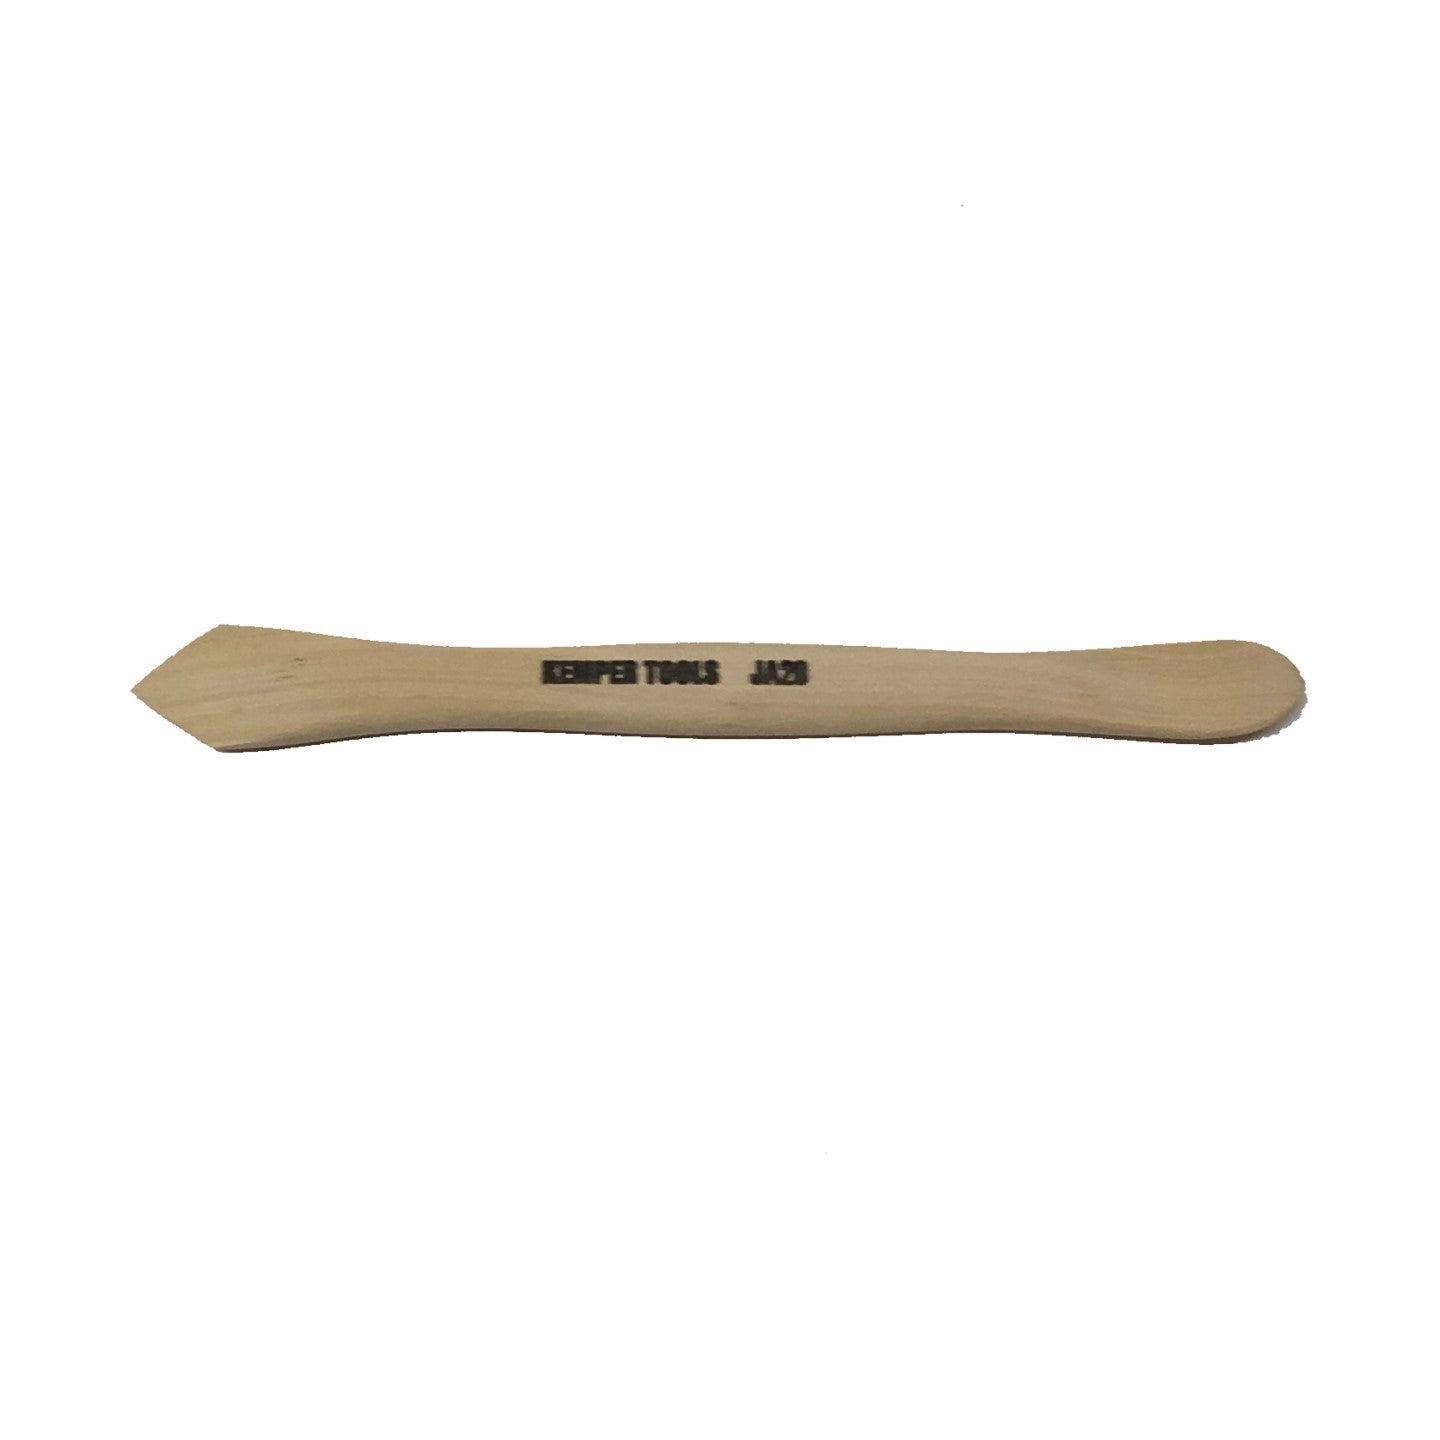
Using a Foot Maker Tool, cut out a strip of clay from the leftover slab to create the foot of the platter. This gives the platter a lifted look and provides support.
9. Attach the Foot
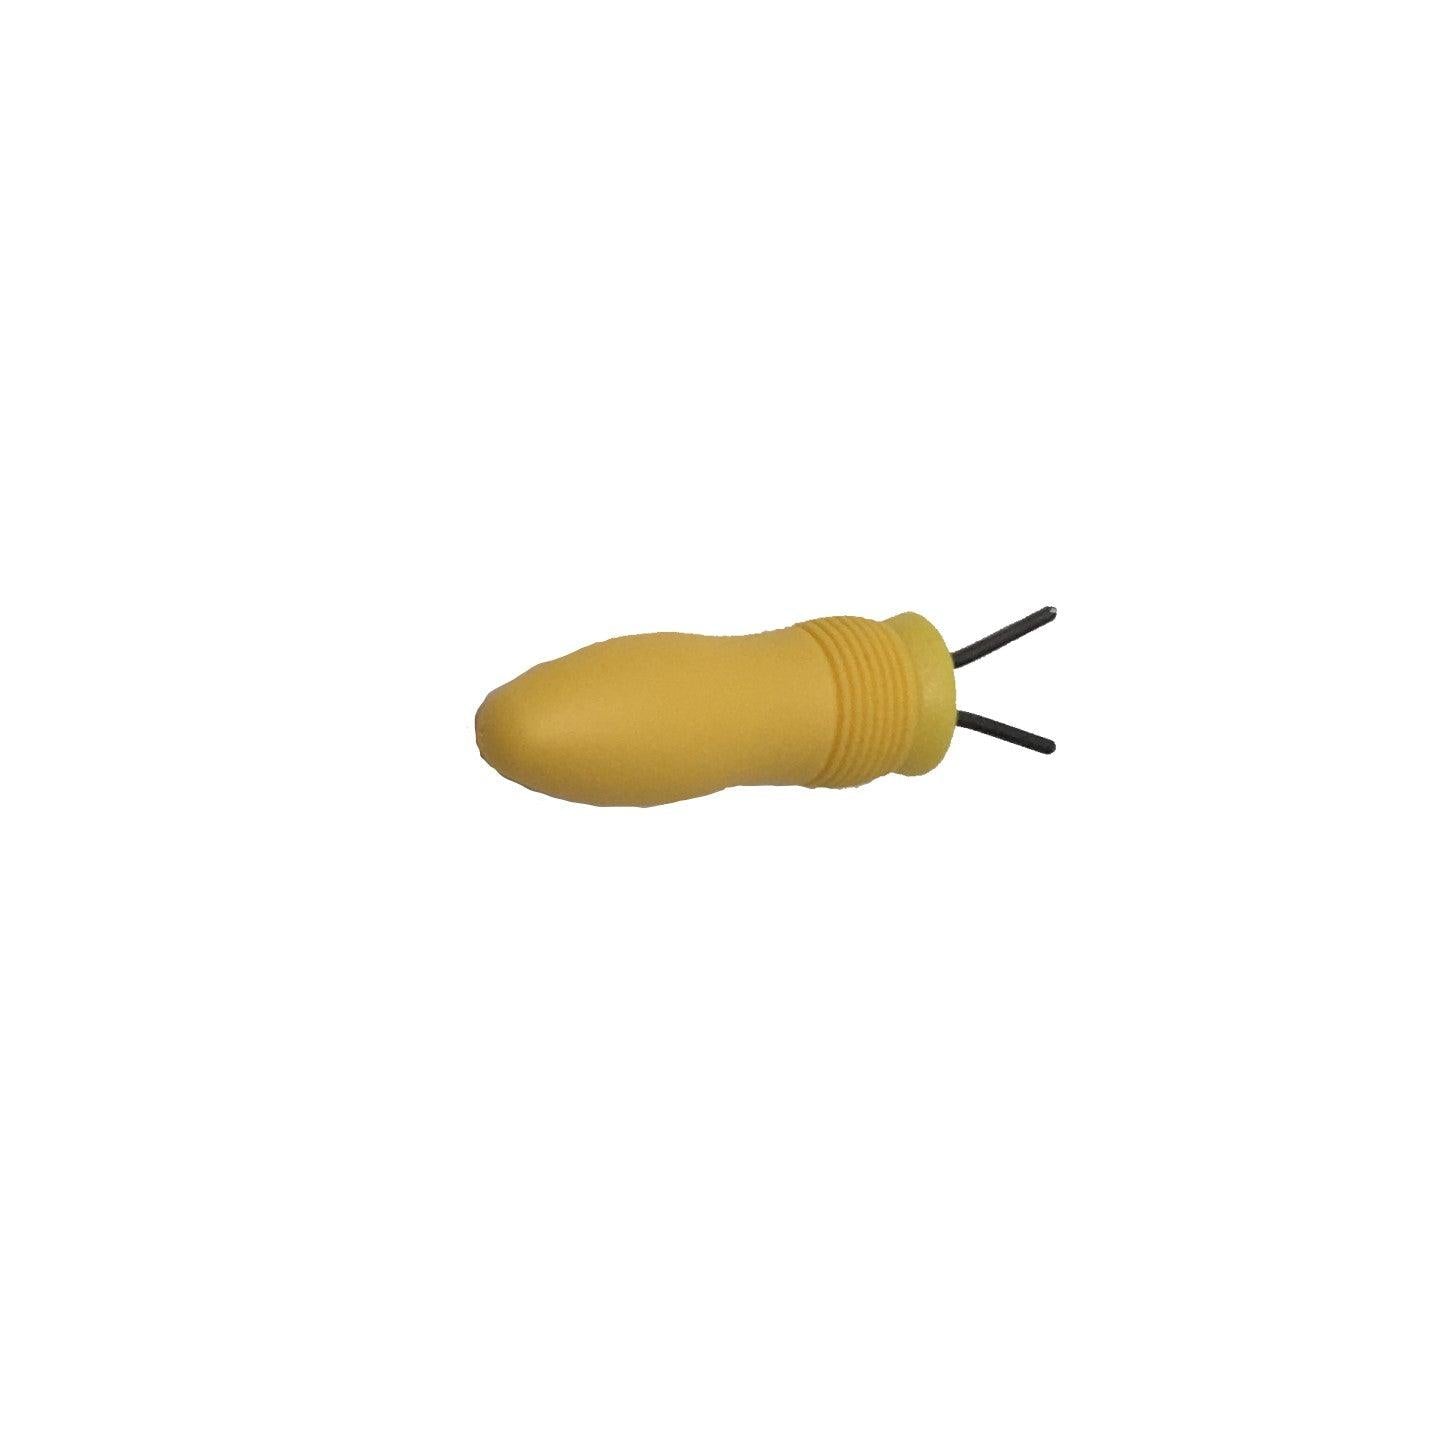
Press the foot onto the bottom of the platter. Use a modeling tool to blend the edges of the foot into the platter, smoothing the connection so it looks seamless.
10. Shape the Rim
Place your platter on a spacer or small Form. Press gently on the edges to create a slight slope, giving the platter a nice angled effect.
11. Let the Clay Dry to Leather-Hard
Allow your platter to dry until it’s leather-hard. It should be firm to the touch but still a little damp—perfect for trimming and refining.
12. Trim and Refine the Rim
Once leather-hard, use a trimming tool and a notched rib to clean up the edges and foot. Smooth any rough spots and make sure the rim is even.
13. Dry Completely
Let the platter dry fully in a stable environment. Make sure it’s completely dry before firing to avoid cracks.
14. Bisque Fire
Once dry, bisque fire your platter according to your clay’s specifications. This will harden the clay and prepare it for glazing.
We hope these steps were helpful on how to create football party platters! Here is a tutorial video that goes through the above steps:
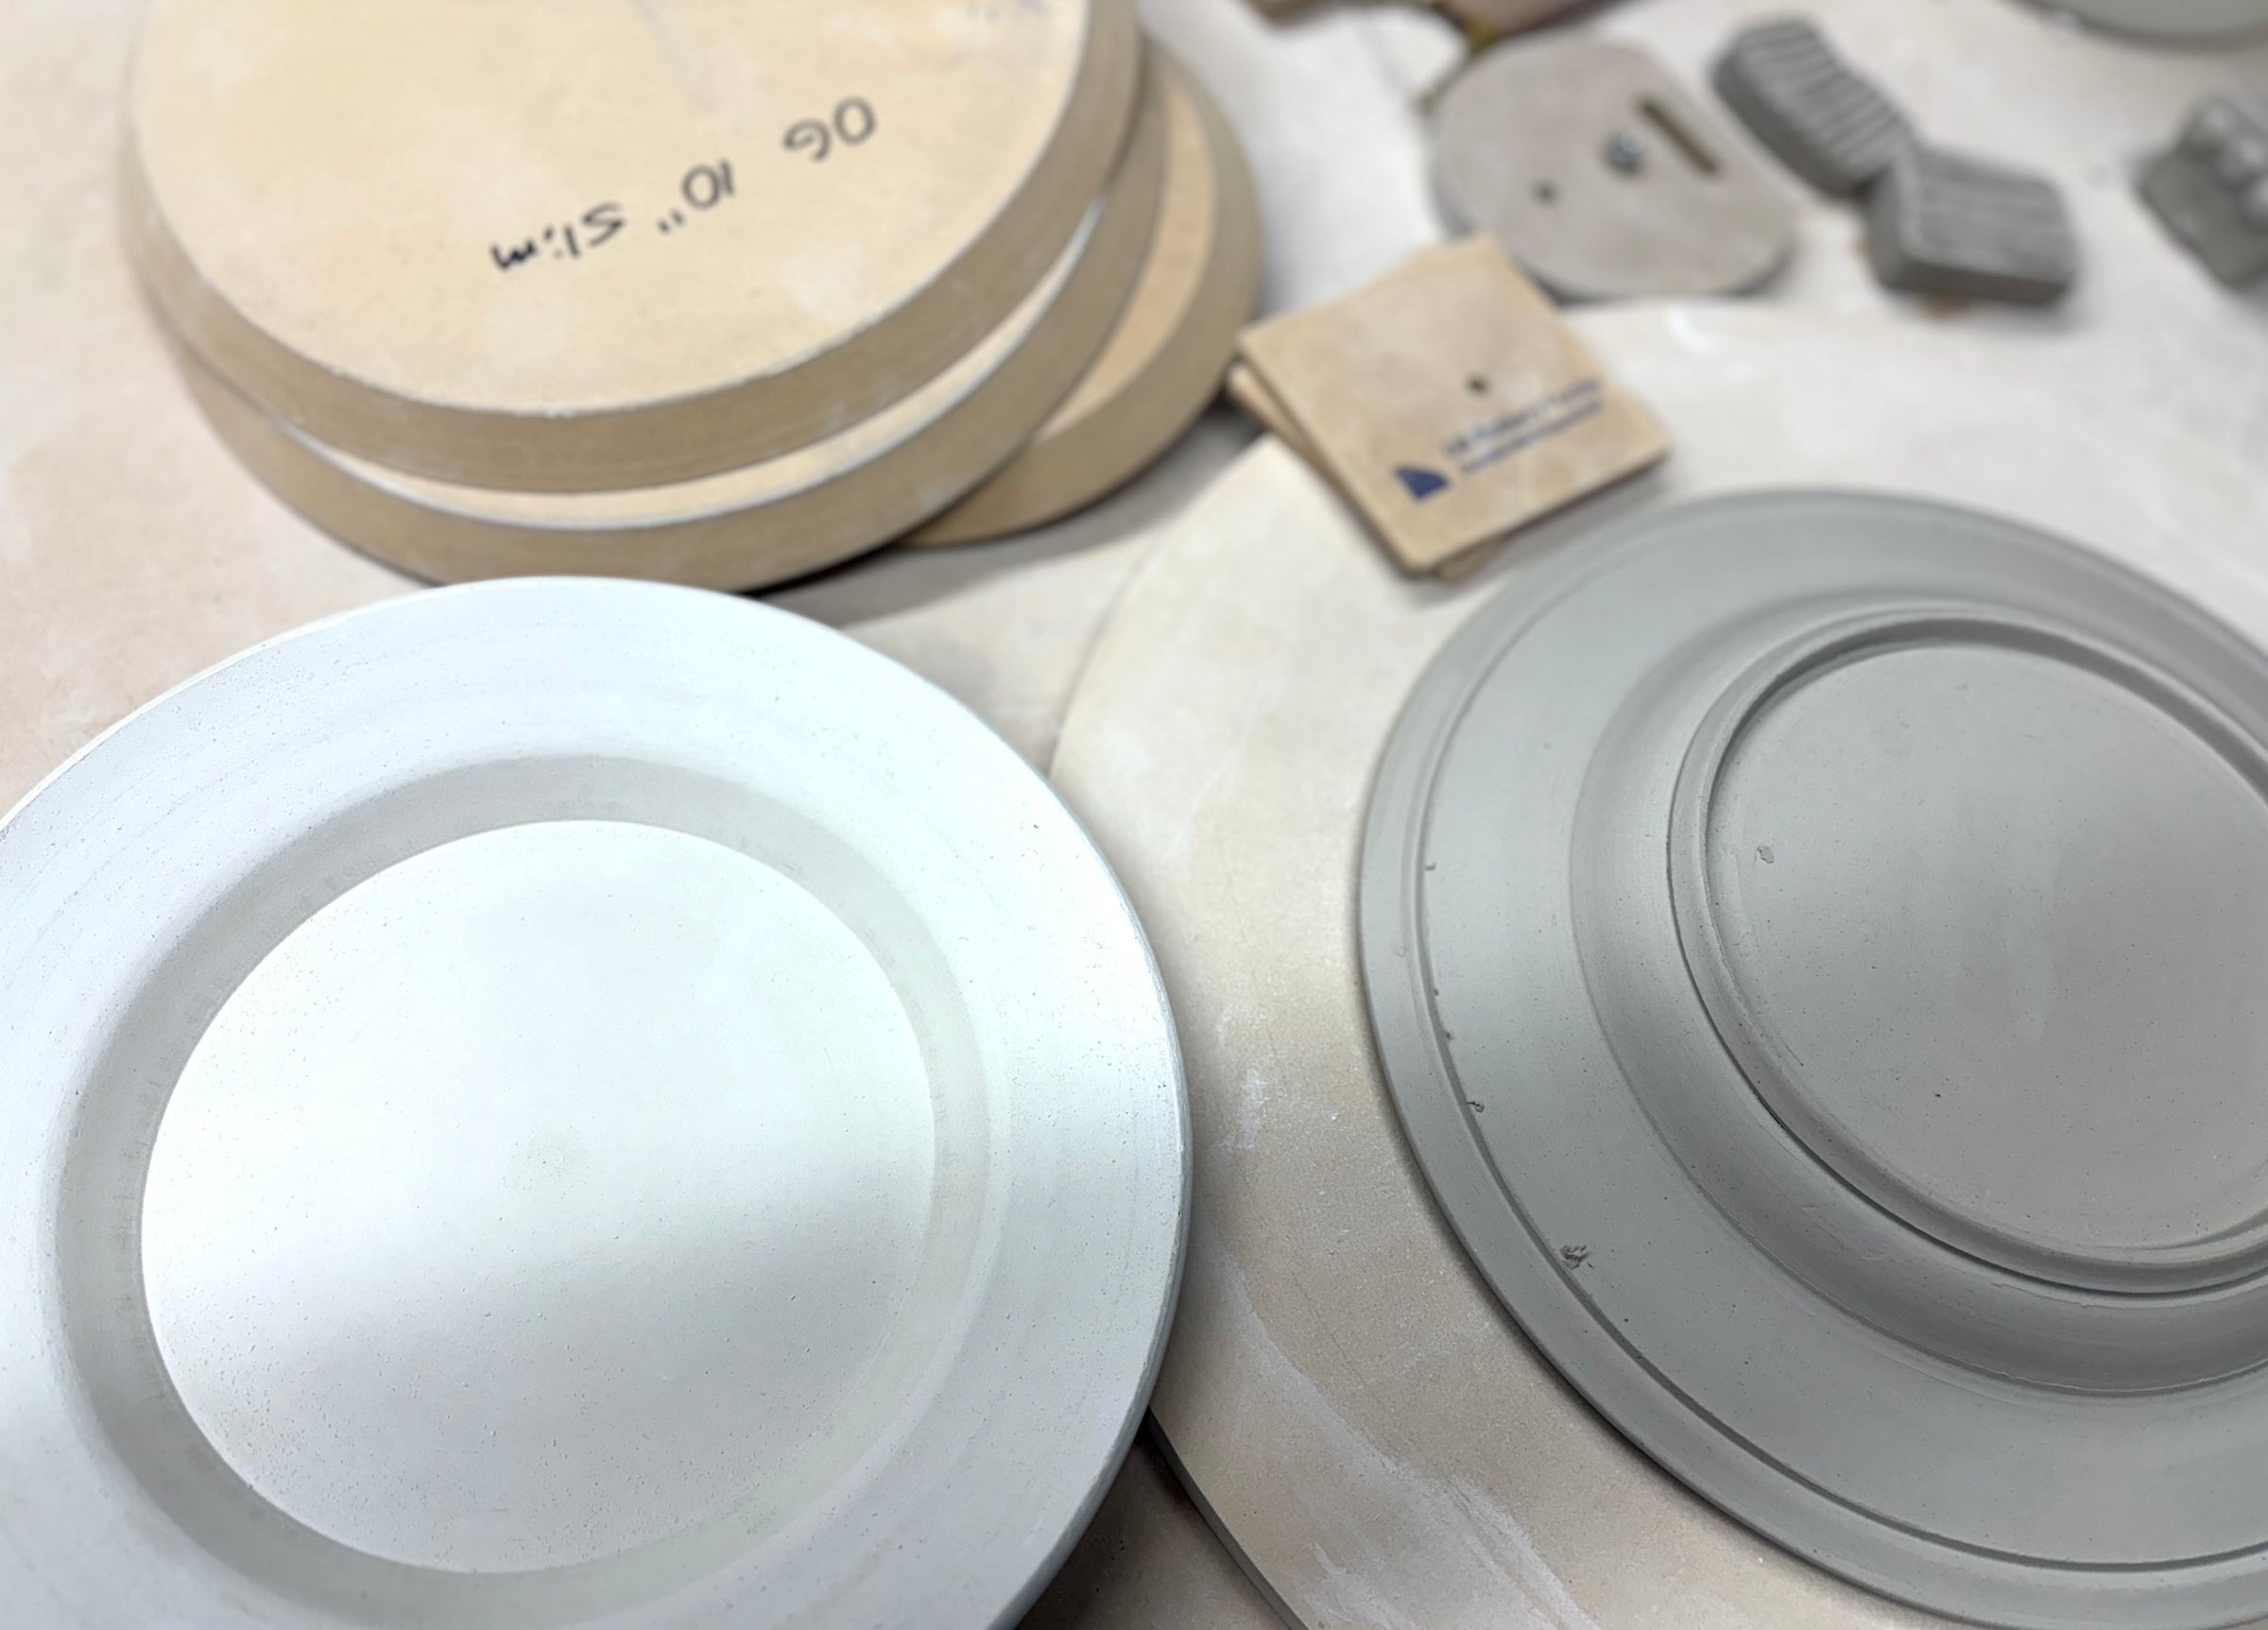
Tools used in this blog:
Mudtools Rib - https://grpotteryforms.com/products/mudtools-rib-medium-1
Sue Tool - https://grpotteryforms.com/products/tool-sue-tool-blue
Foot Maker Tool - https://grpotteryforms.com/products/tool-foot-maker
Kemper Modeling Tool - https://grpotteryforms.com/products/tool-modeling-tool
Loonie Clay Knife - https://grpotteryforms.com/products/loonie-clay-knife
Notched Rib - https://grpotteryforms.com/products/tool-edge-rounding-rib