The Forming Stage:
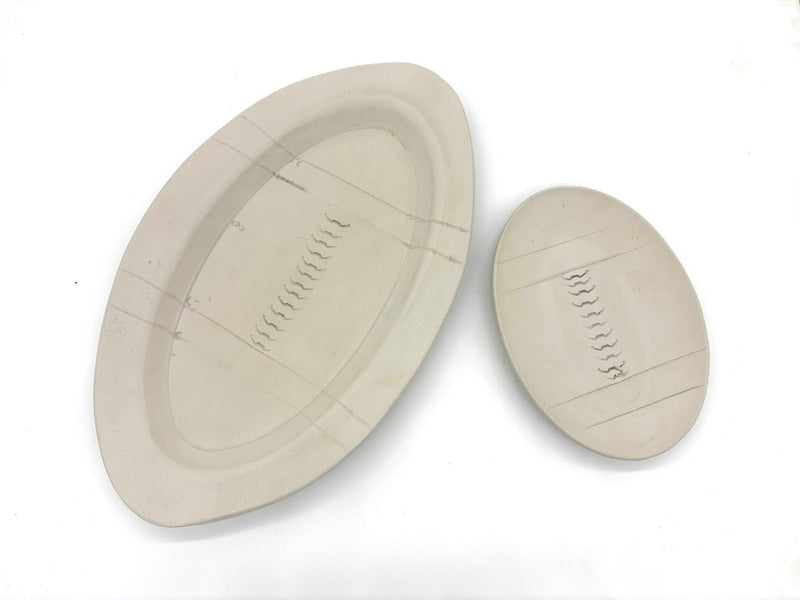
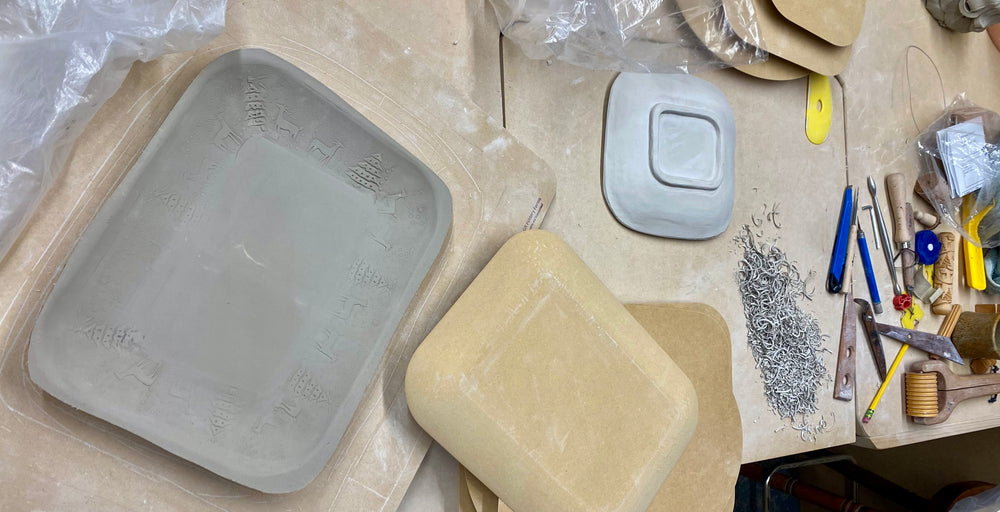
1. Compress and Mark the Slab
Begin by compressing your clay slab with a rib tool. This step not only smooths the surface but also helps eliminate air bubbles. Once you’ve achieved an even texture, mark around the edges of your Form with a modeling tool to create a guide of where to add your design.
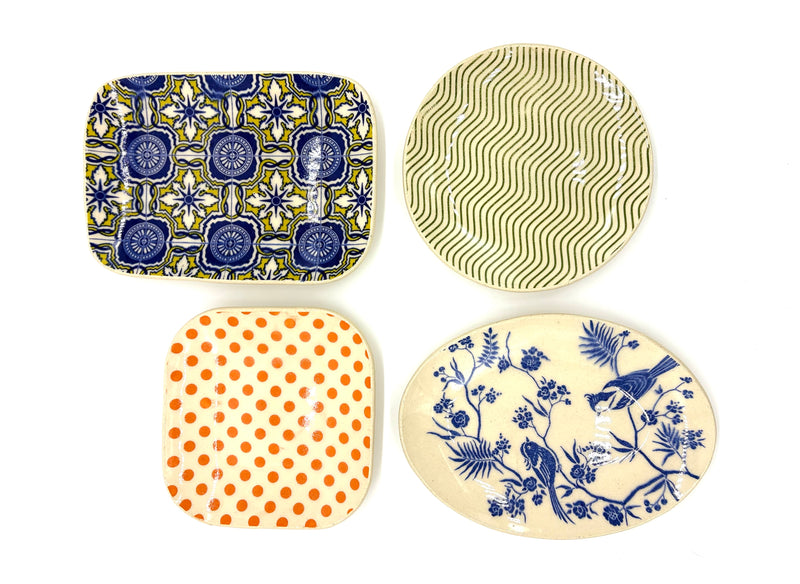
2. Add Texture (Optional)
For a unique touch, consider using a textured roller on the inside edge of your slab. This optional step adds a beautiful pattern, giving your piece extra dimension.
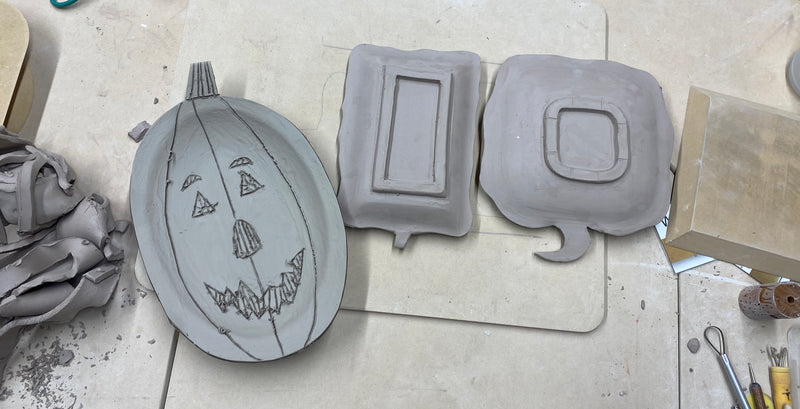
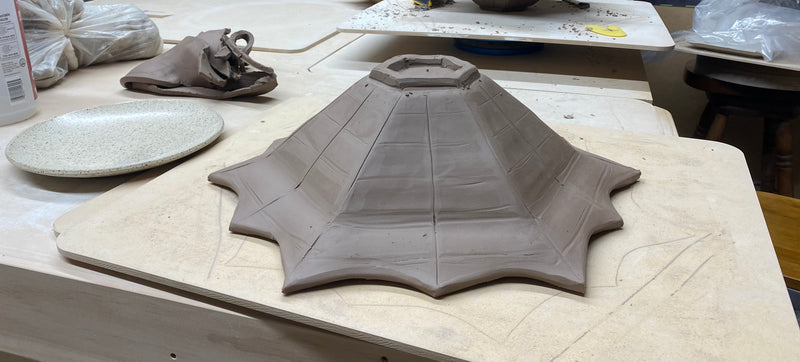
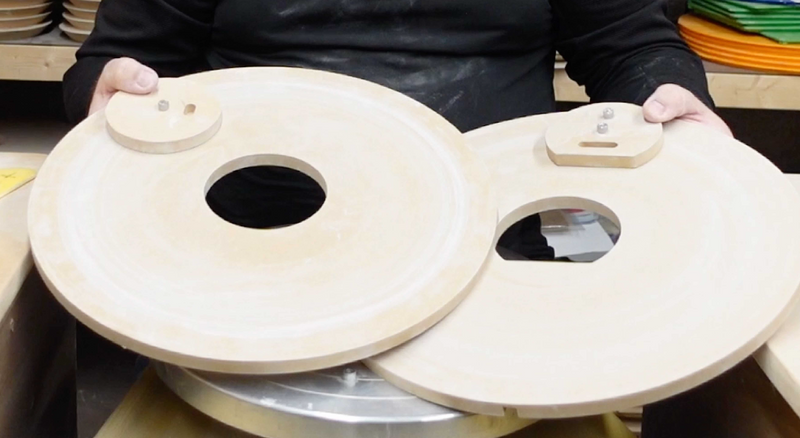
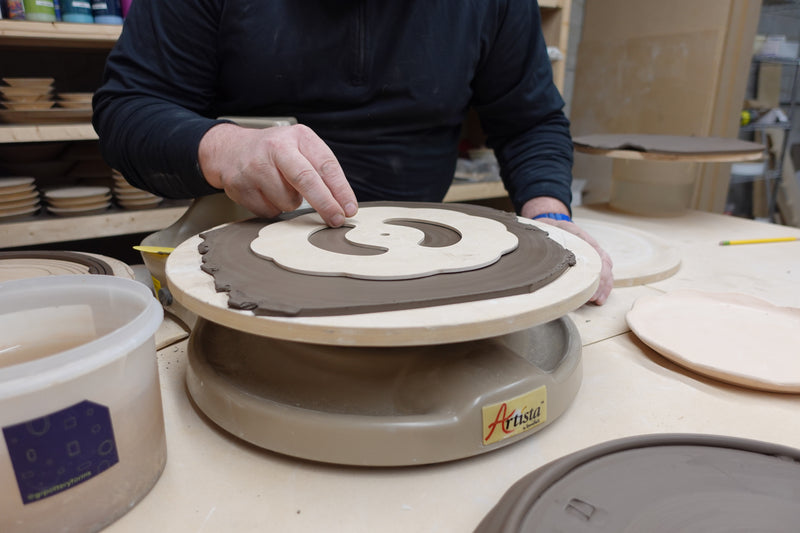
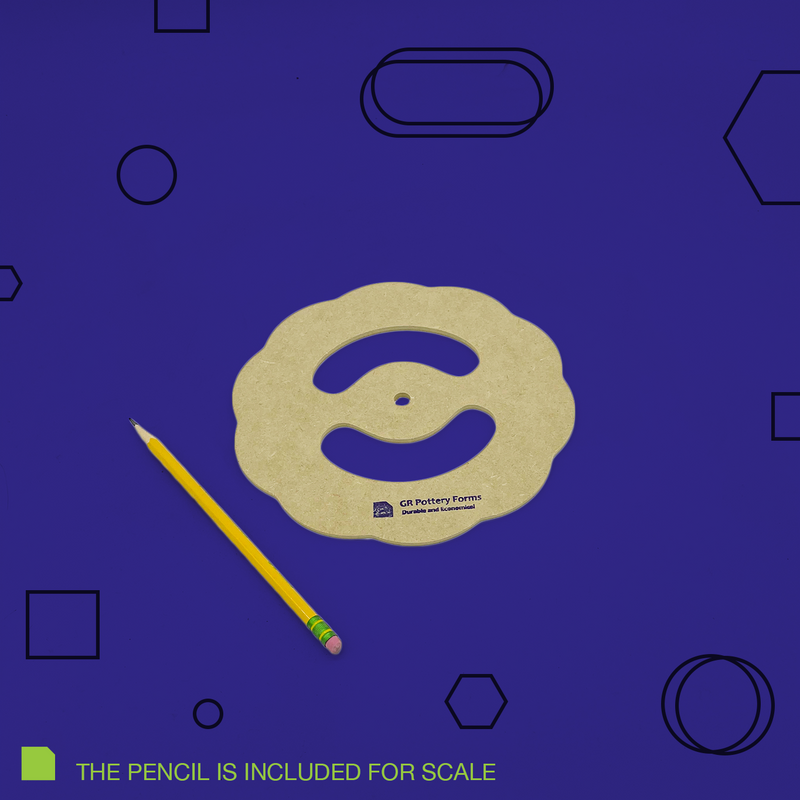
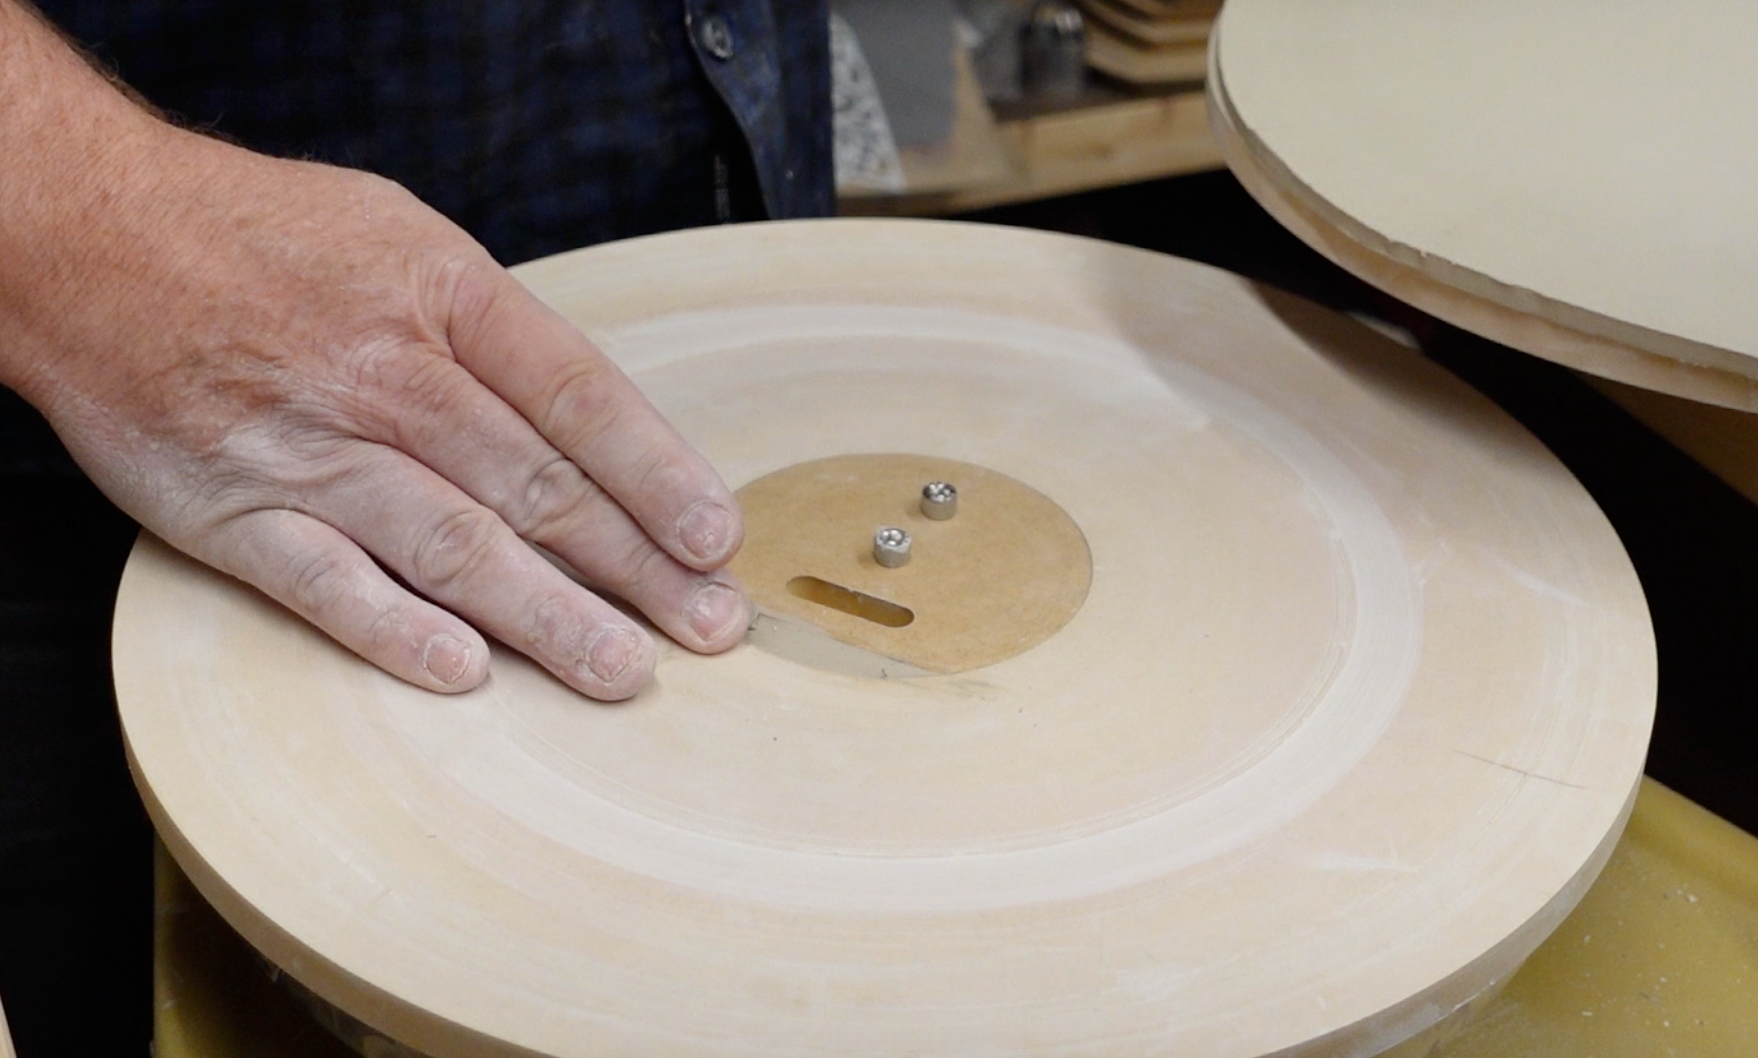
3. Position and Flip the Form
Next, place the Form in the center of your design. Once it’s aligned, carefully flip the slab over to keep the texture or markings on the inside. This flip is crucial for the overall look of your piece.
4. Compress the Clay
Now it’s time to compress the clay onto the Form. Start by using your hands to gently push the clay into place. Once you’ve done this, switch to the rib tool for more consistent pressure, ensuring the clay conforms smoothly to the shape of the Form.
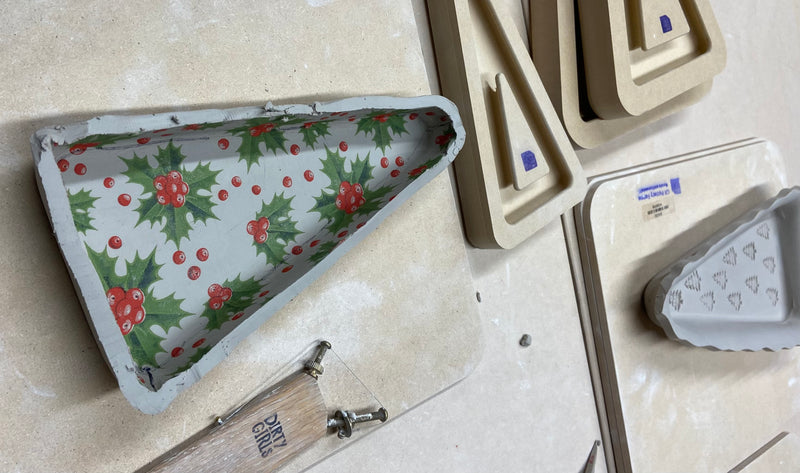
5. Cut the Edges
Using a knife, cut along the edge of the Form. To add a rim leave some room around the edge of the Form. This step is key to achieving the desired shape.
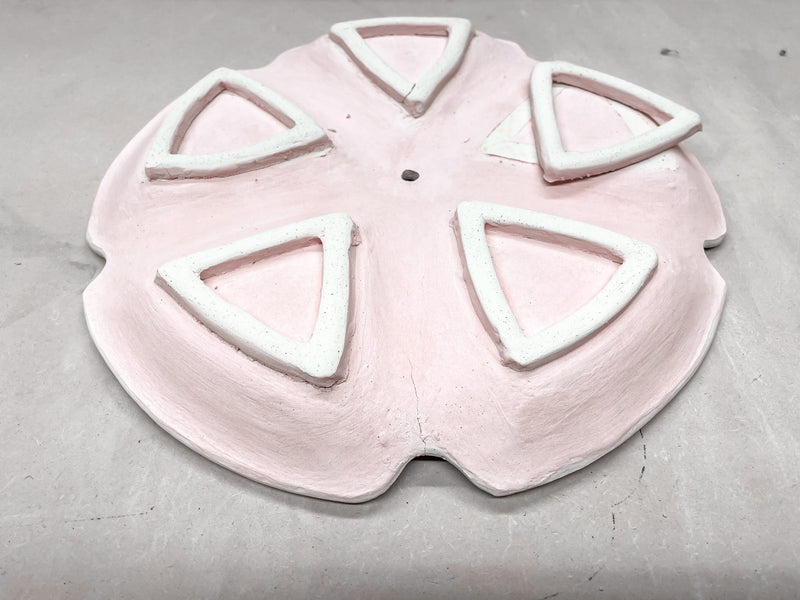
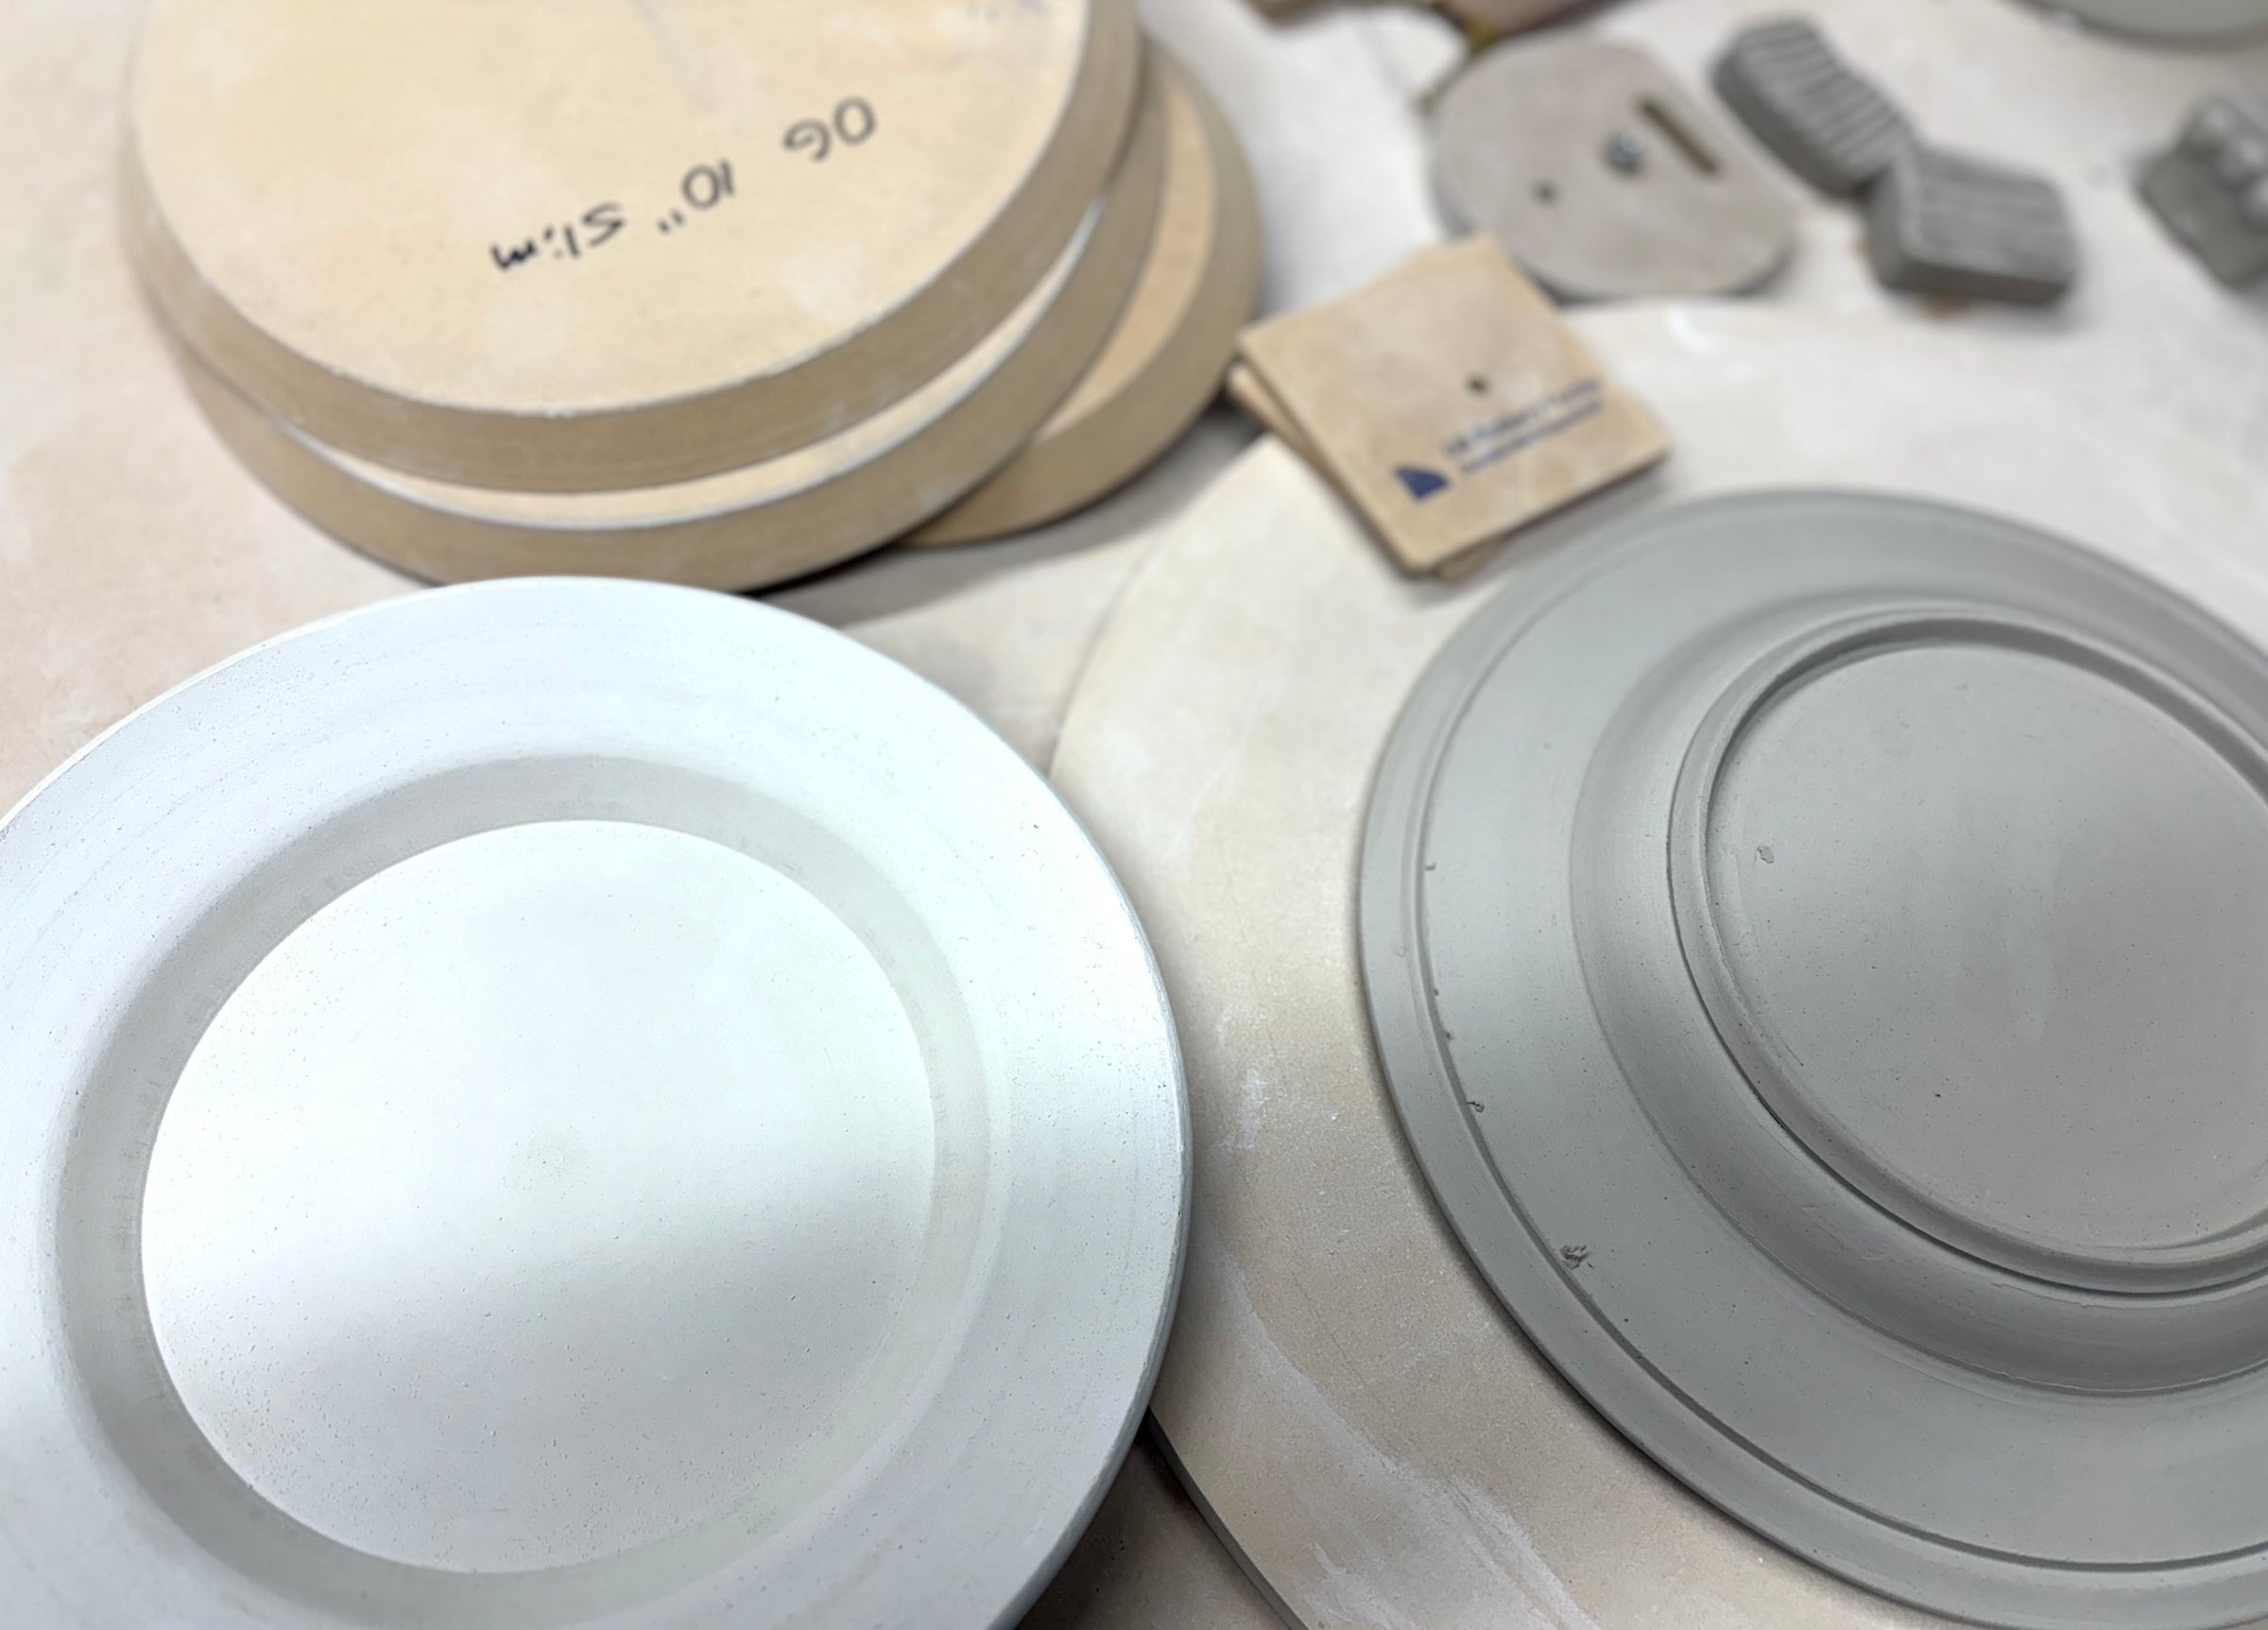
6. Mark the Foot Placement
Take your Sue Tool and carefully mark where you want to place the foot of your piece. This will help you visualize where to put the foot for the best balance and overall look.
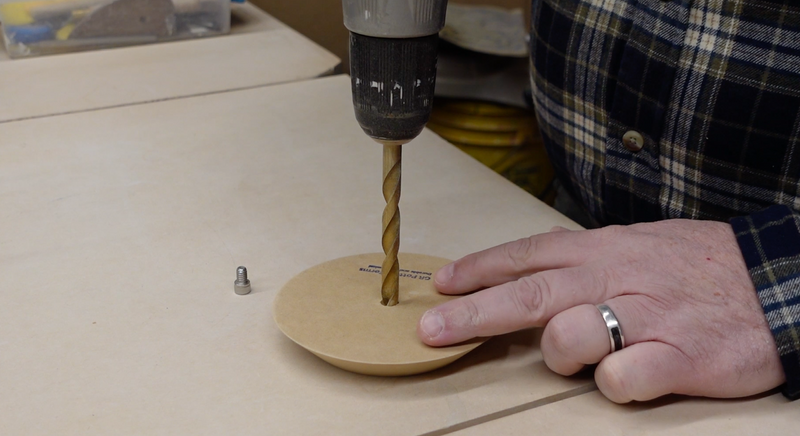
7. Cut Out the Foot
Using the Foot Maker Tool, cut out the foot from your extra clay. This tool helps to ensure that your foot is an even size.
8. Attach the Foot
Next, attach the foot to your piece. Use a modeling tool to go along the corners and make sure they are attached well. Ensure everything is aligned properly for stability.
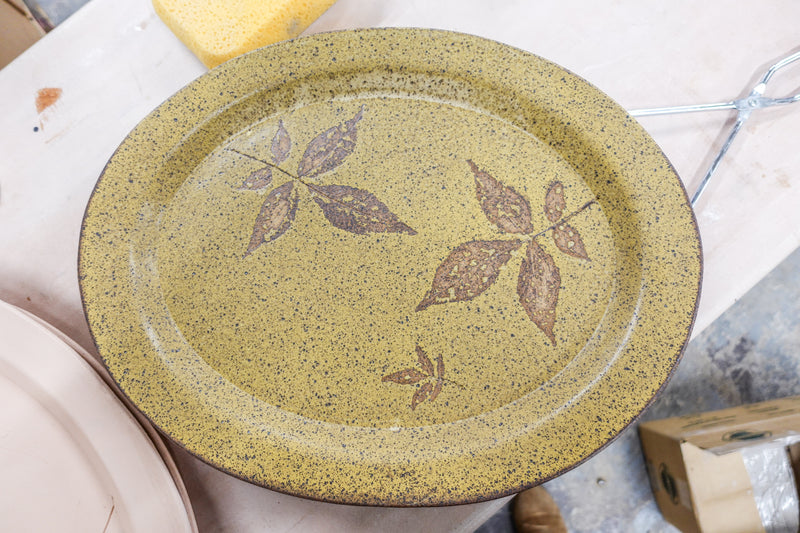
9. Final Touches (Optional)
For added flair, you can use a textured roller or modeling tool to enhance the exterior of your piece.