1. Compress Slab with a Rib
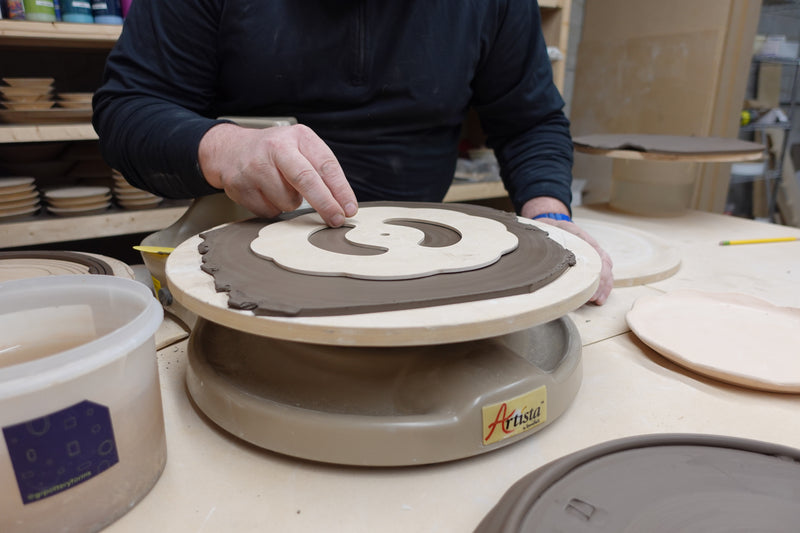
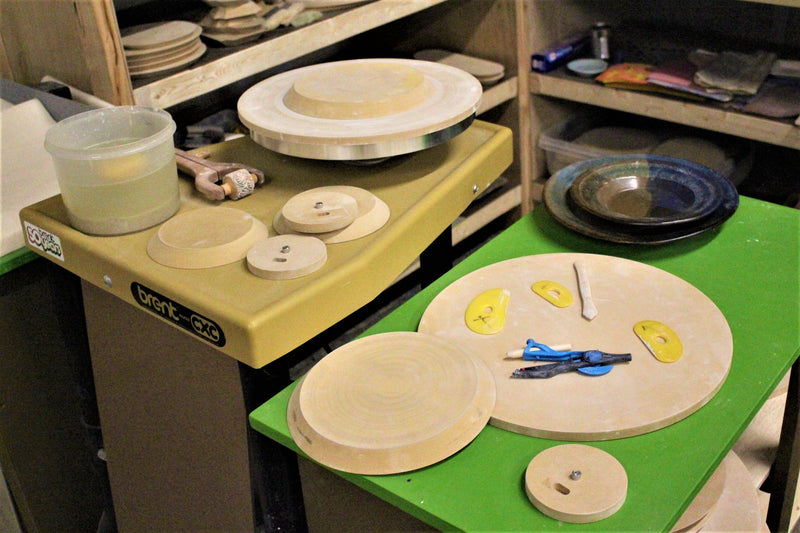
Start by preparing your slab of clay. Use a Yellow #5 Mudtools Rib to gently compress the clay, ensuring an even and compacted surface. This step eliminates air bubbles, making the clay more stable and easier to work with. Compression also ensures a smooth, firm foundation for your tray.
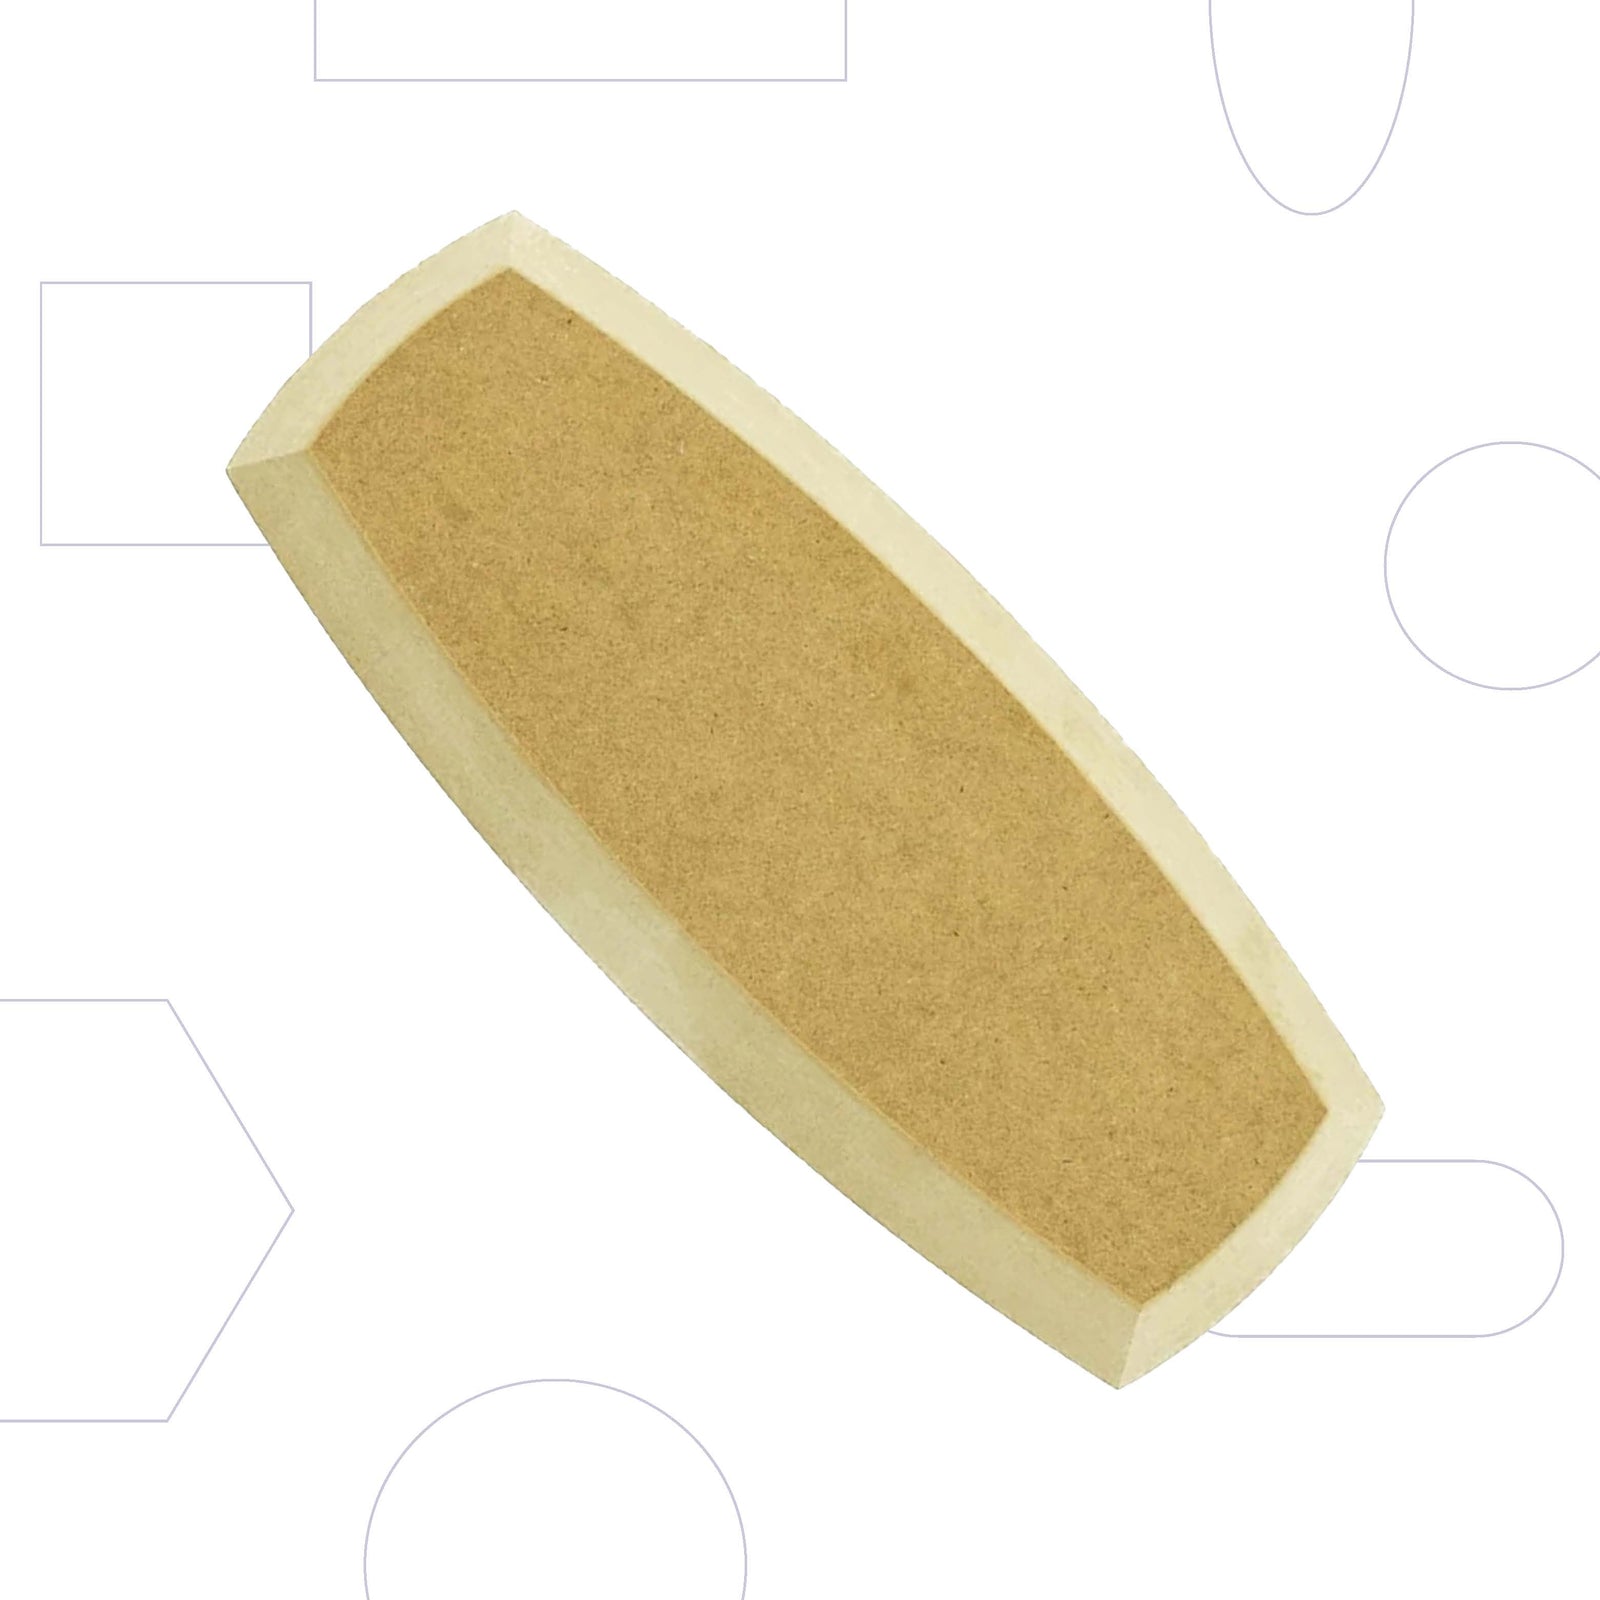
2. Drape Clay Over the 5x12” Spherical Rectangle Form
Carefully drape the prepared slab of clay over a 5x12” Spherical Rectangle Form. Make sure the clay is evenly draped and fully covers the Form.
3. Gently Push Clay Up to the Form, Adding Pressure as You Go
Using your hands, gently push the clay upward to meet the Form, starting from the base and working your way up. Apply even pressure as you move along to avoid wrinkles or cracks in the clay and help eliminate any trapped air pockets between the clay and the Form. As you do this, the clay will begin to take on the shape of the Form.
4. Use a Rib to Compress Clay to the Forms
Once the clay is roughly shaped, use a Yellow #5 Mudtools Rib tool to compress it onto the Form more firmly. This compression ensures that the clay adheres to the Form. The surface will become smooth and even.
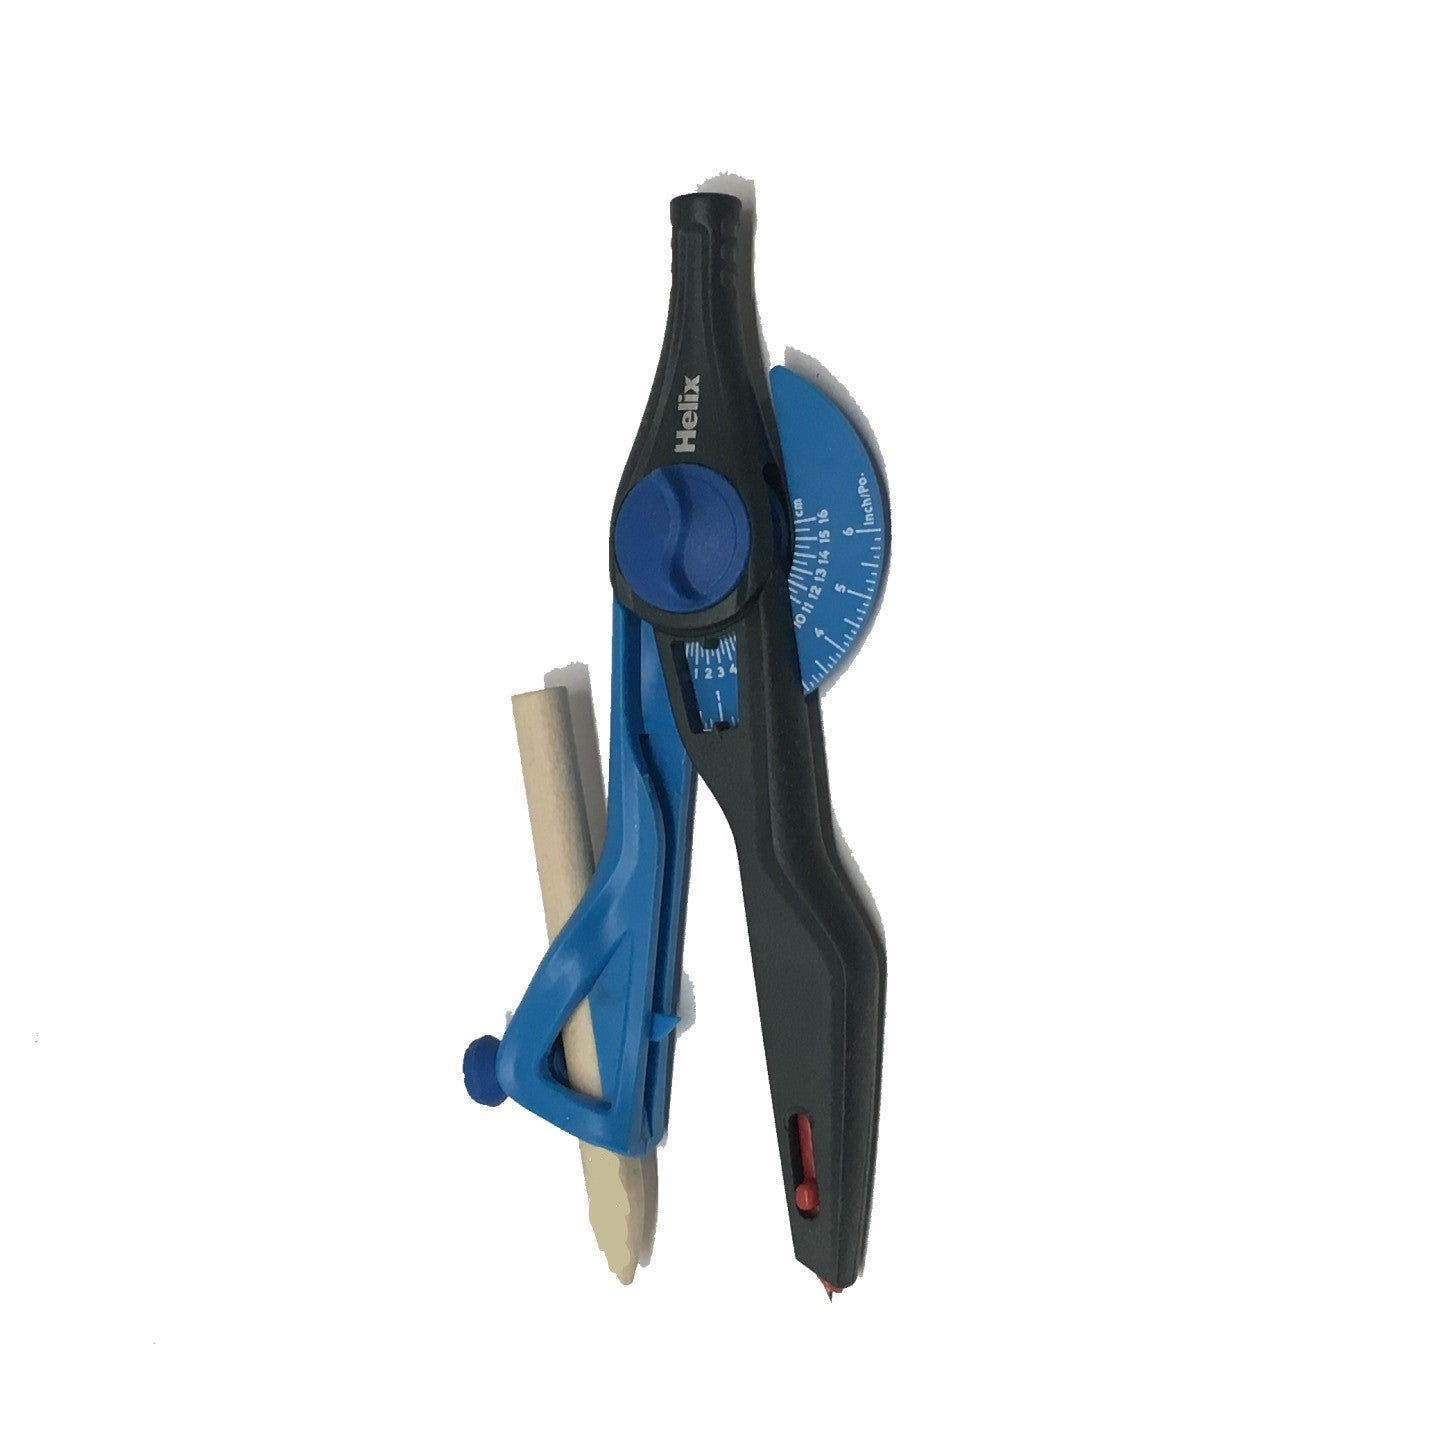
5. Use a Sue Tool to Mark Where to Cut the Rim
Use a Sue Tool to mark the area where you intend to cut the rim of the tray. This tool will help you maintain consistent measurement, ensuring the rim has a uniform width.
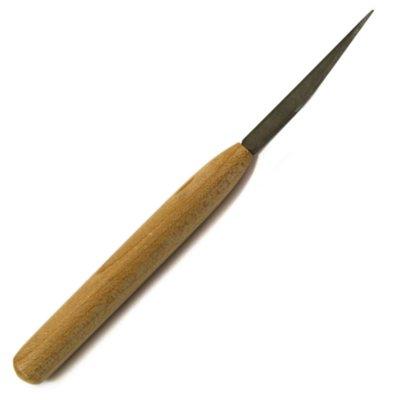
6. Use a Loonie Clay Knife to Cut Out the Rim, Following the Guide Marks
Using a Loonie Clay Knife, carefully cut along the guide marks made by the Sue Tool to define your edge. Follow the markings carefully to ensure a neat, even cut. If enough clay remains, use it to make strips of clay to make the foot.
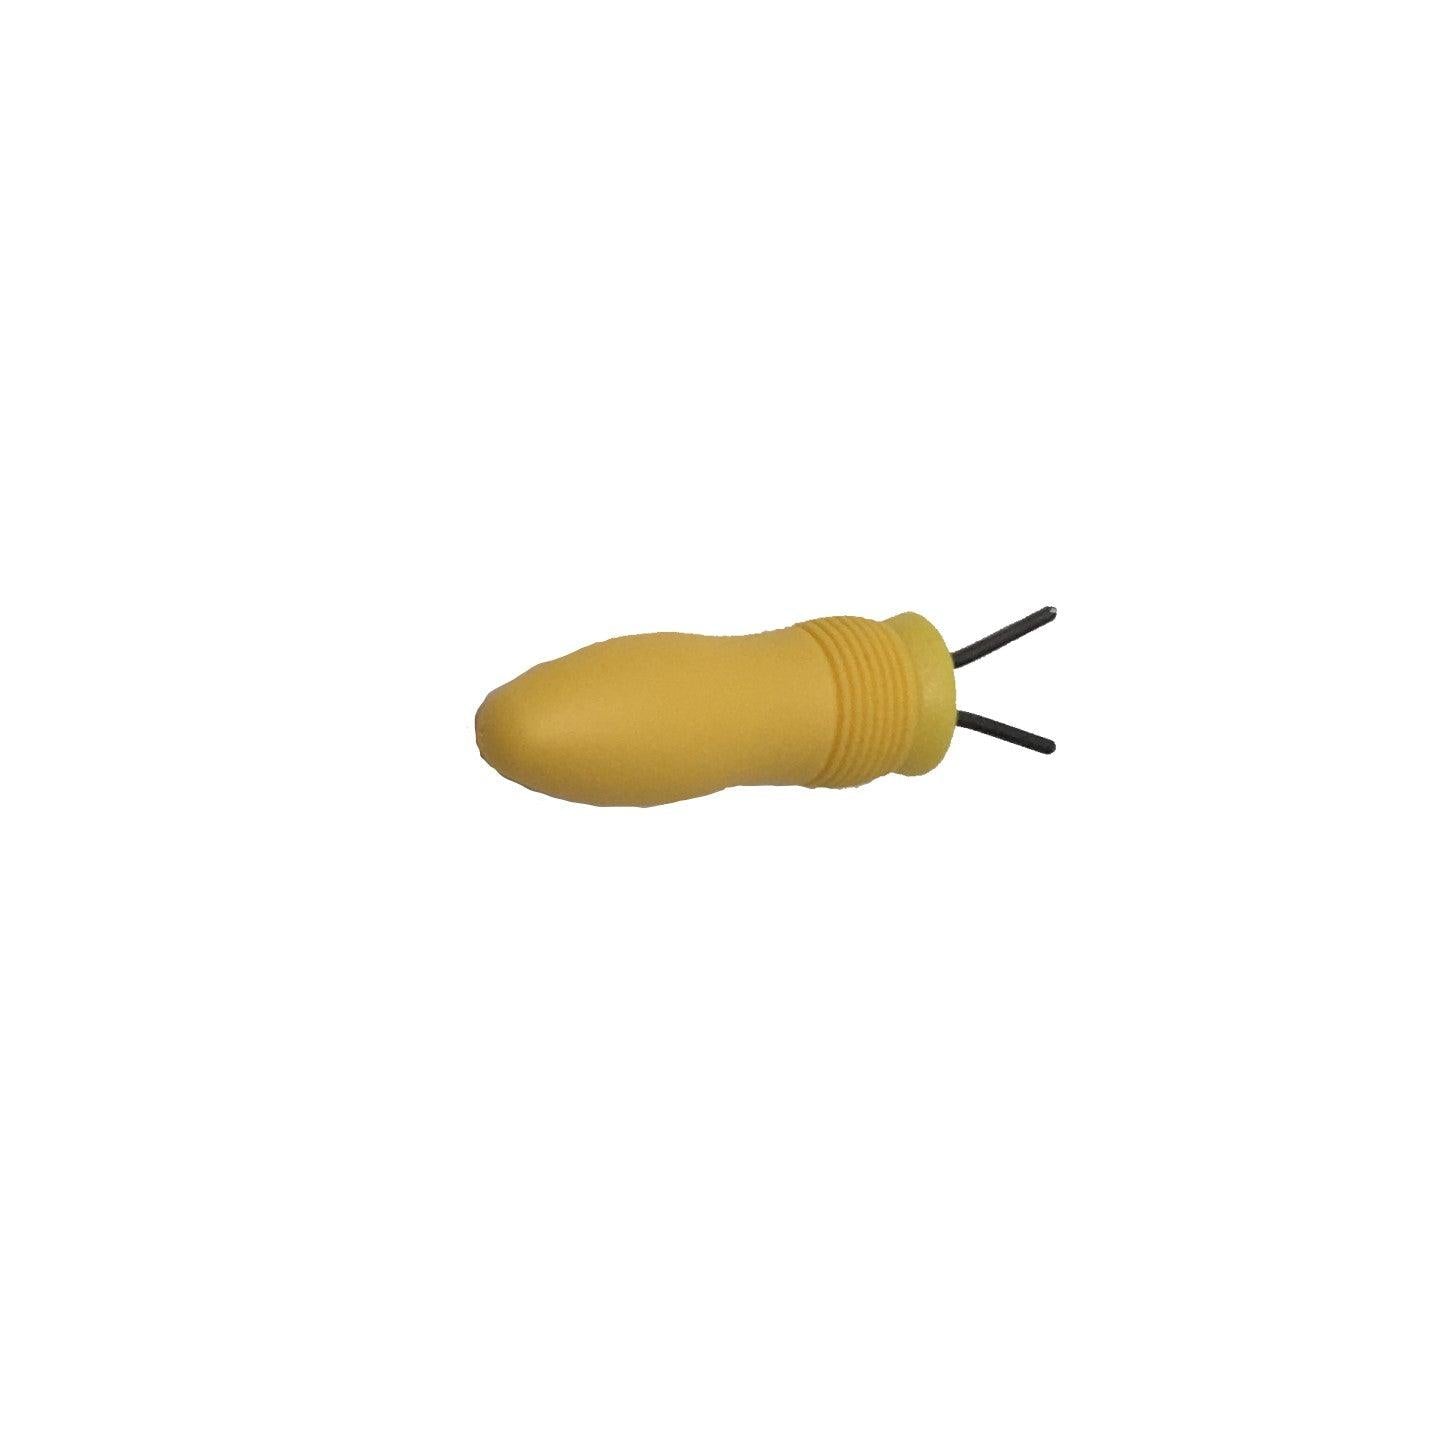
7. Use a Foot Maker Tool to Cut Strips of Clay for the Foot
To create the foot of your tray, use a Foot Maker Tool to cut even strips of clay.
8. Place Foot and Press Down, Using a Modeling Tool to Help Connect the Edges
Press the clay strips onto the bottom of the tray, positioning them evenly around the base. Use a modeling tool to help connect the edges of the foot to the tray, blending them together to create a seamless transition. This will reinforce the tray's structure and add to its overall stability.
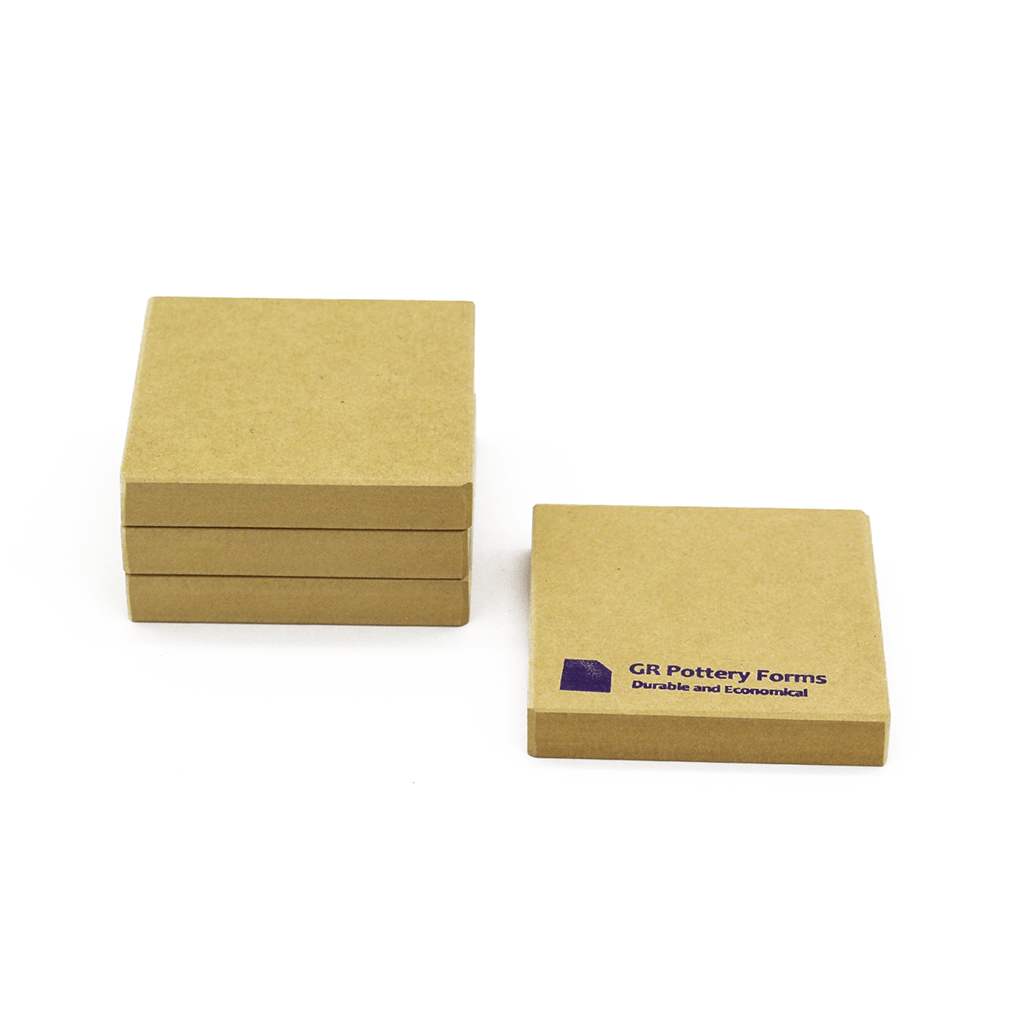
9. Put a Spacer Under Your Form to Create a Gap Between the Table and Your Rim
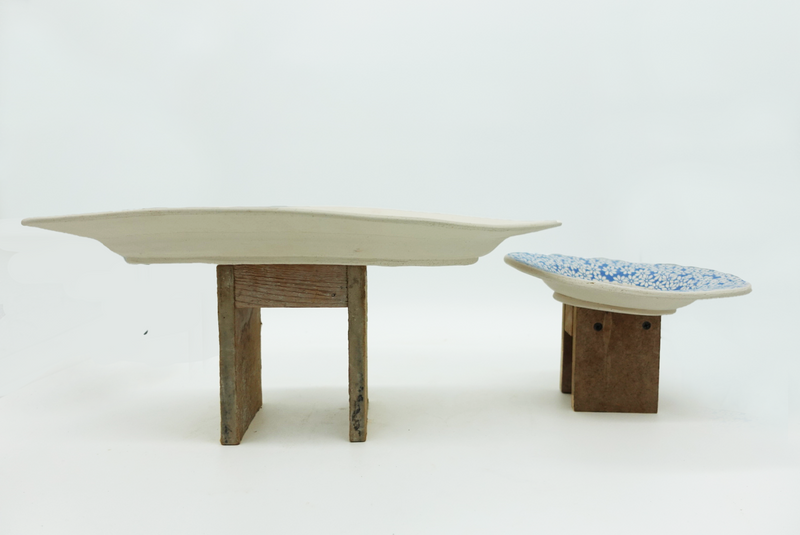
Place a spacer under the Form to create a small gap between the tray’s rim and the surface of the table. This will allow you to gently press down on the edges of the tray, creating a more sloped effect for the rim. Press down the rim edge lightly and evenly to avoid distorting the shape of the tray.
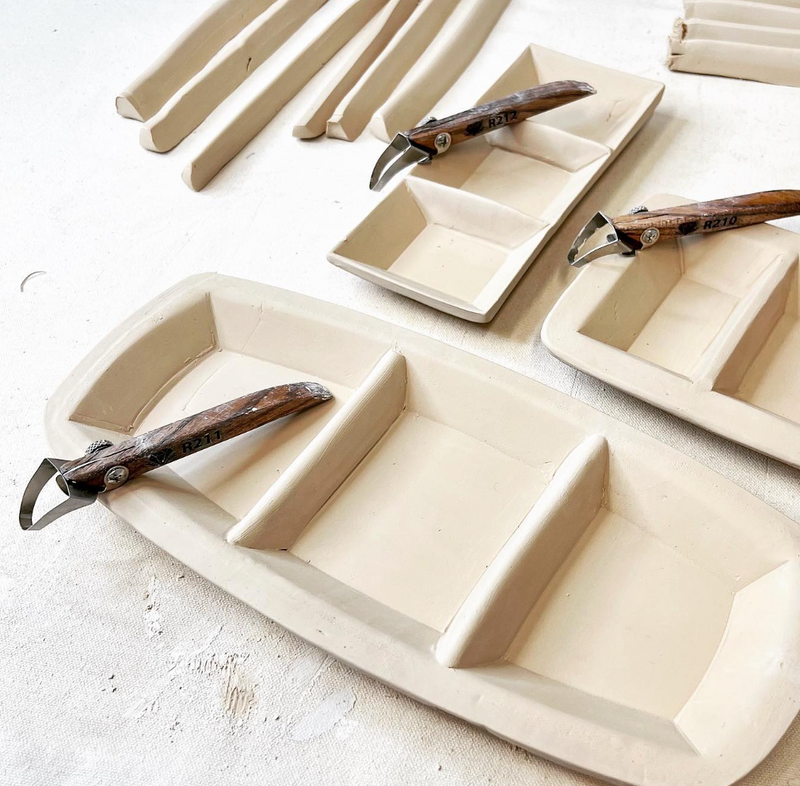
10. Use a Diamond Core Trimming Tool to Cut Dividers for the Tray
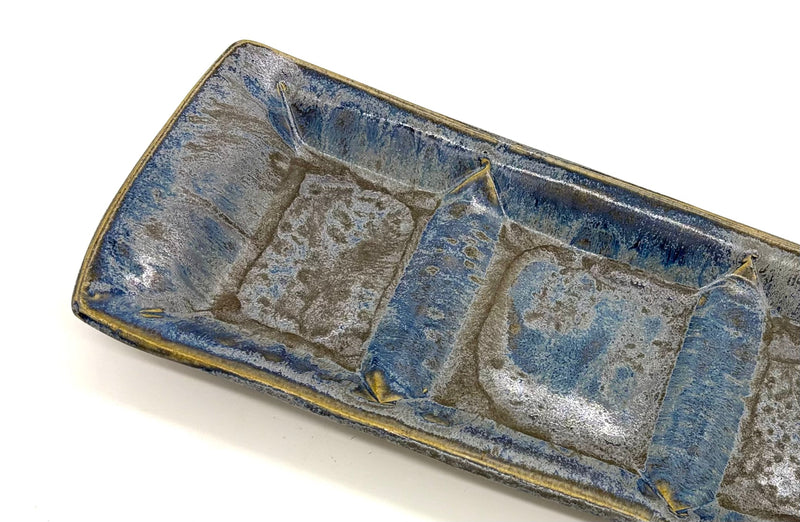
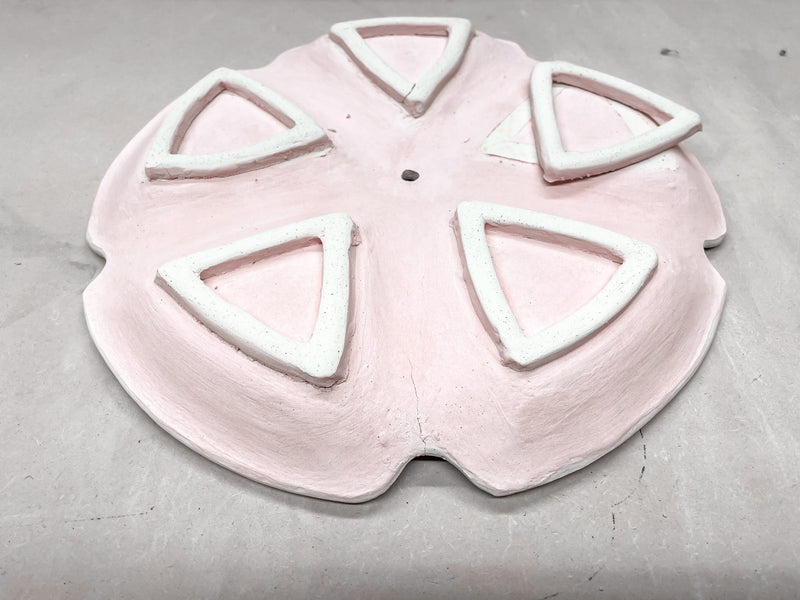
Using a Diamond Core R210 Clay Extruder, cut out clay dividers that will separate the tray into sections. Make sure the moisture level of the clay for the dividers is similar to that of the tray so they bond well. These dividers can be any shape you like, depending on your design.
11. Remove Clay from Forms Once Clay
Once the clay has dried to a leather-hard consistency (firm, but still slightly damp), gently remove the tray from the Form. The clay should hold its shape at this point, and the segments should be secure. If the tray is too soft to handle, wait until it’s firmer before proceeding.
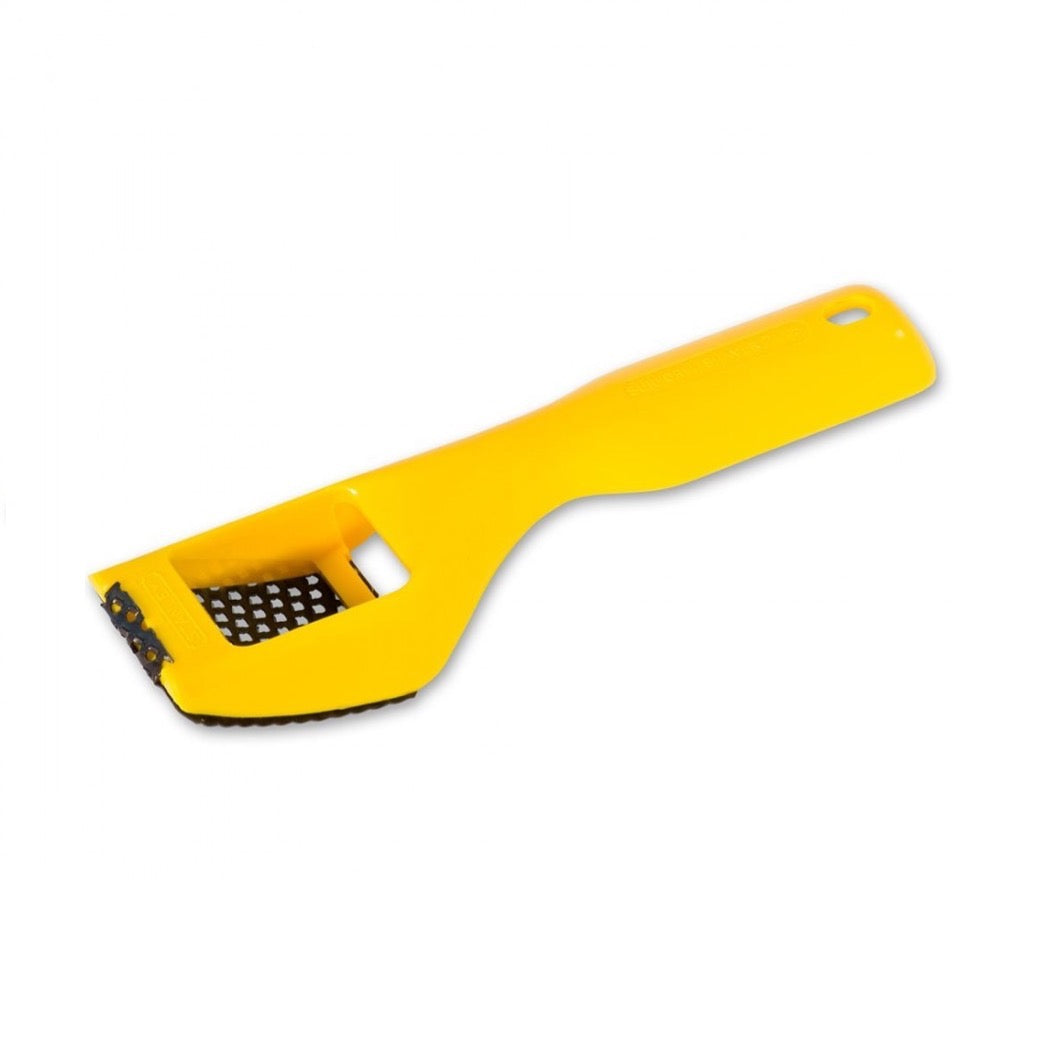
12. Use a Rasp to Trim the Edges of the Tray
Now, take a rasp and trim any rough or uneven areas on the edges of your tray. Pay attention to the rim’s shape and width of lip, making sure it’s consistent all the way around.
13. Use a Notched Rib to Round the Edges of the Rim
Next, use a notched rib tool to round off the sharp edges of the rim. This step softens the look of the tray, giving it a more refined and polished appearance. Work carefully to create an even, rounded edge that feels smooth to the touch.
14. Measure and Mark Where to Place the Dividers
Using a ruler or measuring tool, carefully measure and mark where each divider will go within the tray. This ensures that the dividers are evenly spaced and that the overall design of the tray is balanced.
15. Trim the Dividers to Size
Trim each divider to the desired size based on your measurements. Ensure that they fit perfectly within the marked areas and are proportional to the tray’s dimensions.
16. Score the Dividers and Tray, Add Moisture to Connect Them
To ensure a strong bond, score the areas of the tray where the dividers will be placed, as well as the edges of the dividers themselves. This will create a rough surface for the pieces to adhere to. Add a bit of moisture to both the tray and the dividers to help them bond securely.
17. Use a Modeling Tool to Connect the Edges
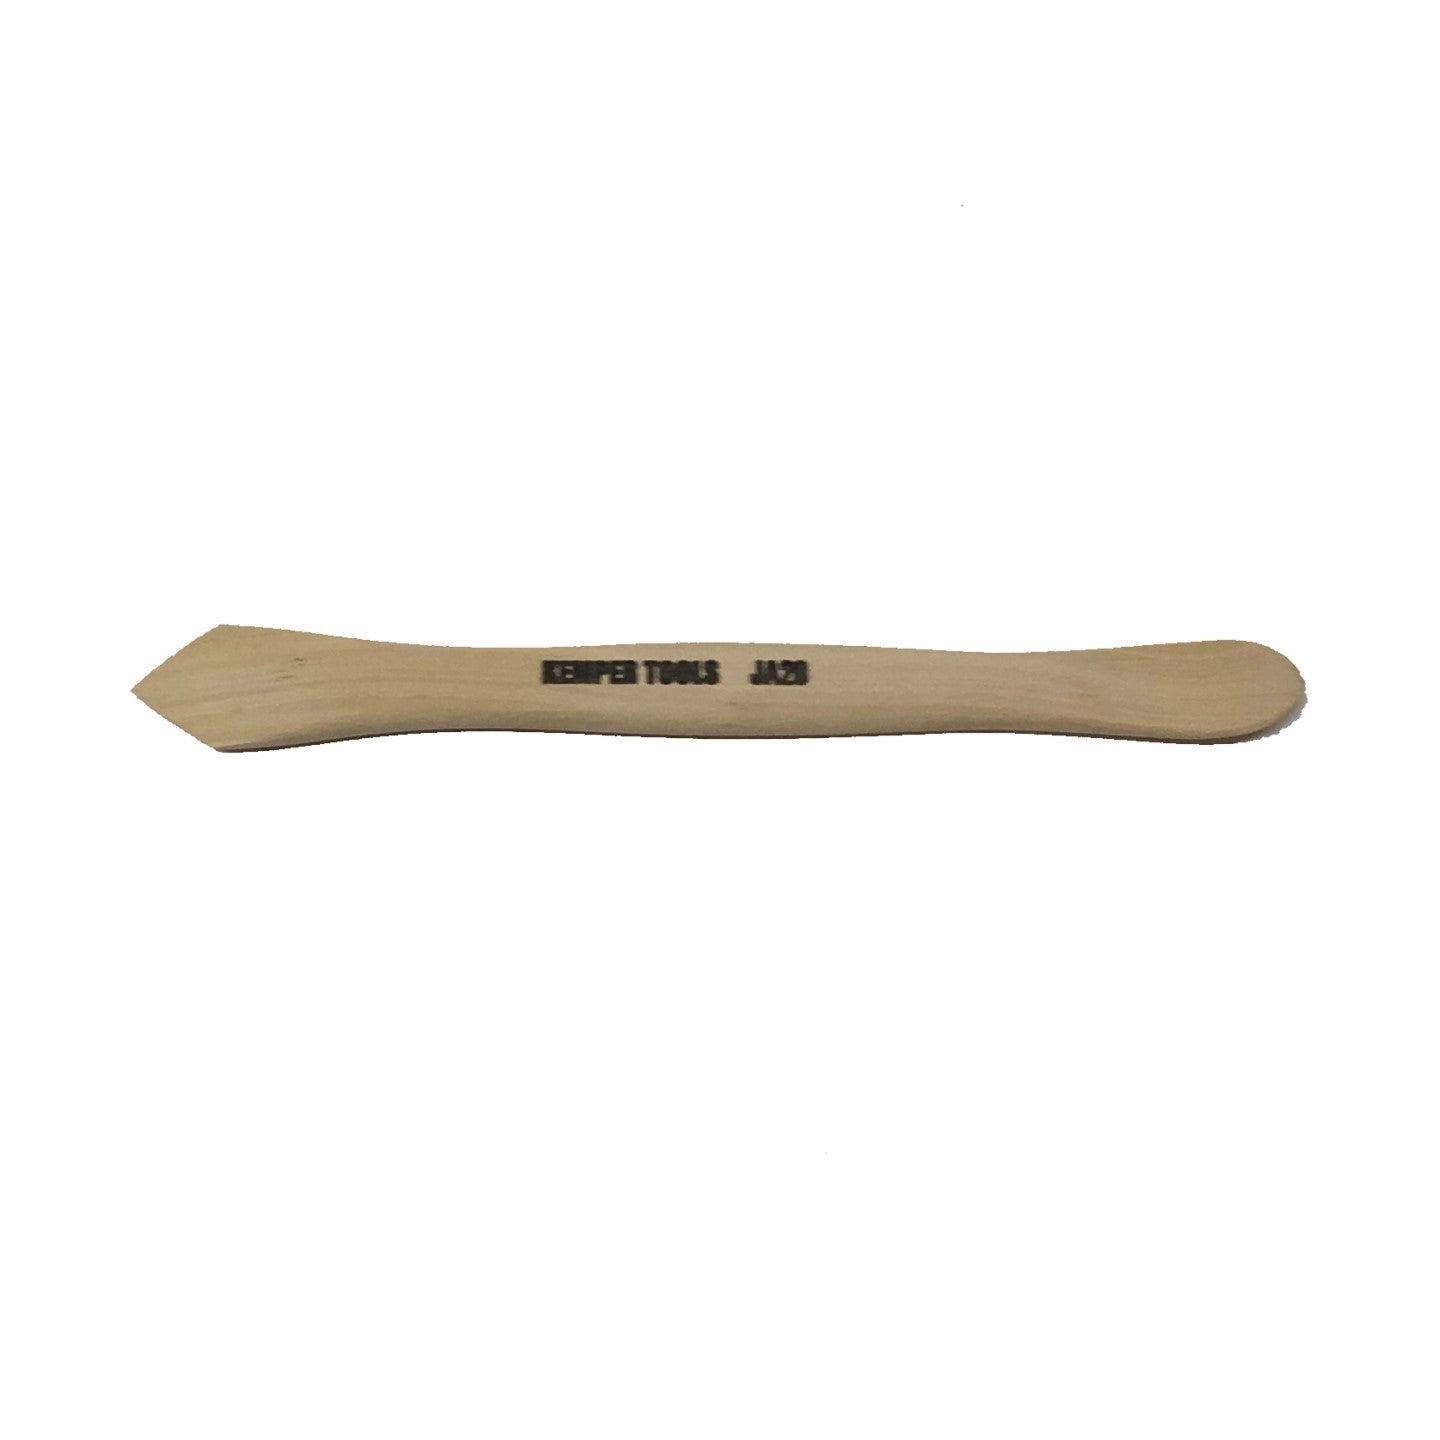
Once the dividers are in place, use a JA 20 Kemper modeling tool to gently press and blend the edges where the dividers meet the tray. You can also use your fingers to smooth any seams or gaps that may have formed during this step.
18. Allow Tray to Dry Completely
Allow the tray to dry completely. This is when the clay is firm and will hold its shape but still retains some moisture for final adjustments.
19. Fire the Tray
Once your tray has dried fully, it's ready for its bisque firing. Fire the tray to the appropriate temperature for your clay body to remove any remaining moisture and prepare the tray for glazing.
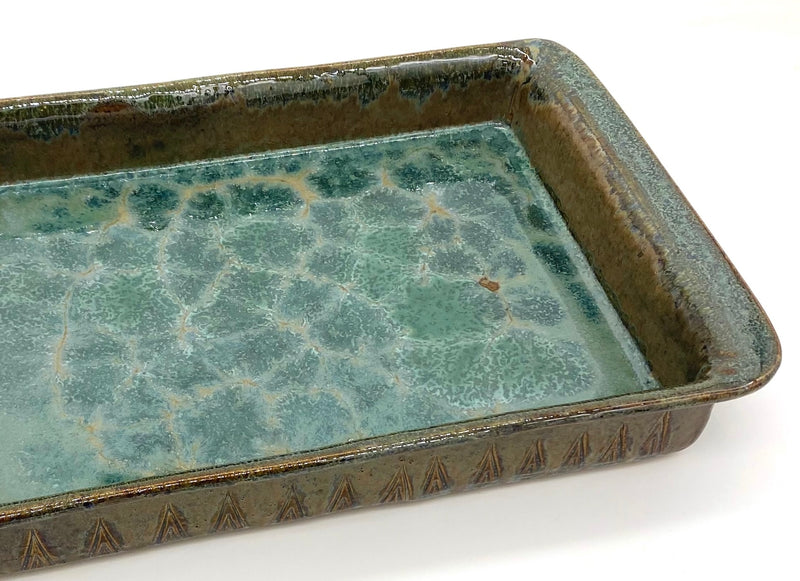
We hope these steps were helpful on how to create a Segmented Tray. Here is a tutorial video that goes through the above steps:
Tools used in this blog:
OG Spherical Rectangle-5x12" - https://grpotteryforms.com/products/spherical-rectangle-5x12
Diamond Core R210 Clay Extruder - https://diamondcoretools.com/products/r210-square-trapezoid-wall-xl-handheld-clay-extruder?_pos=1&_sid=5ef4e7523&_ss=r
Yellow #5 Mudtools Rib - (Currently Unavailable)
Notched Rib - (Currently Unavailable)
Kemper Modeling Tool - https://grpotteryforms.com/products/tool-modeling-tool
Sue Tool - https://grpotteryforms.com/products/tool-sue-tool-blue
1/2" Spacer- 4pack - https://grpotteryforms.com/products/tool-spacer-set-4
Stanley Surform Rasp - https://grpotteryforms.com/products/tool-stanley-surform
Foot Maker Tool - https://grpotteryforms.com/products/tool-foot-maker
Loonie Clay Knife - https://grpotteryforms.com/products/loonie-clay-knife

