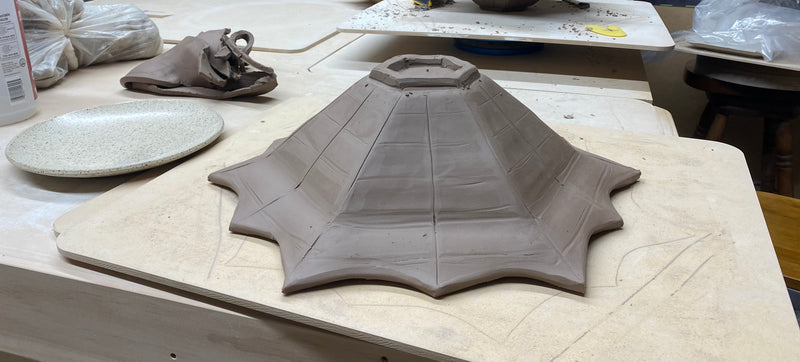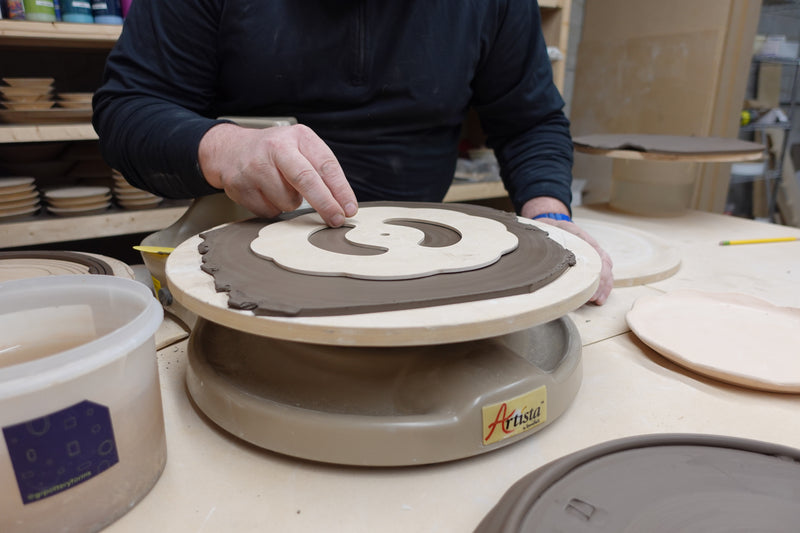
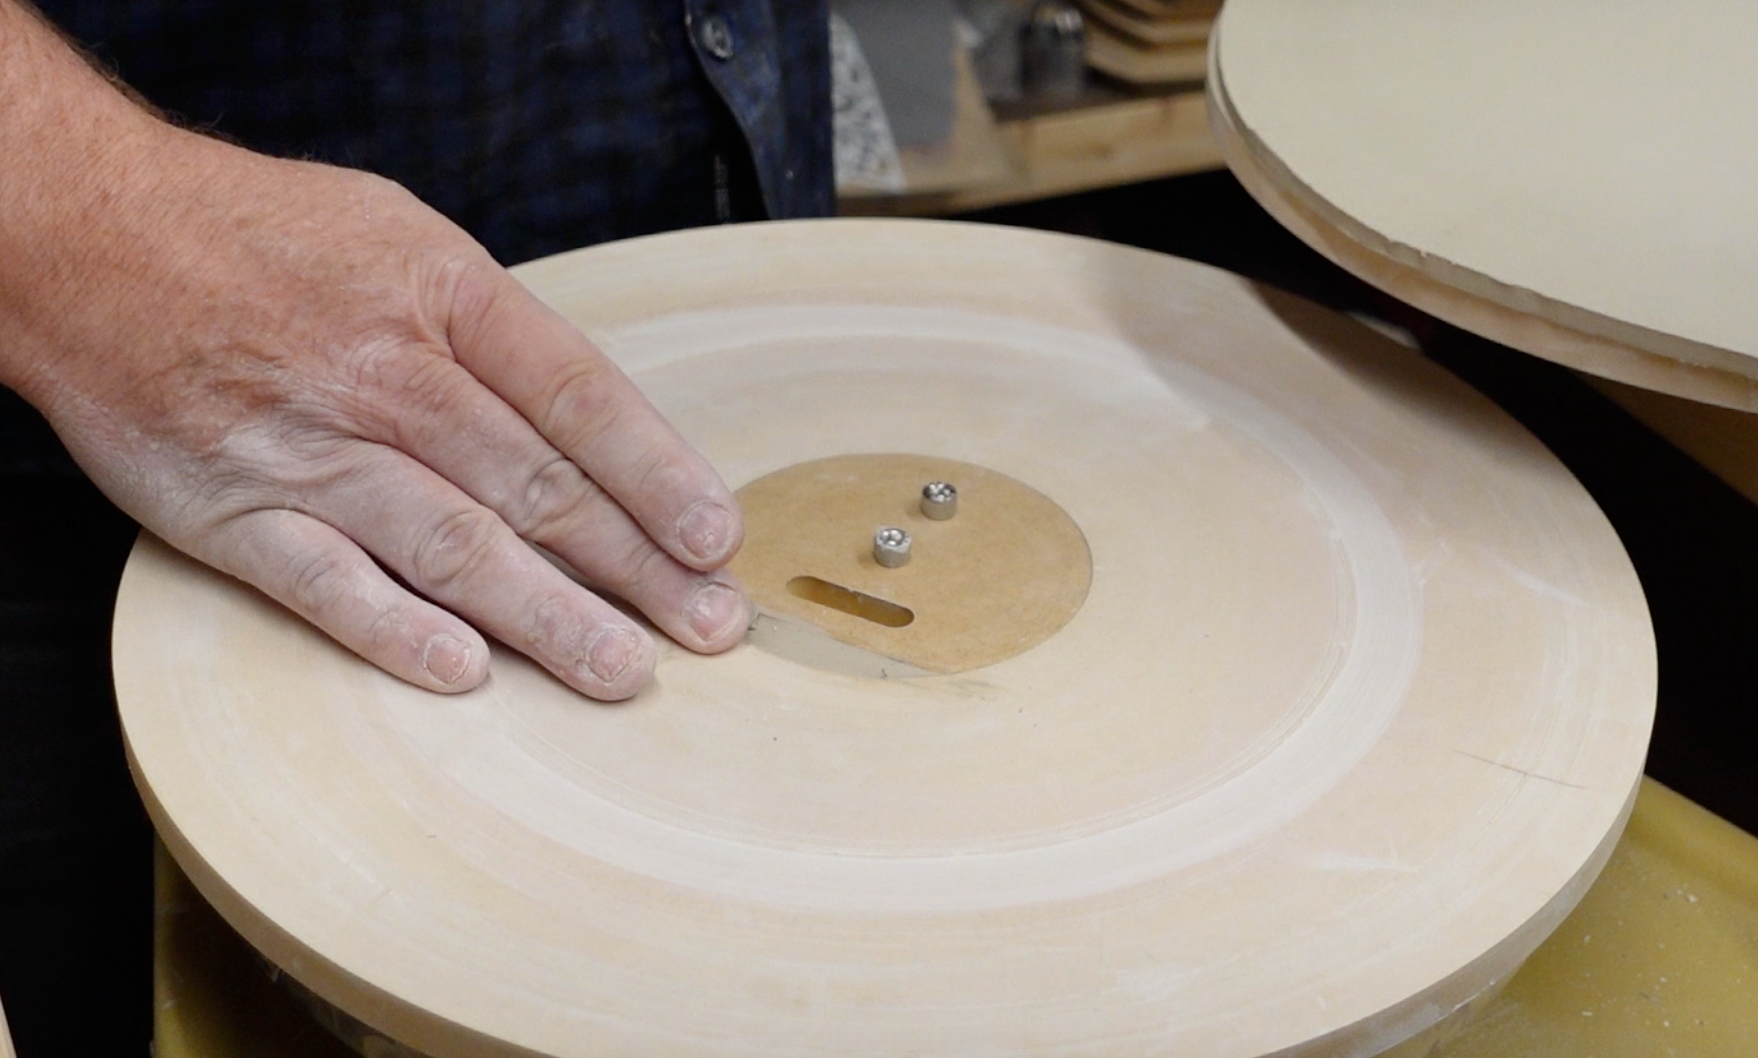

1. Compress the Clay
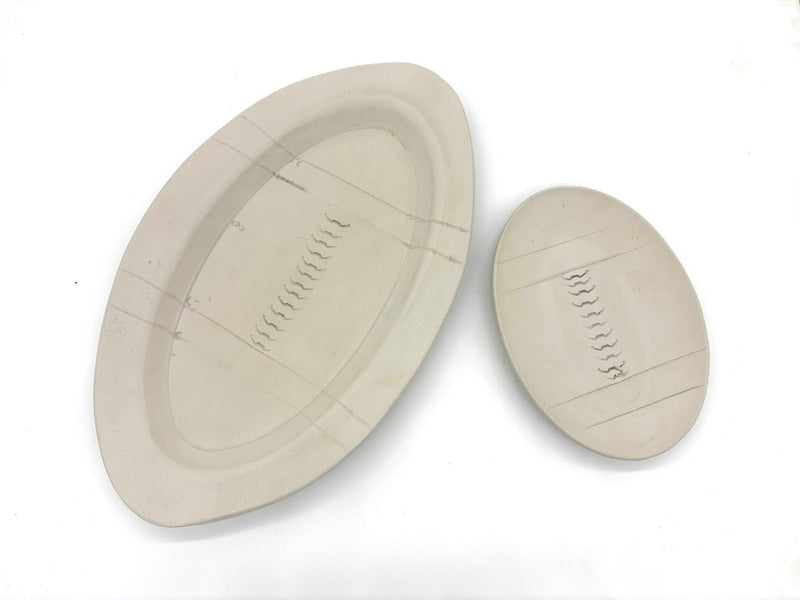
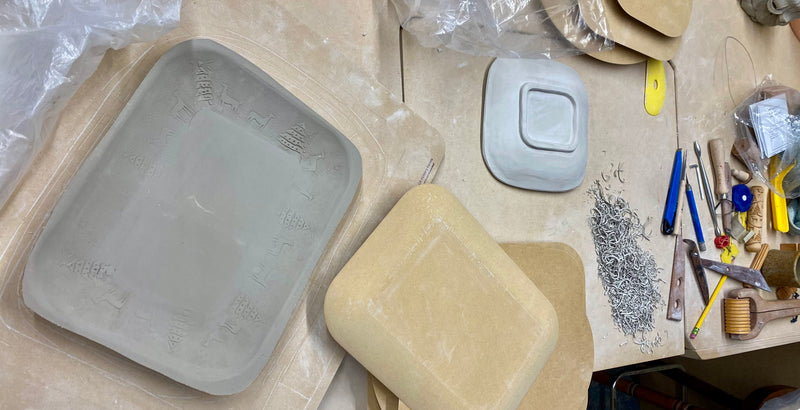
Begin by taking a slab of clay and pressing it onto your chosen Form. Use your hands to mold the clay onto the Form, then use a rib tool to smooth and compress the clay, ensuring a sturdy structure.
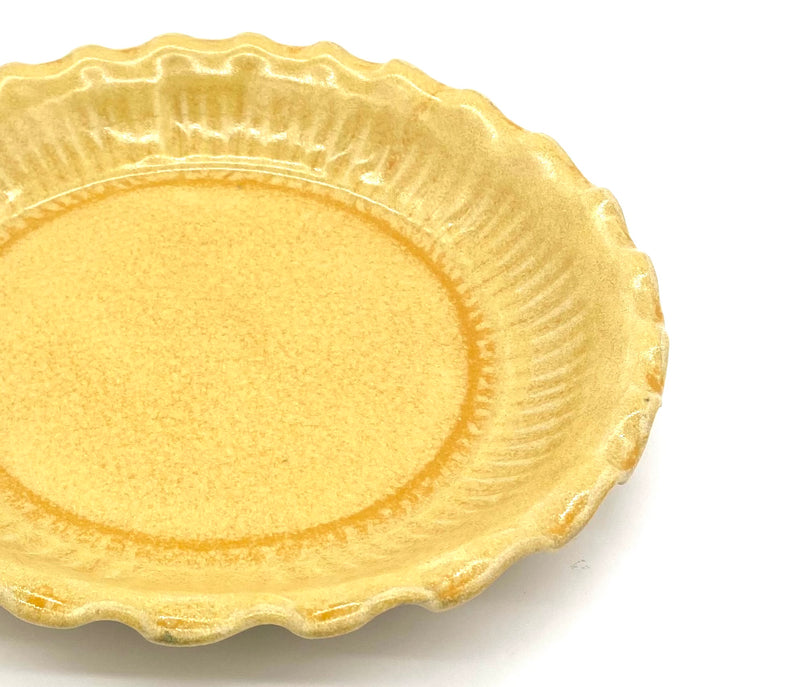
2. Cut Out the Pumpkin Shape
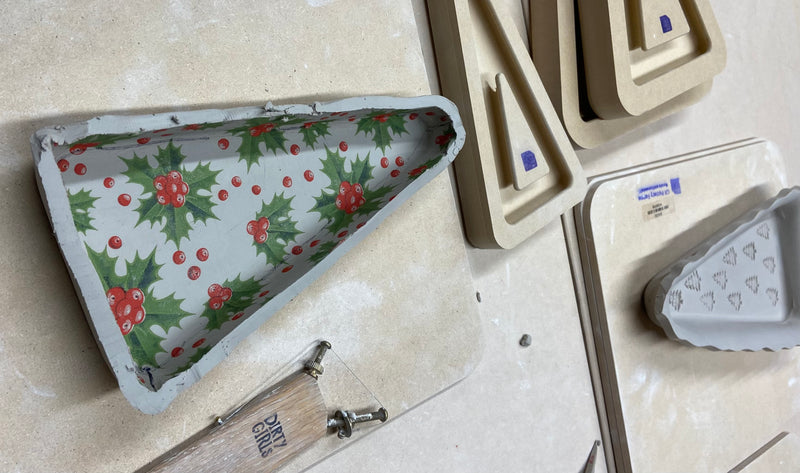
With the clay nicely compressed, it’s time to refine the design. Using a sharp knife, carefully cut along the rim to create the pumpkin shape. Don’t worry about perfection just yet; this is just the first step in your design process.
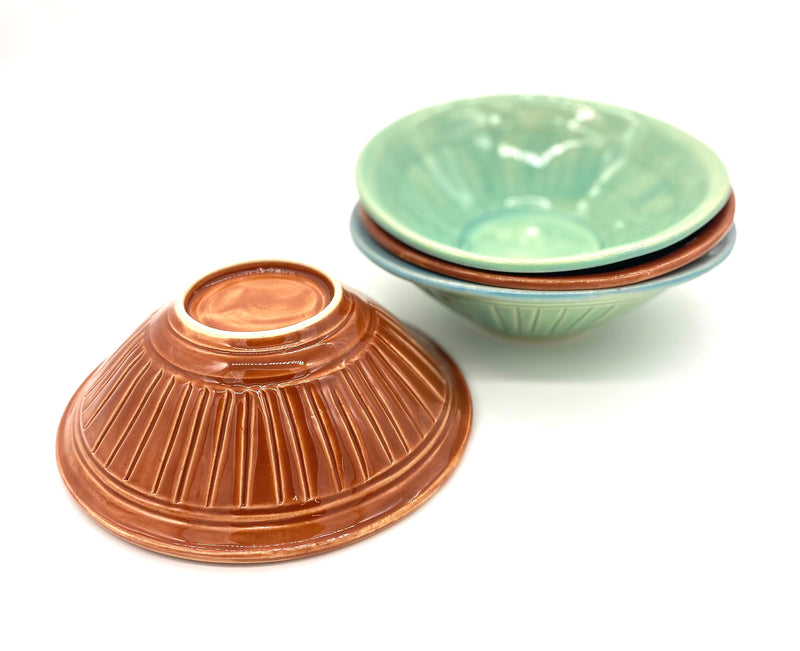
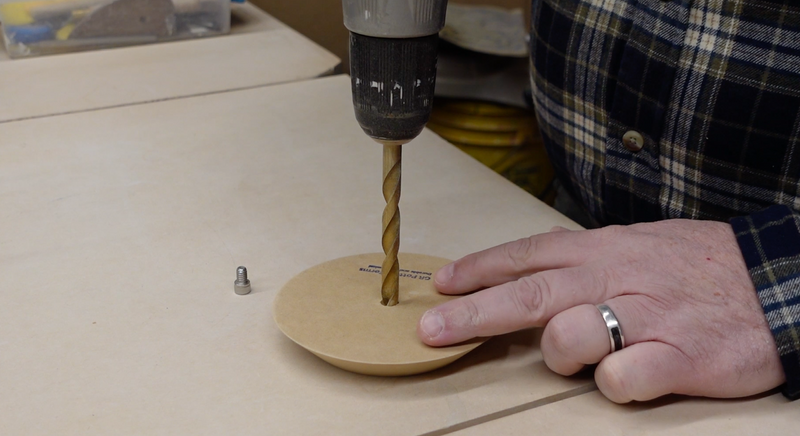
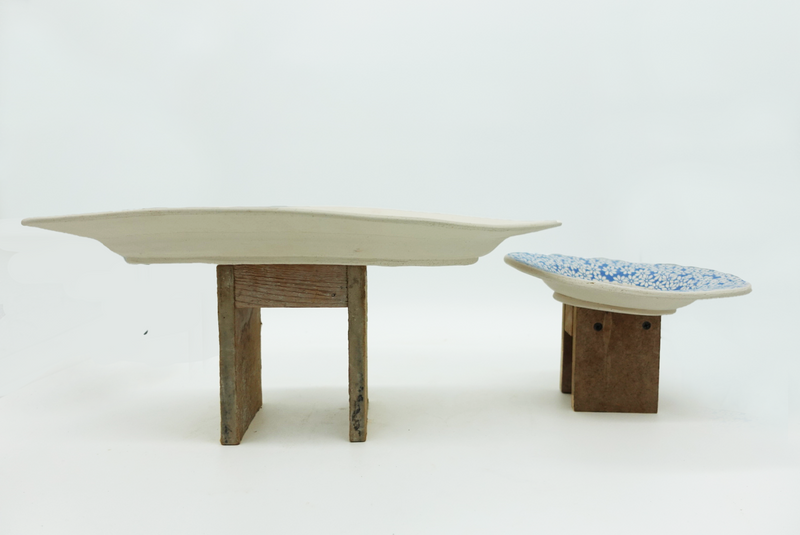
3. Cut Out the Foot
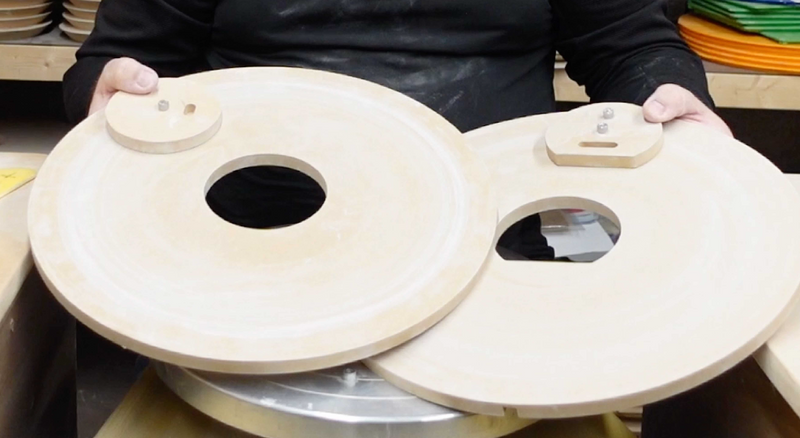
Next, take your Foot Maker Tool and cut out a foot from any leftover clay. This foot will provide stability and elevate your plate.
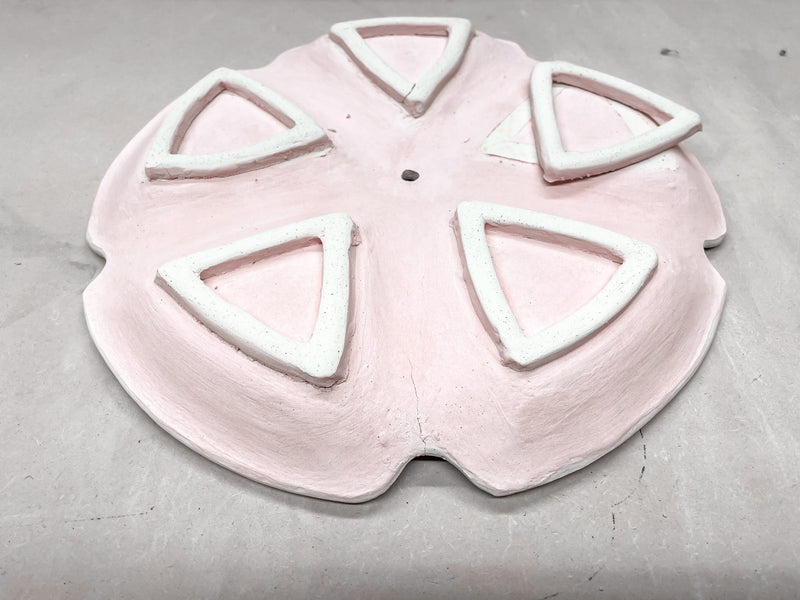
4. Attach the Foot
Now that you have your foot ready, it’s time to attach it to the base of your plate. If necessary score the edges of both the foot and the plate with a wire brush to create a strong bond. Press them together firmly, making sure everything aligns perfectly for added stability.
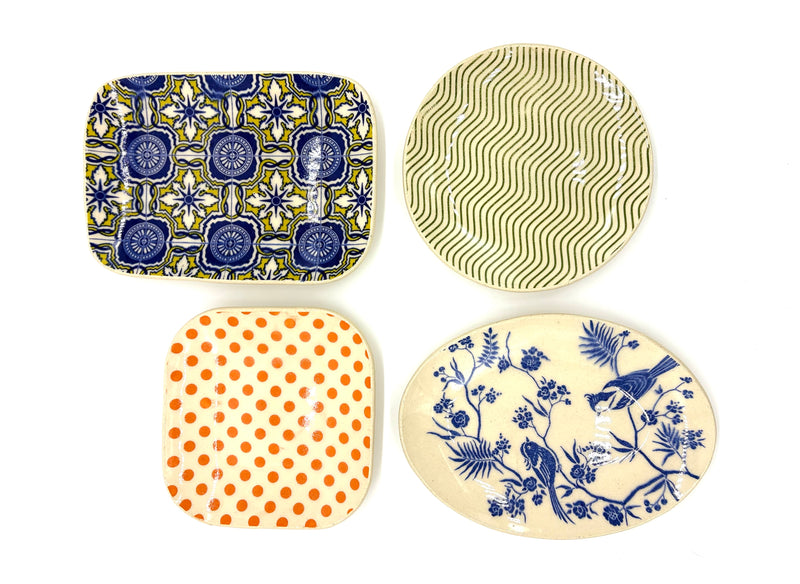
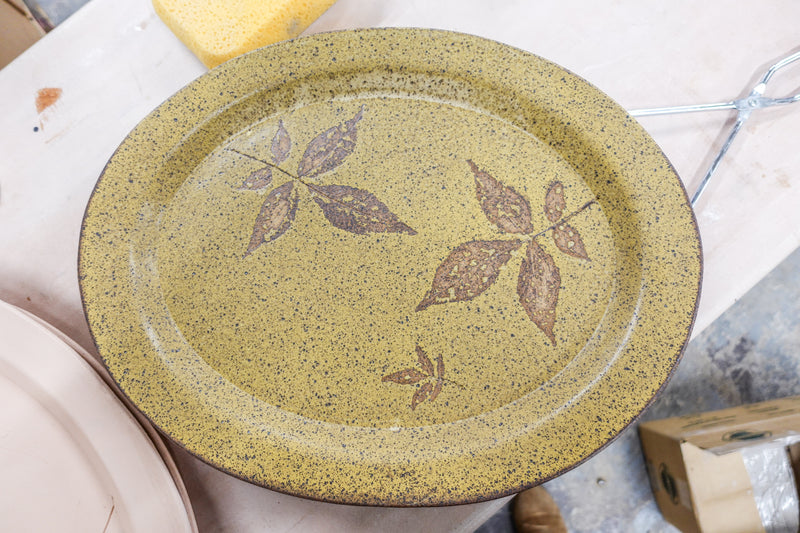
5. Decorate with Slip or Underglaze
Now comes the fun part! Get creative by painting on slip or underglaze to add color and personality to your pumpkin plate. Choose shades that represent the fall season—think vibrant oranges, rich greens, and earthy browns.
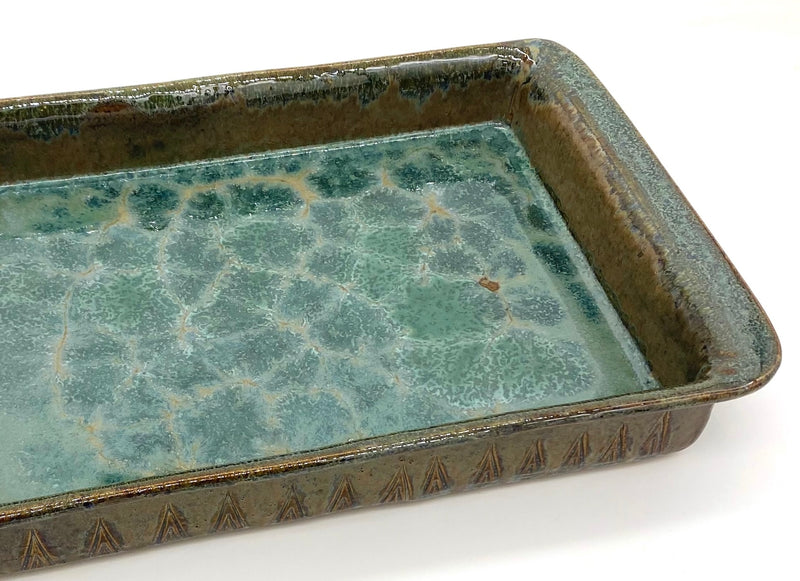
6. Carve Out the Design
After your decoration has dried slightly, take a carving tool and go back over your plate to carve out additional designs. This step adds depth and texture, transforming your piece into a work of art. Whether you choose to create intricate patterns or simple lines, let your creativity shine!
We hope these steps were helpful on how to create a Spider Web Bowl. Here is a tutorial video that goes through the above steps:
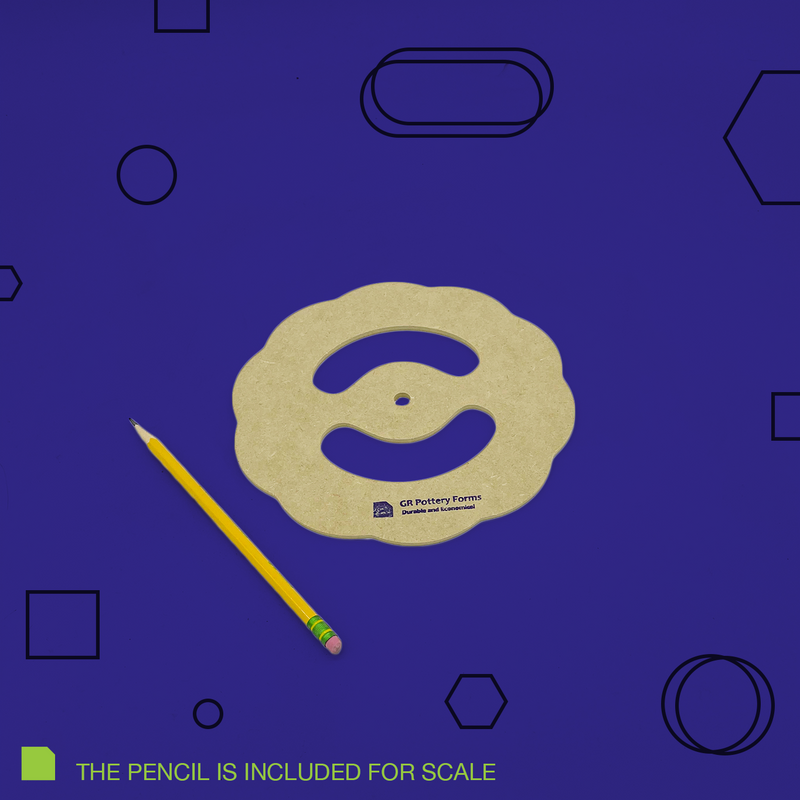
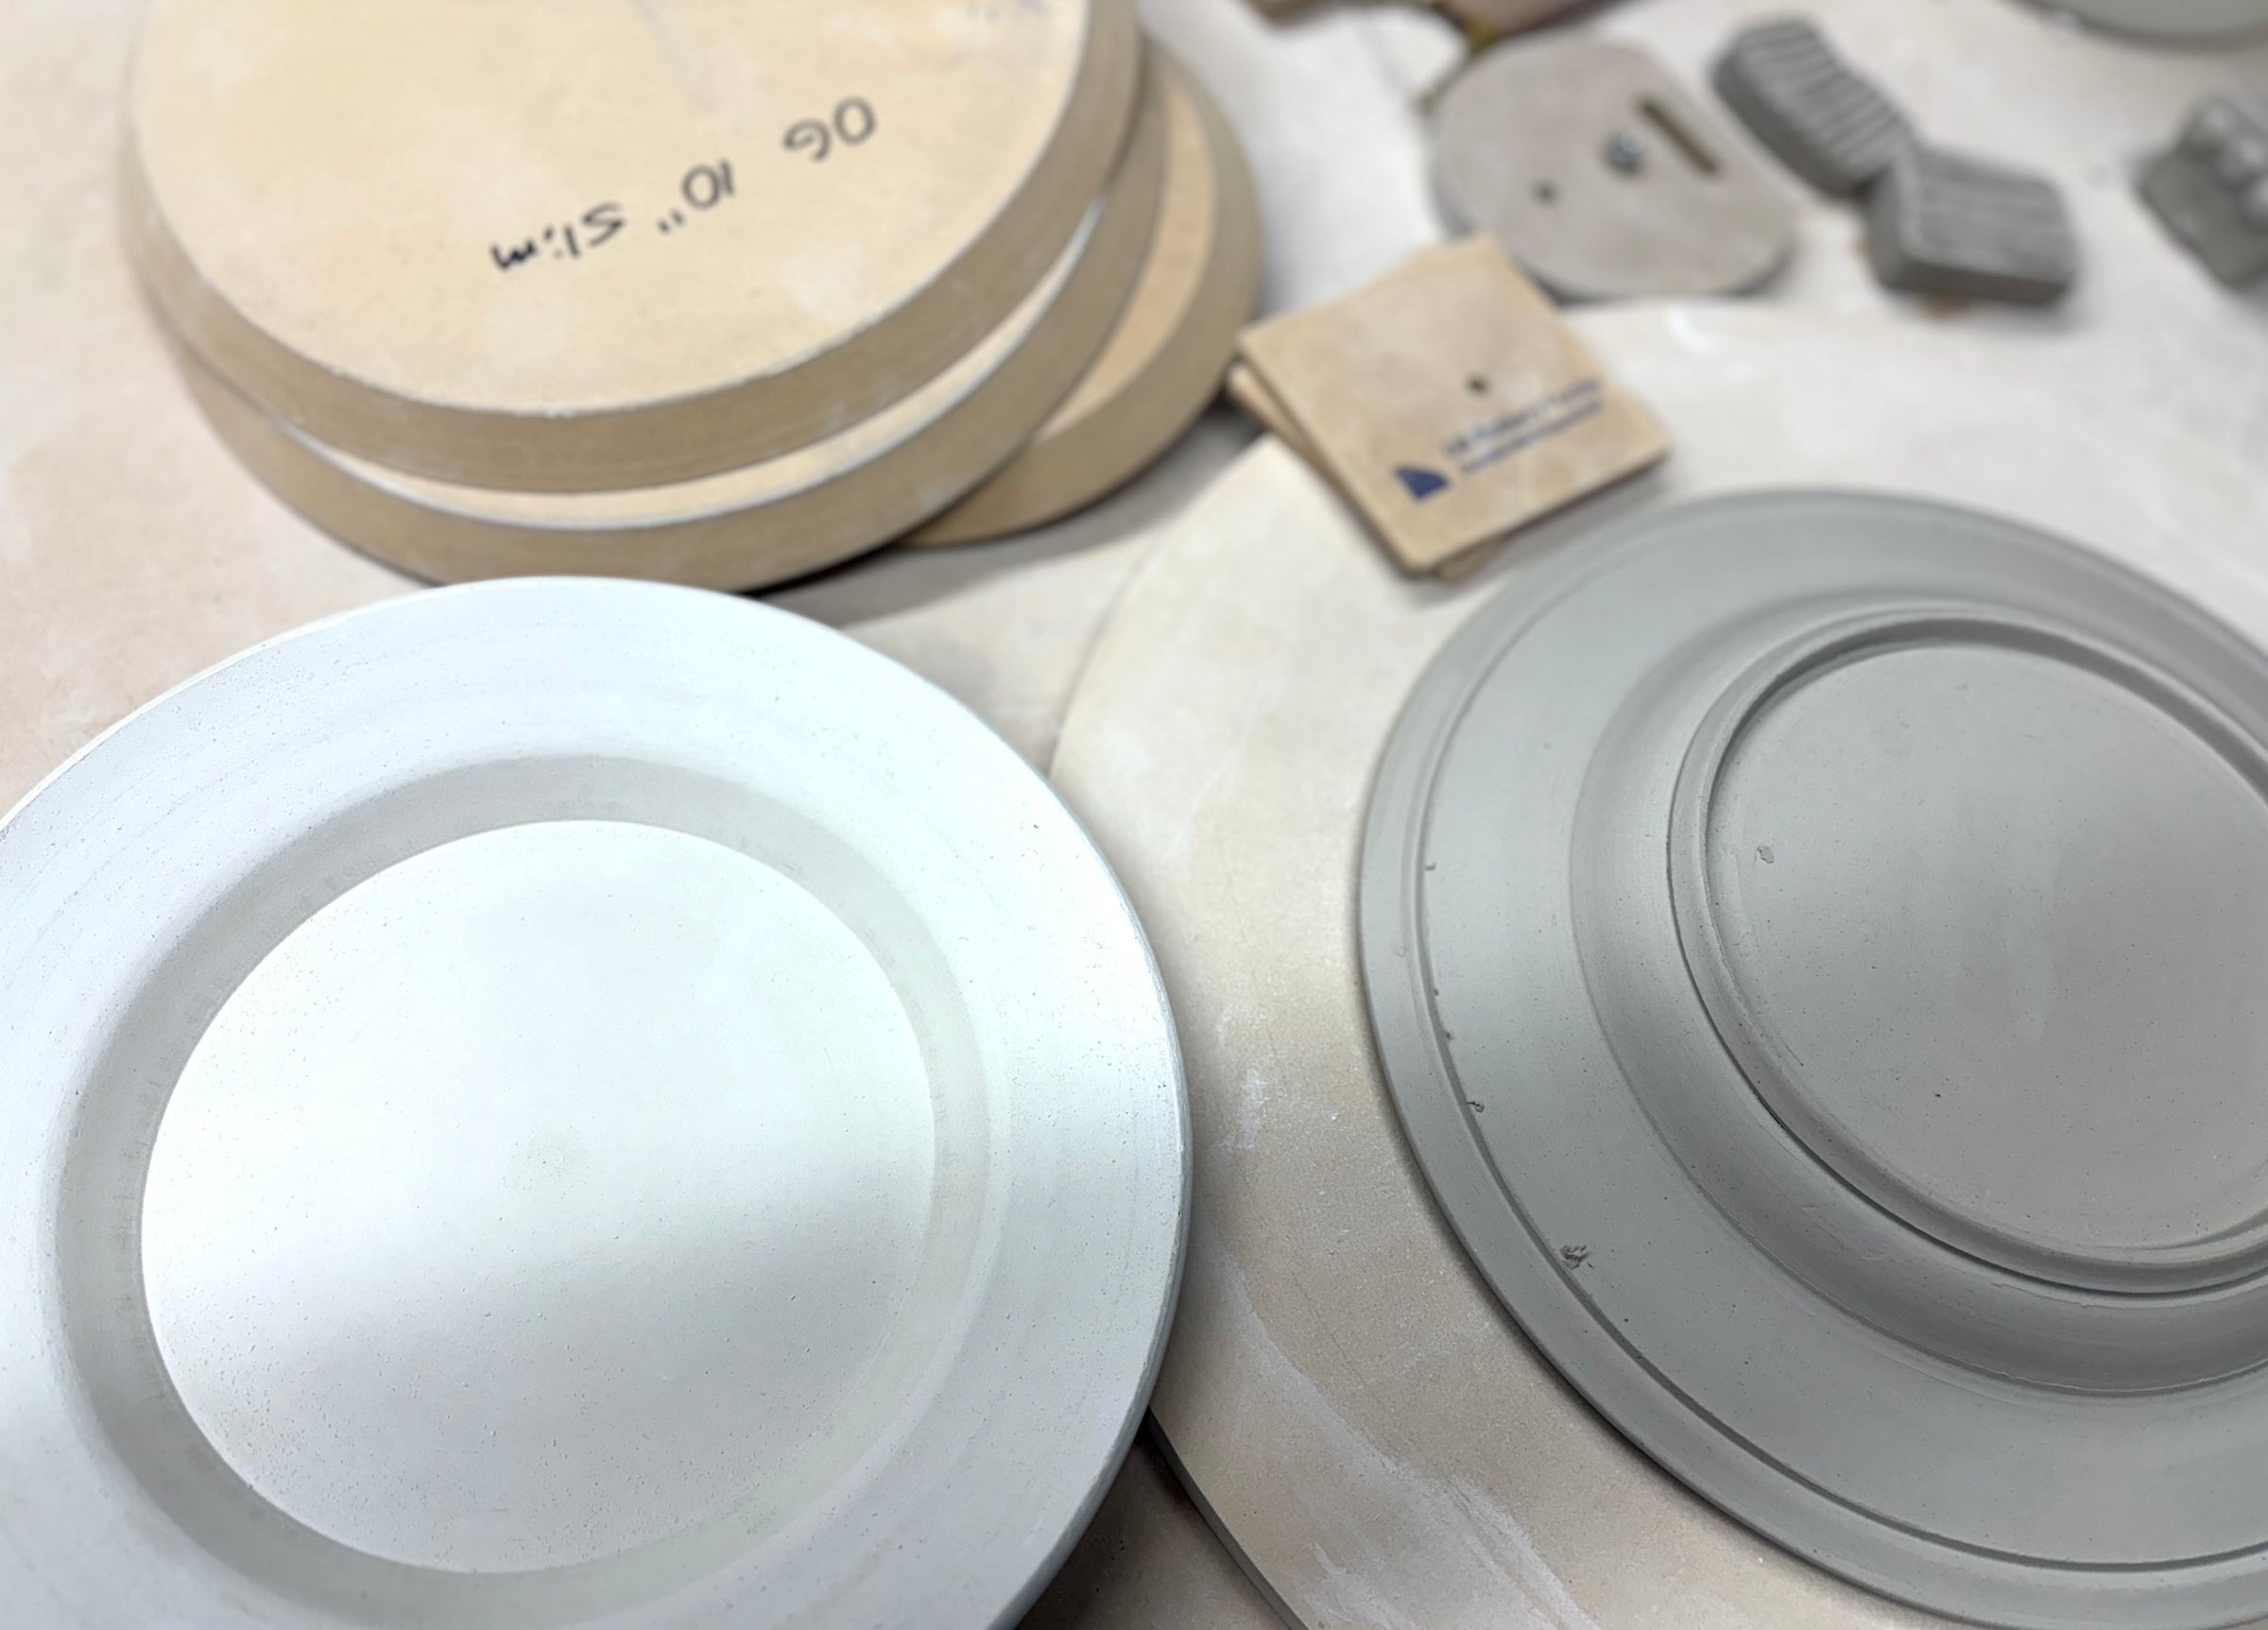
Tools used in this blog:
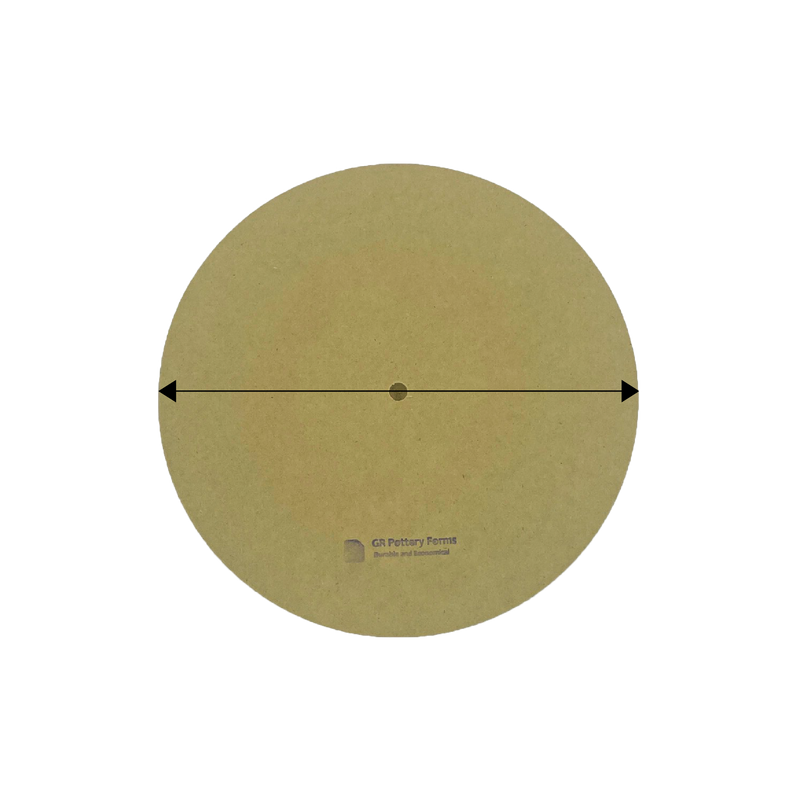
- Rectangle OG Form
- Oval RD2 Form
- Mudtools Rib
- Loonie Clay Knife
- Foot Maker Tool
- Modeling Tool
- Trimming Tool
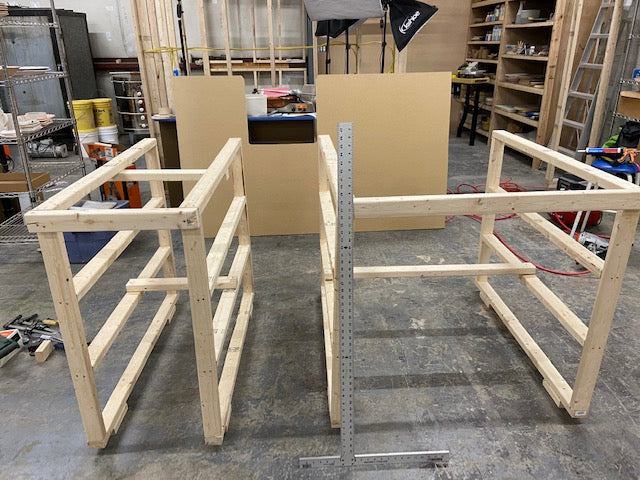
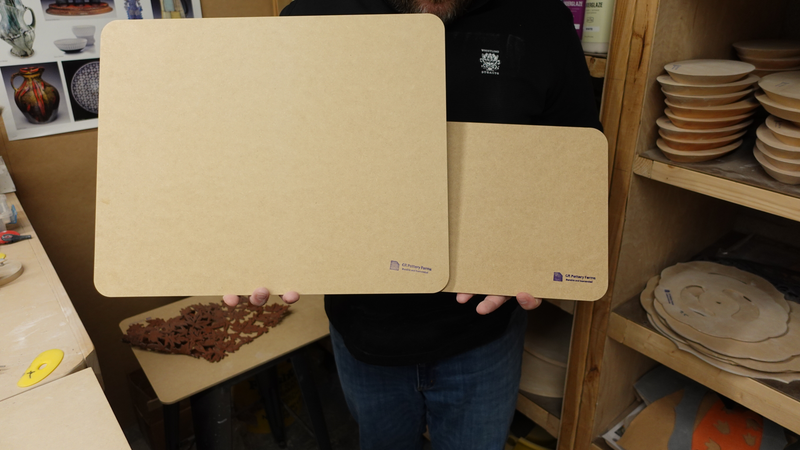
- Studio Boards