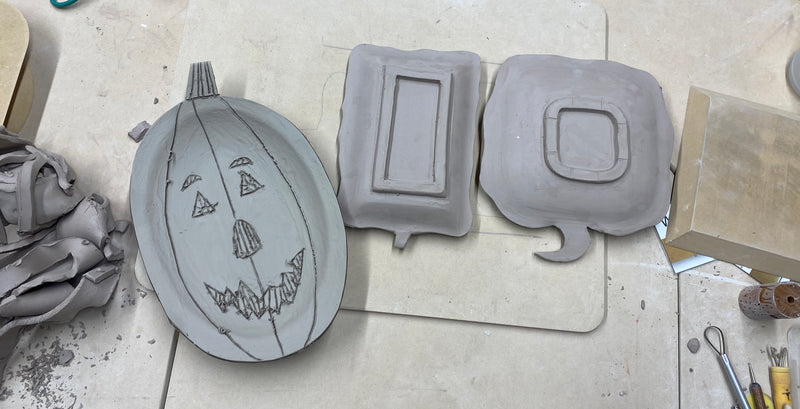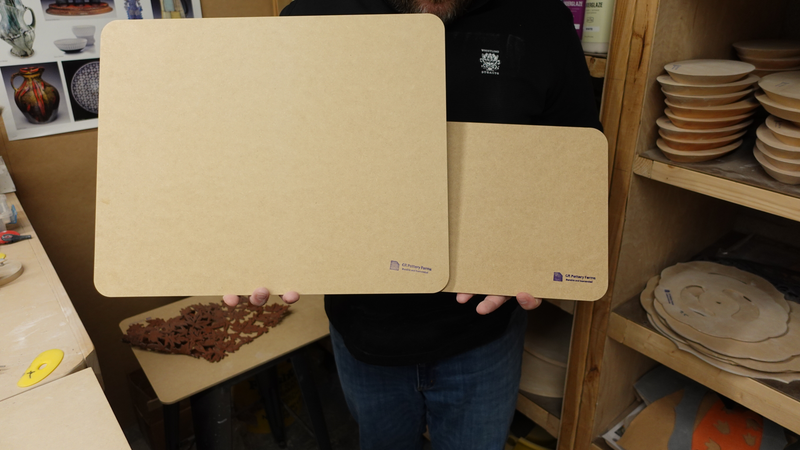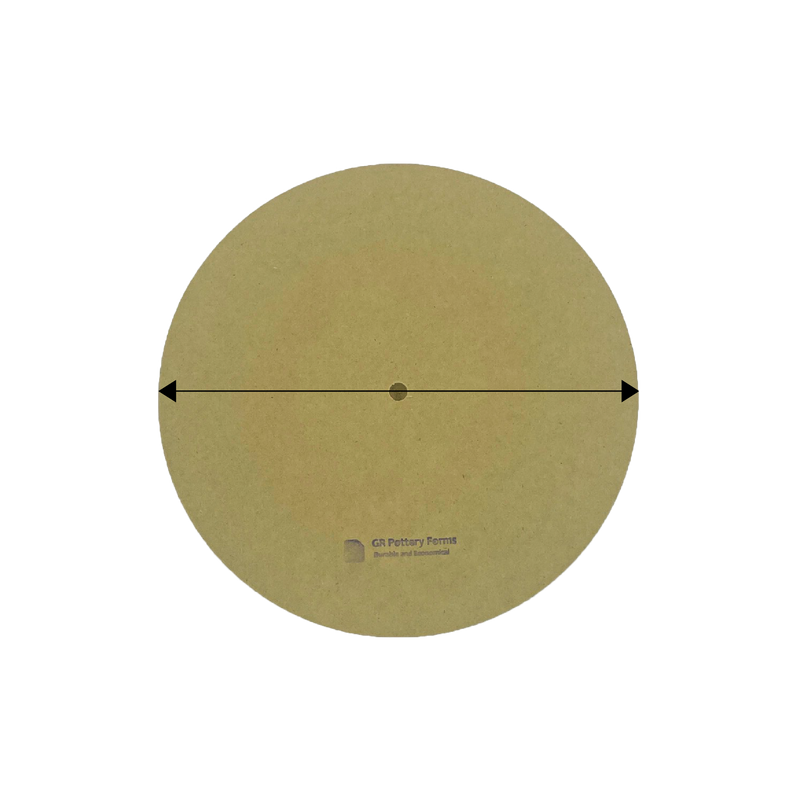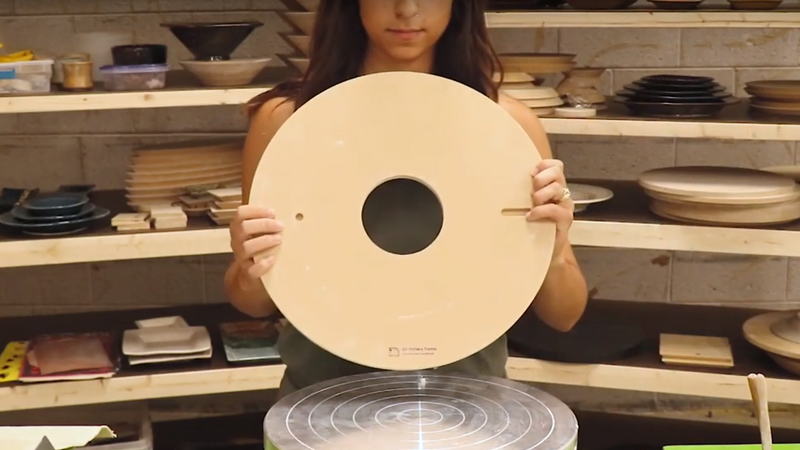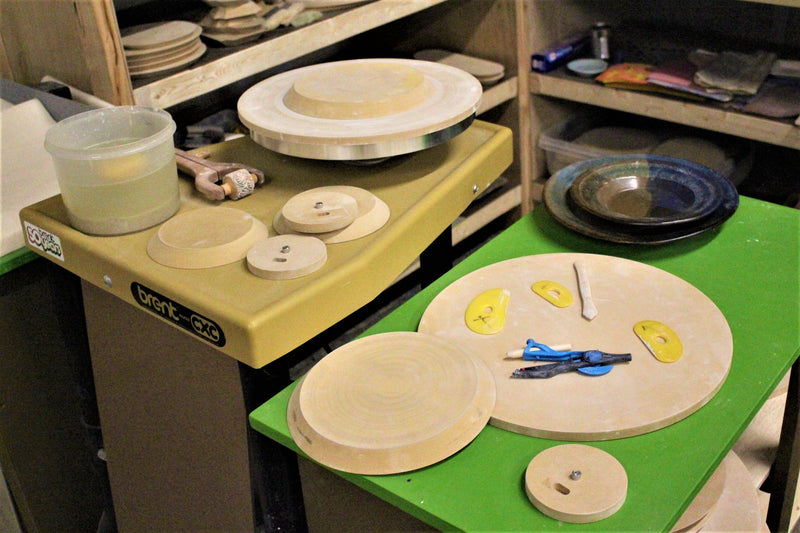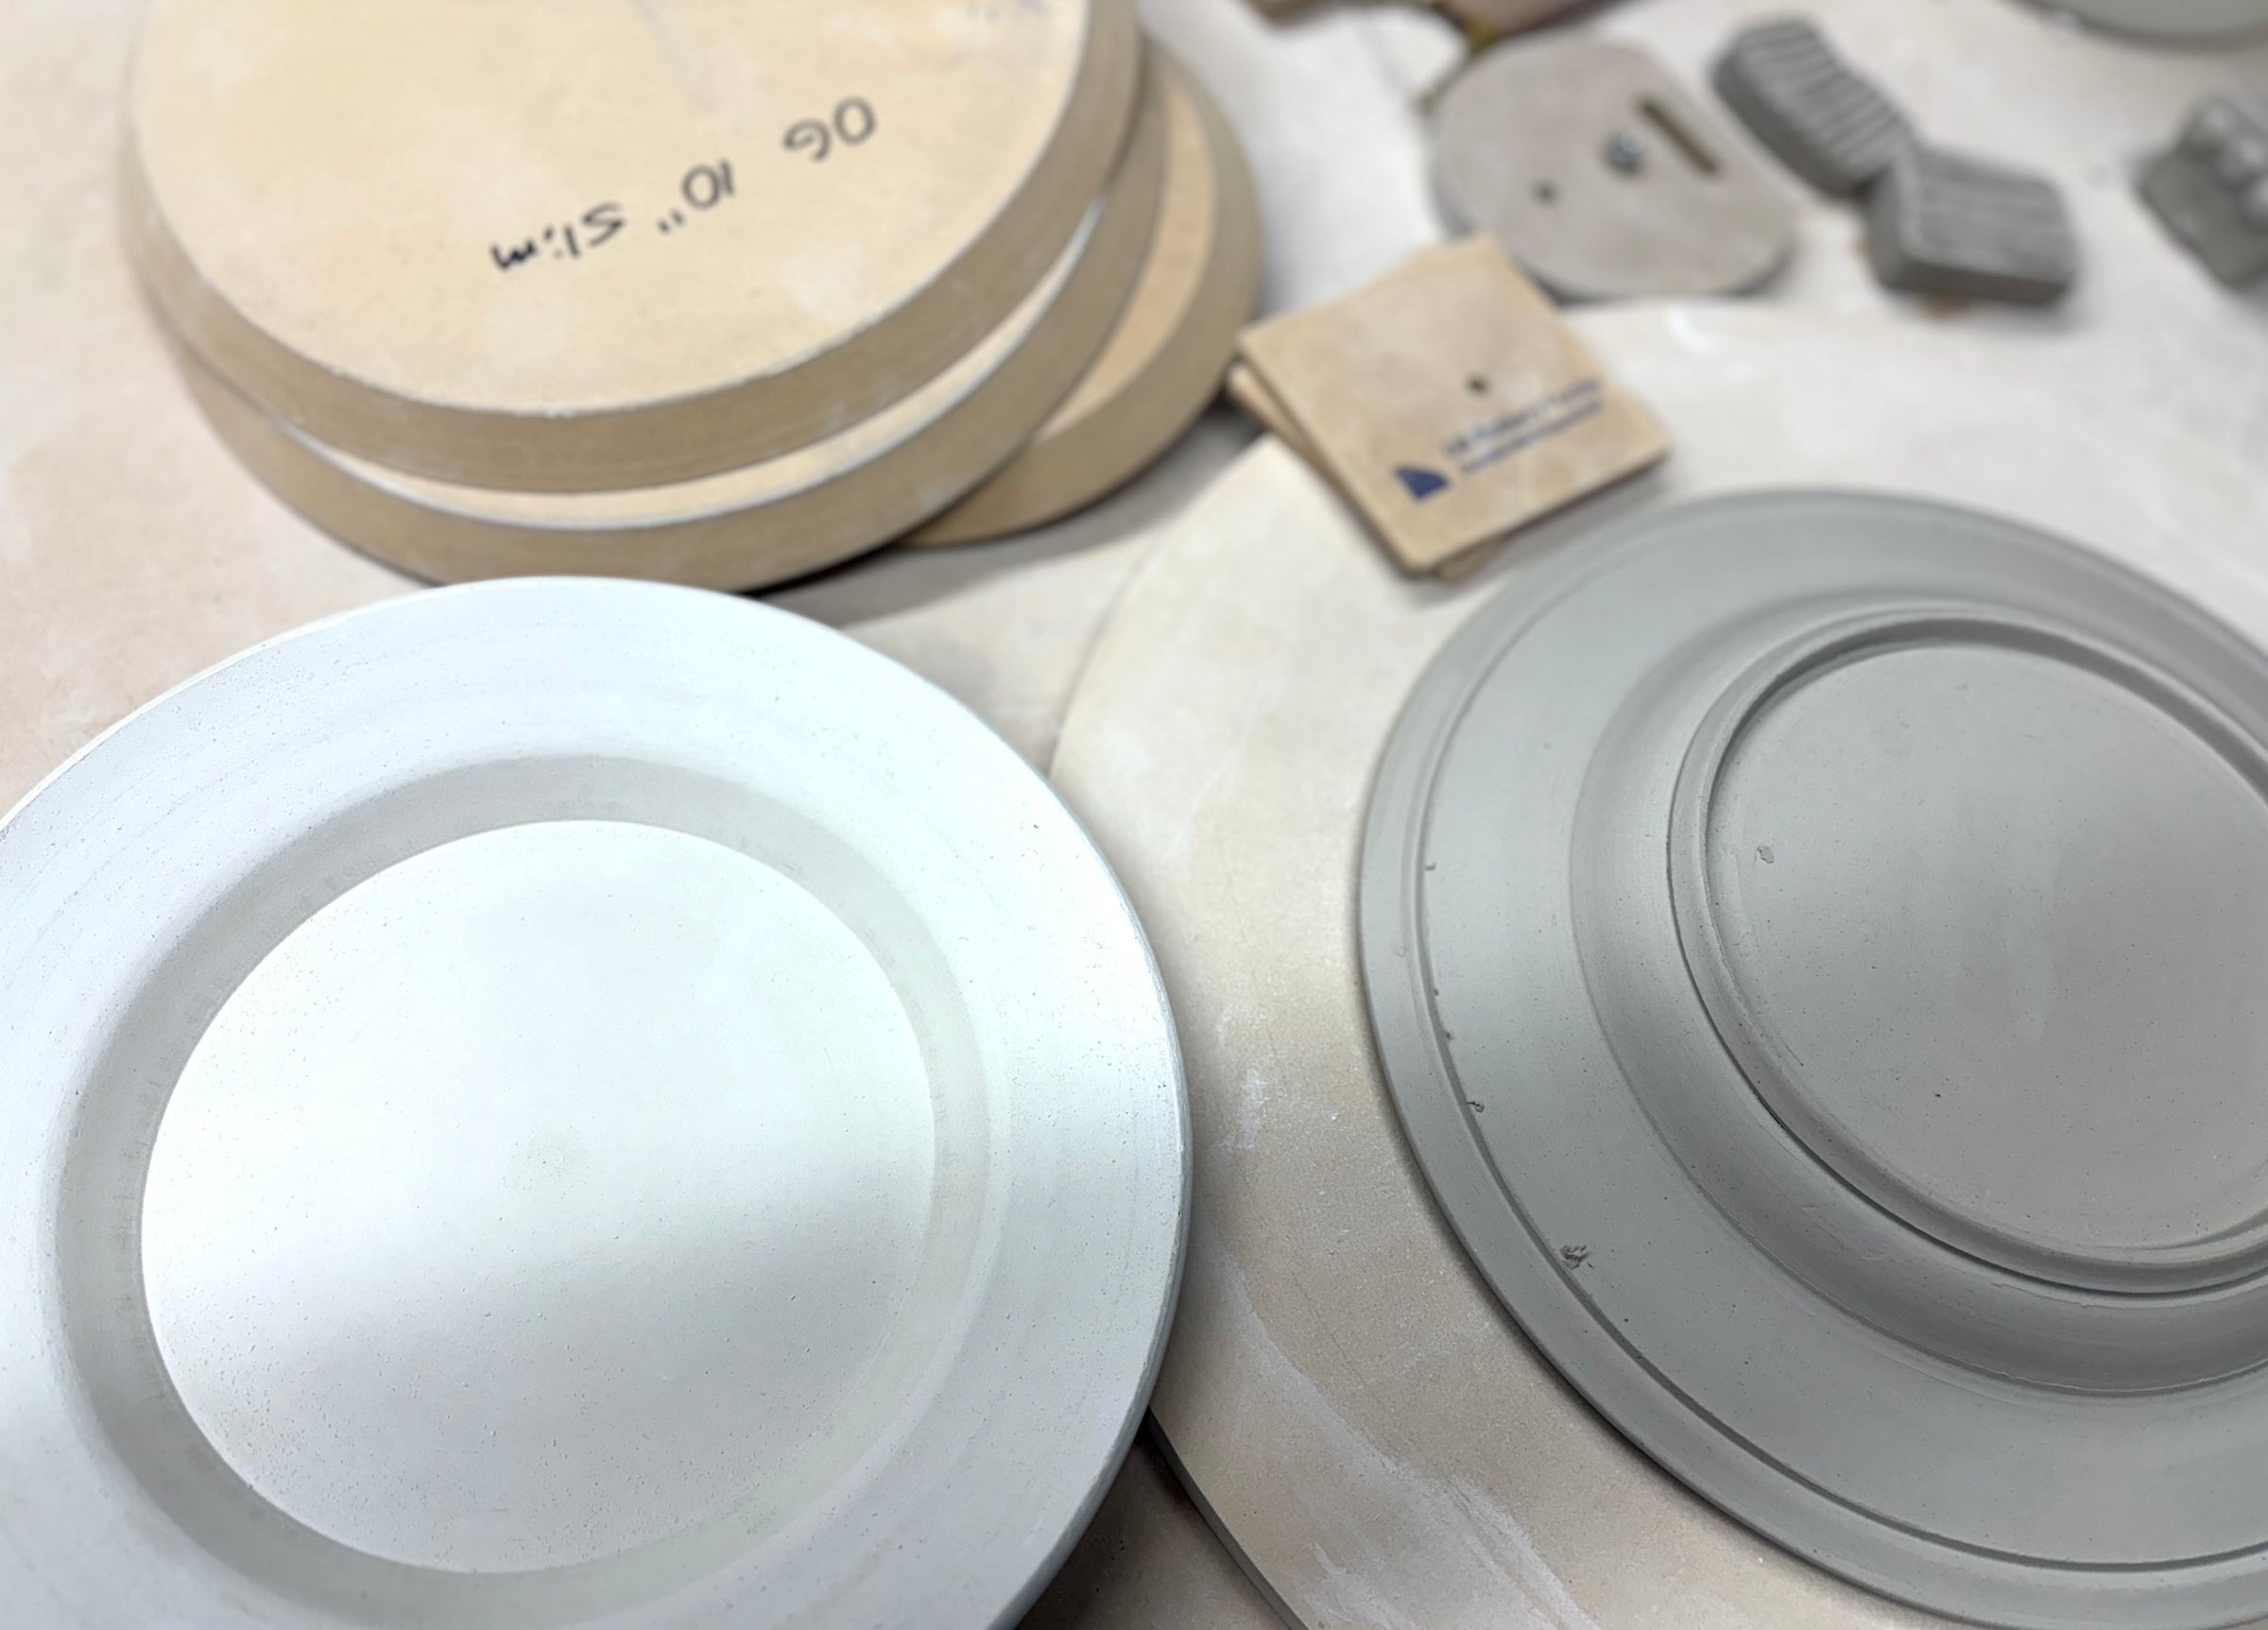
1. Stack the Forms
Begin by stacking your Forms ensuring that they are lined up properly to create the desired shape of your bowl. This step sets the foundation for your piece.
2. Press the Clay
Gently press the clay onto the stacked forms with your hands. This initial step is crucial for shaping your bowl. If you notice any cracks, simply add a bit more clay to fill them in and smooth everything out with a rib tool. Remember, avoid adding water at this stage to maintain the integrity of the clay.
3. Smooth and Compress
Once the clay is applied, take your rib tool and use it to smooth and compress the rest of the bowl. This helps to eliminate any air pockets and creates a uniform texture across the surface.
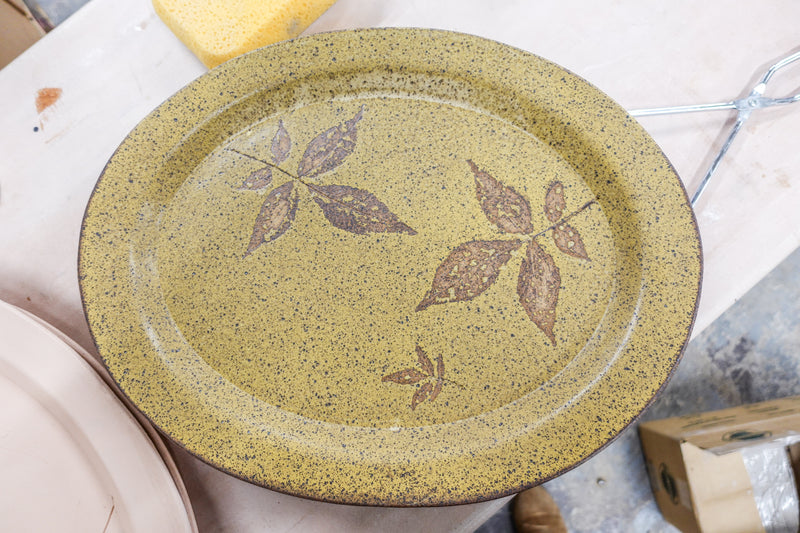
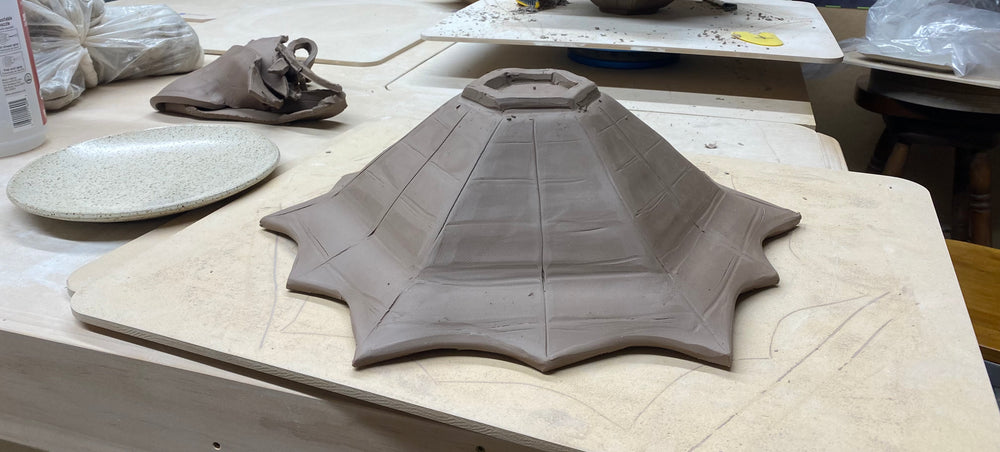
4. Create Spider Web Lines
Using a Sue Tool, carefully measure out and create even lines on the surface of your bowl to form the spider web design. These lines will serve as guides for the intricate detailing to come.
5. Soften the Lines
To enhance the design, use your finger to gently soften the deep lines you’ve created. This step adds a more organic feel to the web.
6. Cut Out the Rim
Now it’s time to refine the shape. Using a knife, carefully cut around the rim of the bowl. Leave a bit of excess clay around the edges if you plan to add a decorative rim later.
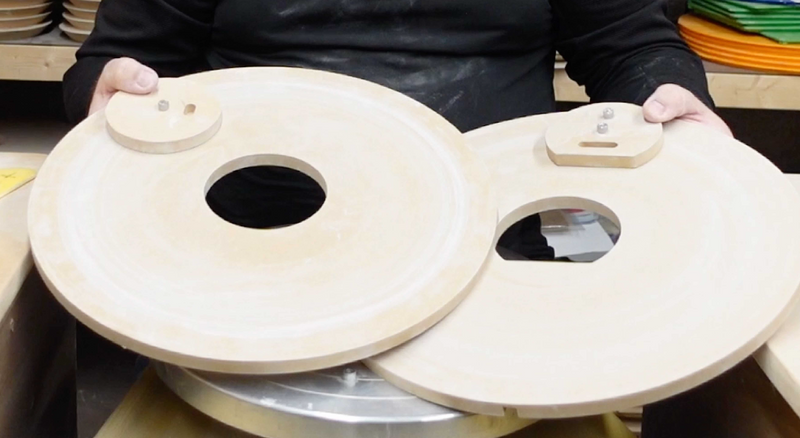
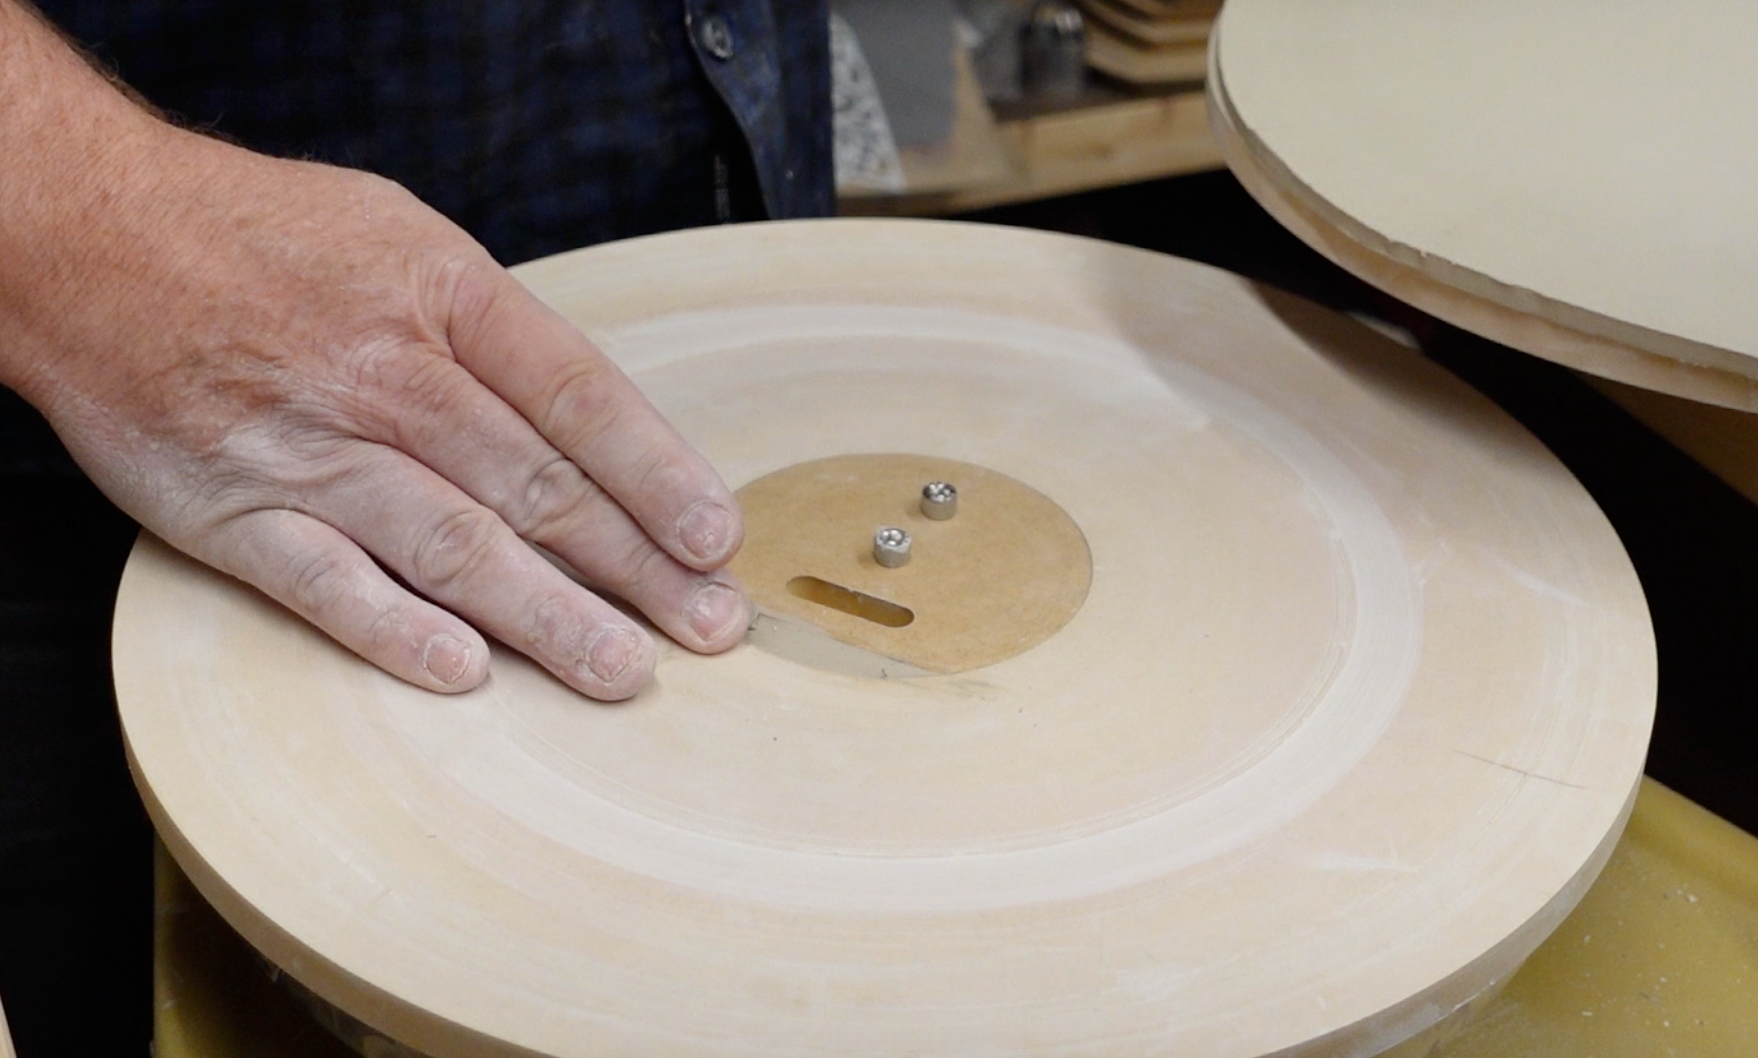
7. Shape the Foot
Using the Foot Maker Tool, cut out the foot from any leftover clay, ensuring it is an even size.
8. Attach the Foot
With the foot cut out, it’s time to attach it to your bowl. Score the edges of the foot with a wire brush, then carefully press it onto the base of your bowl. Make sure everything aligns correctly for stability.
9. Add Curved Edges
To give your bowl a more refined shape, add a spacer beneath the foot and gently push down the edges of the bowl. This step enhances the curvature, giving it a more elegant look.
10. Allow to Reach Leather Hard
Once you’ve shaped your bowl, allow the clay to reach leather hard. Leave the clay on the Forms so it can maintain it’s shape.
11. Remove the Forms
When the clay is leather hard, carefully remove the forms. You may need to use a flat tool to carefully pop them out if they don’t come loose easily.
12. Add Interior Details
Using a modeling and trimming tool, go back inside the bowl to add additional web lines or texture. This detail will make your piece unique and add depth to the design.
13. Clean Up the Edges
Use a rasp to clean up the edges of the bowl, ensuring a smooth finish all around. This step not only improves the appearance but also prevents any sharp edges.
14. Final Smoothing
For the finishing touch, use a notched rib to smooth and round the edges of the bowl. This technique will give your piece a polished and professional look.
We hope these steps were helpful on how to create a Spider Web Bowl. Here is a tutorial video that goes through the above steps: