1. Compress the Slab
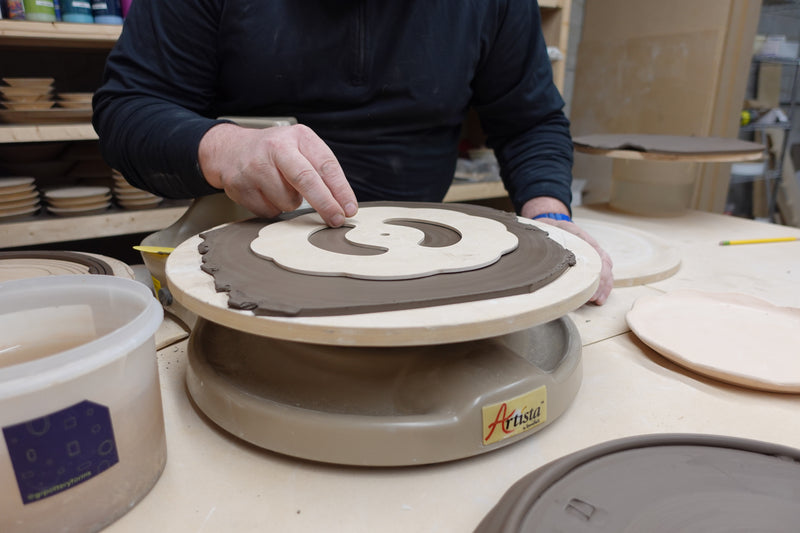
Start with a slab of clay. Gently compress the clay with a rib tool to create an even, compacted surface. This is essential for preparing the clay, as it ensures that your bowl will be structurally sound and free from air bubbles.
2. Assemble the Stacked Forms
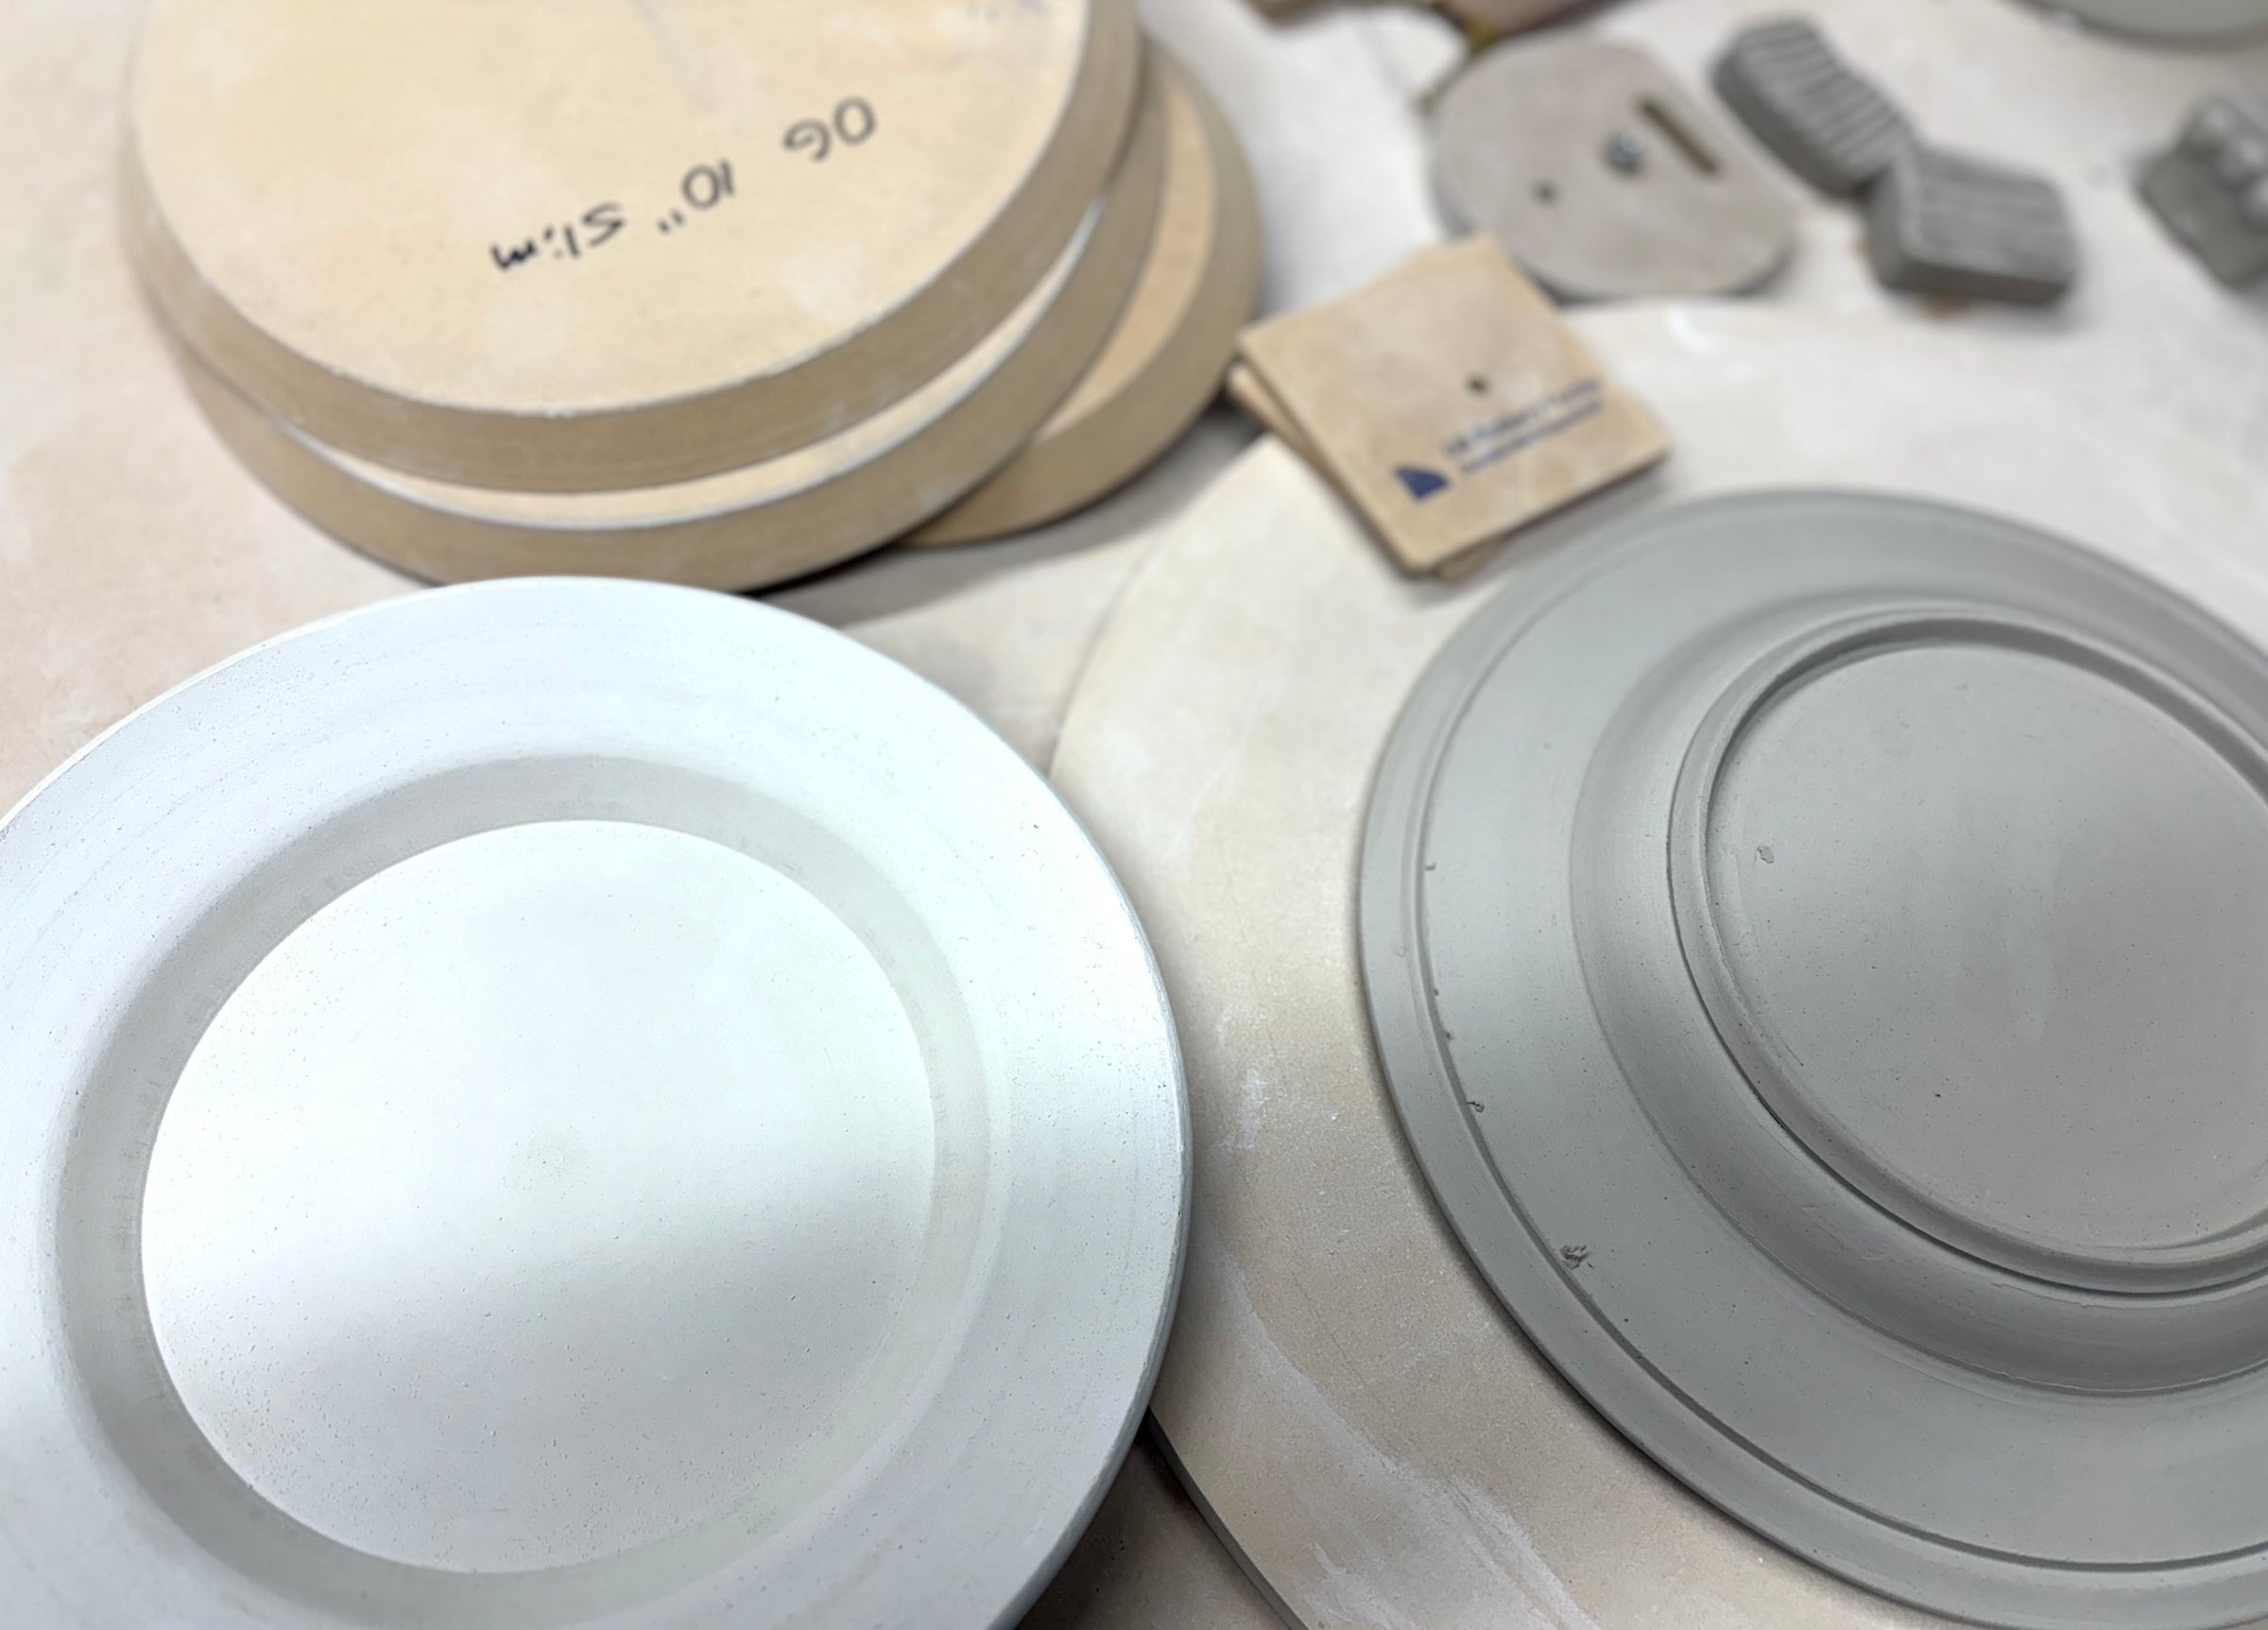
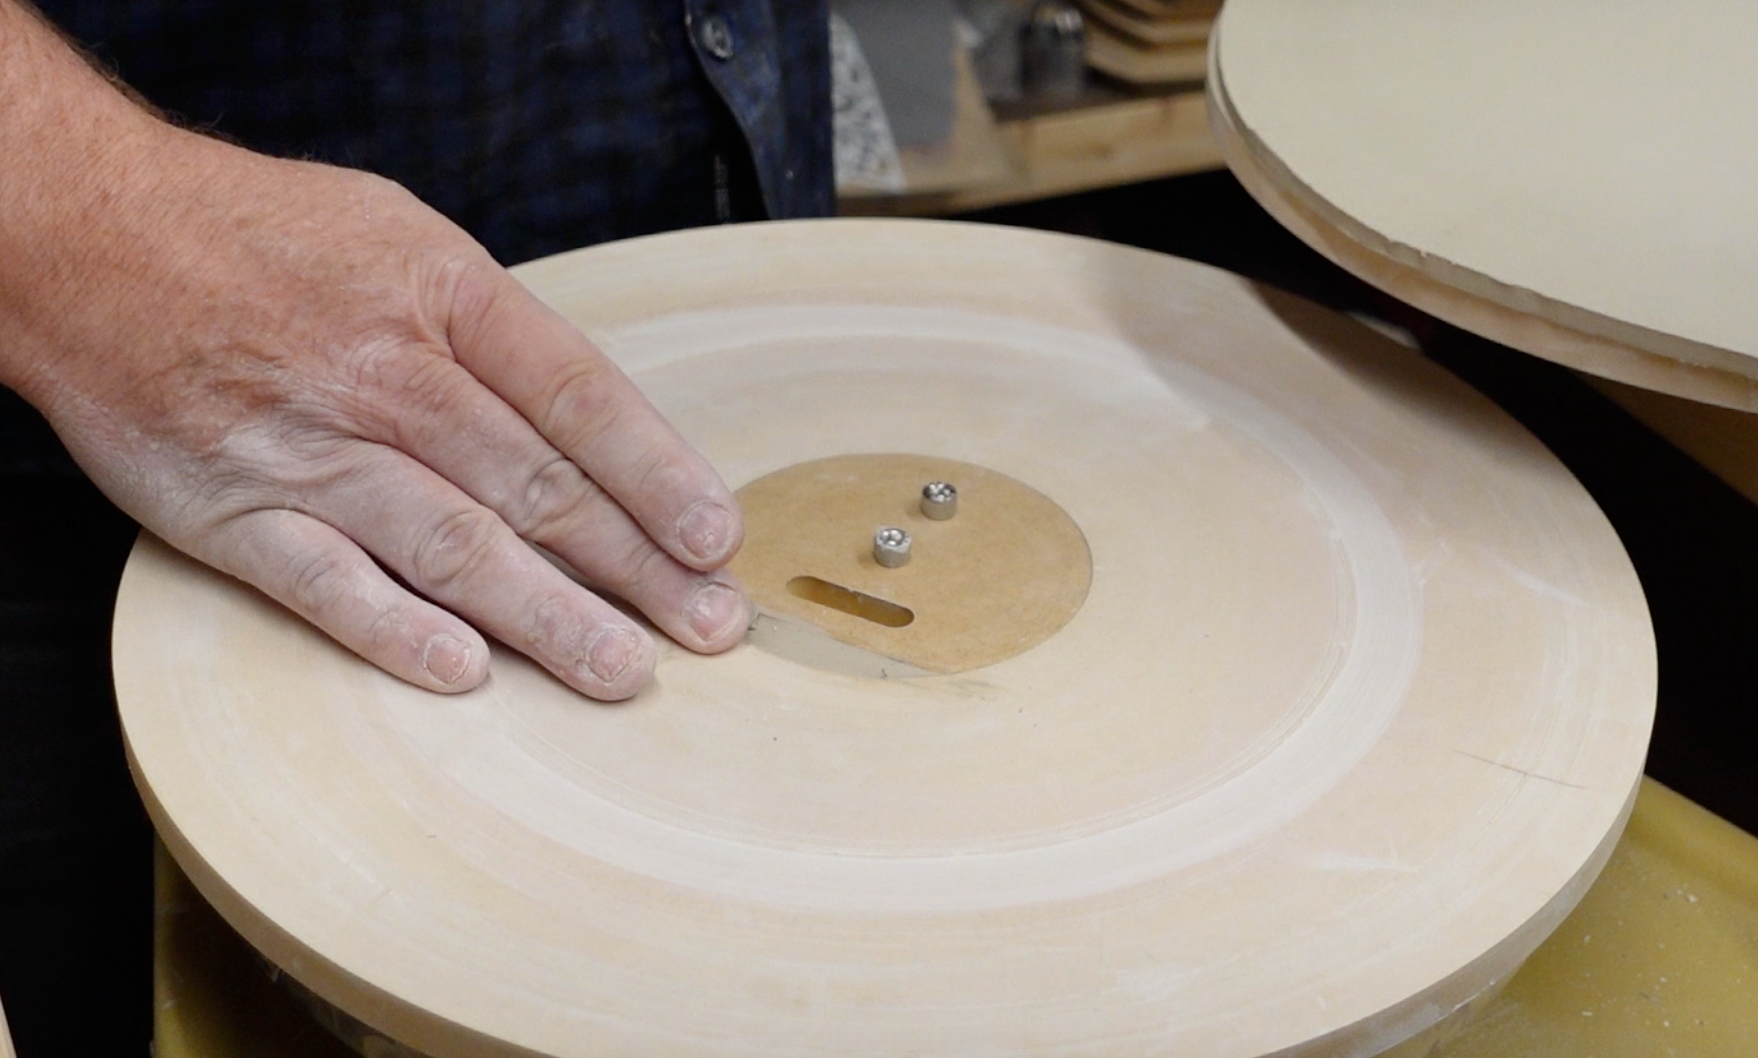
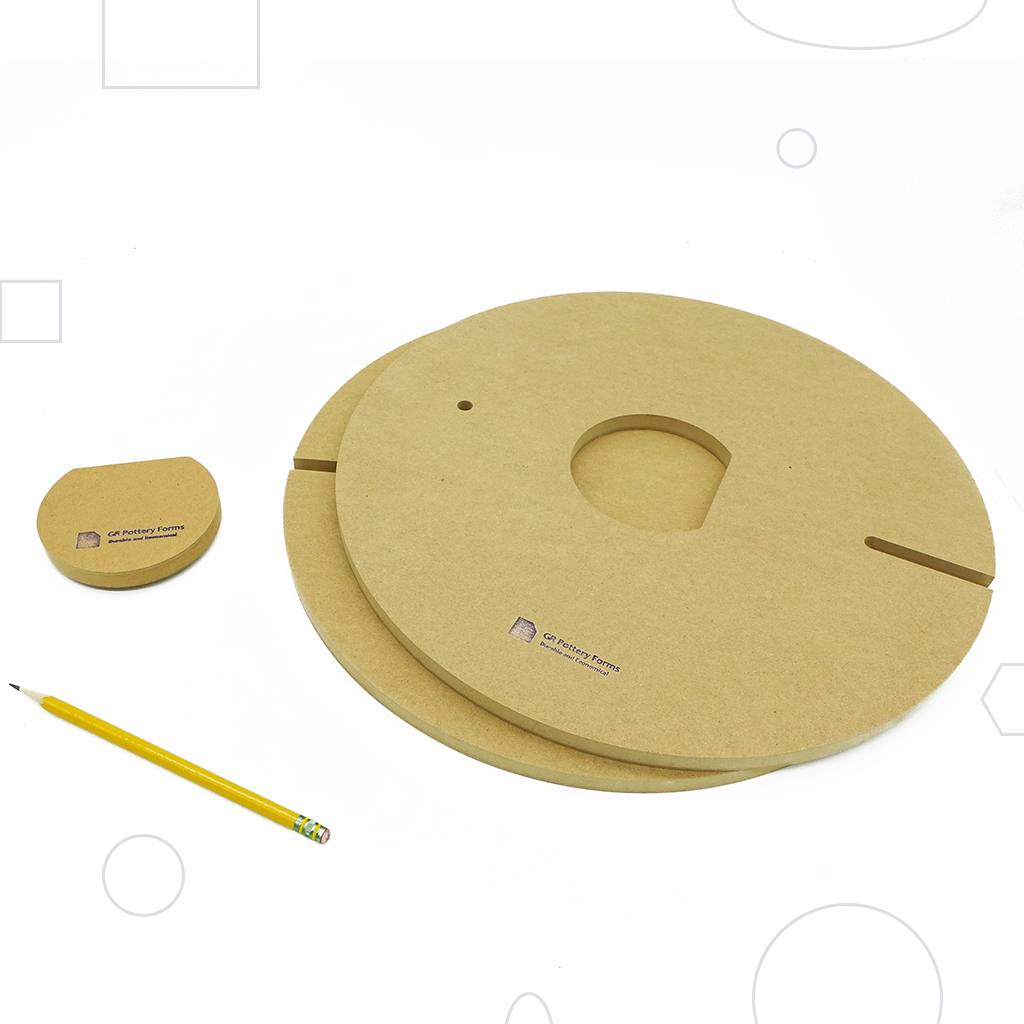
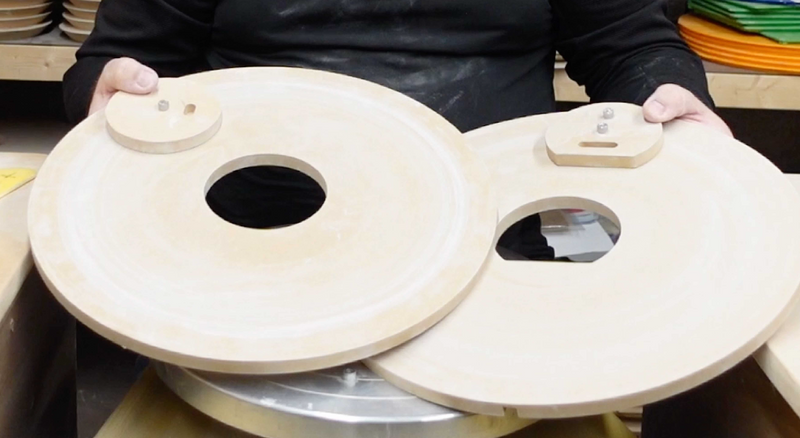
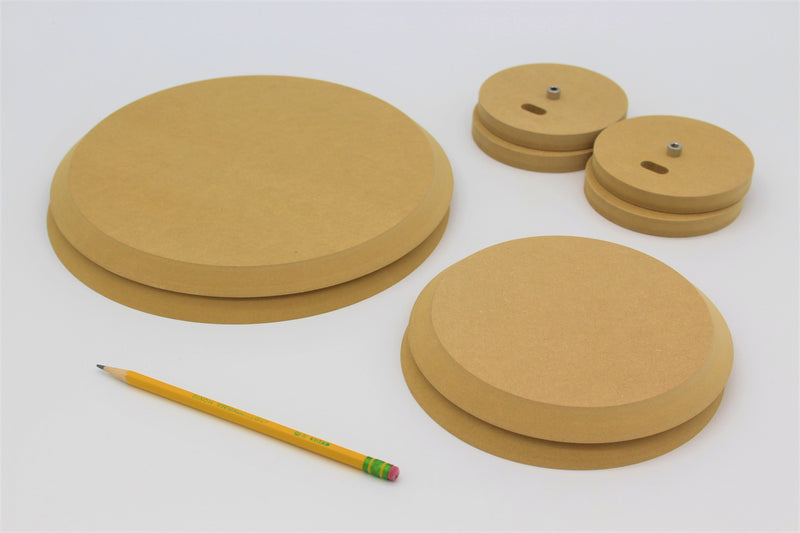
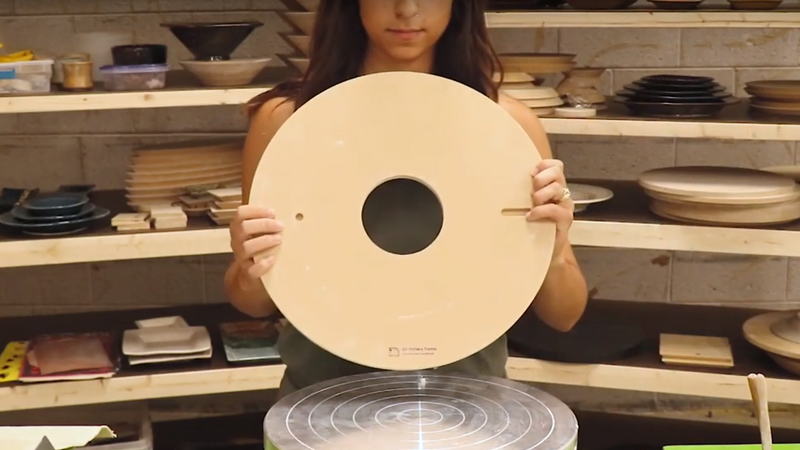
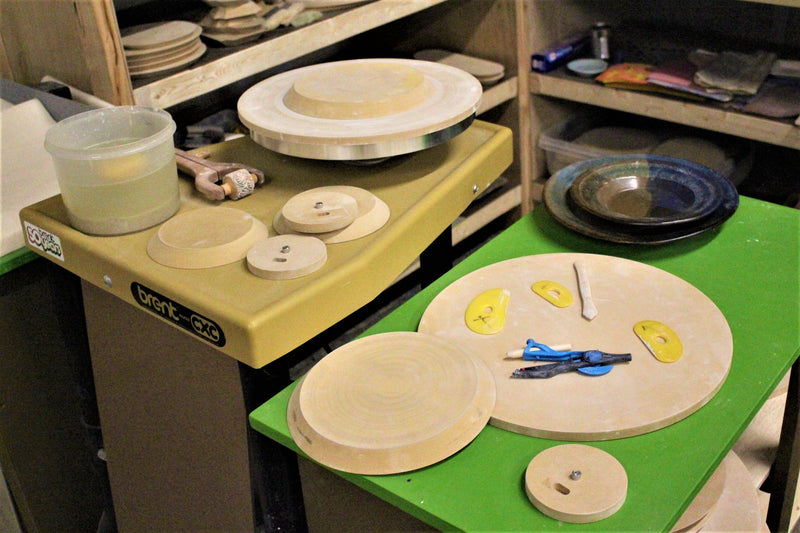
Once your slab is prepared, set it to the side. In this Ramen Bowl project we recommend the OG Round 5, 6.5 and 8. Stack them together and place in the center of a work surface or if you are using a wheel attach them to the WA2 system using the center peg only.
3. Drape Clay Over Forms
Drape your slab over the Forms making sure it is centered and there will be enough clay to completely cover the Forms and create a rim.
4. Push the Clay Up to the Forms
Gently push the clay up to meet the stacked Forms, applying more pressure as you go. This helps the clay to take the shape of the Forms, without creating wrinkles or cracks in the clay.
5. Compress Clay onto the Forms Using Rib Tool
Now, take your rib tool and use it to compress the clay further onto the Forms. This helps eliminate any air pockets and lock the clay into the desired shape.
6. Use Wooden Rib to Create Texture
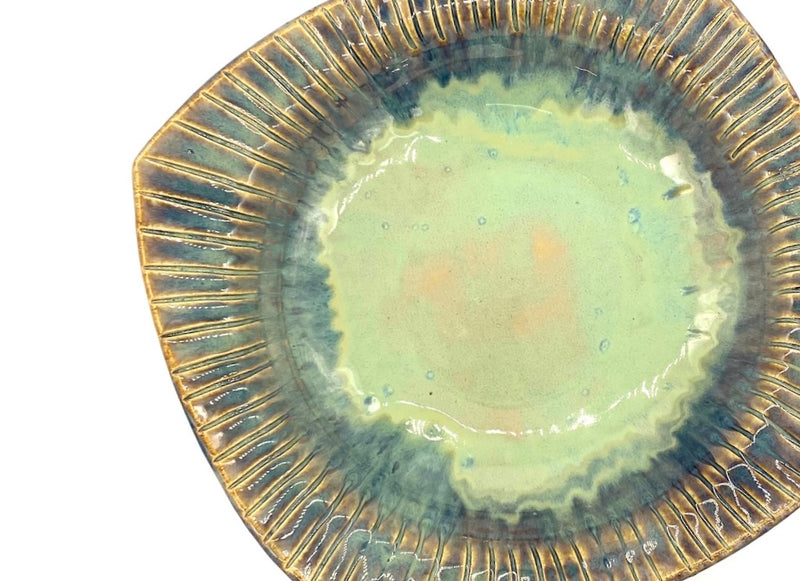
For an added layer of texture, you can use a wooden rib to lightly press patterns into the surface of your clay. Adding texture to this outside surface will do wonders for the aesthetics of your finished piece.
7. Add Extra Texture with a Modeling Tool
Jeff likes to use the Kemper JA 20 Modeling Tool to create more lines or patterns. Giving emphasis to areas of texture or to guide the glazes or viewer attention.
8. Cut the Rim and Foot Using a Knife
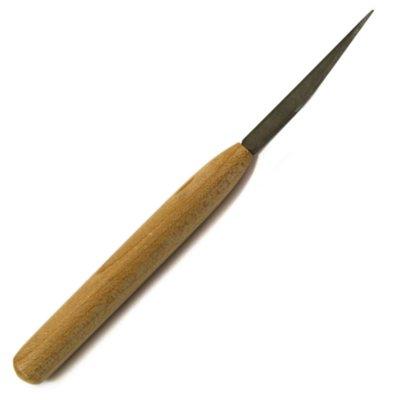
Once you're satisfied with the texture and surface of the bowl, cut out a strip of clay to use as the foot leaving enough clay for your desired rim.
9. Attach the Foot
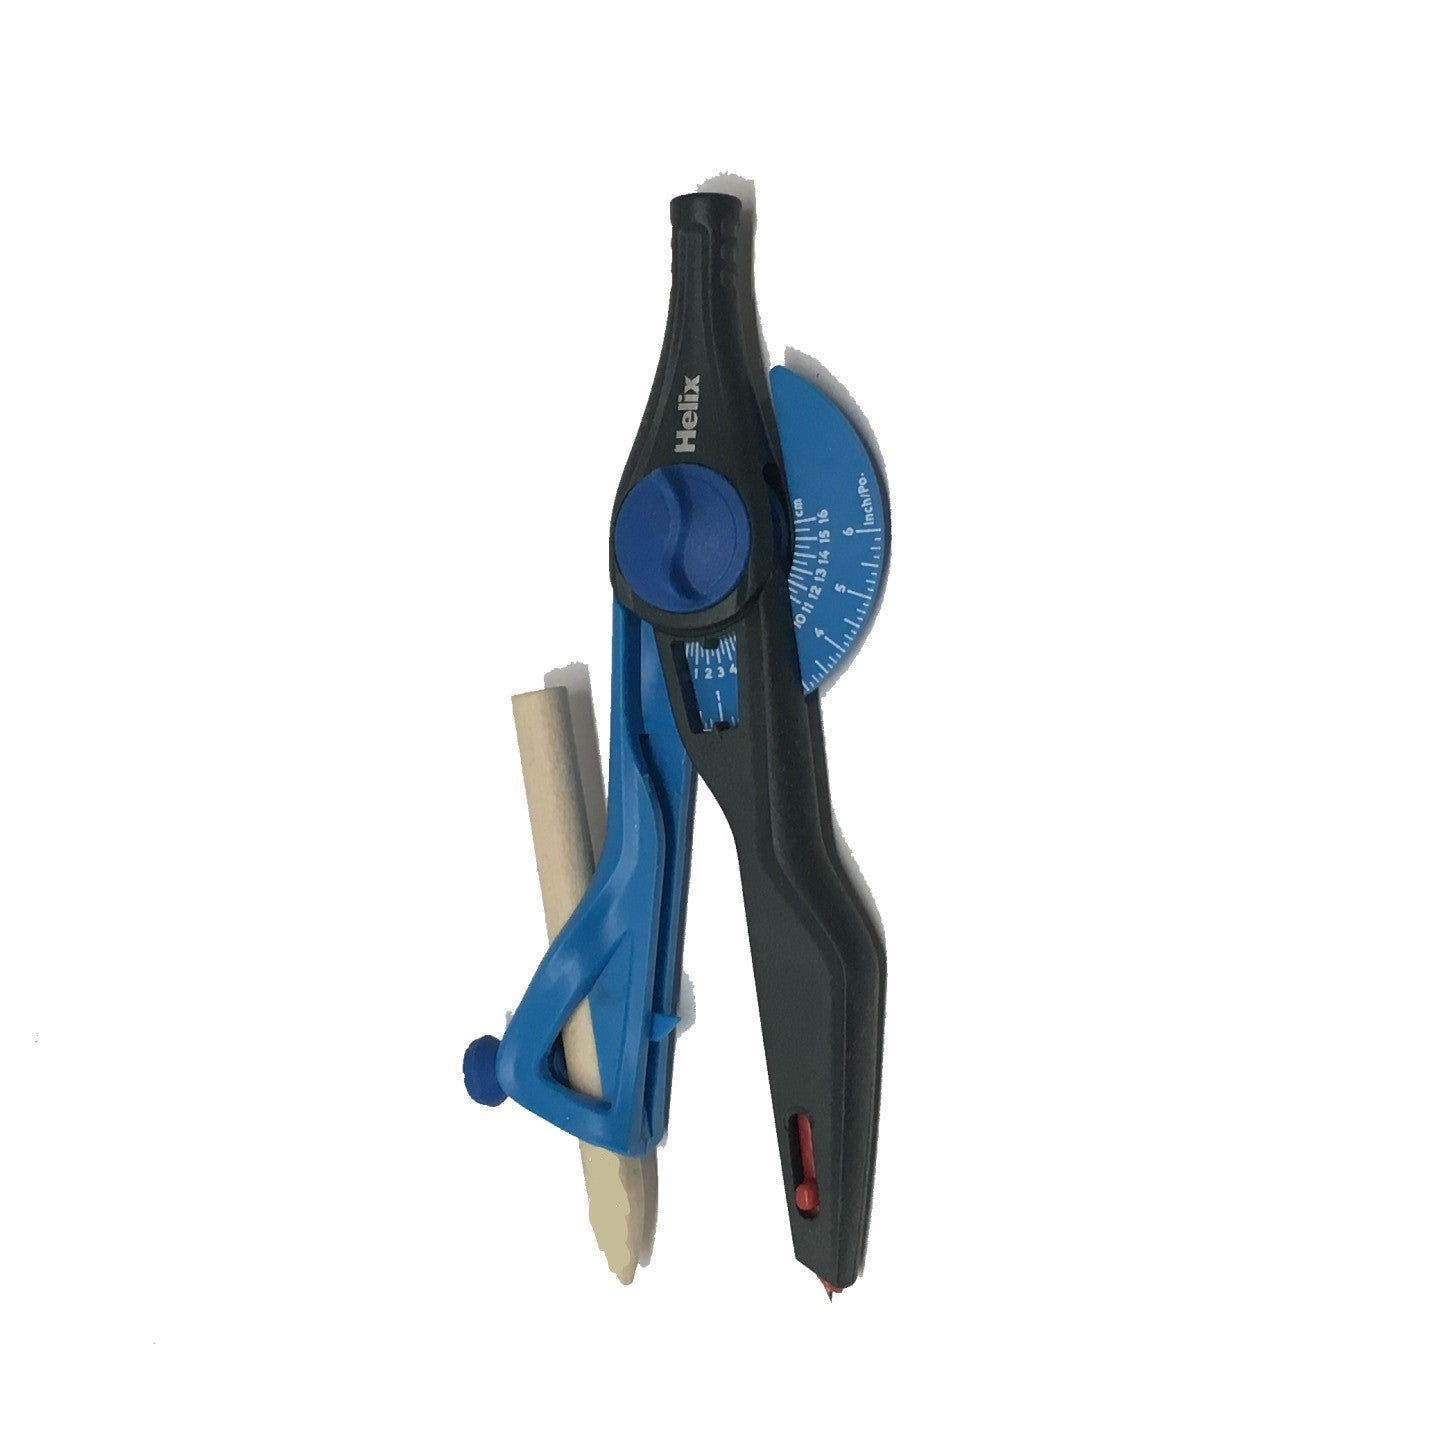
Use a Sue Tool to measure where you want to attach your foot. The Sue Tool will help you maintain a consistent measurement on future bowls. Line the strip of clay you cut out up along the line drawn by the tool or at the bottom edge..
10. Shape the Foot using a damp Sponge
Use a damp sponge to compress the strip of clay to the body of the bowl and give it its desired shape. The sponge is necessary when using a wheel to let your fingers glide along as the clay moves through your fingers. When the foot if complete use the sponge to clean up your rim edge.
11. Set aside to dry
To release the plate from the WA2 Form, push up on the center of the WA2 carefully. This will help the clay release without distorting the shape of the bowl. This completes the main making process.
Let Dry for 4 to 6 hours. In dry climates less and moist climates more.
12. Remove Clay from Forms Once Leather Hard
Once the clay has reached leather-hard consistency, the Forms should be easily removed from the Bowl. .
Set Forms aside to dry completely before you use them again.
13. Smooth Out Lines and Imperfections with a Loop Tool
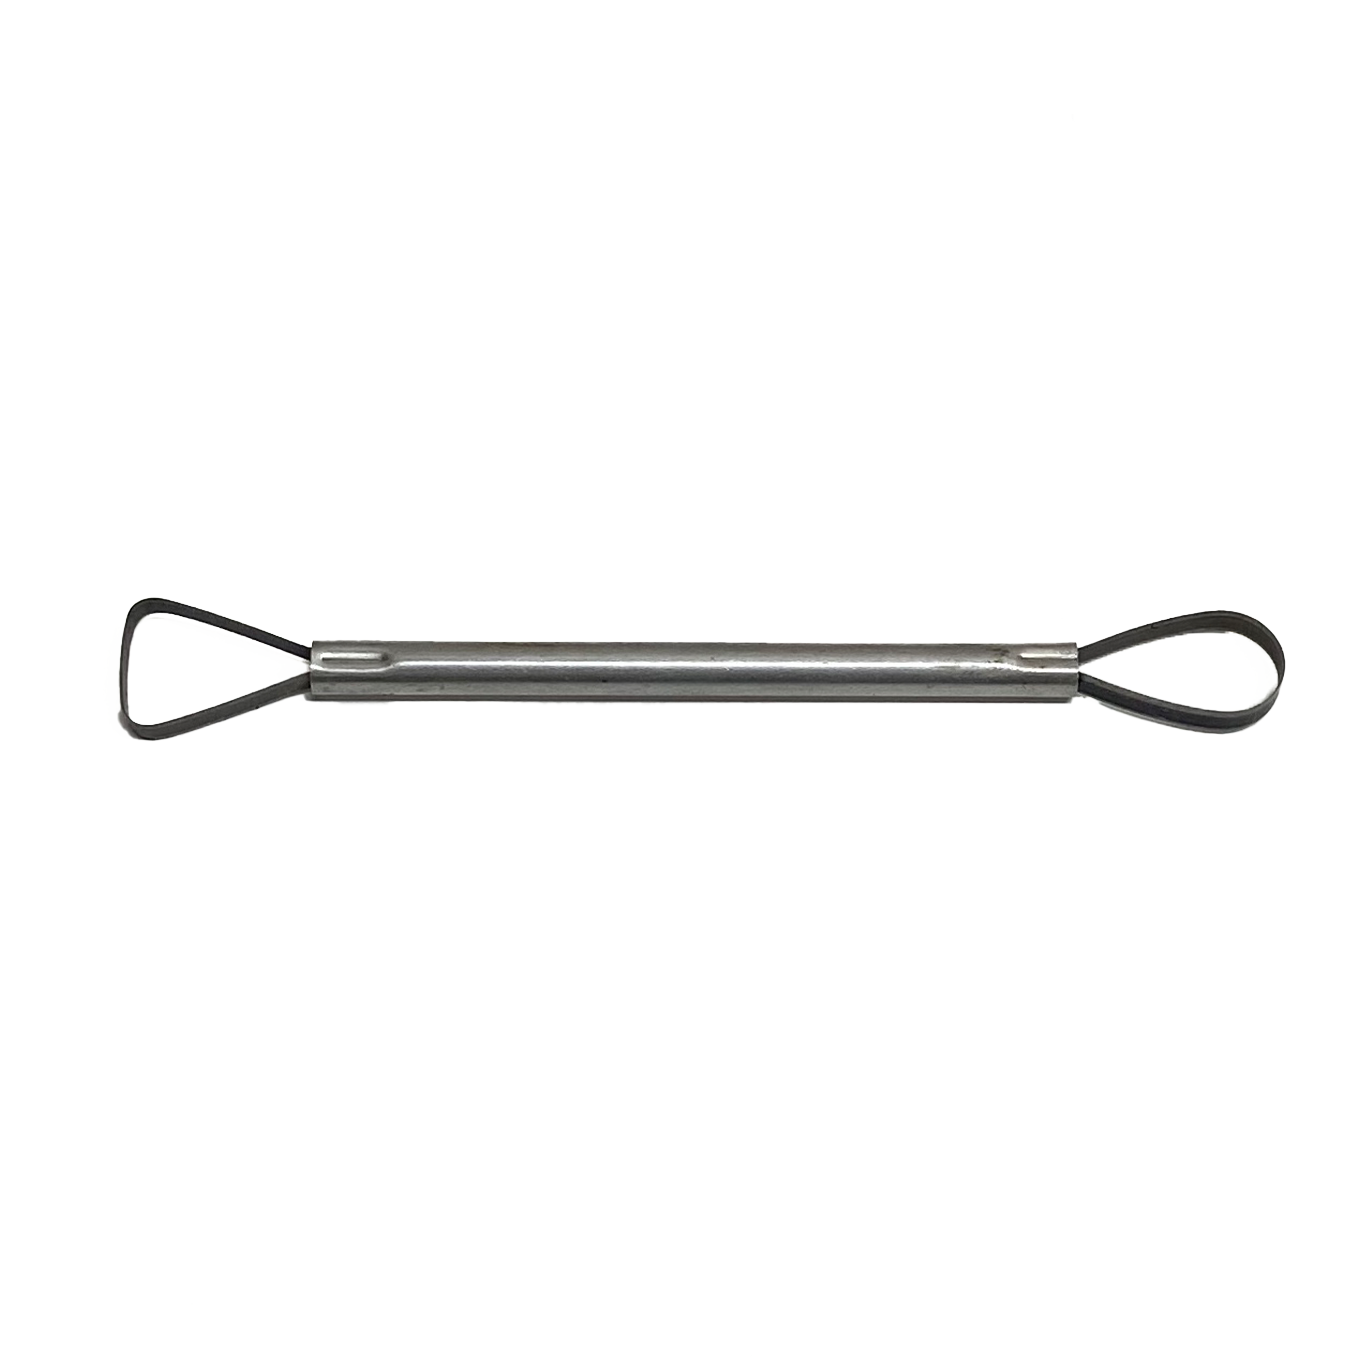
Take a loop tool and remove any lines or imperfections on the inside surface of the bowl. Then use the Notched Rib or another rib to smooth these areas if necessary. A Giffin Grip can also be used to remove the inside seam lines if desired or available.
14. Use a Notched Rib to Round the Rim Edges
Use a notched rib to round the edges of the rim. This smooths out the edges, removing any sharp or uneven spots. This completes the Leather-Hard stage of any final adjustments.
15. Leave the Bowl to Dry Upside Down
To minimize the risk of warping, leave your bowl to dry upside down. This allows gravity to help maintain the bowl’s shape as it dries. Make sure it's placed on a flat surface, and let it dry completely. This process could take 24-72 hours. Make sure to leave in an area with no draft and a safe space.
16. Final Check
Once the Bowl is completely dry use a Loop Tool to clean any remaining areas. For example if you sign your piece there are raised areas or burs left and are the easiest to remove at this stage. Also textured areas sometimes have sharp points that develop during drying.
17. Bisque fire (first firing) Bowl to 06 or 05
The bisque firing helps to burn out organic material from the clay and prepare it to accept glaze more efficiently.
18. Smooth Any Sharp Edges with a Grinding Stone
After the bowl cools from the first firing, use a Grinding Stone to smooth out any sharp or rough edges that may have developed during the drying or firing process.
19. Remove Dust with a Stiff Brush
Use a stiff brush to remove any leftover dust from the grinding process or if you have time wash the bowl. Make sure it is completely dry before adding glaze or the glaze won’t absorb as well.
20. Add Glaze
Now it’s time to apply glazes! Pick your favorite and apply a thick coat to the surface of your bowl. In this video we used a brushing technique but other methods can be used.
21. Clean Bottom
Finally, wipe off any glaze on the bottom of the bowl with a wet sponge. It should be removed a good distance from the bottom to eliminate any glaze sticking to the shelf.
Fire to desired clay and glaze temperature.
22. Complete
Find a happy home for your wonderful creation, it loves a fragrance of ginger and baths in a steamy dishwasher.
We hope these steps were helpful on how to create a Ramen Bowl. Here is a tutorial video that goes through the above steps:
Tools used in this blog:
OG Round Stack Pack - https://grpotteryforms.com/products/stack-round-5
WA2 System - https://grpotteryforms.com/products/wa2-wa-board?_pos=1&_sid=334b81585&_ss=r
Mudtools Rib - https://grpotteryforms.com/products/mudtools-rib-medium-1
Notched Rib - (Currently Unavailable)
Wooden Kemper Rib - https://grpotteryforms.com/products/kemper-rb2-hardwood-rib
Trimming Tool - https://grpotteryforms.com/products/trimming-tool-flat-round
Sue Tool - https://grpotteryforms.com/products/tool-sue-tool-blue
Modeling Tool - https://oac8oftvymubikgo-8998092900.shopifypreview.com/products/tool-modeling-tool
Loonie Clay Knife - https://grpotteryforms.com/products/loonie-clay-knife

