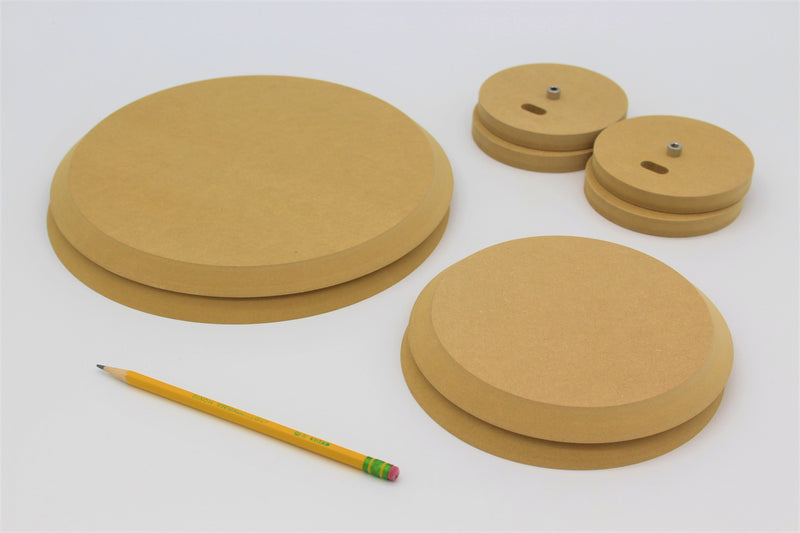
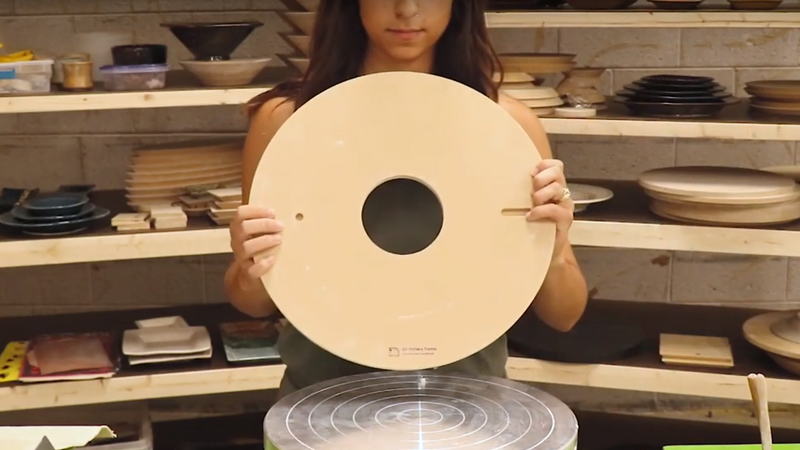
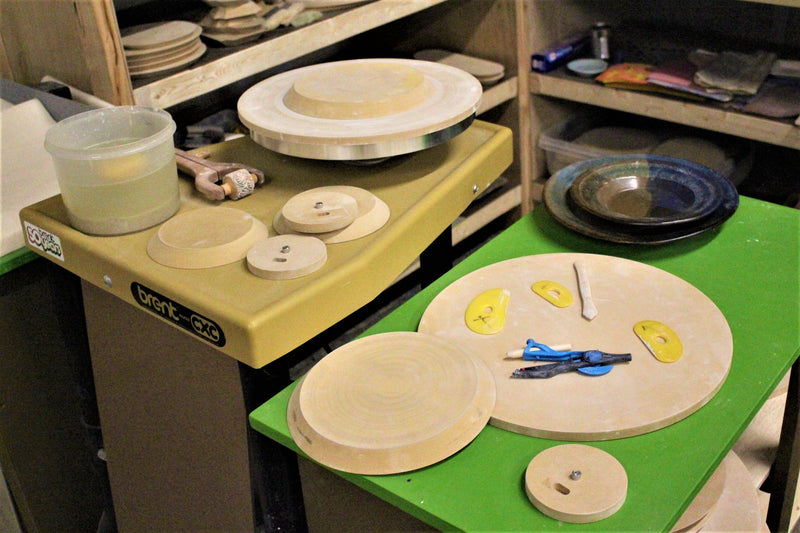
1. Prepare Your Clay Slab
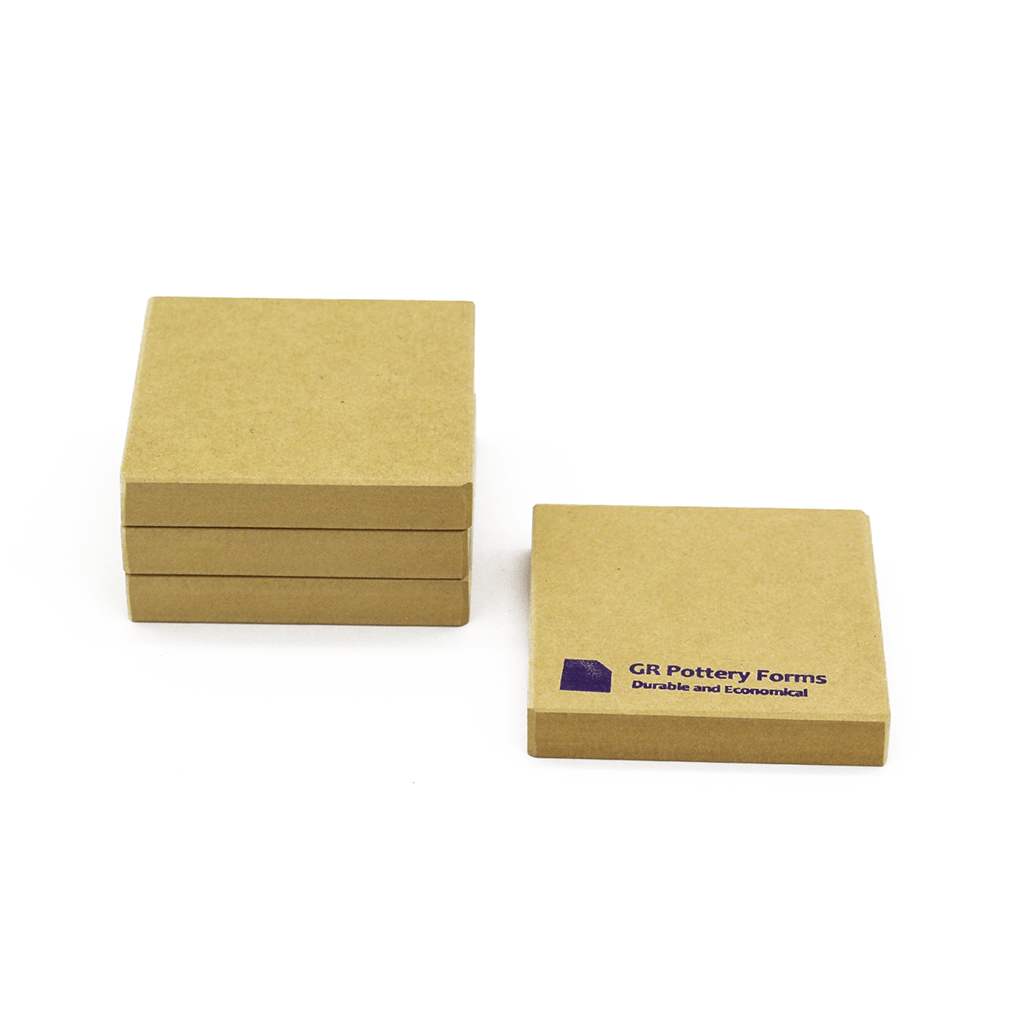
Prepare a slab of clay large enough to cover the Forms, with extra around the edges for a rim and additional clay for the foot. Use a Medium Mudtools Rib to compress the clay in two directions, ensuring an even surface and removing air bubbles.
2. Align Your Forms
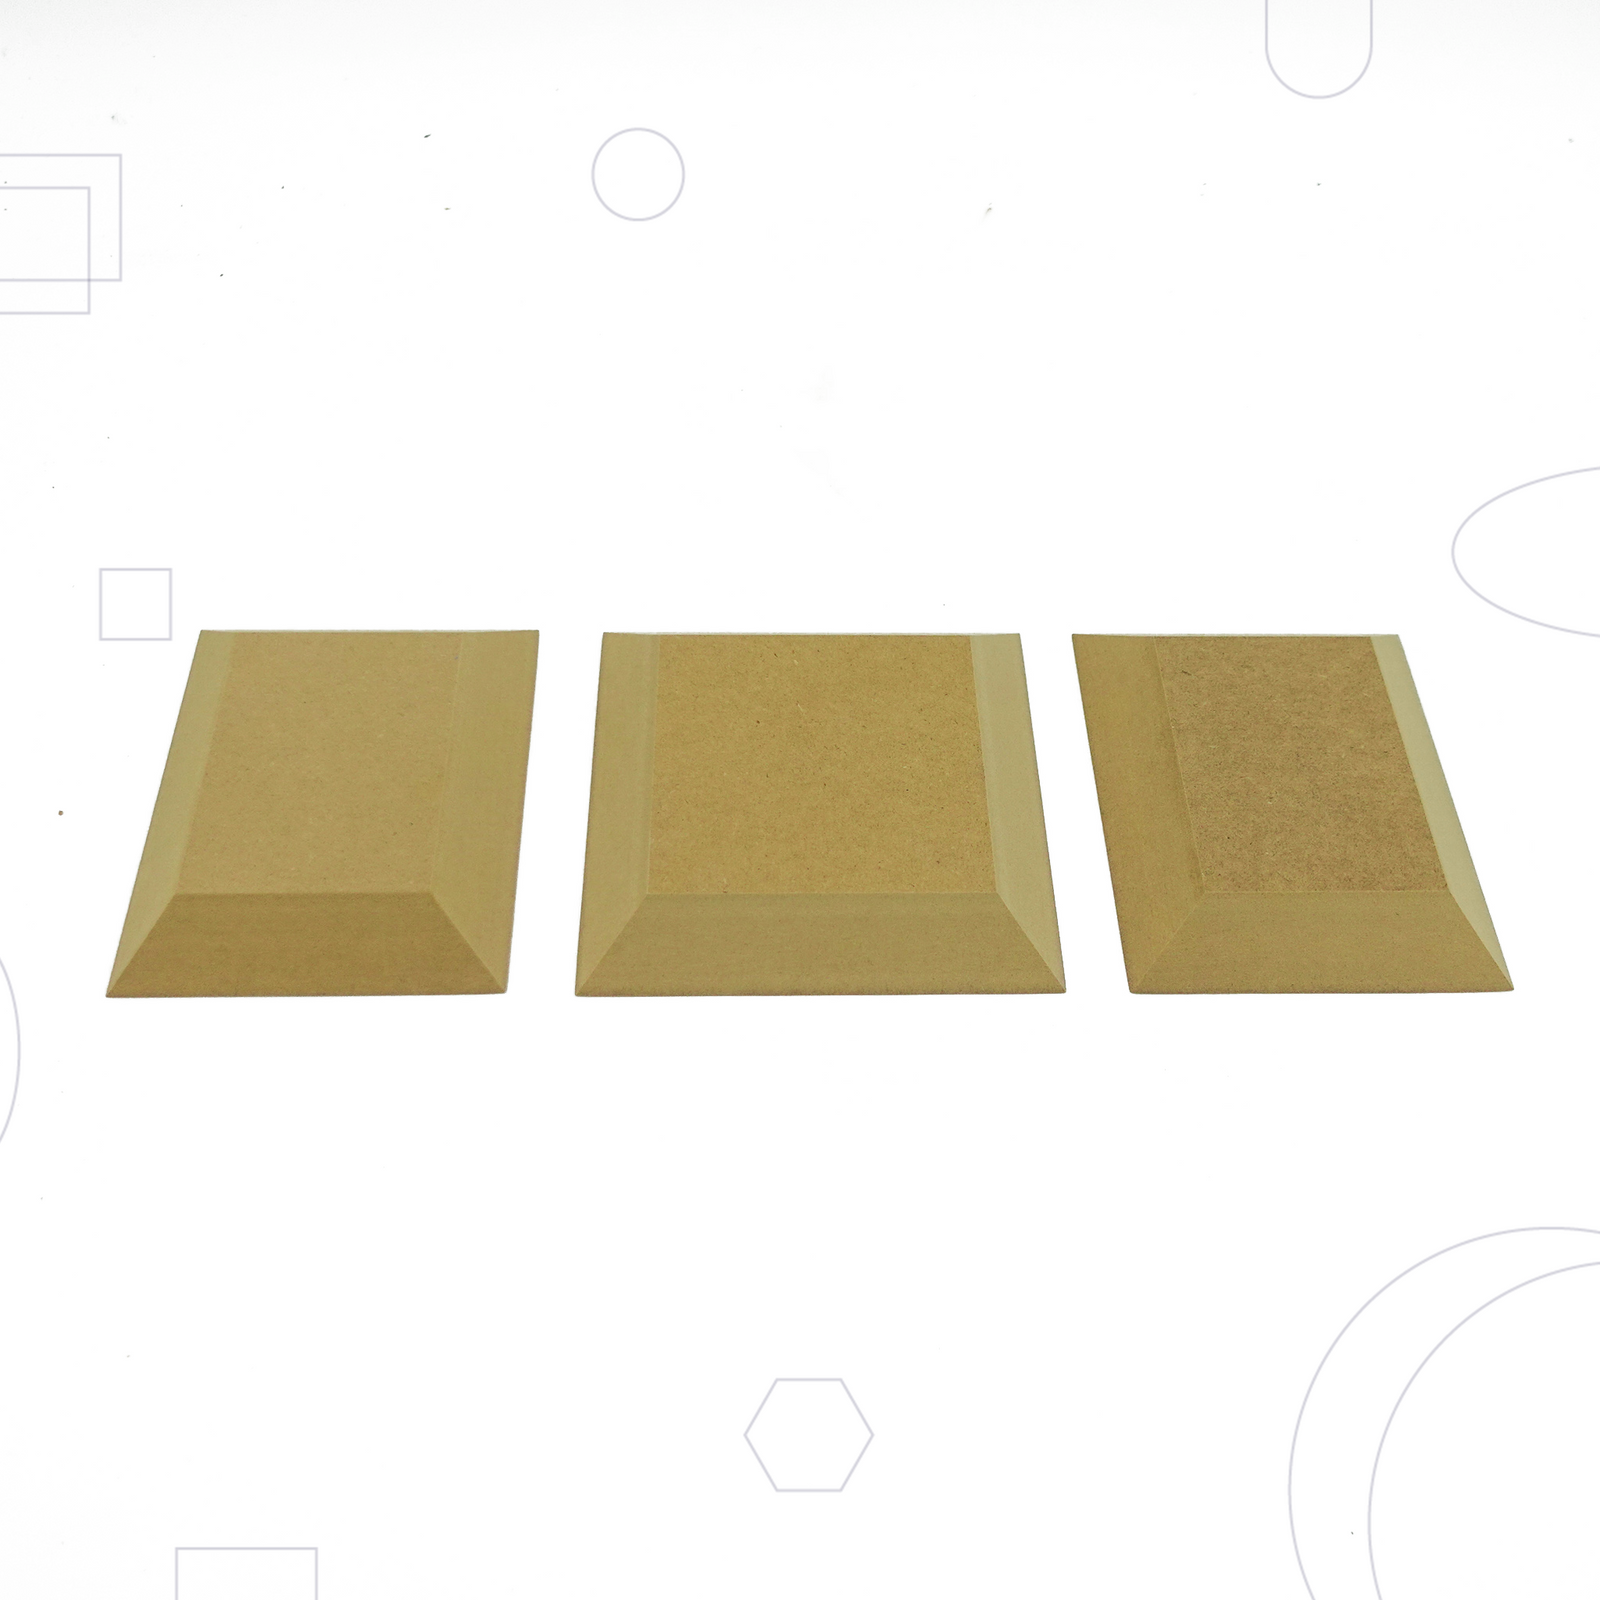
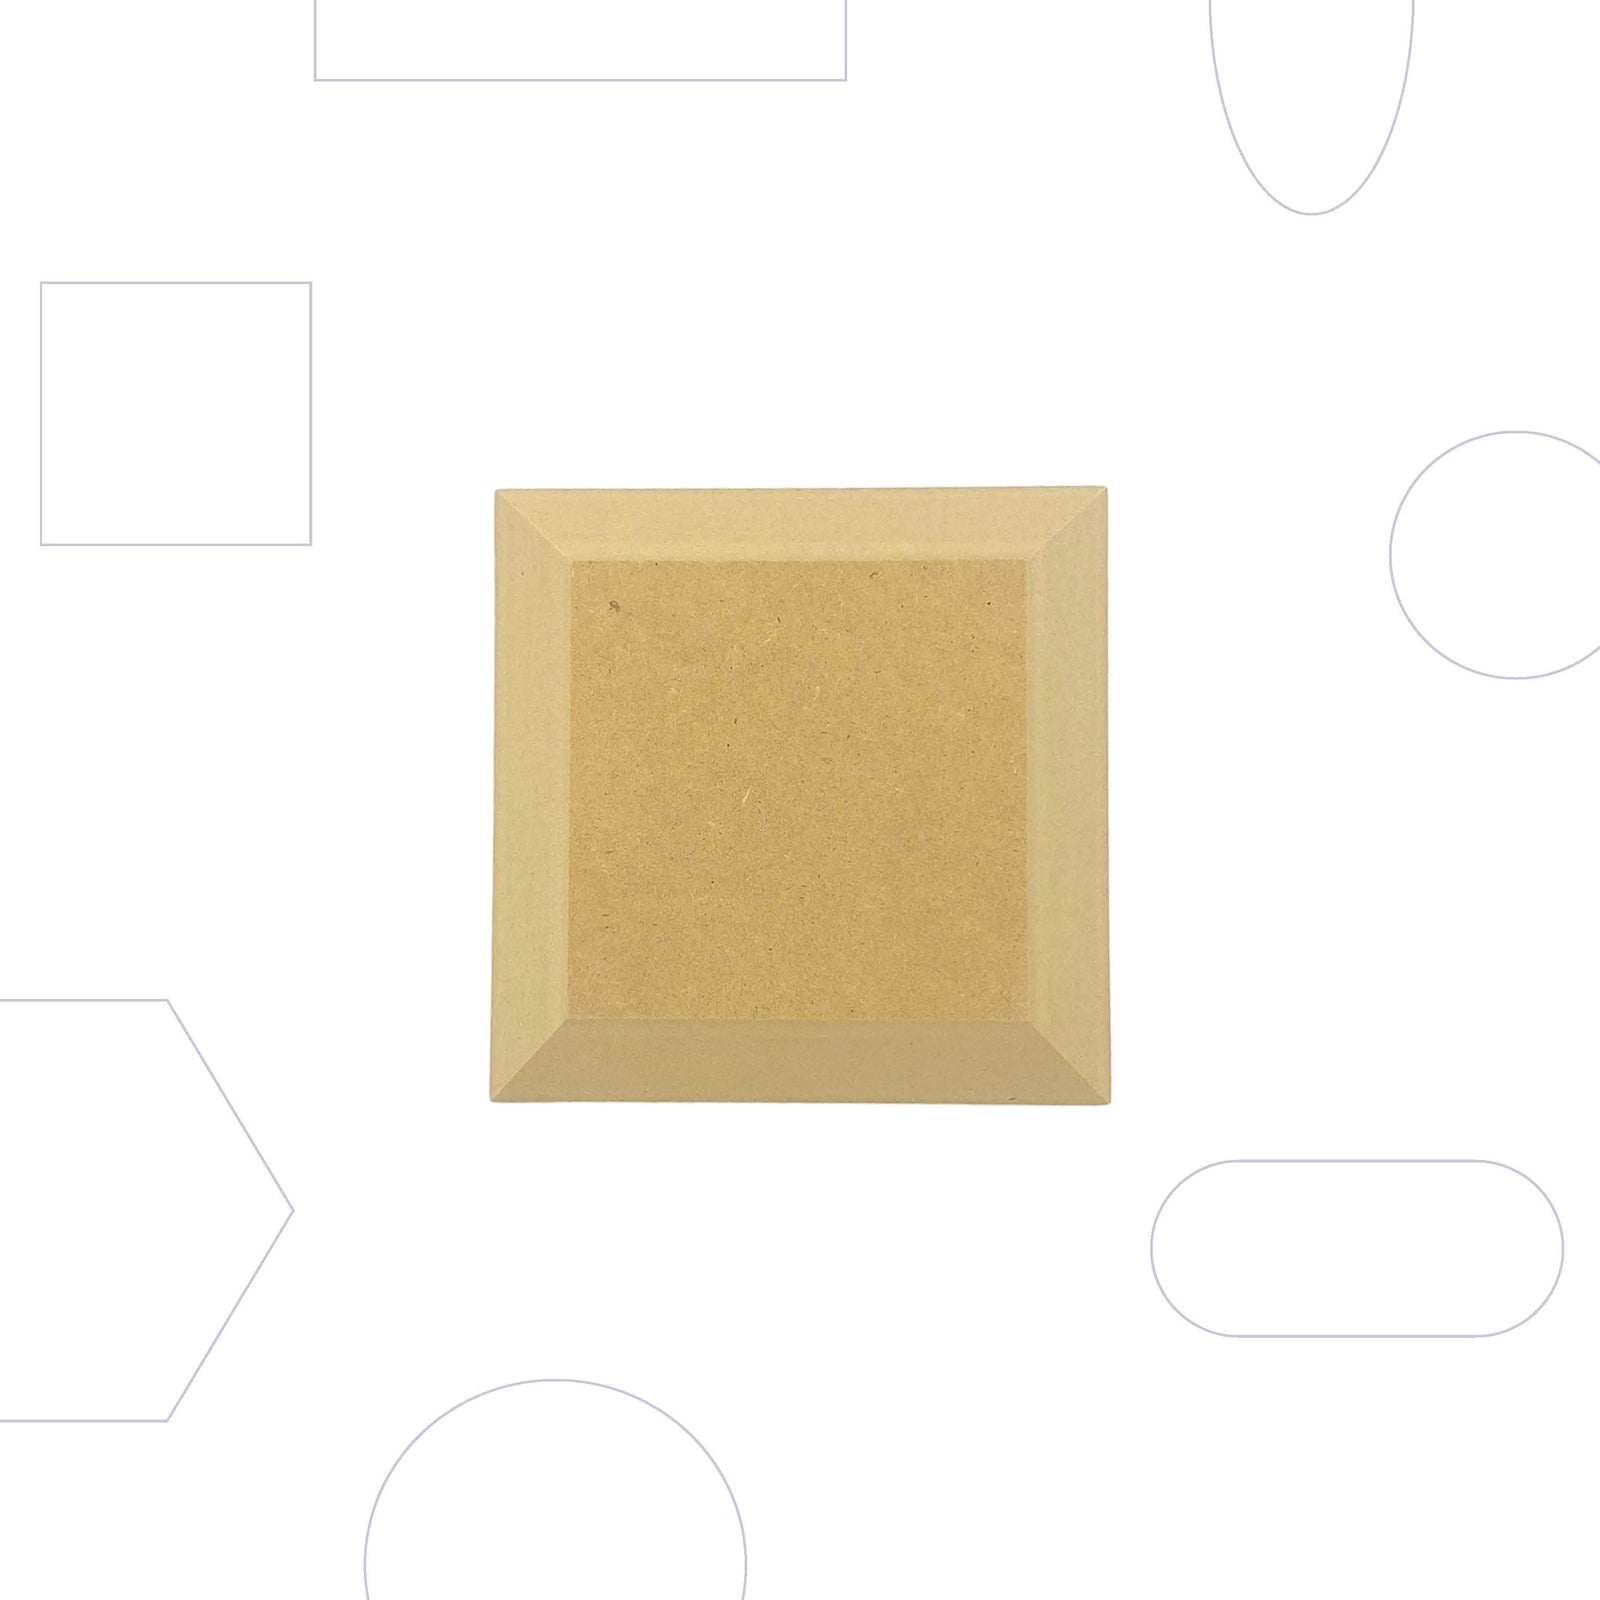
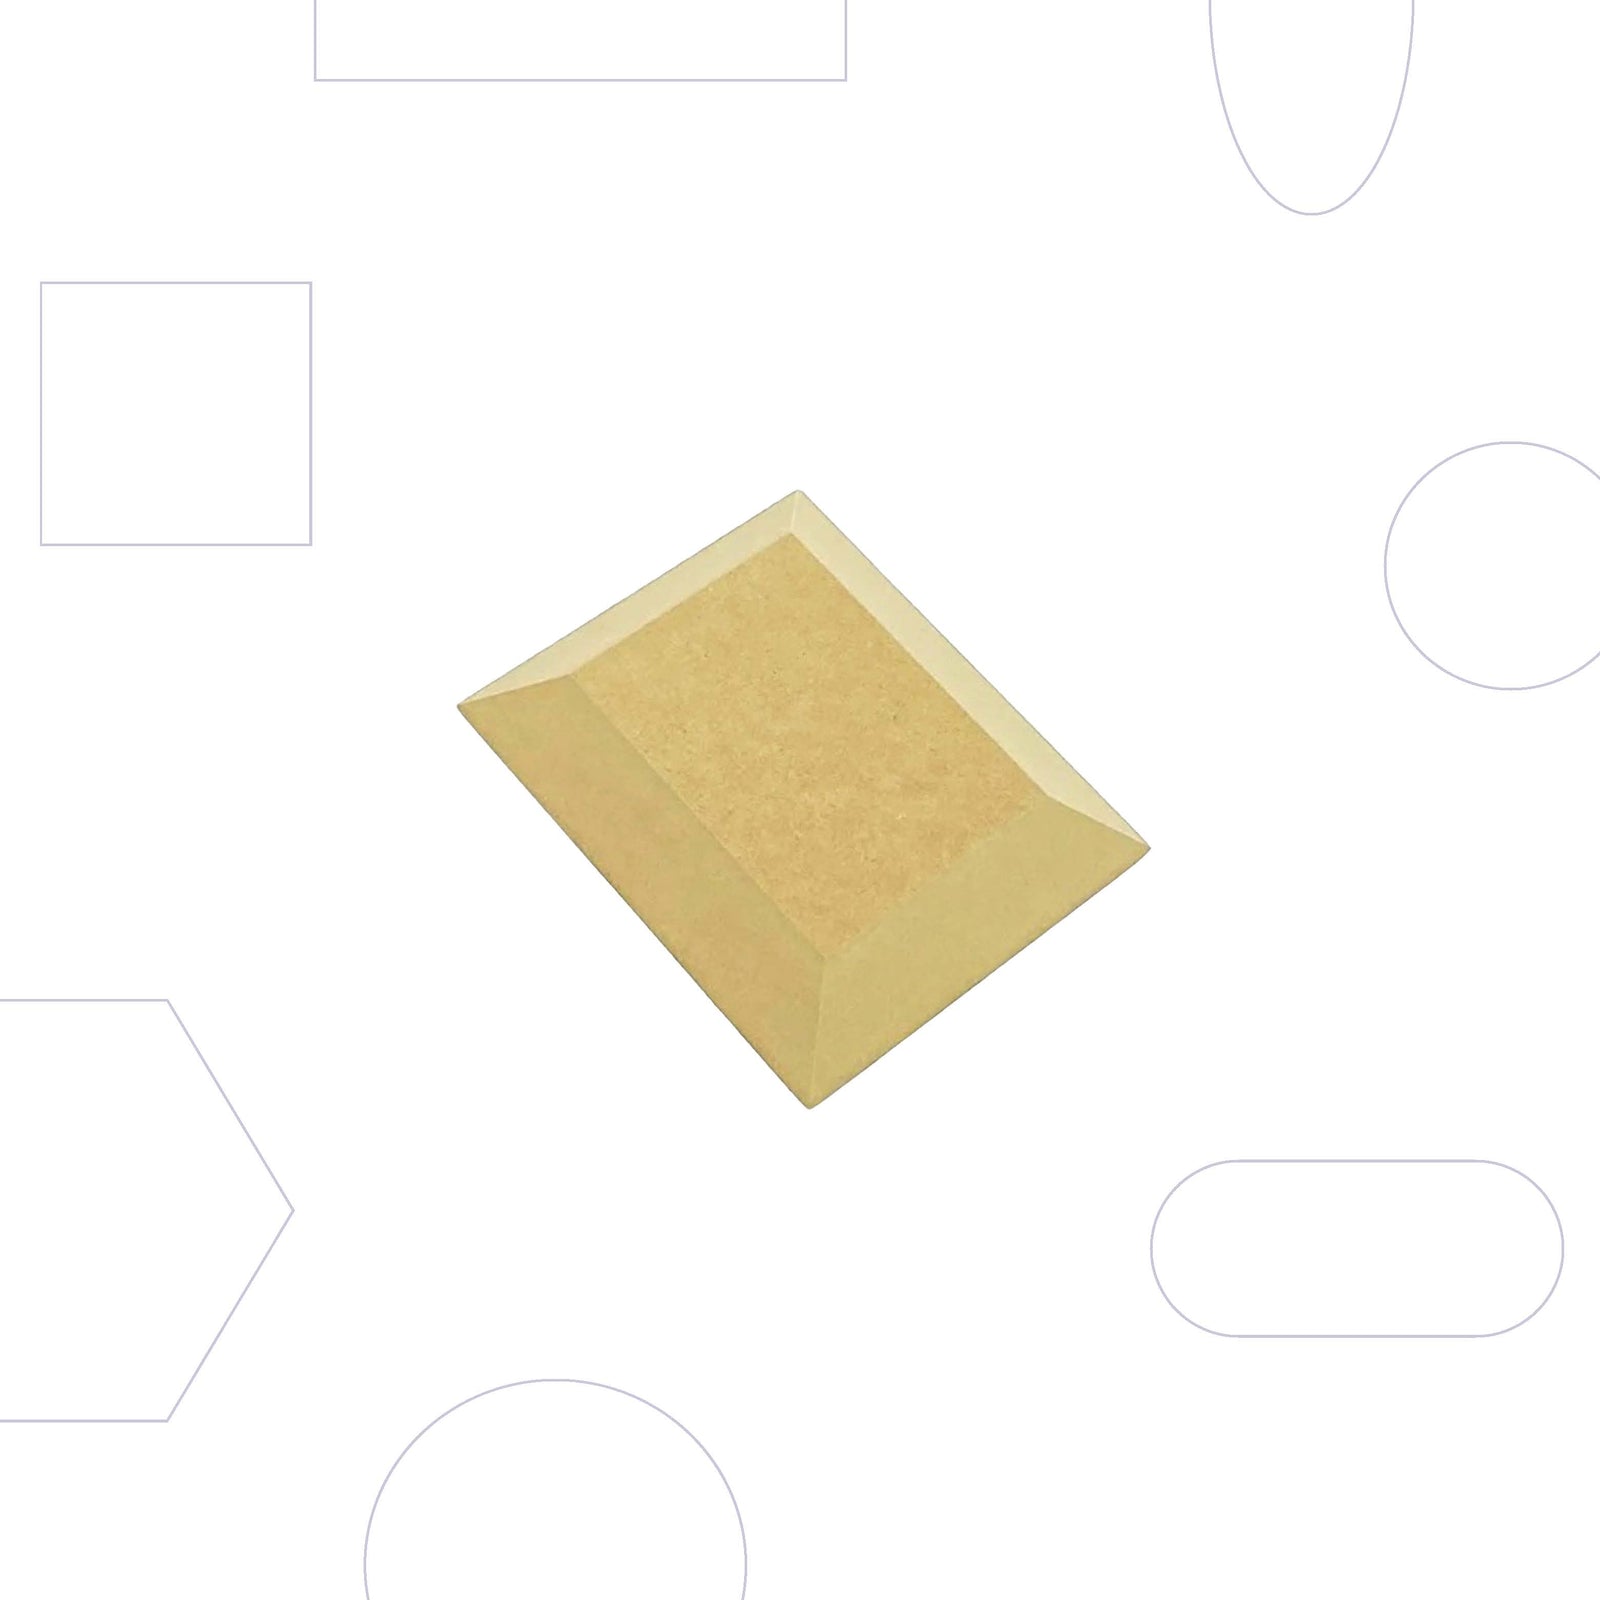
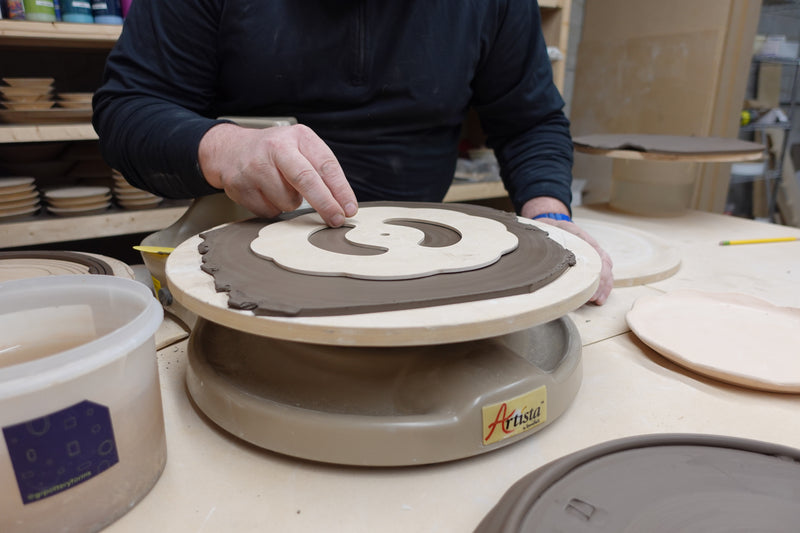
Once your slab is ready, align your Forms so that there are no gaps between them. The alignment is crucial for ensuring that your tray has a consistent shape.
3. Drape the Clay Over the Forms
Carefully drape the slab of clay over the Forms, making sure it covers them entirely. Be careful not to move the Forms too much during this process. It's best to do this slowly, allowing the clay to fall naturally into place.
4. Apply Light Pressure
Using light pressure with your fingers, gently press the clay down to begin adhering it to the Forms. Patience is key here. Go slowly to prevent the Forms from sliding out of place.
5. Apply More Pressure to Shape the Clay
Apply a little more pressure along the edges and in the indents to make sure the clay is properly taking the shape of the Forms. However, be careful not to press too hard, as this could thin out the clay, making it fragile.
6. Compress the Clay with a Rib Tool
To further compress the clay and ensure it fully takes the shape of the Forms, use a Small Mudtools Rib. This tool allows for more precision, especially when working with the edges. Gently go over the clay to make sure it’s smooth and securely adhered to the Form.
7. Cut Out the Shape of the Rim
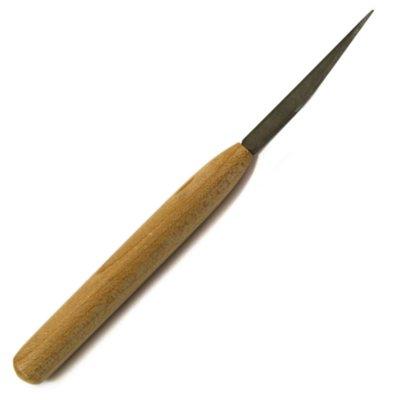
Next, use a Loonie Clay Knife to cut the shape of the rim.
8. Cut Strips for the Foot
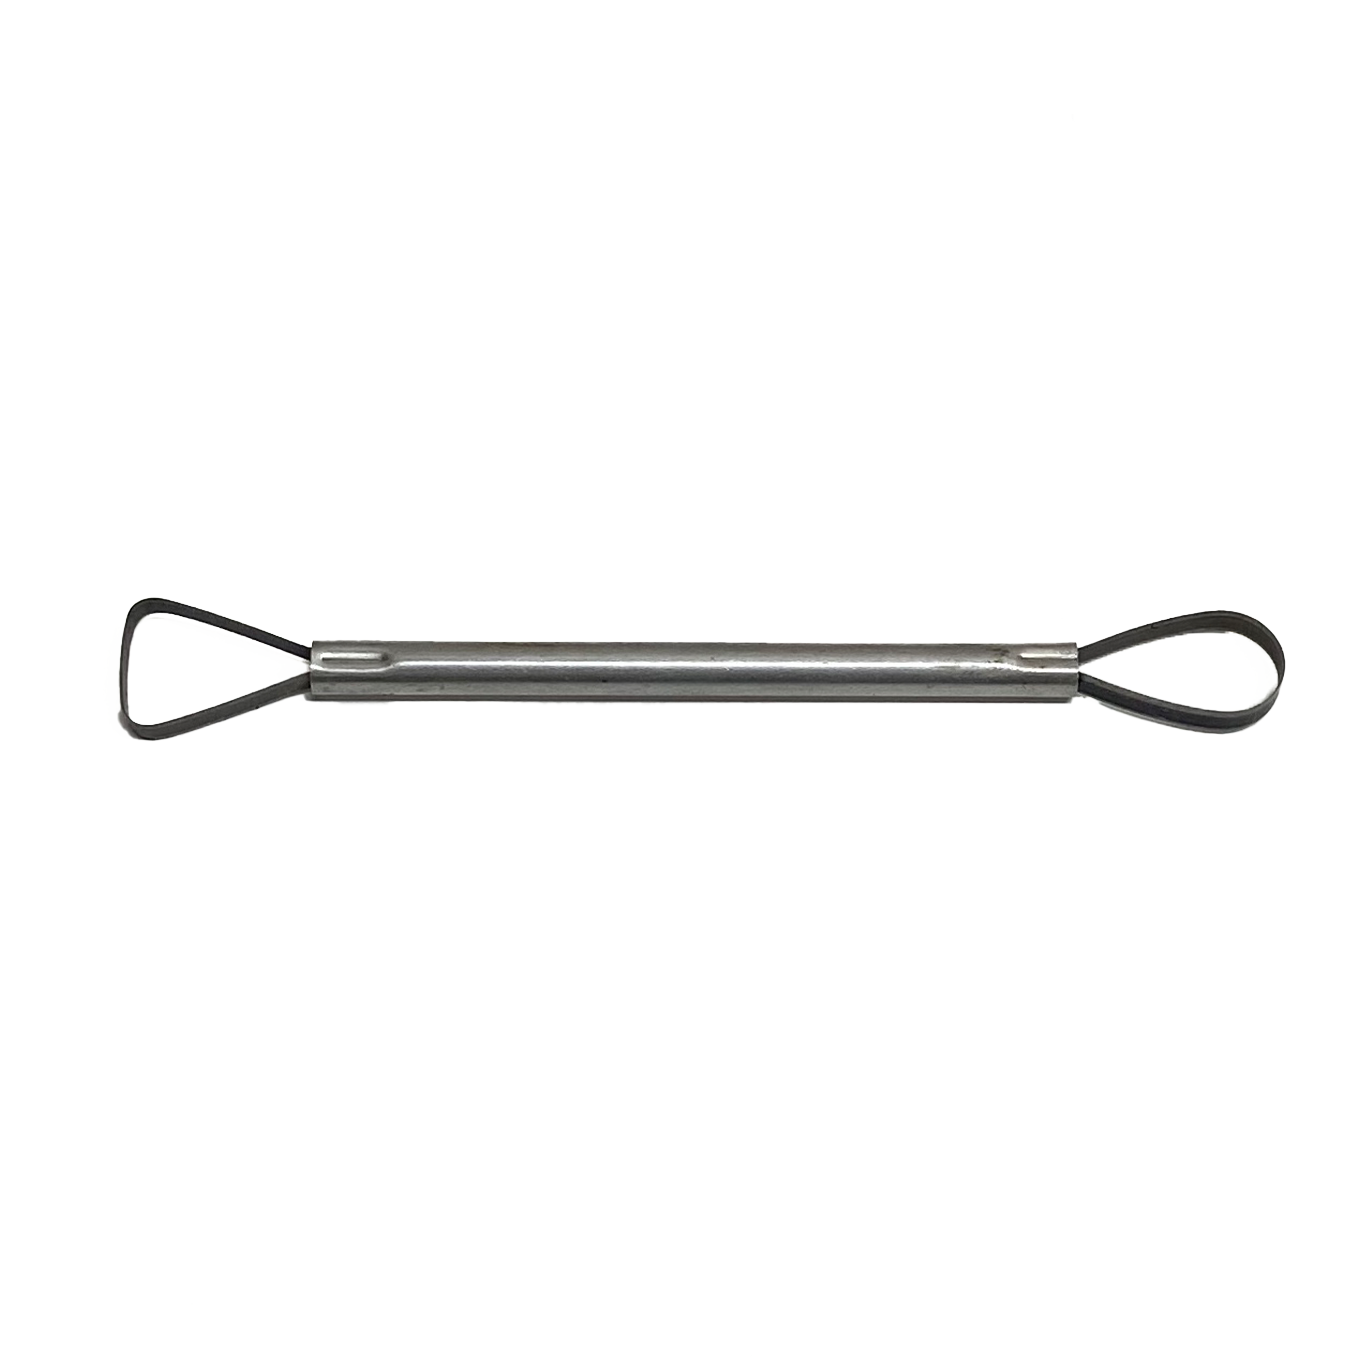
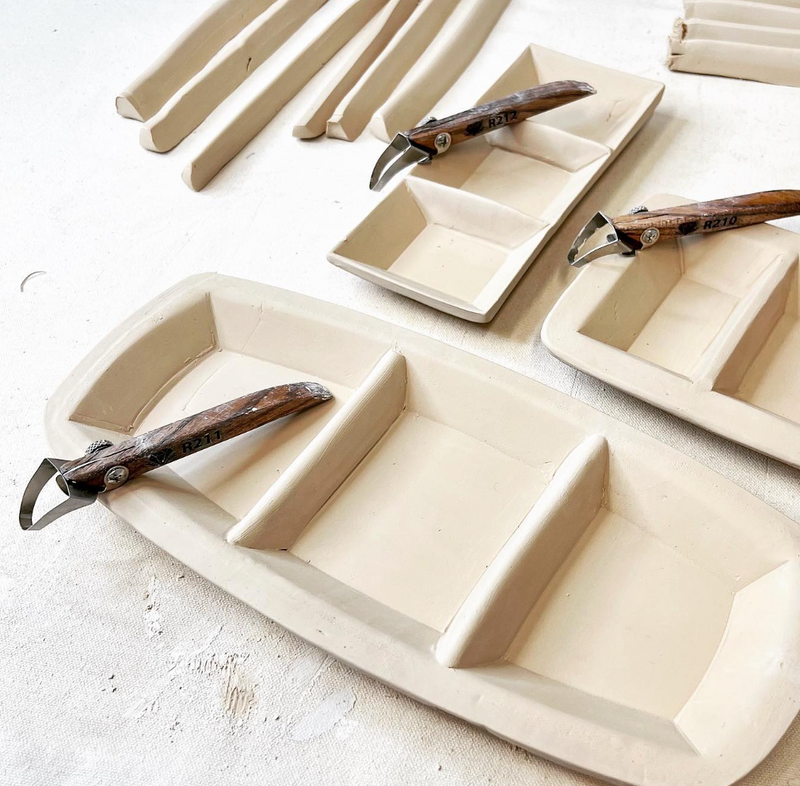
Using a Foot Maker Tool, cut the excess clay into strips. These strips will form the foot of your tray, which adds both structure and an elevated look.
9. Place Foot and Press Down, Using a Modeling Tool to Help Connect the Edges
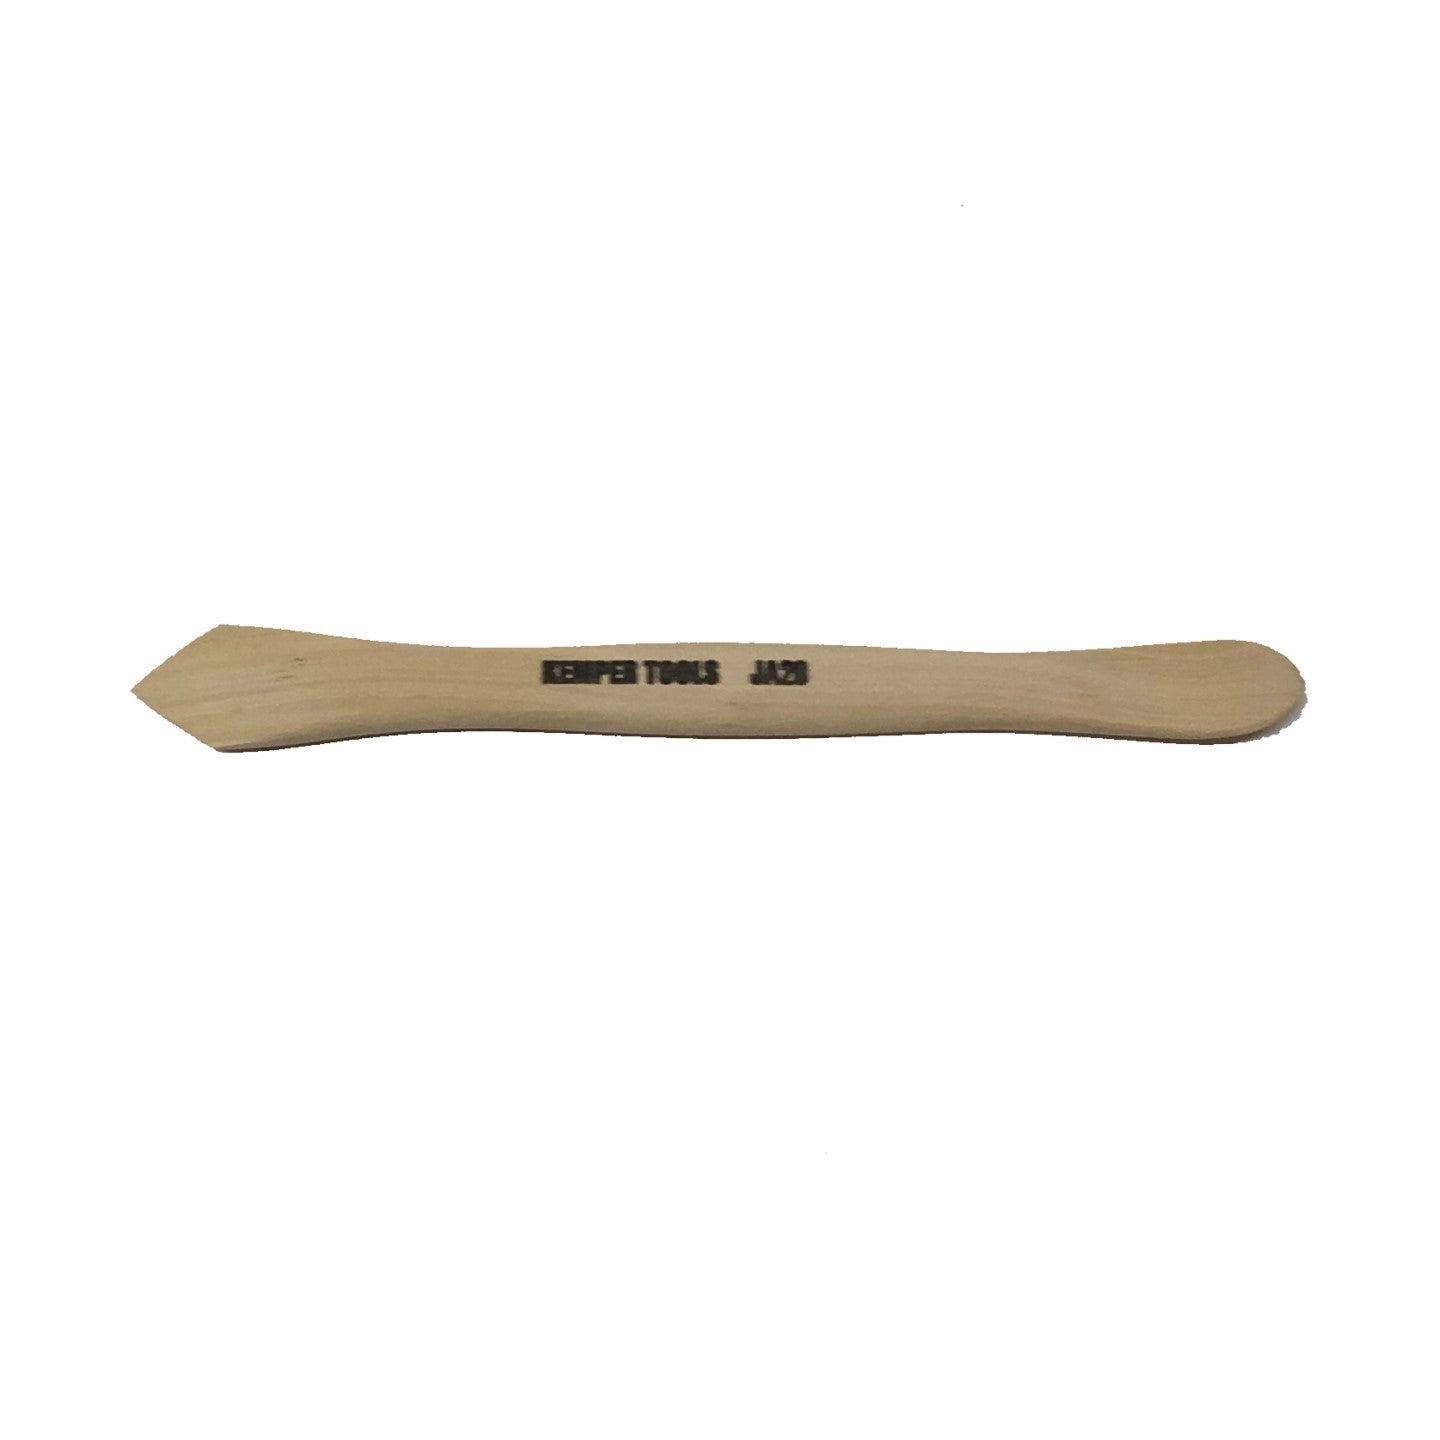
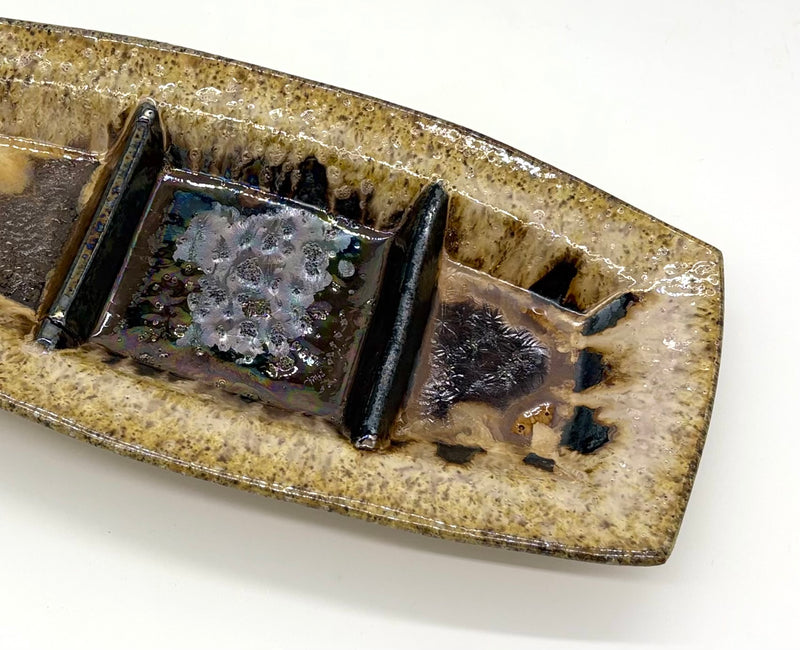
Press the clay strips onto the bottom of the tray, positioning them along the edges of the three bottom sections. Use a modeling tool to help connect the edges of the foot to the tray, blending them together to create a seamless transition. This will reinforce the tray's structure and add to its overall stability.
10. Create a Slope in the Rim
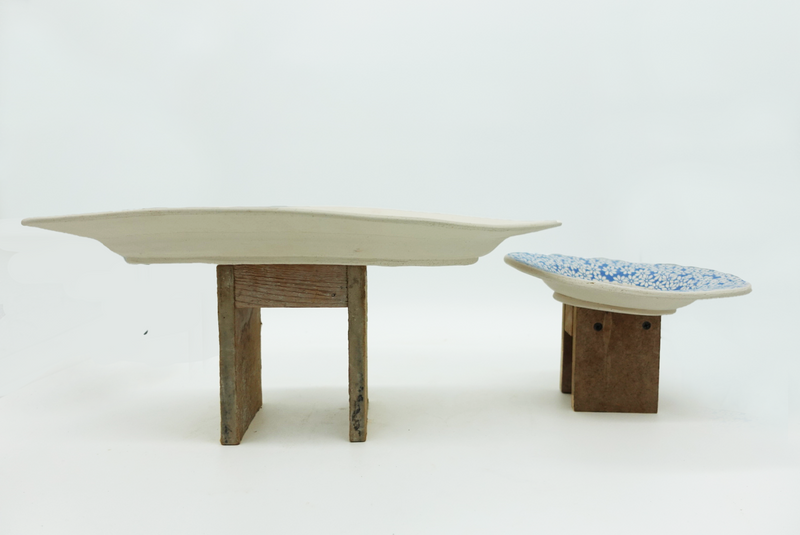
Place the tray on ½" spacers, and gently press down on the rim to create a slightly sloped edge.
11. Allow Tray to Dry to Leather-Hard
Set the tray aside to dry until it reaches a leather-hard consistency. The clay should be firm but still slightly damp, allowing for further refining without the risk of distorting the shape.
12. Trim and Clean Up the Edges
Once the tray is leather-hard remove the Forms and, use a trimming tool to clean up any imperfections.
13. Shave Down the Edges with a Surform Rasp
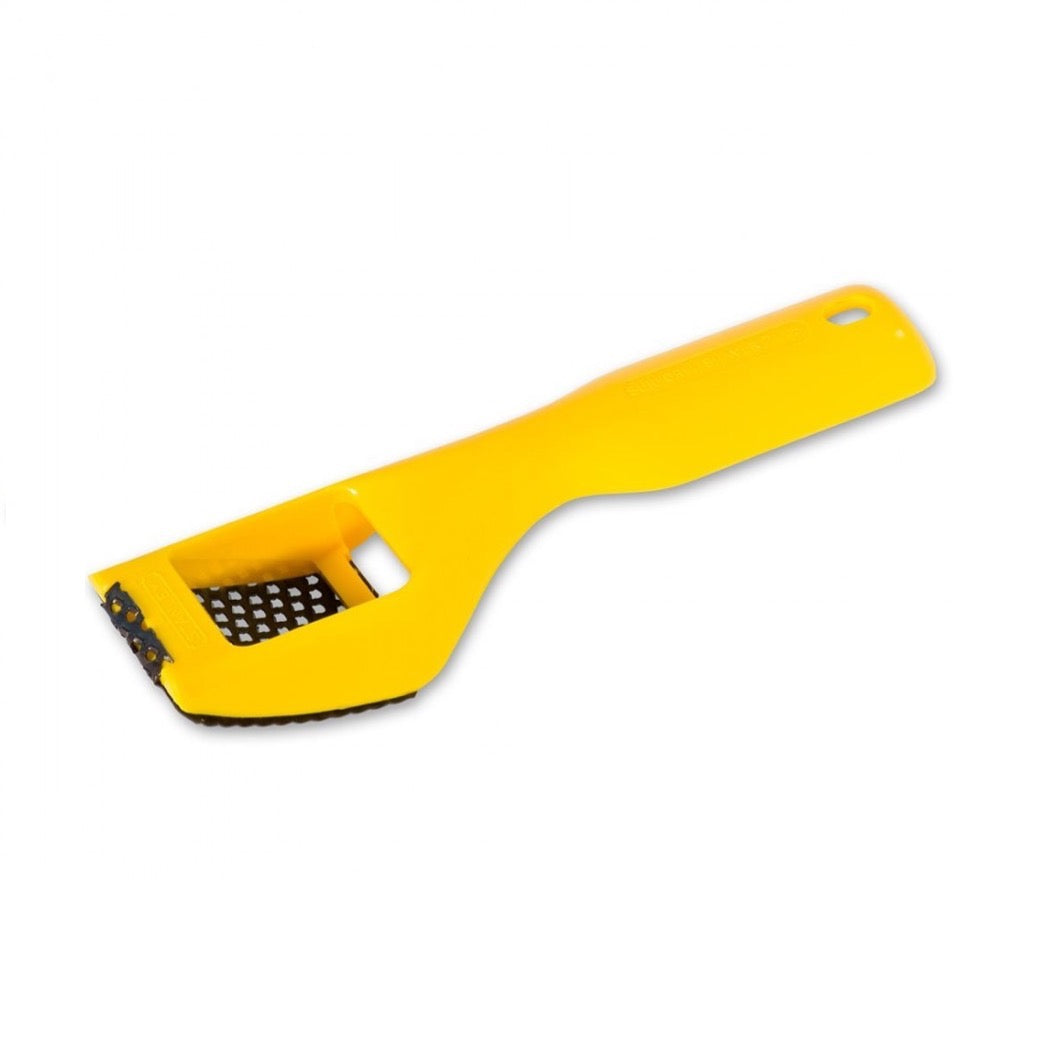
Next, use a Stanley Surform Rasp to shave down and even out the edges, and gently shape the rim until it looks balanced.
14. Round the Rim with a Notched Rib
To give the tray a more finished look, use a notched rib tool to round off the edges of the rim. This will create a smoother, more refined appearance.
15. Let the Tray Dry Completely
Place the tray in an undrafted area to finish drying. This is important to avoid warping or cracking. Make sure the tray is completely dry before you proceed to firing.
16. Fire the Tray
Once the tray is fully dry, it’s time to fire it. Bisque fire the tray according to the temperature specifications for your clay body. This will remove any residual moisture and prepare the tray for glazing.
We hope these steps were helpful on how to create functional pieces with our 5" OG Square and the 5x4" OG Rectangle. Here is a tutorial video that goes through the above steps:
Tools used in this blog:
Segmented Tray Set - https://grpotteryforms.com/products/segmented-tray-set-5-x-4-rectangle-5-square?_pos=2&_sid=16cf2c0a5&_ss=r
OG Square 5" - https://grpotteryforms.com/products/square-5x5?_pos=5&_sid=01bb8470c&_ss=r
OG Rectangle 5x4" - https://grpotteryforms.com/products/rectangle-5x4?_pos=1&_sid=16cf2c0a5&_ss=r
1/2" Spacers 4 Pack - https://grpotteryforms.com/products/tool-spacer-set-4?_pos=1&_sid=fa0227206&_ss=r
Stanley Surform Rasp - https://grpotteryforms.com/products/tool-stanley-surform
Small Mudtools Rib - https://grpotteryforms.com/products/copy-of-mudtools-rib-small-0-yellow
Medium Mudtools Rib - https://grpotteryforms.com/products/mudtools-rib-medium-1
Notched Rib - (Currently Unavailable)
Loonie Clay Knife - https://grpotteryforms.com/products/loonie-clay-knife
Foot Maker Tool - https://grpotteryforms.com/products/tool-foot-maker
Trimming Tool - https://grpotteryforms.com/products/trimming-tool-flat-round
Kemper Modeling Tool - https://grpotteryforms.com/products/tool-modeling-tool

