1. Prepare the Clay Slab
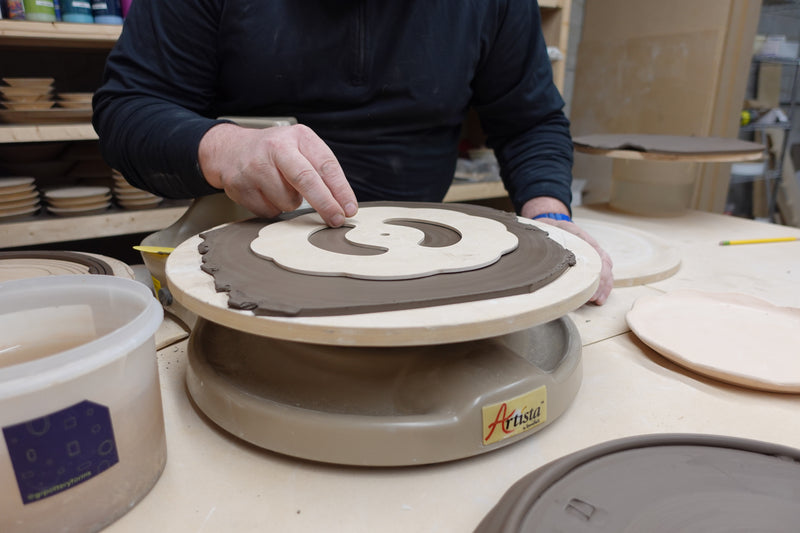
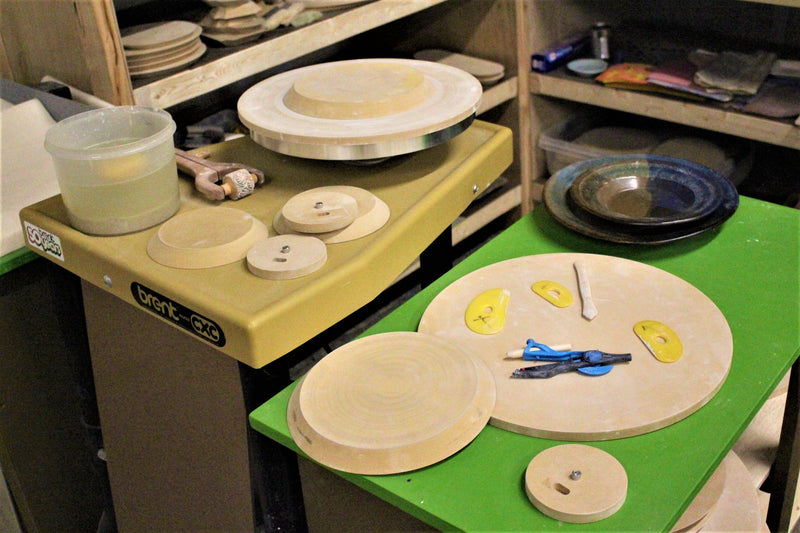
Start by preparing your slab of clay. Use a rib tool to gently compress the clay, ensuring it has an even, compacted surface. This is crucial for eliminating air pockets that could cause cracking during firing. Aim for a thickness of about 1/4" to 1/2" for your slab.
2. Drape Clay Over the Wallie Form
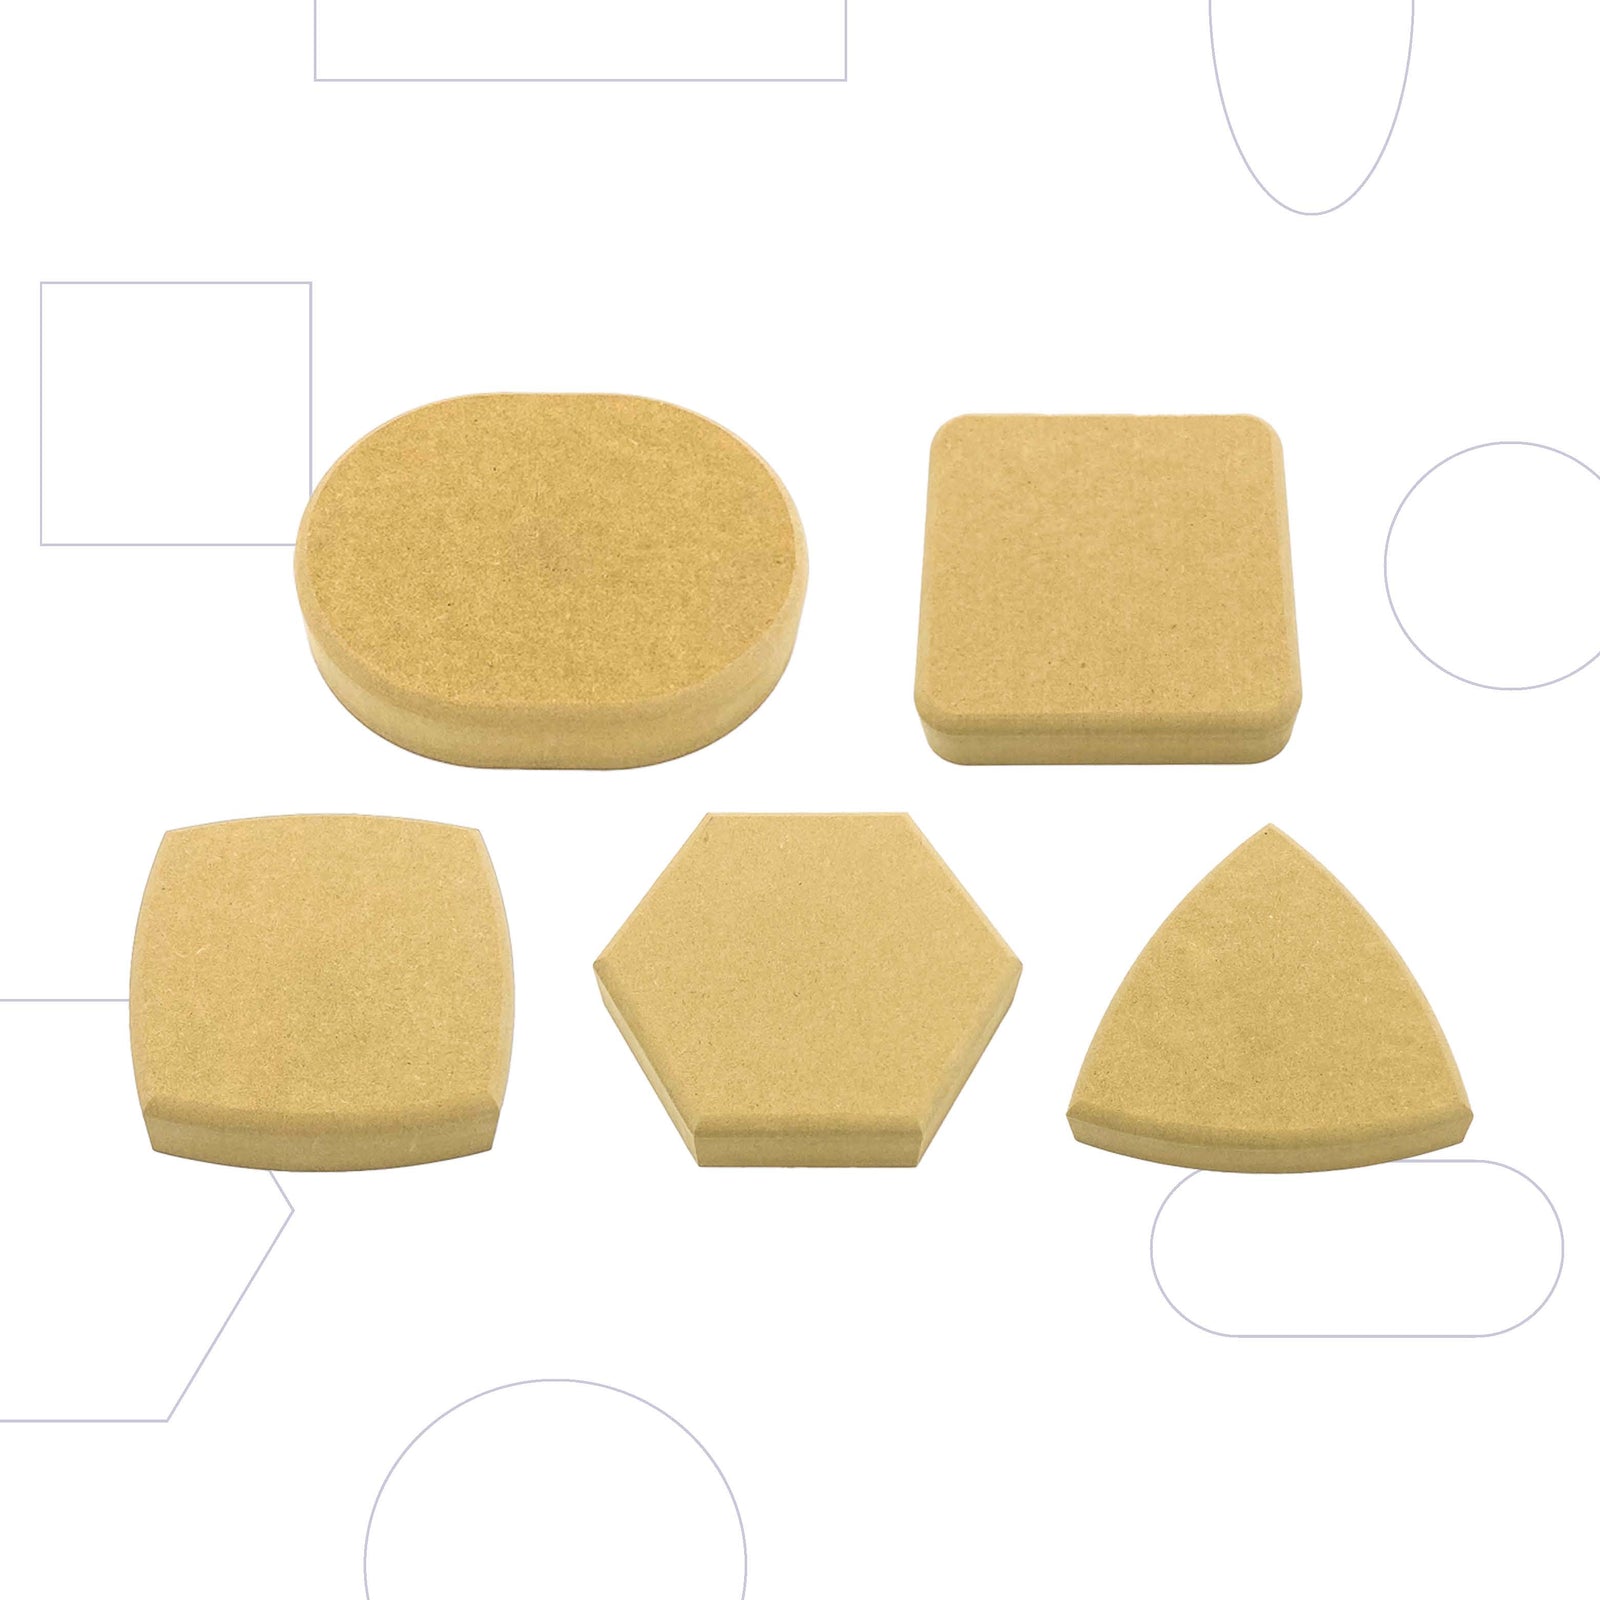
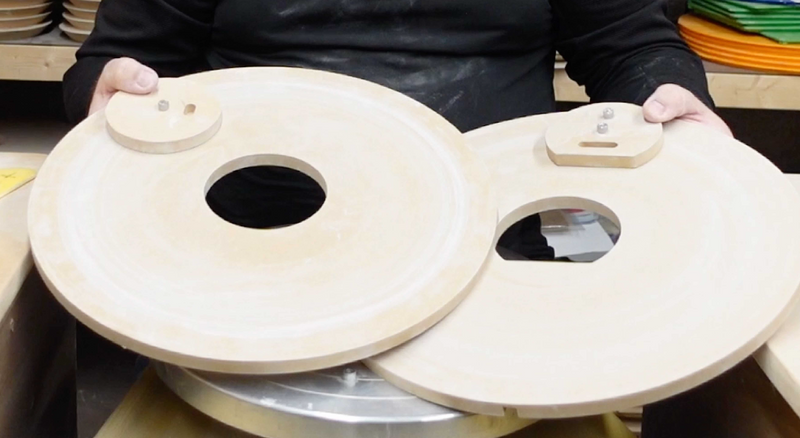
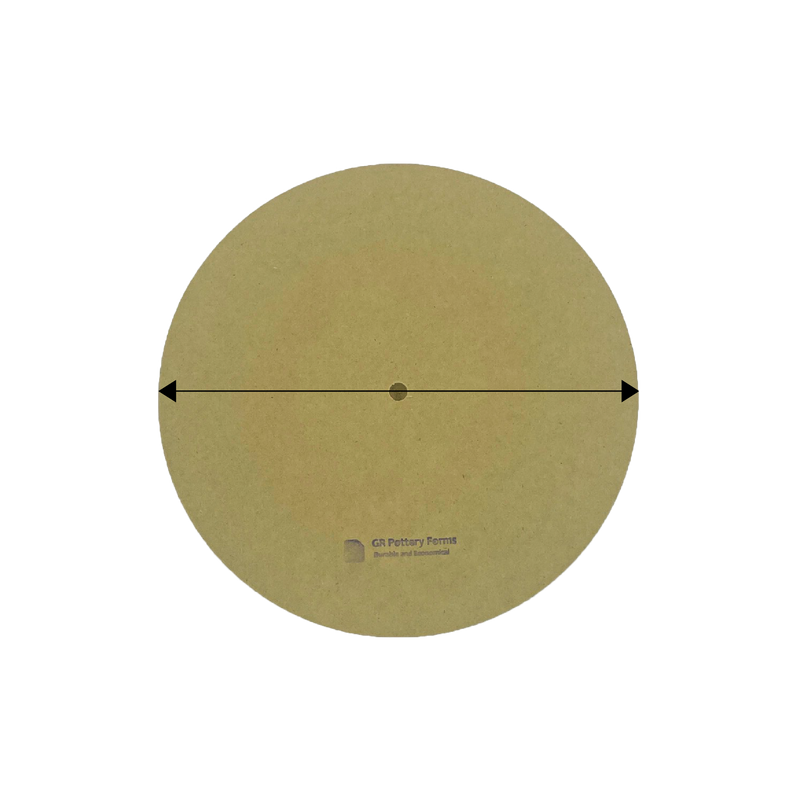
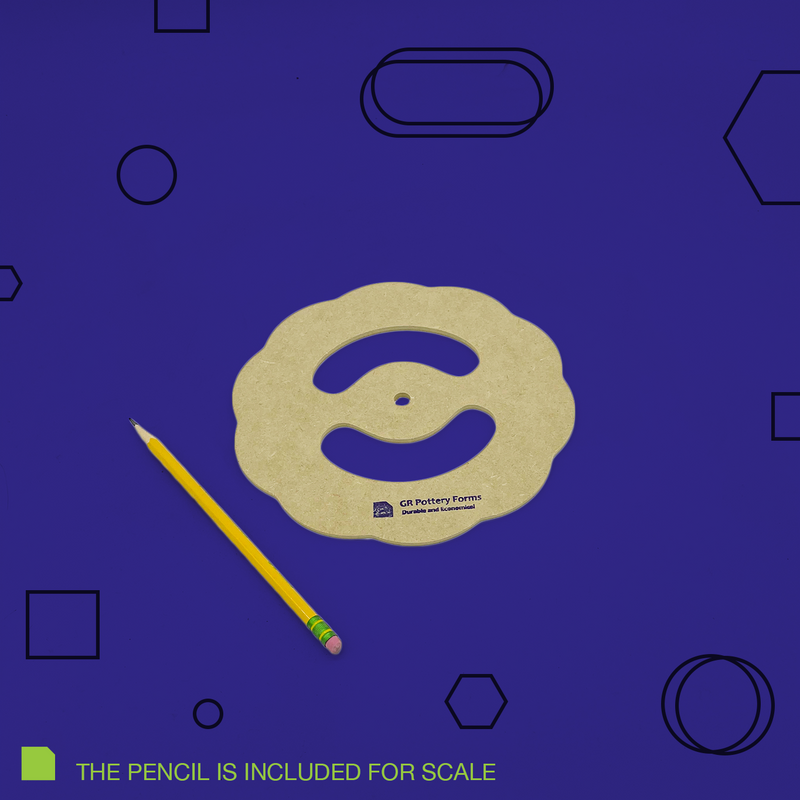
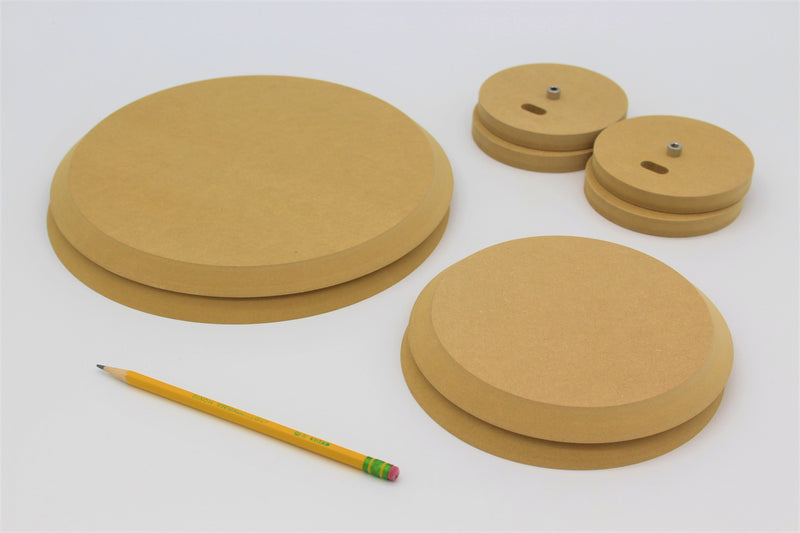
Once your clay slab is ready, position it over the Wallie Form that you plan to use for your personal-sized baking dish. Gently drape the clay over the form, ensuring it's centered and there is enough excess clay around the edges to make the dish’s sides and rim.
3. Press the Clay Into the Form
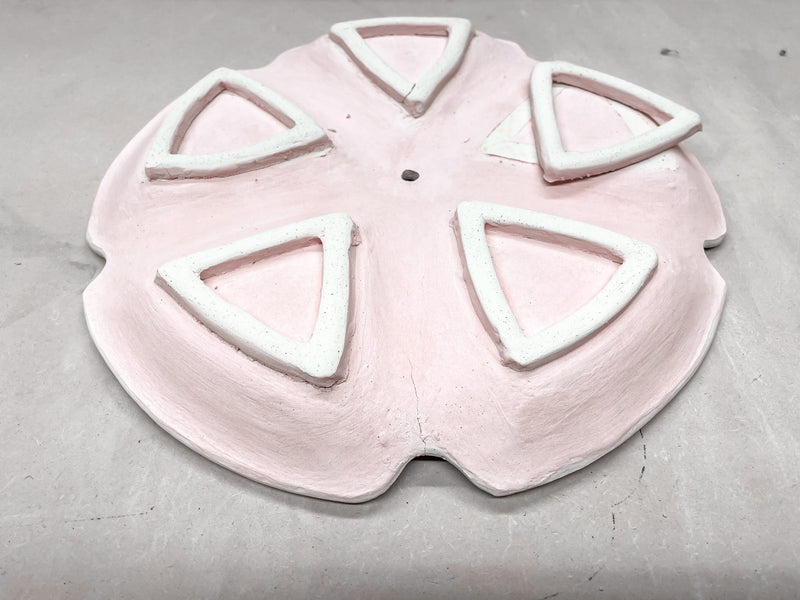
Now, use your hands to gently press the clay into the Wallie Form. Apply even pressure to make sure the clay is fully in contact with the form. The goal is to eliminate any wrinkles or air pockets.
4. Compress the Clay with a Rib Tool
Using a rib tool, apply even, consistent pressure over the surface of the clay. This helps compress the clay and eliminate any air pockets.
5. Cut and Shape the Rim
At this point, you should have the clay pressed firmly into the form. Now, use a sharp knife or a De La Designs cutter to cut out the rim of your dish. Keep in mind if you're using this dish for baking, a larger rim can be useful for easier handling when taking it in and out of the oven.
6. Remove the Clay from the Wallie Form
Once you're happy with the shape, gently remove it from the Wallie Form. With our Wallie Forms, it's crucial to remove the clay immediately after shaping to prevent cracks as it dries and shrinks.
7. Let the Clay Dry to Leather Hard
Now that your baking dish is formed, set it aside and allow it to dry until it reaches a leather-hard consistency. The clay should be firm enough to hold its shape but still pliable for further refinement. Drying times can vary depending on your climate, but it typically takes between 4 to 8 hours for the clay to reach leather-hard, depending on the thickness and moisture content.
8. Trim and Refine the Rim
Once the clay has reached leather-hard, it’s time to refine the rim. If needed, use a rasp or loop tool to trim away any excess clay. This will help create a clean, polished edge. Then you can also use a notched rib to smooth out the edges and round them slightly for a more polished look.
9. Let the Clay Dry Completely
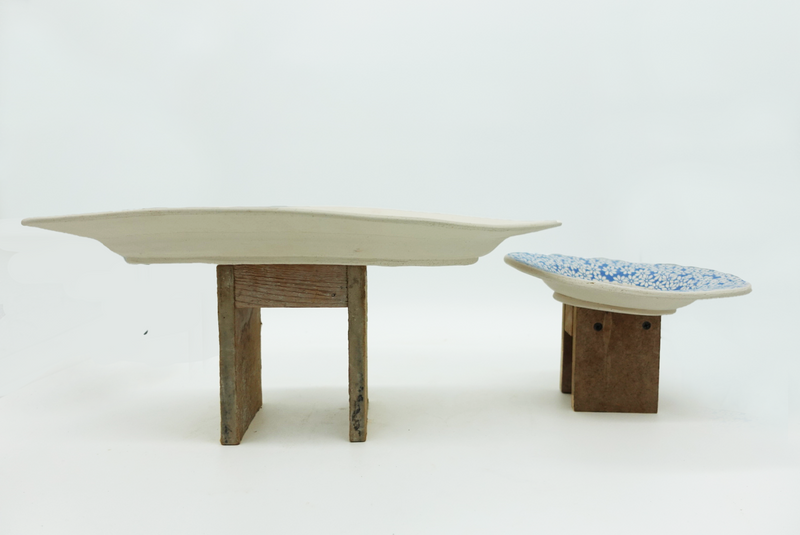
Once you’re satisfied with the shape and rim, leave the piece to dry the rest of the way. To avoid warping, it’s a good idea to place your dish upside down during the final drying phase. This allows gravity to help maintain the shape of the piece. Ensure that the dish is on a flat surface and away from direct drafts or intense heat sources. Allow the clay to dry completely, which can take anywhere from 24 to 48 hours, depending on your environment.
10. Bisque Fire Your Baking Dish
Once the dish is fully dry, it’s time for the bisque firing. The first firing burns off any remaining moisture and prepares the clay to absorb glaze more effectively. Fire your piece to cone 06 or cone 05, depending on your clay’s specifications. The bisque firing will also strengthen the dish, making it ready for glazing.
11. Smooth Out Any Imperfections
After the bisque firing, your dish should be hard and sturdy. However, rough edges or imperfections may have developed during the drying or firing process. Use a grinding stone to smooth out any sharp areas.
12. Clean the Piece Thoroughly
Before applying glaze, make sure to clean your baking dish thoroughly. Use a stiff brush to remove any dust or debris from the bisque firing. If needed, you can wash the dish with water, but be sure it’s completely dry before glazing. If there's any dust or dirt left on the surface, it can affect the way the glaze adheres.
13. Apply Glaze
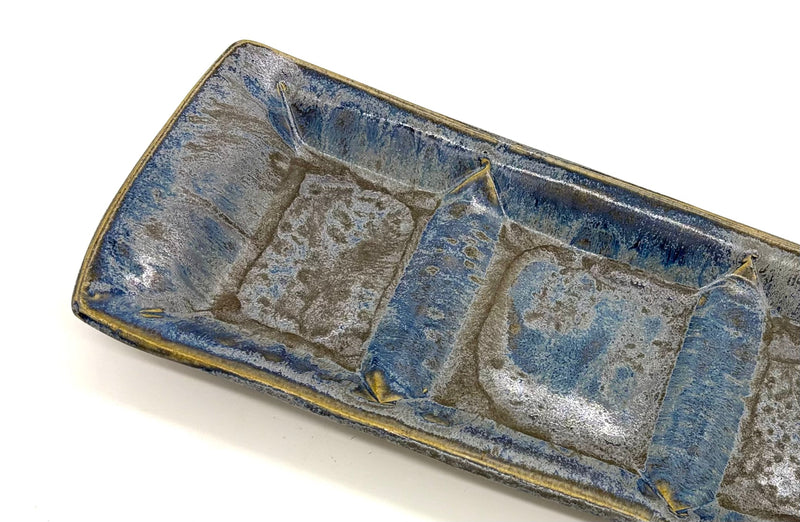
Now for the fun part—adding color! Select a glaze that suits your taste and the style of your kitchen, just make sure to check and see if it is food safe. Apply a thick coat of glaze to the dish, making sure to cover all surfaces evenly.
14. Clean the Bottom of the Dish
Before firing your dish again, use a damp sponge to carefully clean any glaze off the bottom of the dish. This ensures that the glaze won't stick to the kiln shelf during the final firing.
15. Glaze Fire Your Dish
Once the glaze is applied, it’s time for the final firing. Fire to desired clay and glaze temperature.
16. Enjoy Your Finished Personal Baking Dish
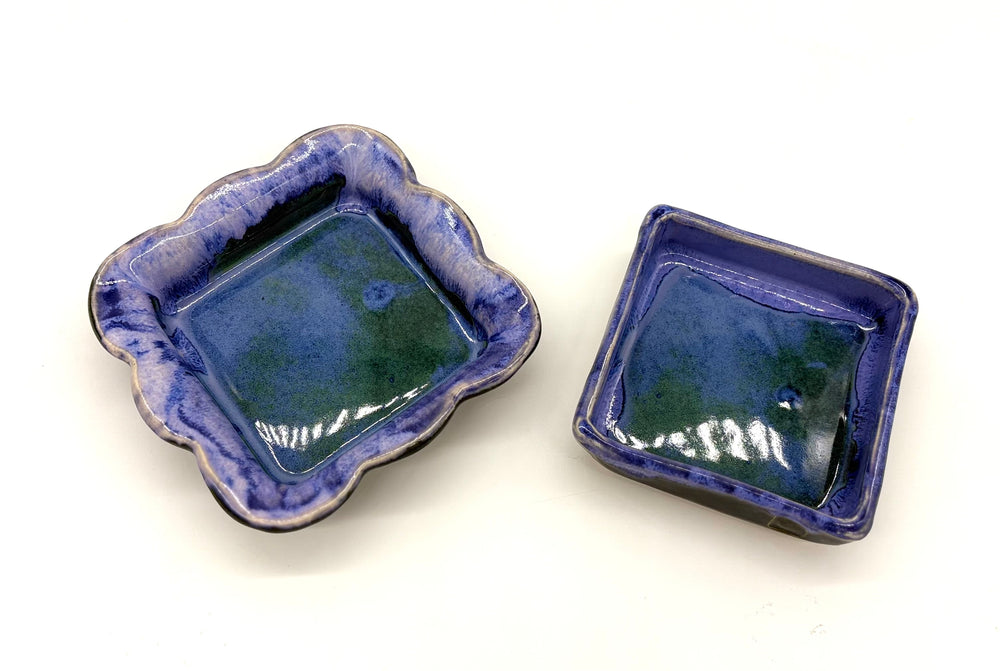
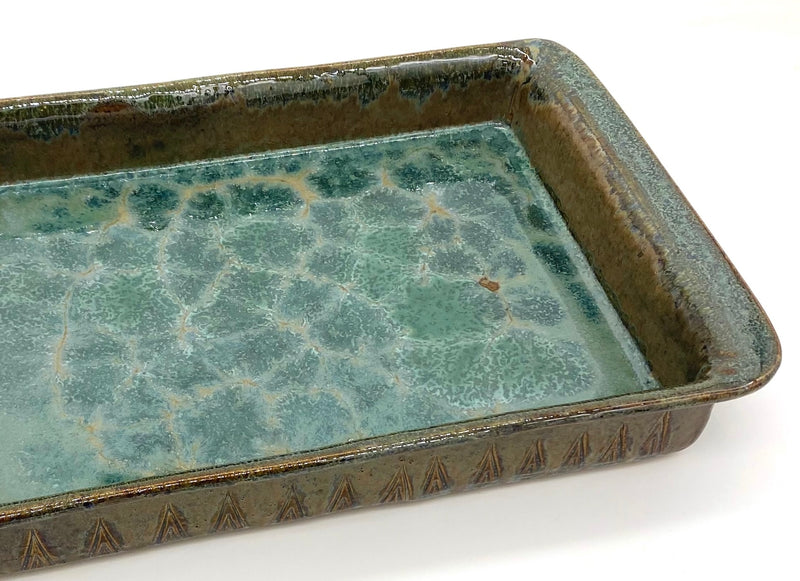
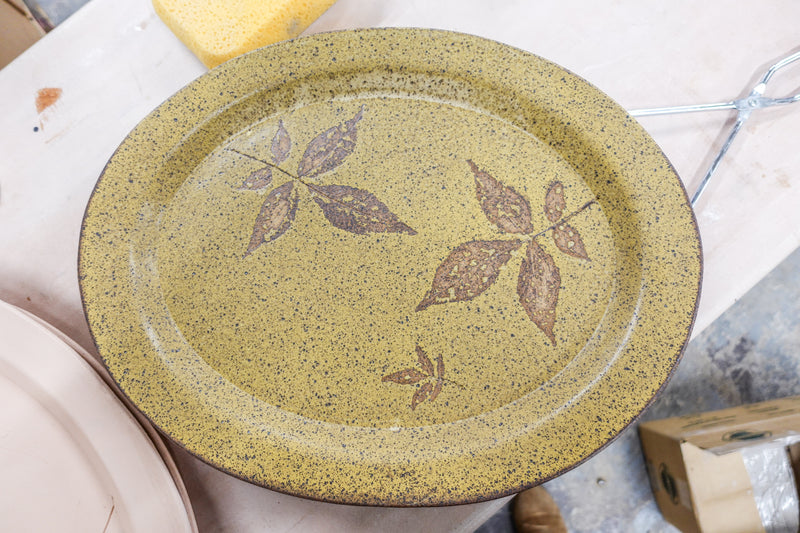
After the glaze firing, your personal-sized baking dish is ready for use! These dishes are perfect for serving individual portions, whether it’s a cozy serving of macaroni and cheese or a personal-sized cake!
We hope these steps were helpful on how to create a Personal Wallie Baking Dish. Here is a tutorial video that goes through the above steps:
Tools used in this blog:
Wallie (5) Pack - 4" - https://grpotteryforms.com/products/wallie-pack-4-10-piece
Mudtools Rib - https://grpotteryforms.com/products/mudtools-rib-medium-1
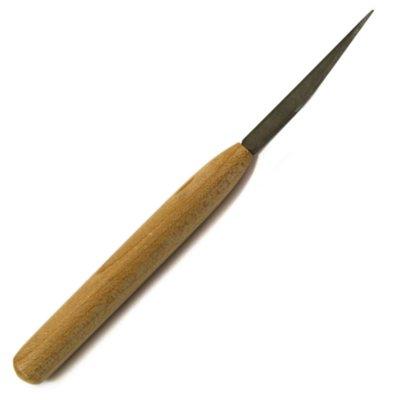
Loonie Clay Knife - https://grpotteryforms.com/products/loonie-clay-knife
Notched Rib - (Currently Unavailable)
Stanley Surform Rasp - (Currently Unavailable)

