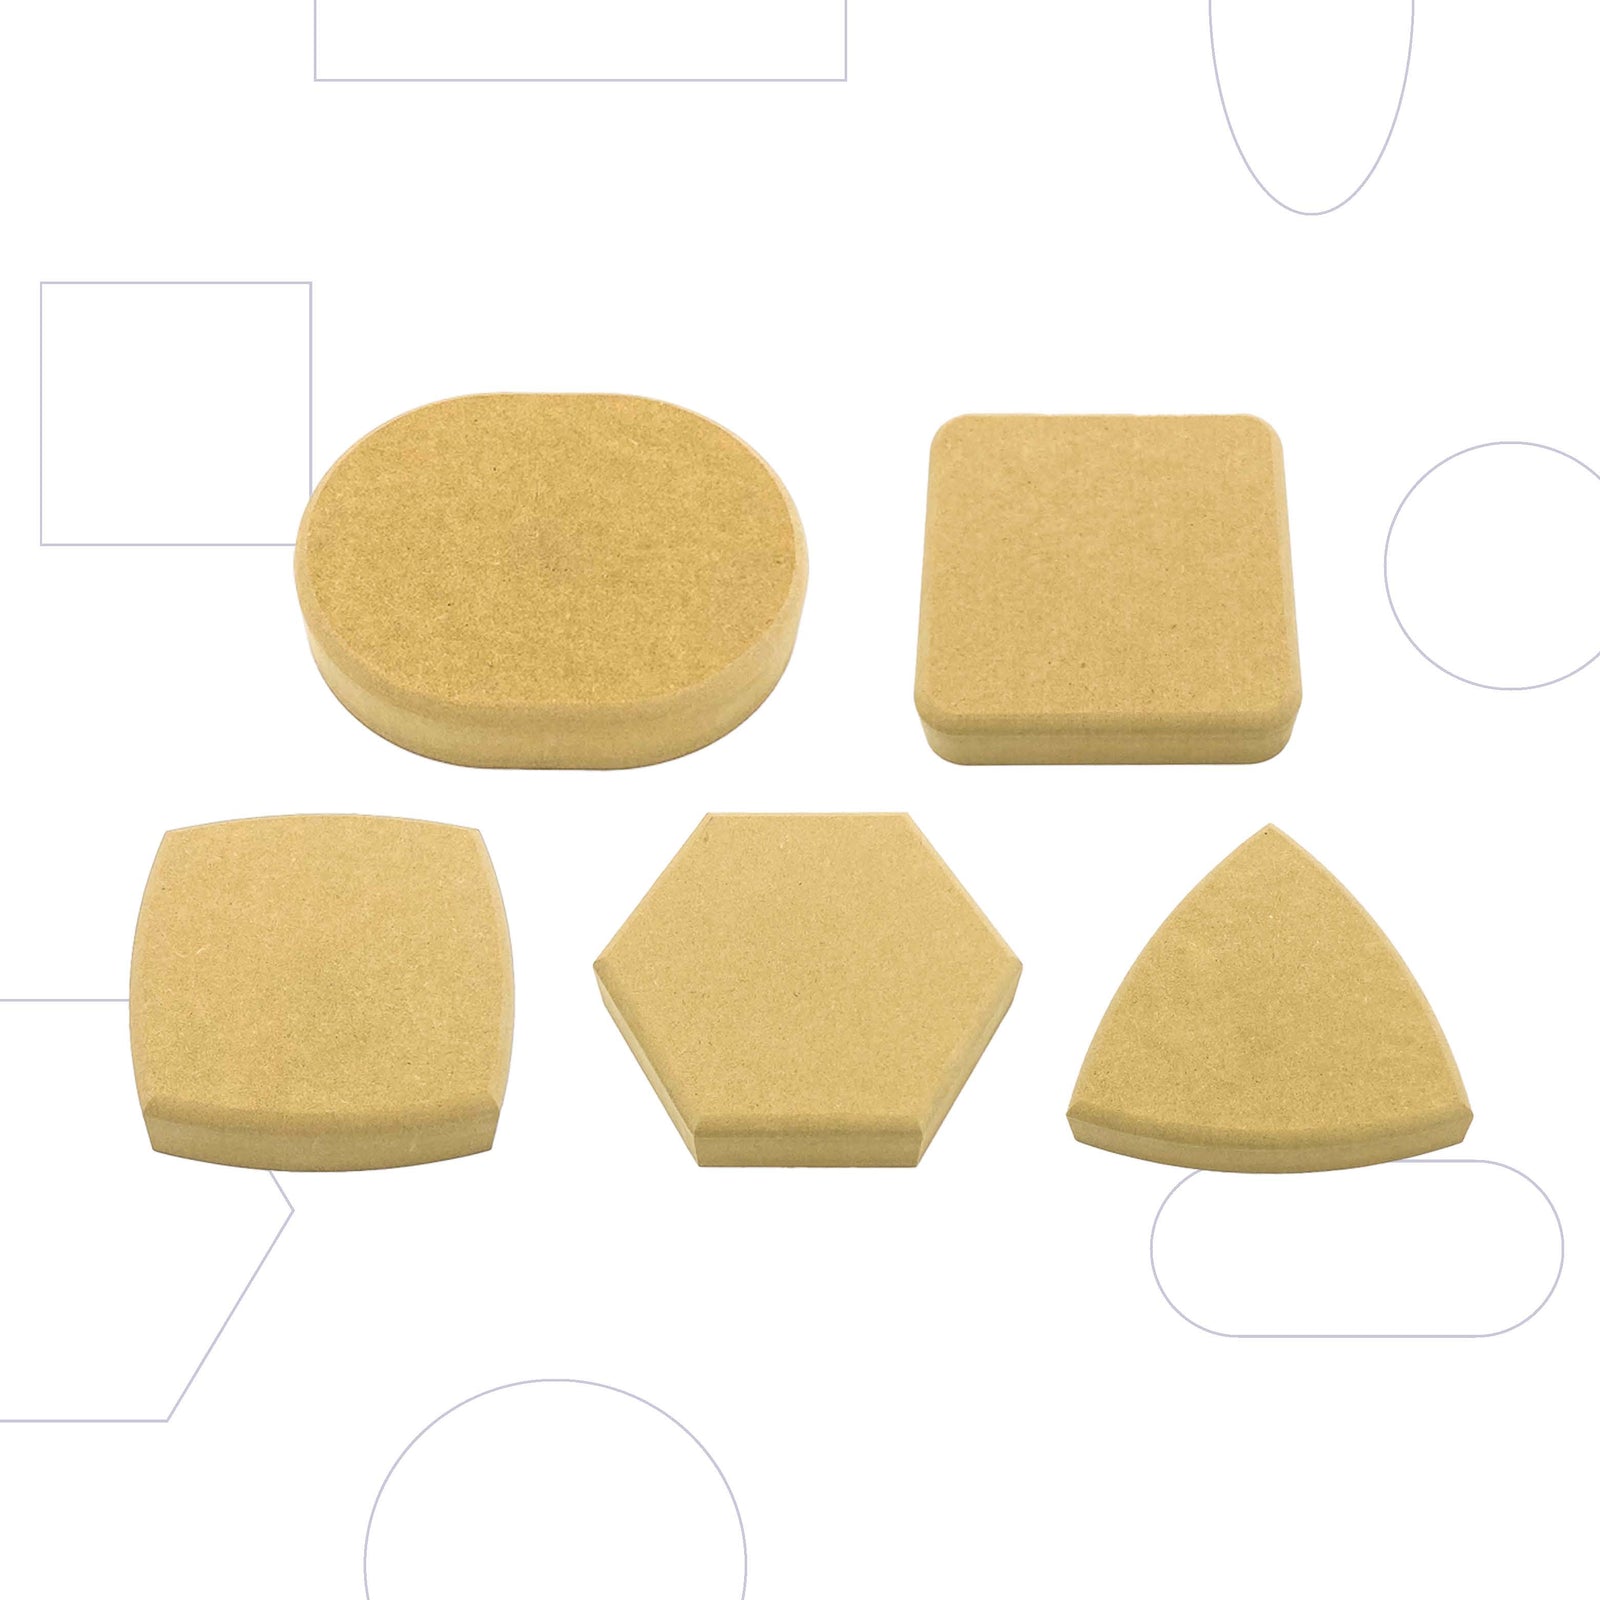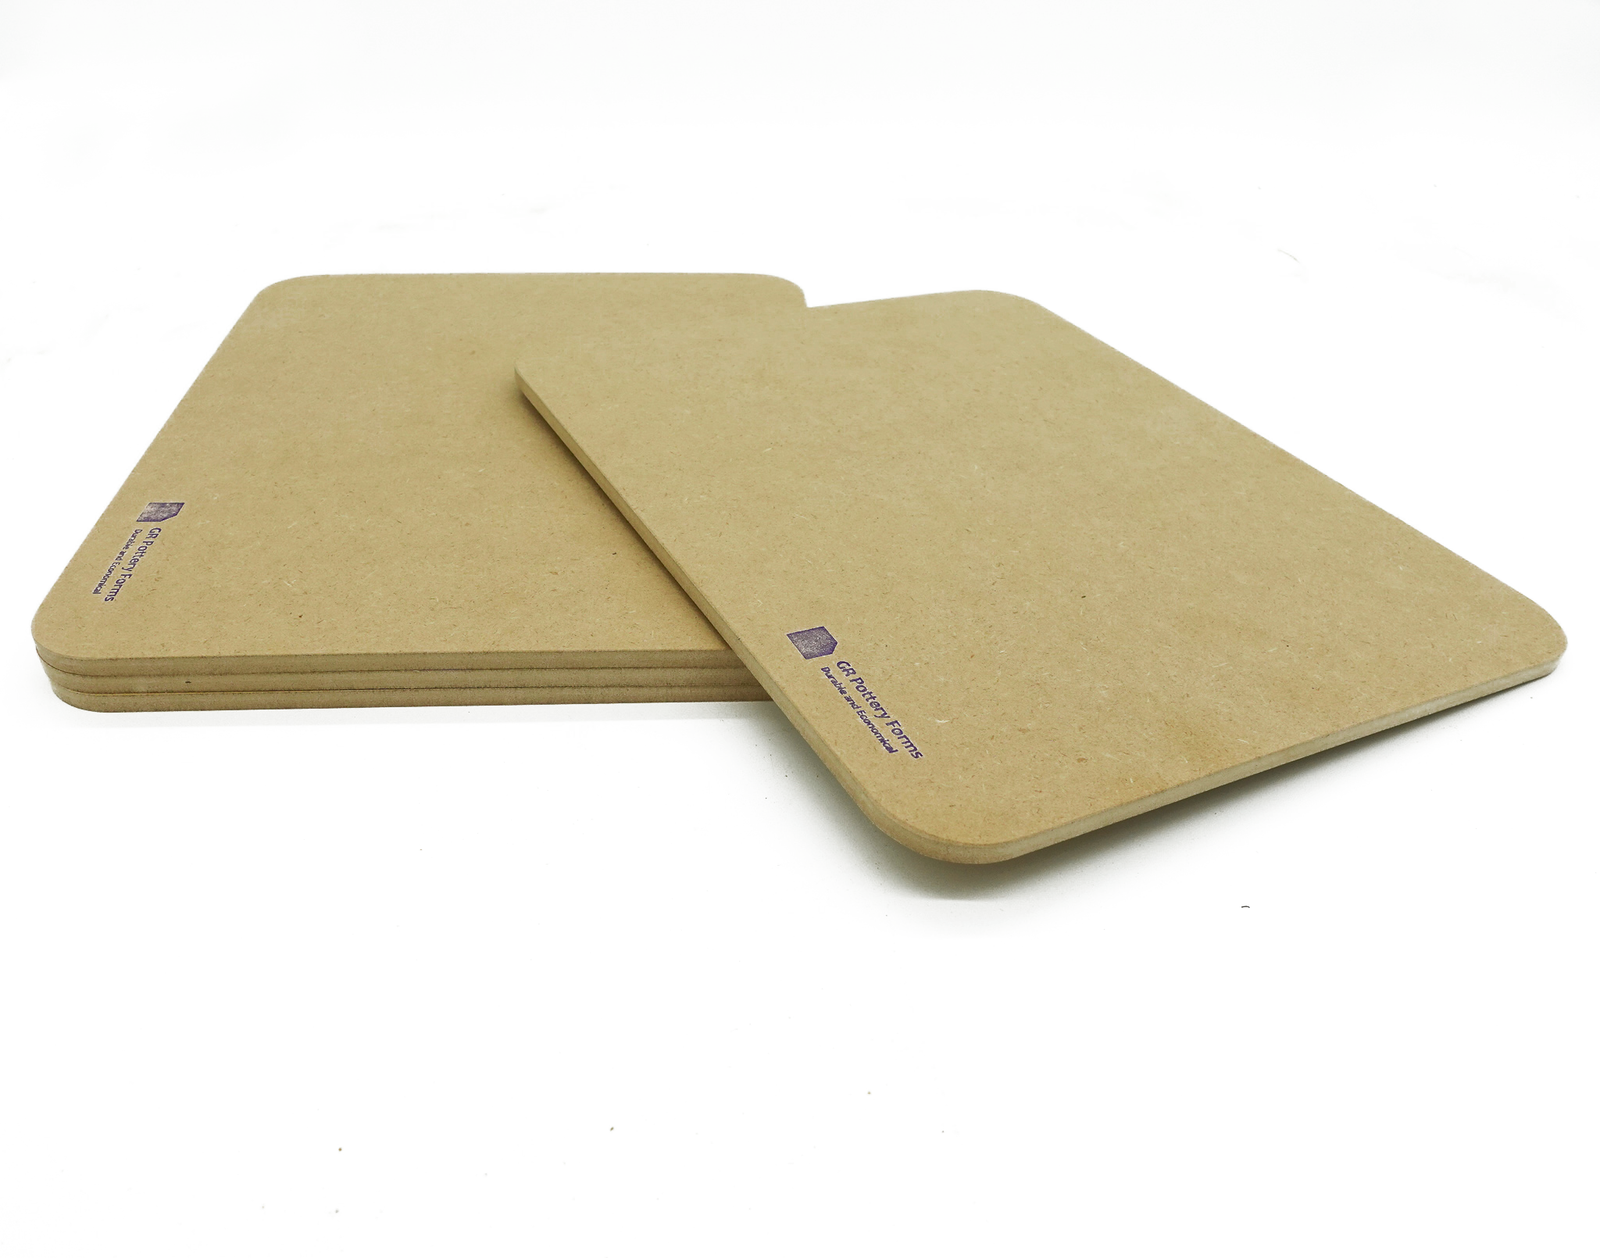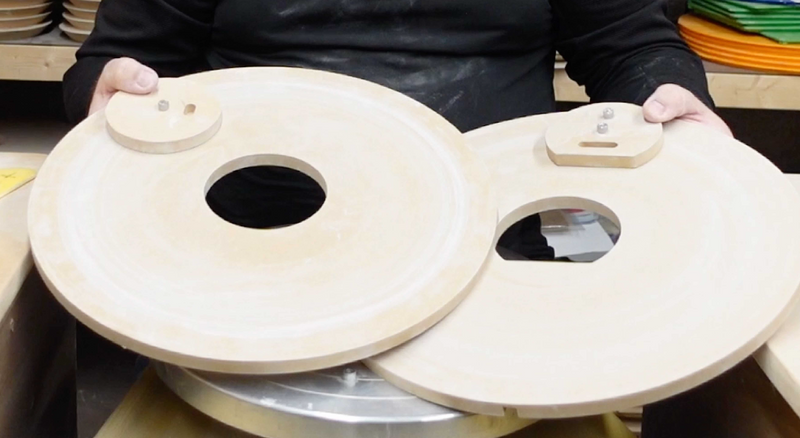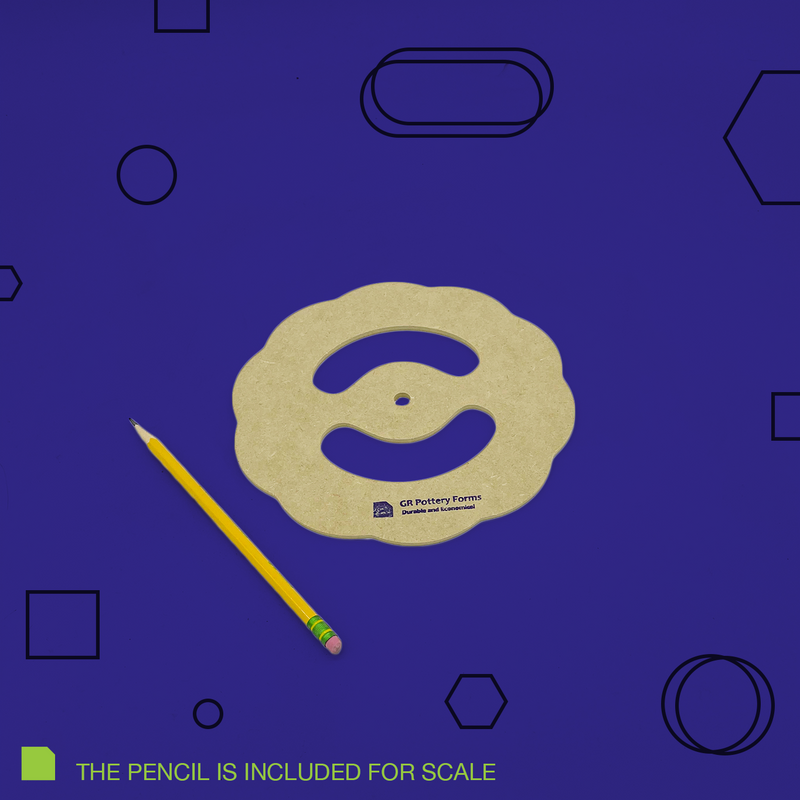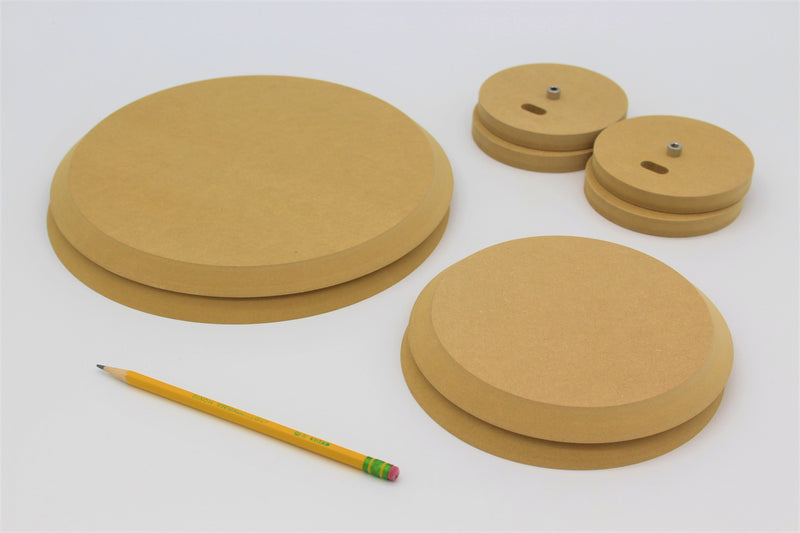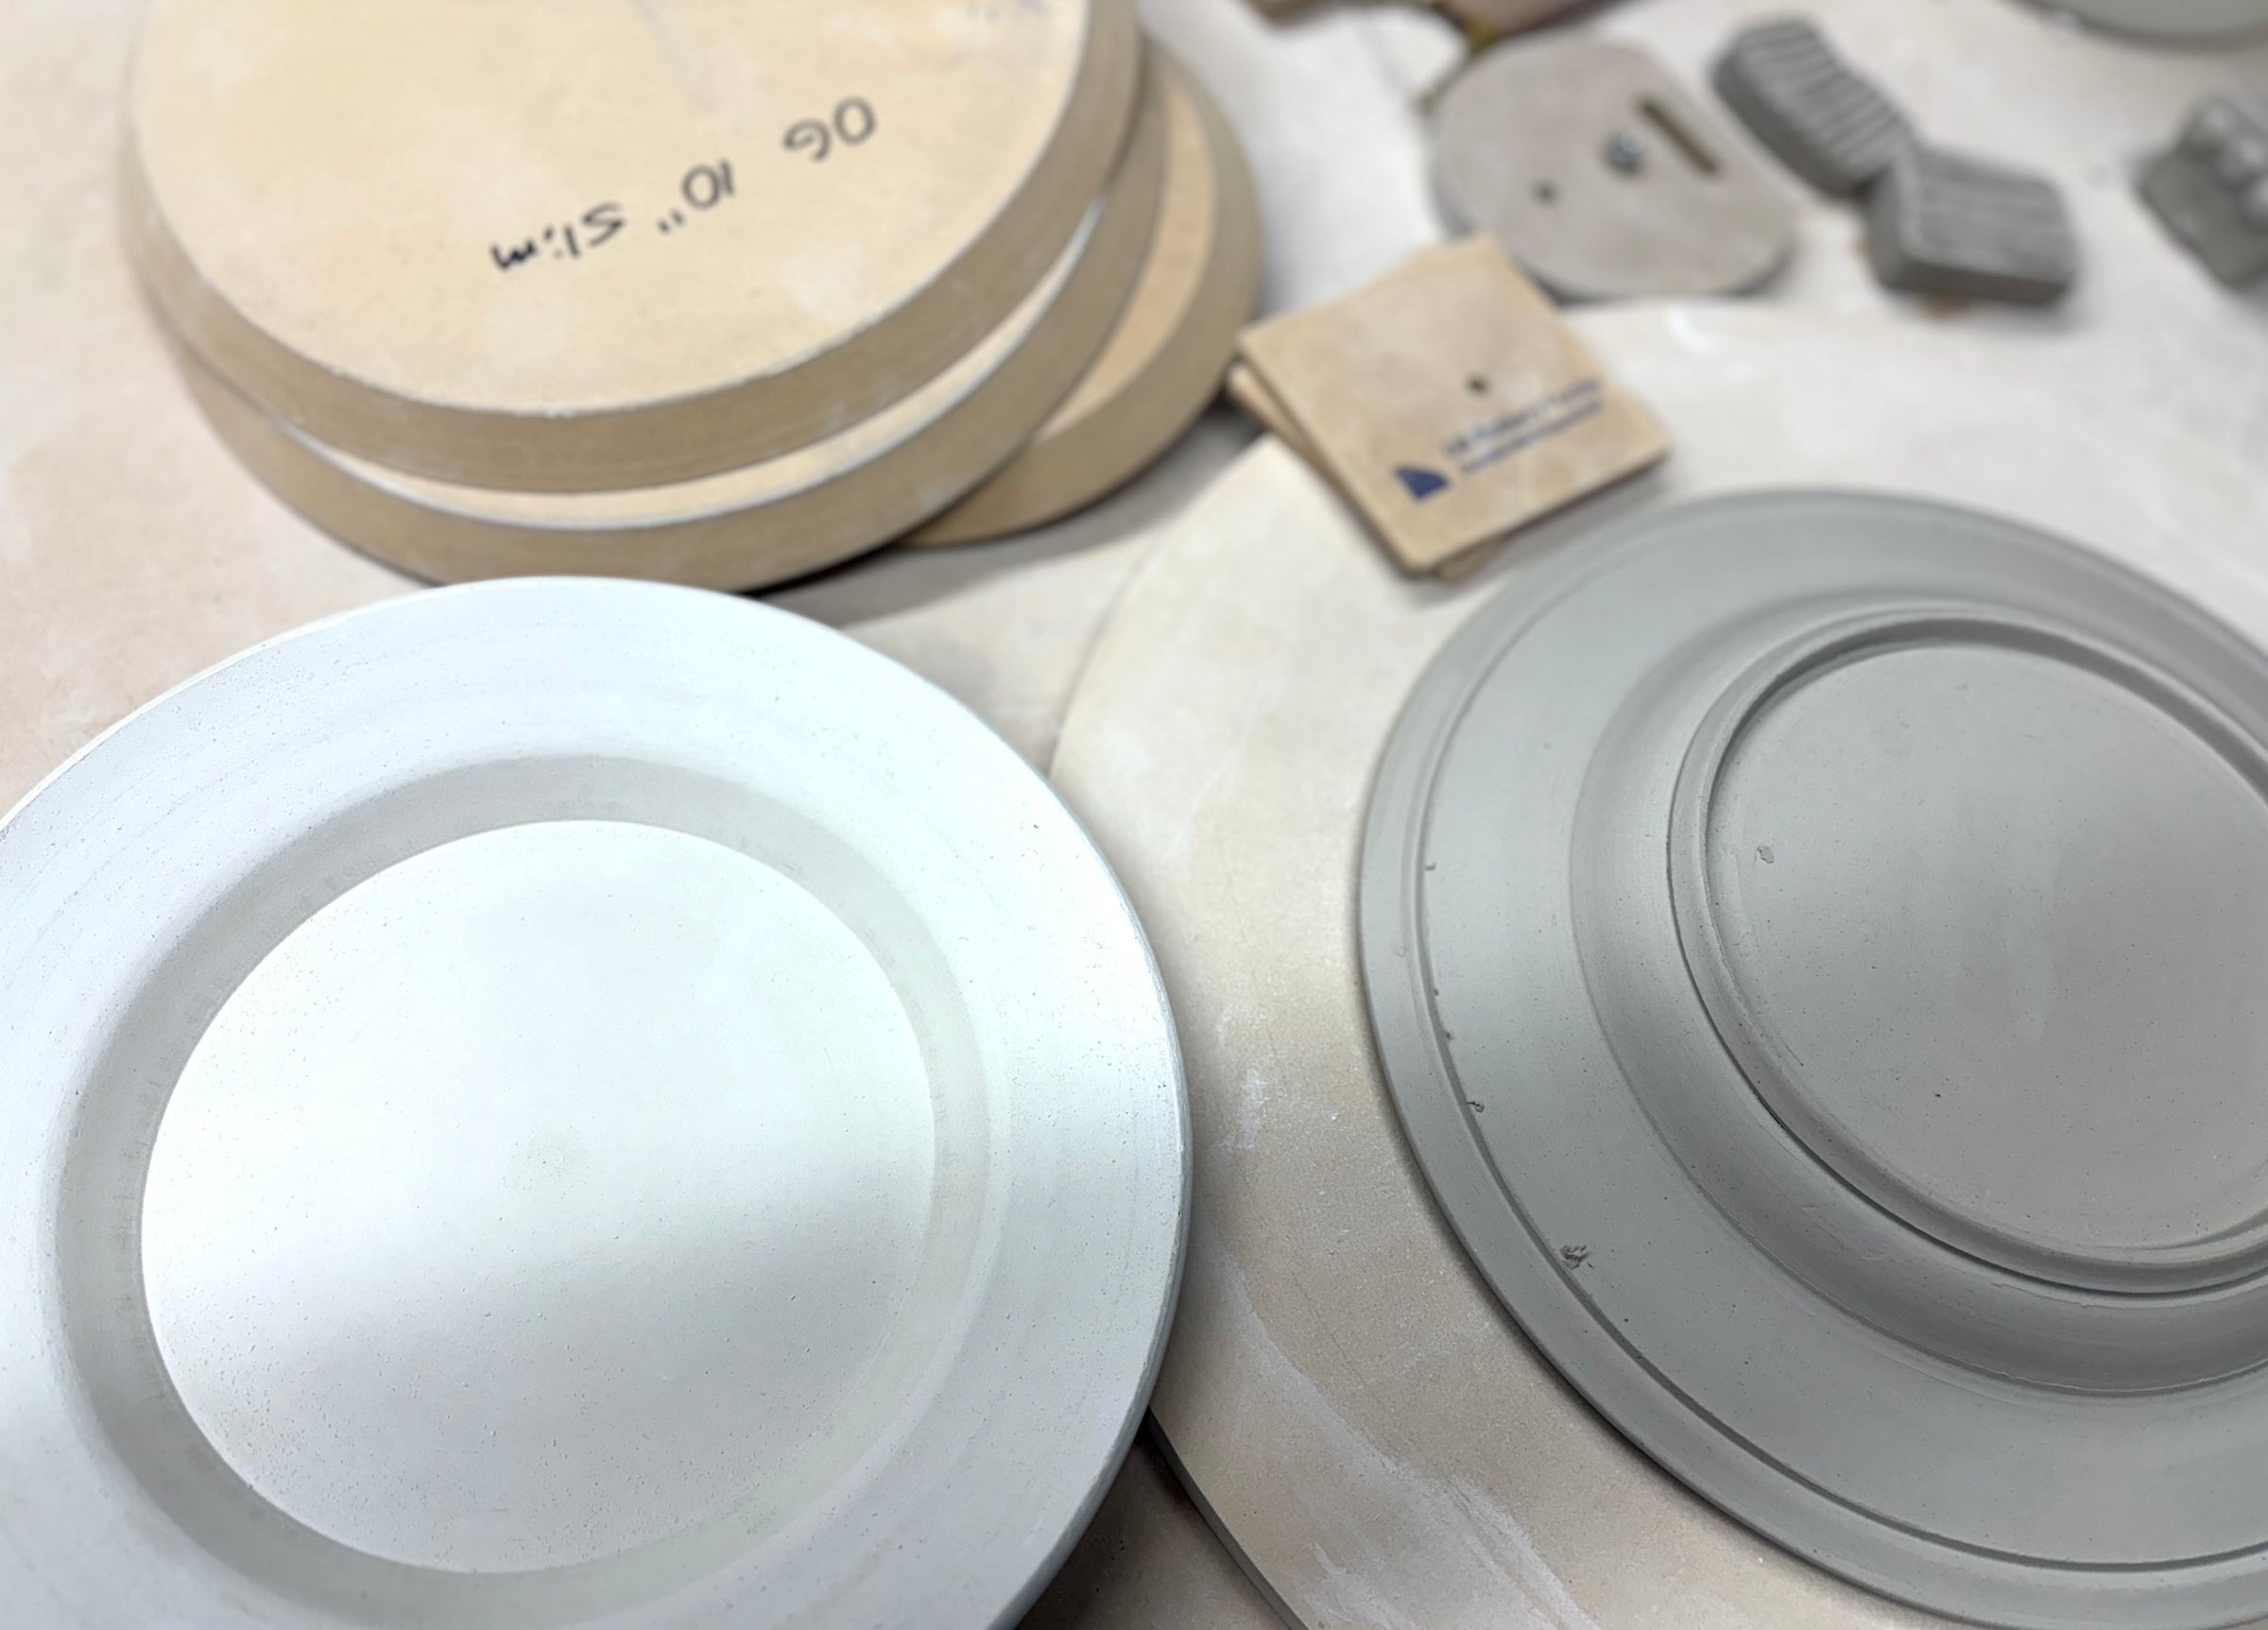
Our New Straight Edge Wallie Forms are sold individually or in a 5-pack. The Wallie 5-Pack also includes 5 Spacer Pulls which are used to remove the Form from the Clay. You can also purchase the Wallies individually, however these do not include the Spacer Pulls, so those would need to be purchased seperately.
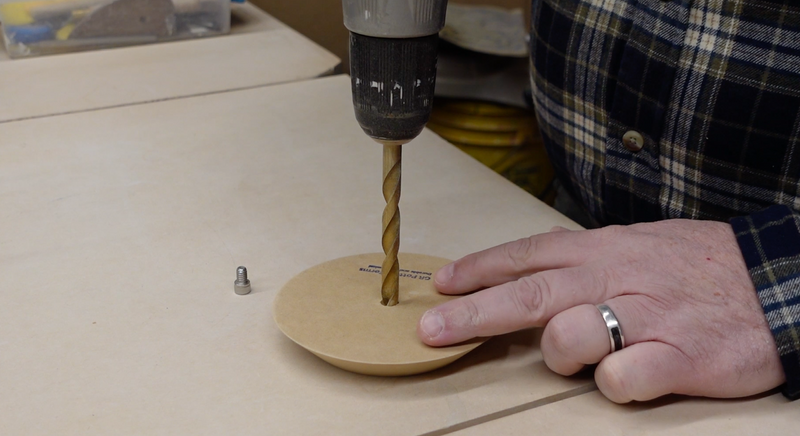
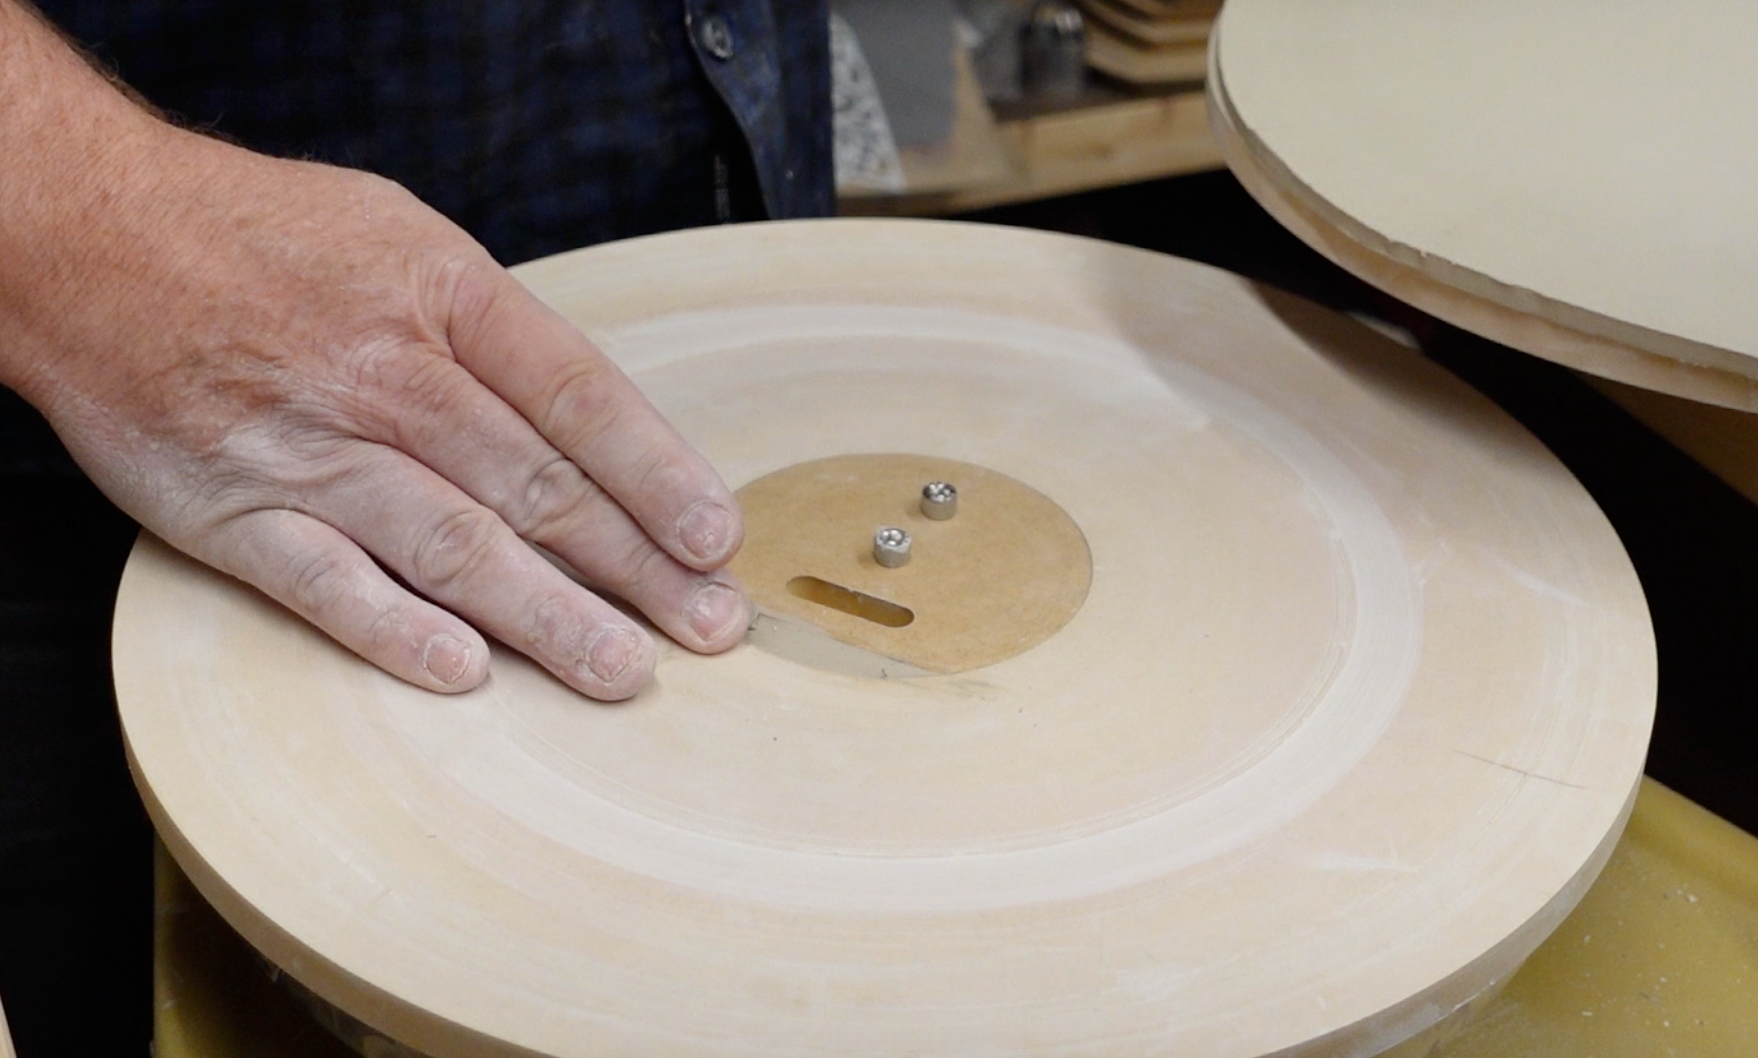
To begin using the Wallie Forms we recommend gluing in the Spacer Pull and Spacer Pin to the Wallie Form so that you can easily remove the Wallie from the clay. To do this, put a small amount of Wood or Elmer's Glue into the drill hole.

Next, take your Spacer Pull and Pin and attach it to the drill hole. Then hold down the Spacer Pull for 30 seconds or until the Glue has dried.
 .
. 
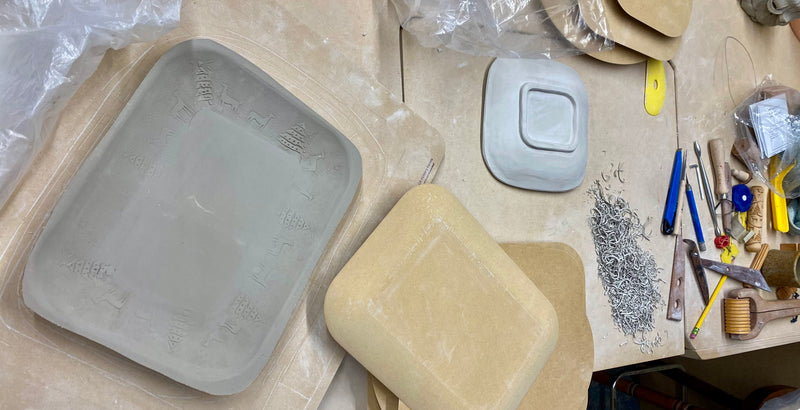
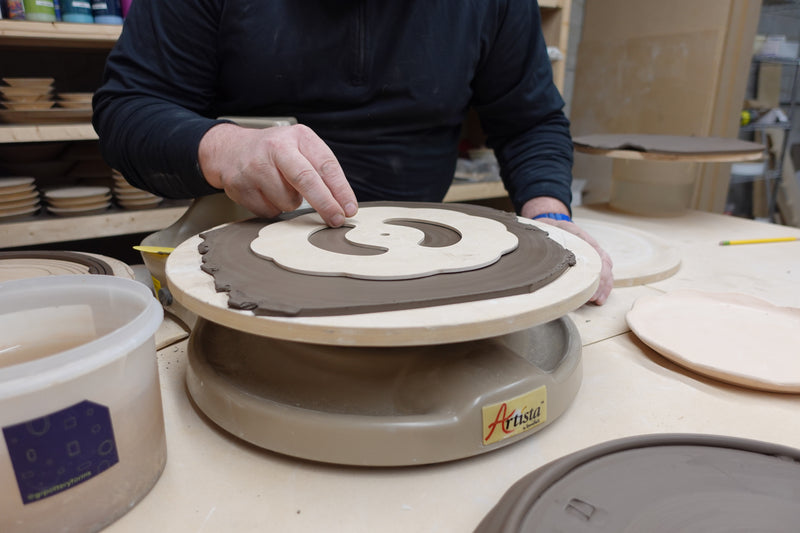
Next, take a slab of clay and place the Wallie Form on top of the slab. Then cut the clay slab an inch away from the Wallie Form's edge using a Knife.

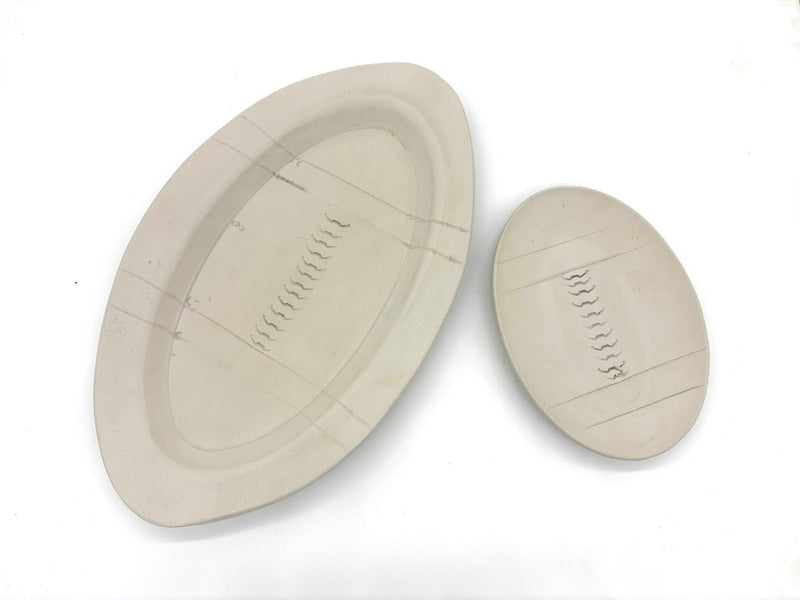
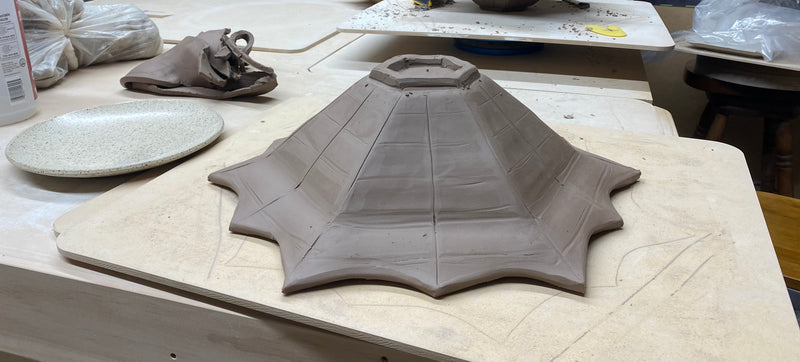
Next, place the Wallie Form off to the side and compress the slab using a Large Yellow (#5) Mudtools Rib. Then grab your Wallie Form and drape the clay slab over the Form (make sure to place the compressed side of the slab onto the Form).


Now, use your hands to press the sides of the slab down so that the clay starts forming to the Wallie. Start pressing down using light-medium pressure. Once the clay takes the shape of the Wallie Form you can start applying more pressure and smoothing out the clay.
After the clay has formed to the Wallie Form, cut off any excess clay using a Knife.


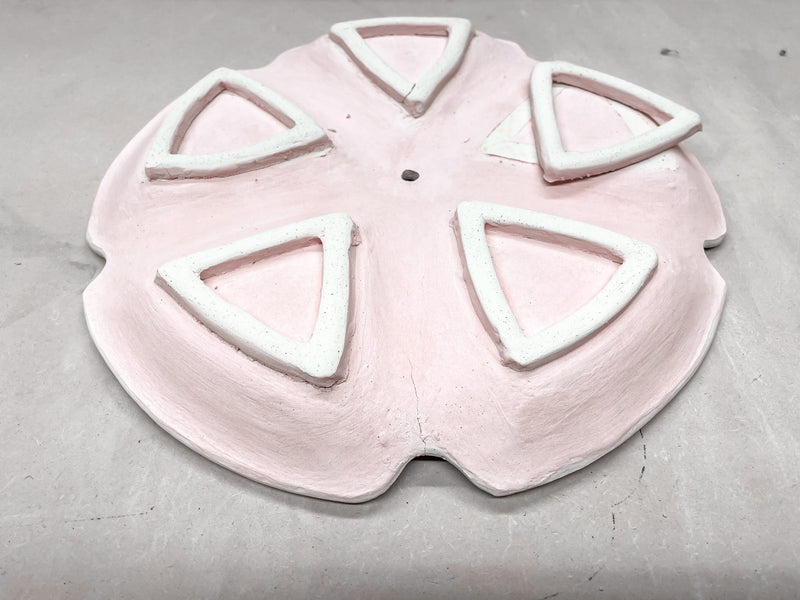
Now, take your Large Yellow (#5) Mudtools Rib and compress the sides, moving in an upward motion toward the Form (this will help to strengthen the edge and corners to avoid cracking). Then compress the bottom of the piece, make sure all areas are compressed and smooth.

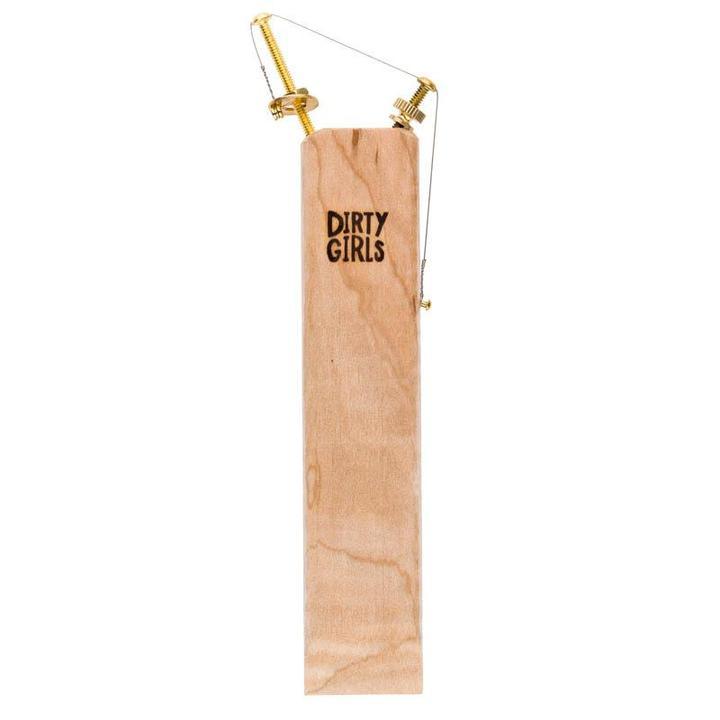
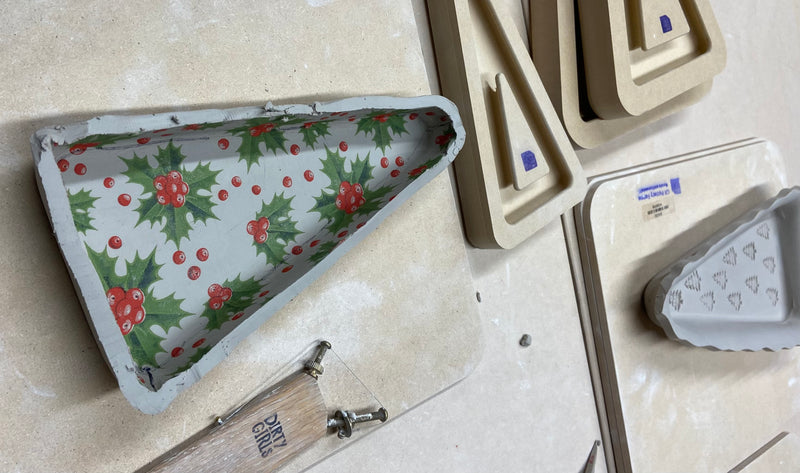
Next, cut the clay along the edge of the Form using a Dirty Girls Sling Shot Tool or Knife.

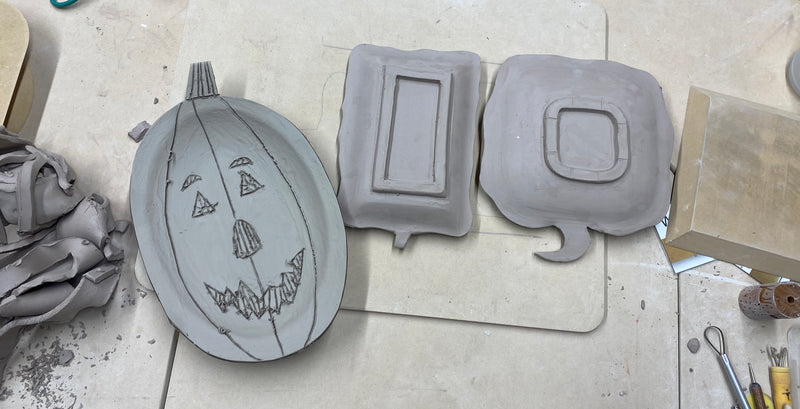
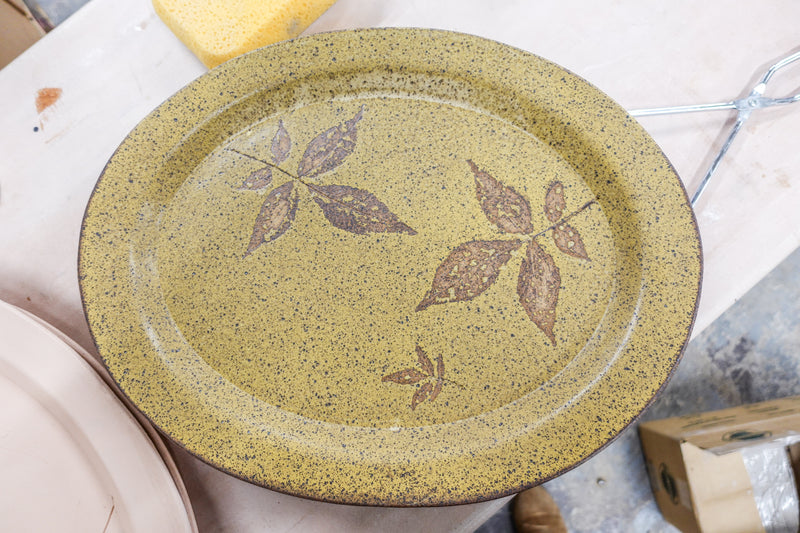
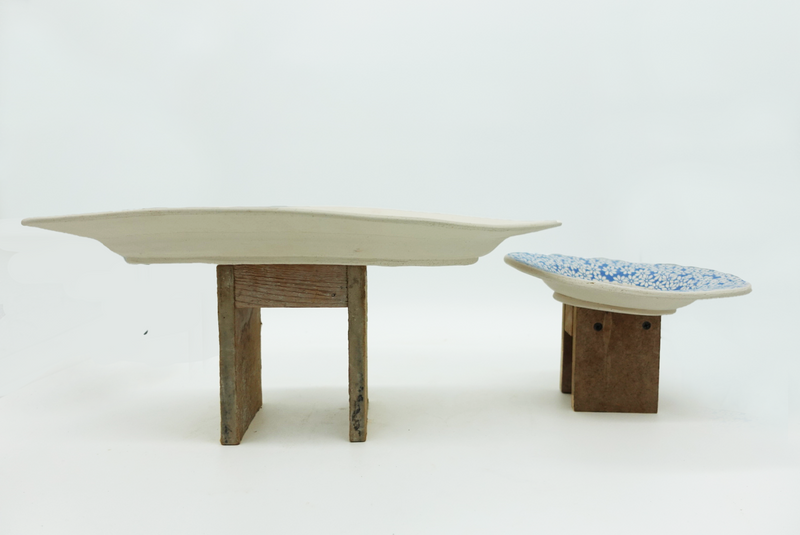
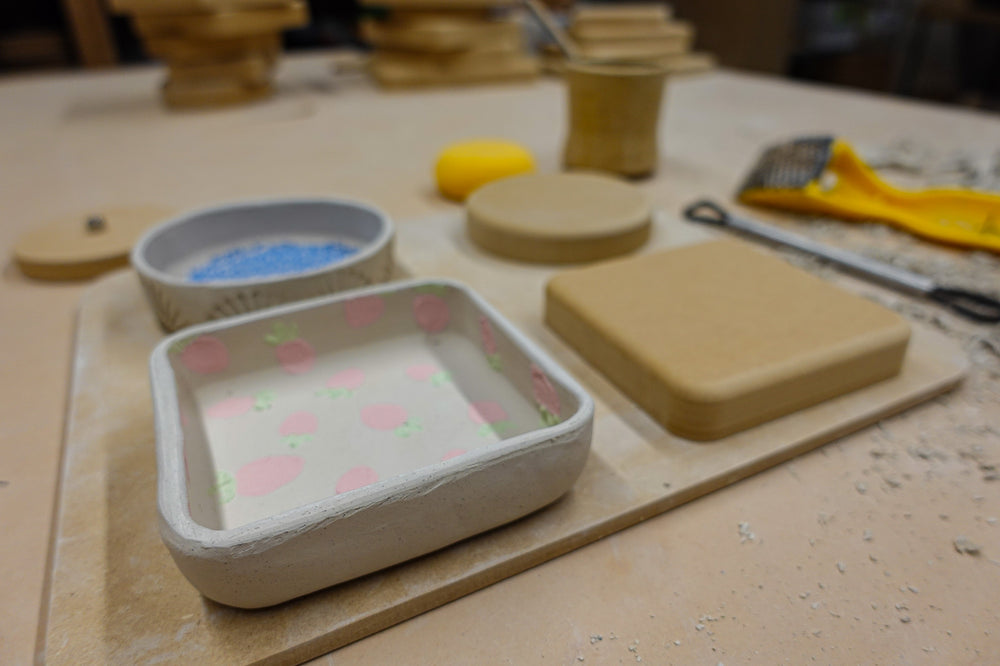
Next, grab the Spacer Pull with your fingers and remove the Form from the clay. Then use a drying tool of your choice to dry the clay and begin decorating your piece!


Tools used in this blog:
- Spacer Pull
- Wallie Square - 4"
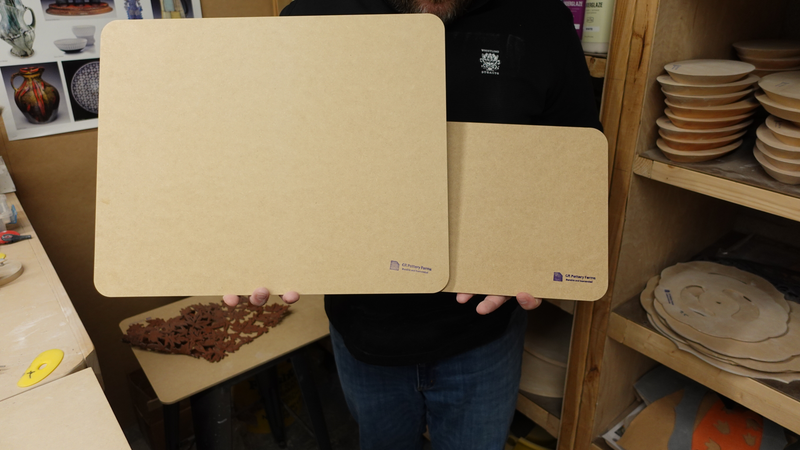
- Studio Board - 12x10"
- Large Yellow (#5) Mudtools Rib
- Dirty Girls Sling Shot Tool
- Loonie Clay Knife