The Forming Stage:
1. Compress and Smooth the Slab
Begin by compressing and smoothing your clay slabs. Start with your fingers to flatten and even out the clay. Once you've made initial progress, switch to a medium rib tool for a more consistent pressure and a smoother finish. This two-step approach helps eliminate air bubbles and ensures an even texture.
Pro Tip: To avoid stressing the clay and potentially causing distortion, flip the slab using Studio Boards. This technique helps keep the slab intact and reduces the risk of warping.
2. Flip the Slab
Place one hand in the middle of the bottom Studio Board and the other in the middle of the top. Gently squeeze and flip the slab over. Having a friend hold one side can make this process easier and prevent the slab from bending or cracking.
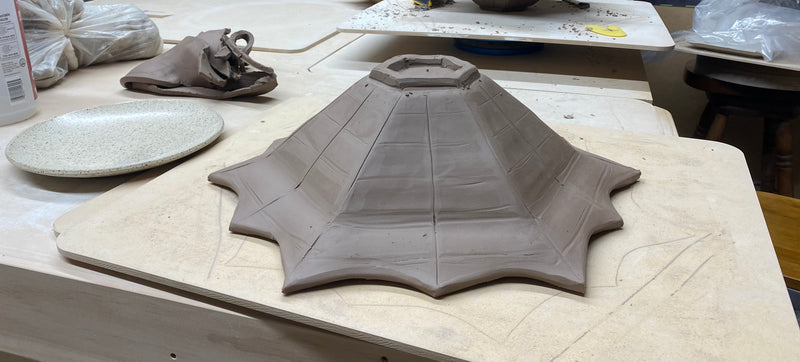
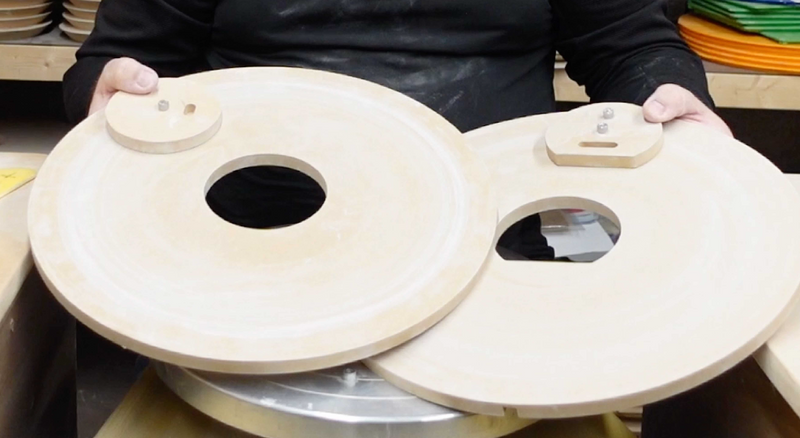
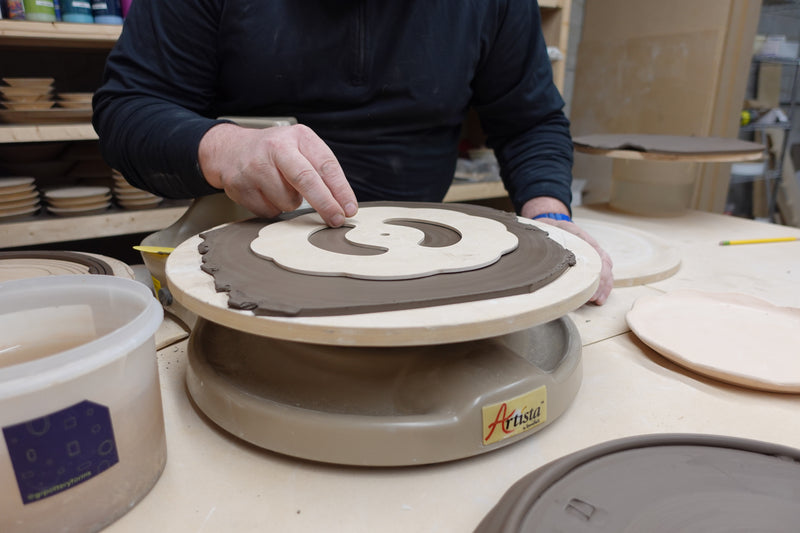
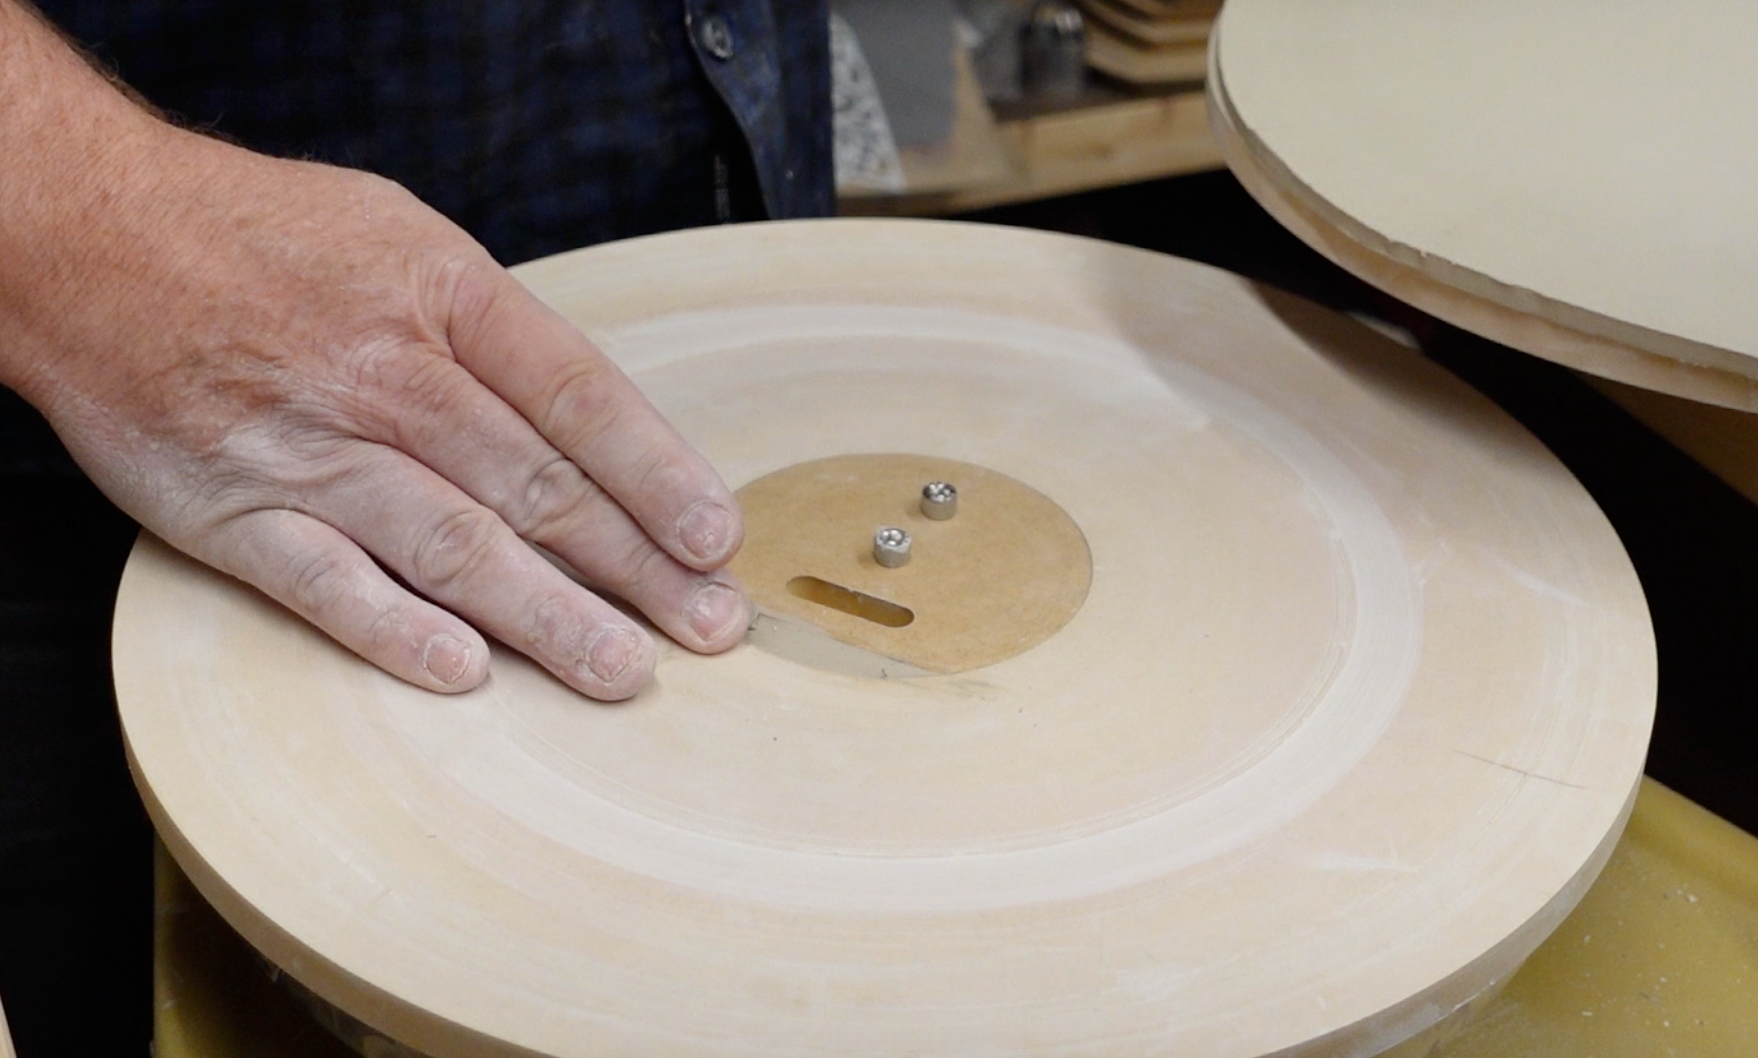
3. Compress Clay onto the Form
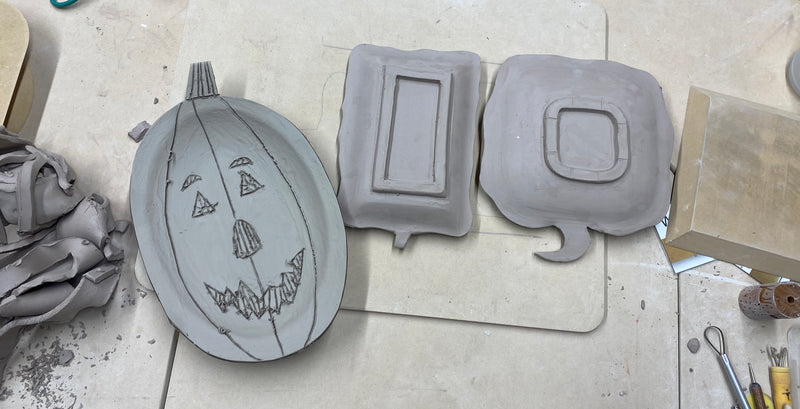
Carefully position the clay onto your Form. Aim to gently move it into place while minimizing deep finger channels. Your goal is to guide the clay without leaving noticeable indentations.
4. Smooth the Surface
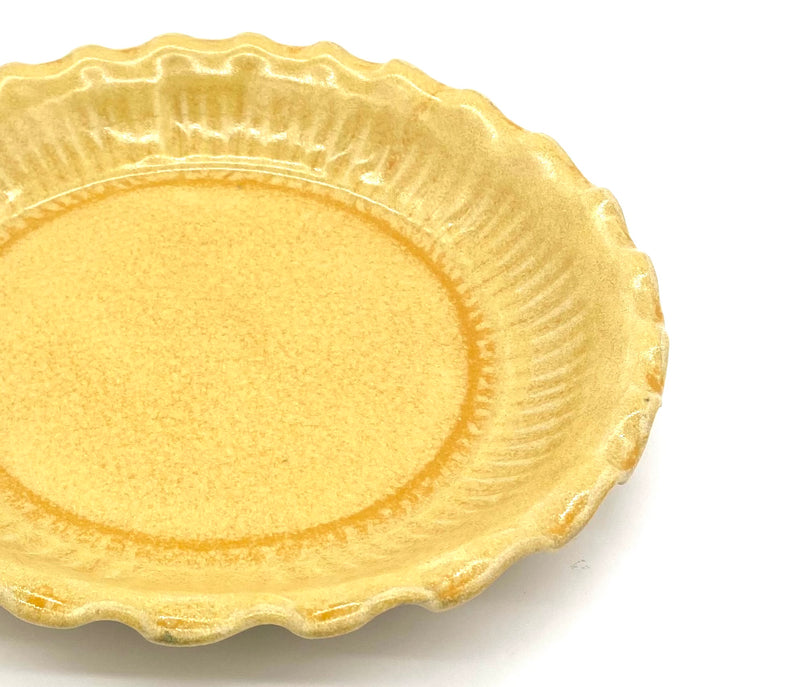
Use a rib tool to smooth out the clay with even pressure. Be careful not to press too hard, as this can create unwanted marks. Focus on smoothing around the corners for a refined finish.
5. Final Touches Before the Last Flip
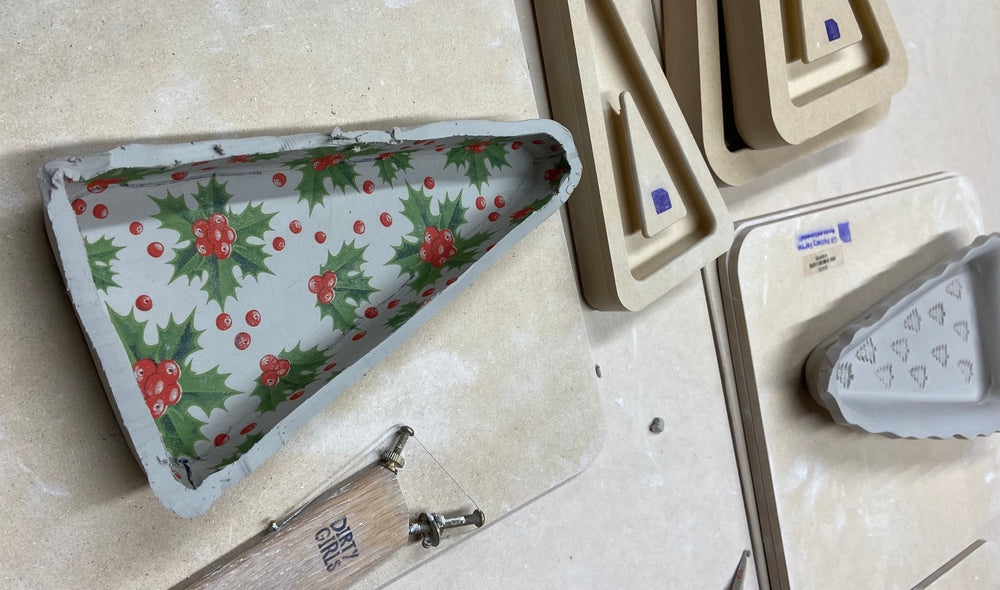
- Trim the Excess: Cut along the edge of the Wallie Tree Form using a knife or a Dirty Girls Sling Shot Tool, leaving enough space to create a clean rim. This step ensures a polished appearance for your dish.
- Smooth the Edges: Before flipping the slab again, go over any rough edges to smooth them out.
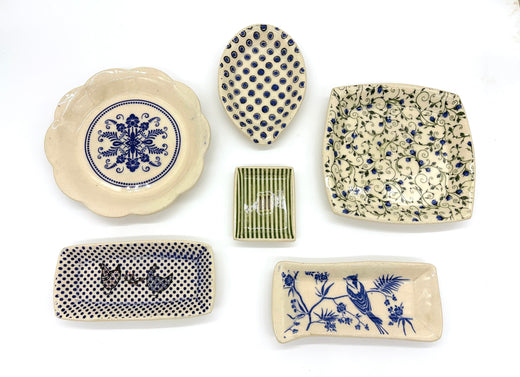
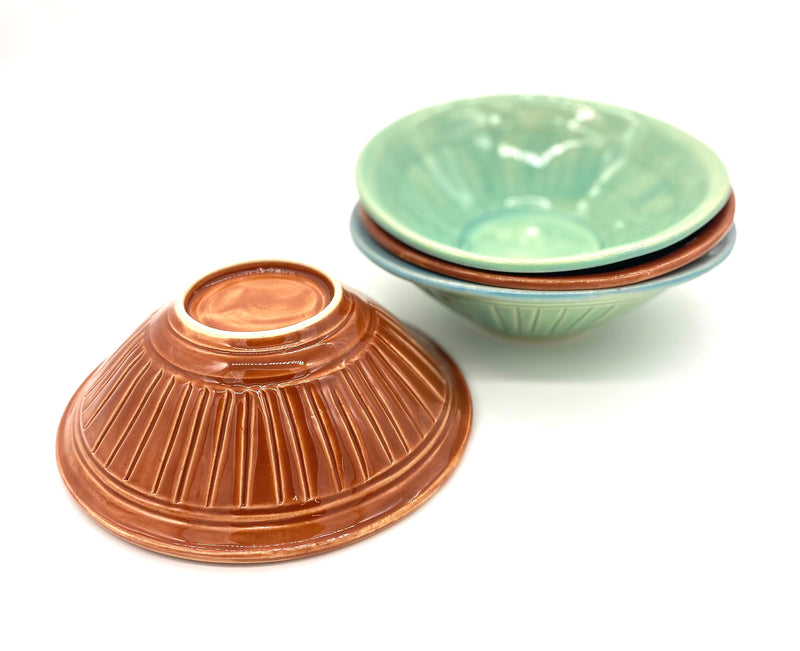
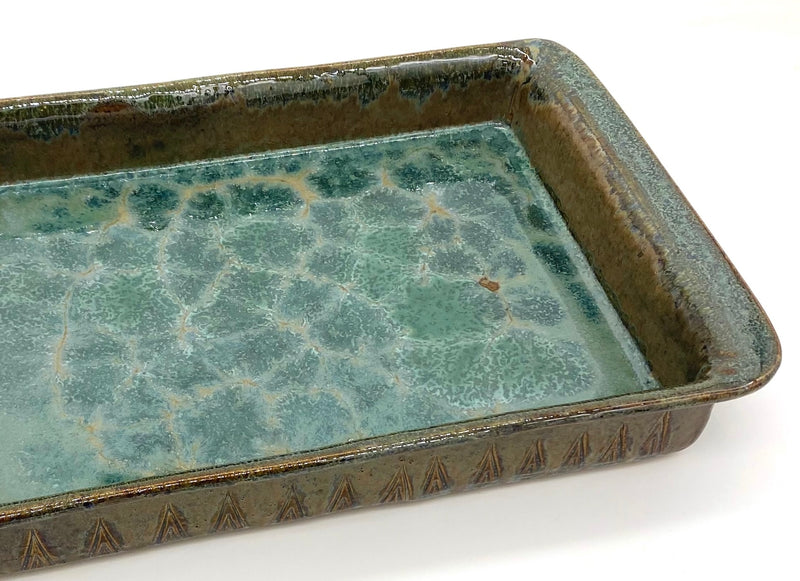
- Decorate: If desired, add decorative elements like stamps to personalize your dish.
6. Final Flips and Removal
- Flip Again: Carefully flip the slab one last time after making the final touches.
- Release the Form: Gently separate the clay from the Wallie Tree Form to ensure it’s fully released.
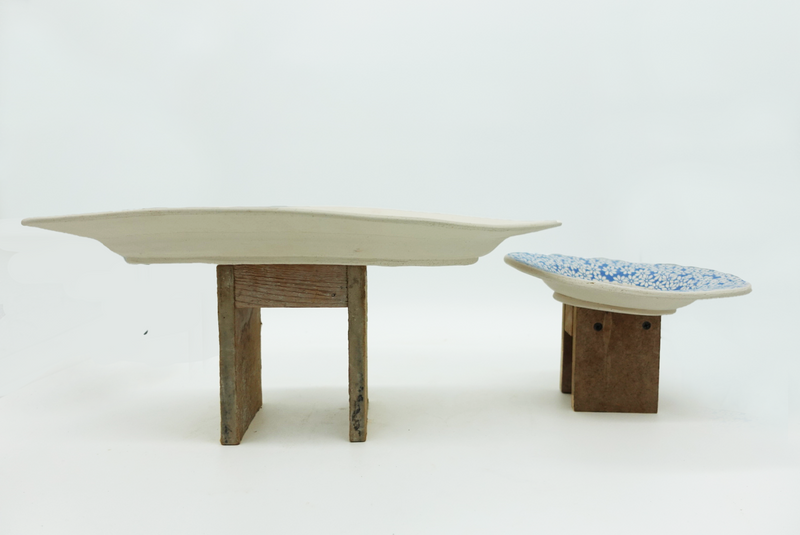
- Remove the Form: Flip the dish again and carefully remove the Wallie Tree Form to reveal your beautifully crafted dish.
The Trimming Stage:
1. Trim and Even Out the Edges
Begin by using a rasp to trim and even out the edges of your Wallie Tree Form. Gently work around the perimeter to refine the shape and remove any excess clay. This initial step helps establish a clean, uniform edge for further refinement.
2. Smooth and Round the Edges
Switch to a notched rib tool to smooth and round the edges of your piece. Apply consistent pressure while moving the tool around the form to achieve a seamless and rounded edge. This step ensures a polished and refined look.
3. Optional: Add Texture
If you want to add a unique touch to your piece, use a textured roller to imprint a pattern or texture along the edges. Roll gently to create a subtle design that enhances the visual appeal of your finished piece.
4. Final Touches
Inspect your piece and make any final adjustments. Smooth out any rough spots or inconsistencies with a rib tool. Ensure the edges are clean and the overall shape is well-defined.
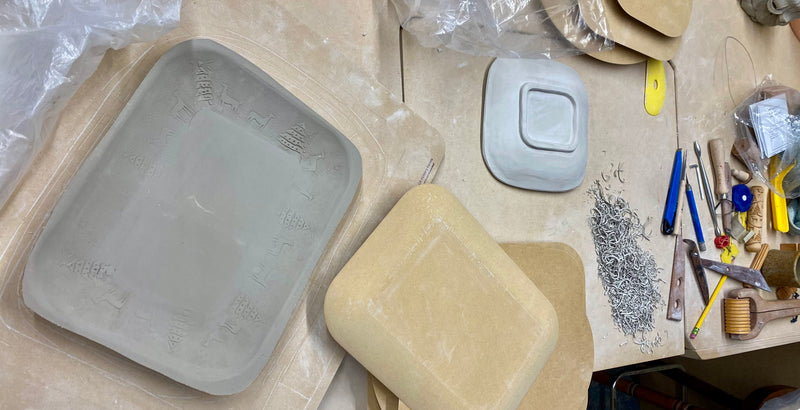
5. Prepare for Drying
Allow your trimmed piece to dry slowly and evenly. Place it upside down to prevent warping or uneven drying. Monitor the drying process and make sure to keep the piece covered or wrapped if necessary to maintain the right moisture level.
We hope these steps were helpful on how to create Wallie Trees. Here is a tutorial video that goes through the above steps:
Tools used in this blog:
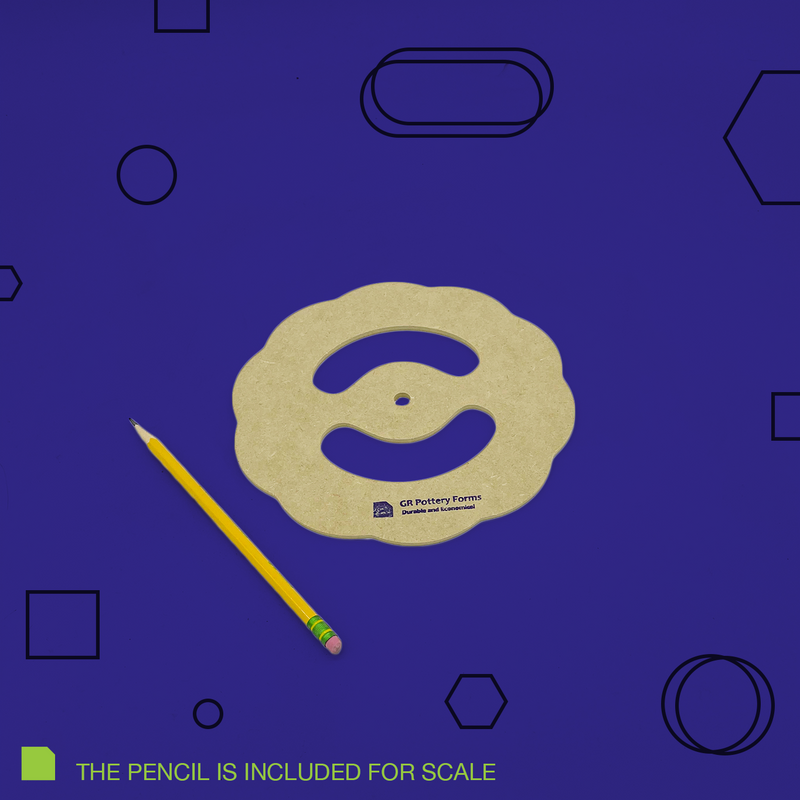
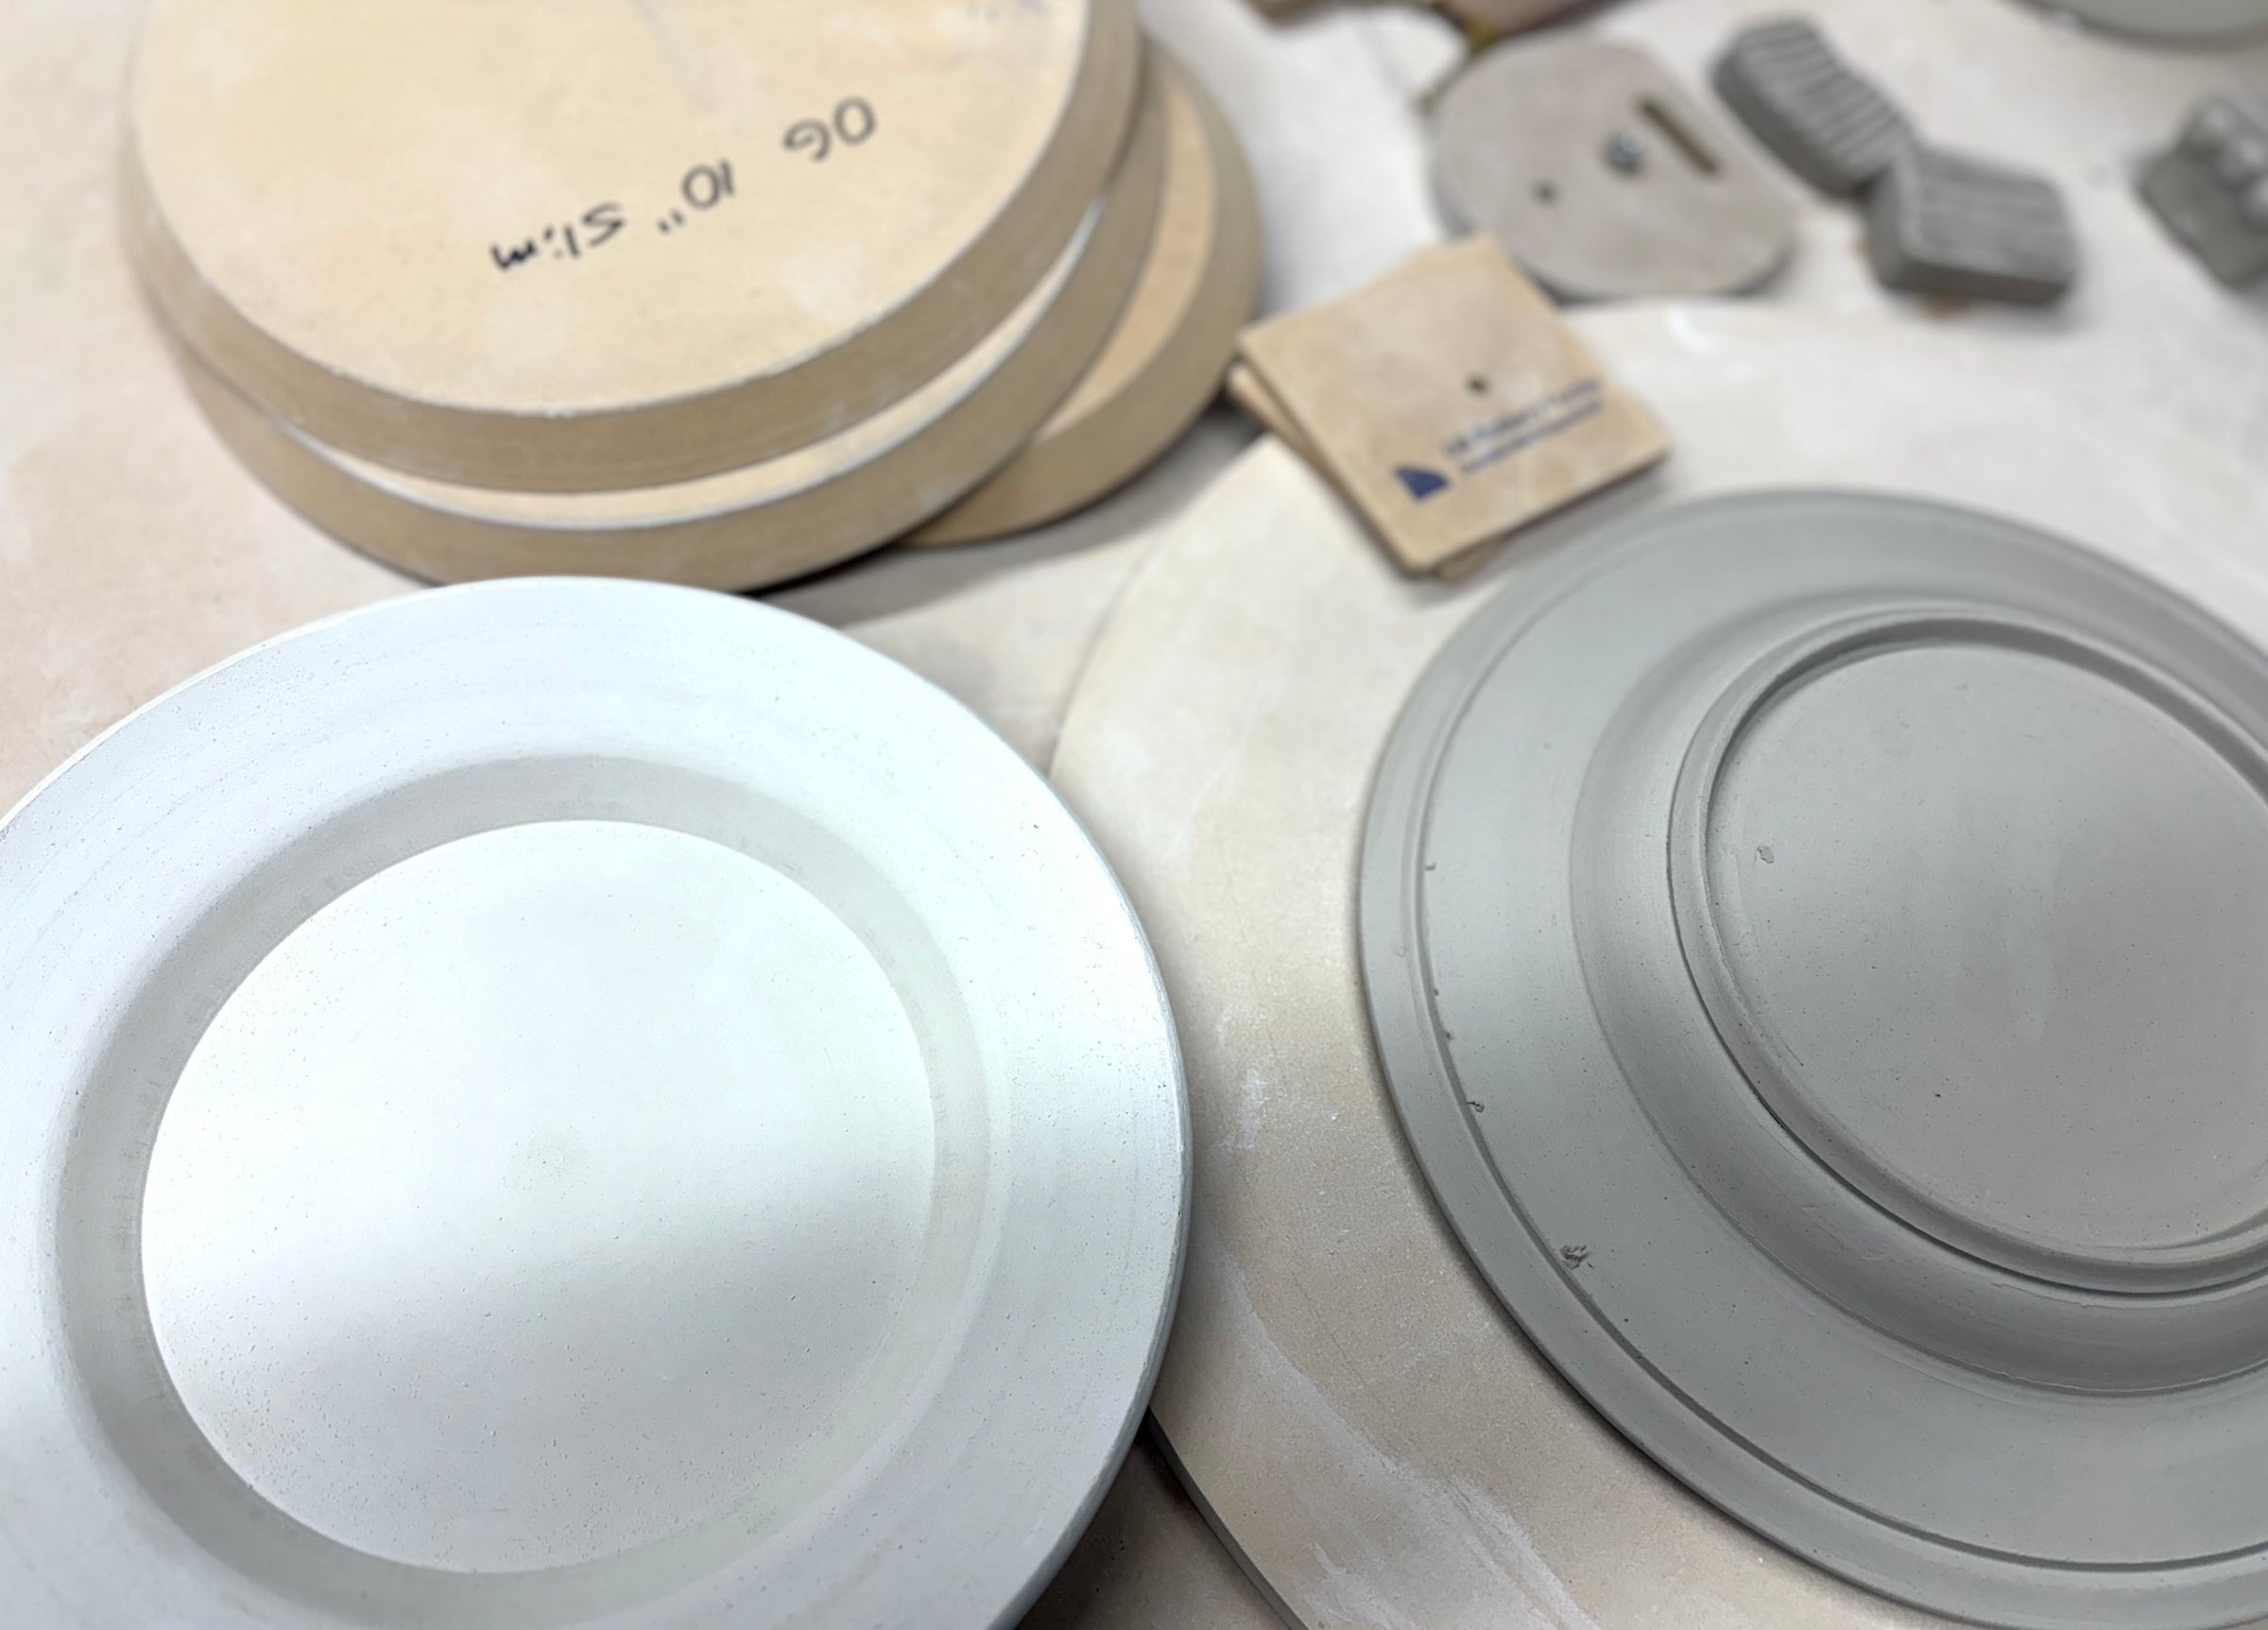
- Wallie Tree - 6x10"
- Mudtools Rib medium (#1) Yellow
- Loonie Clay Knife
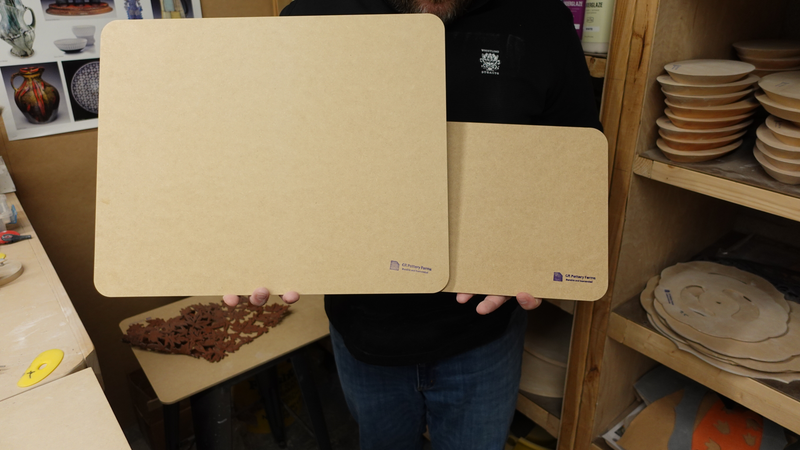
- Studio Board - 20x16"
- Stanlely Surform Rasp
- Notched Rib
- MKM Roller