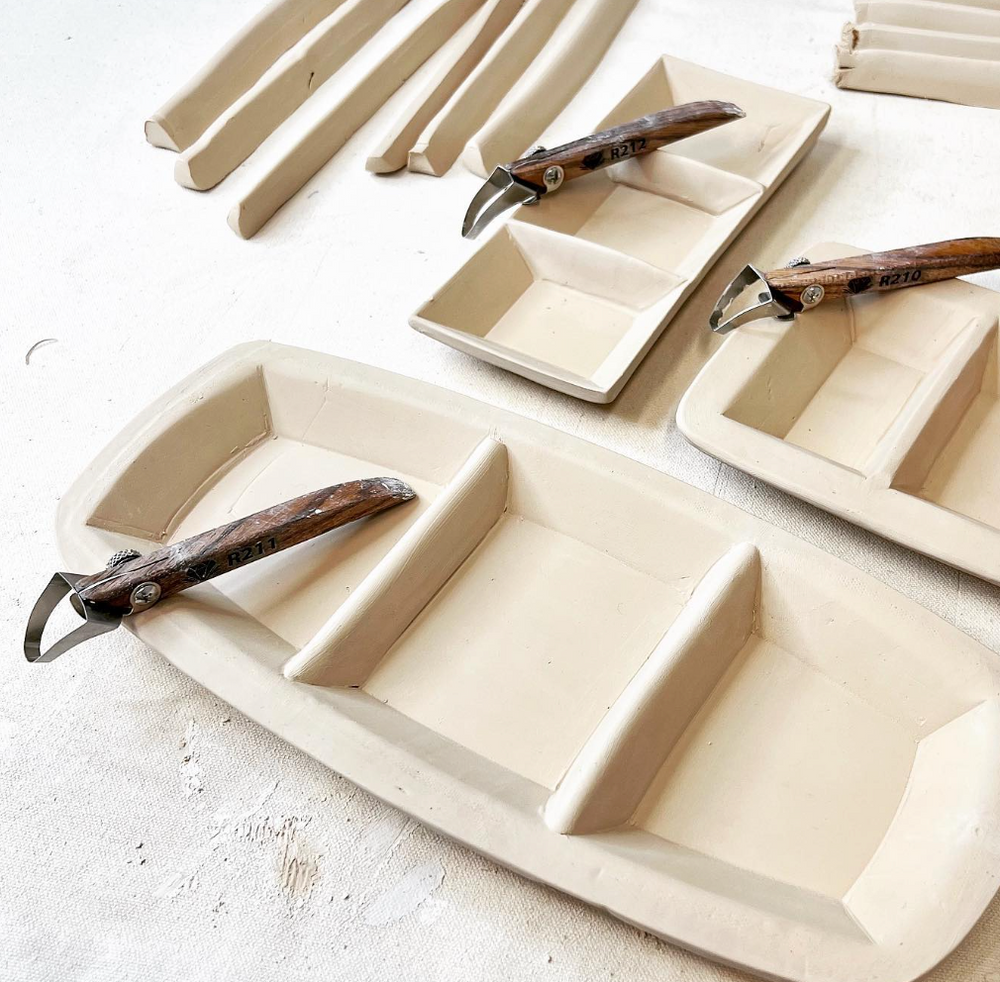
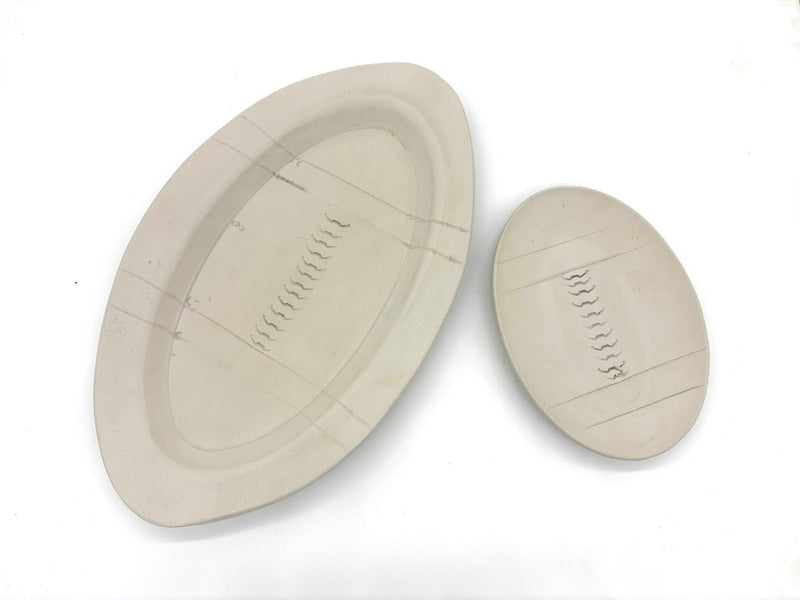
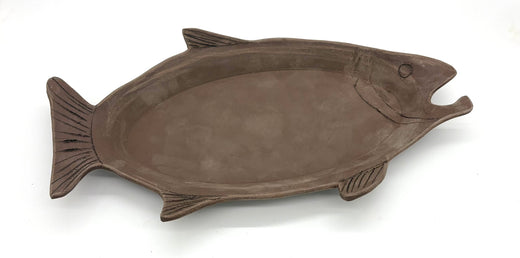
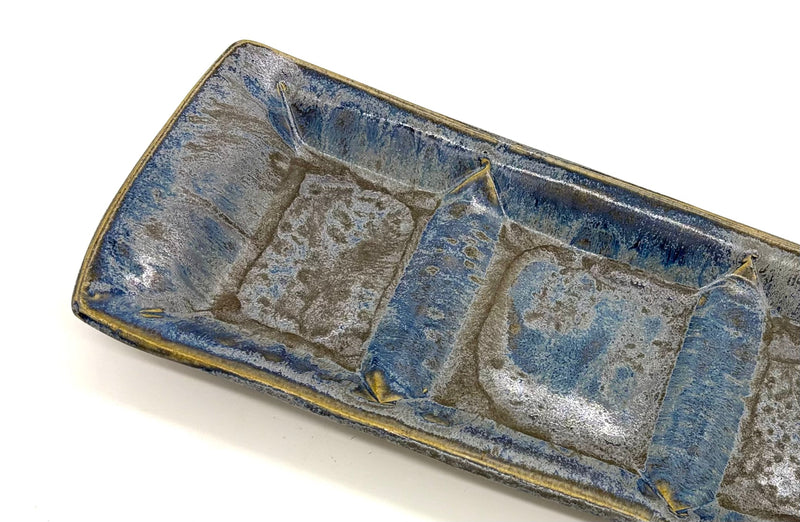
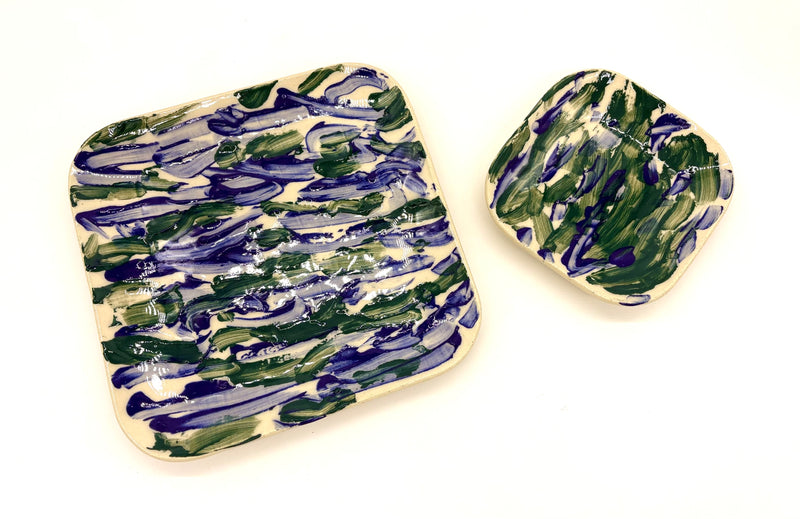
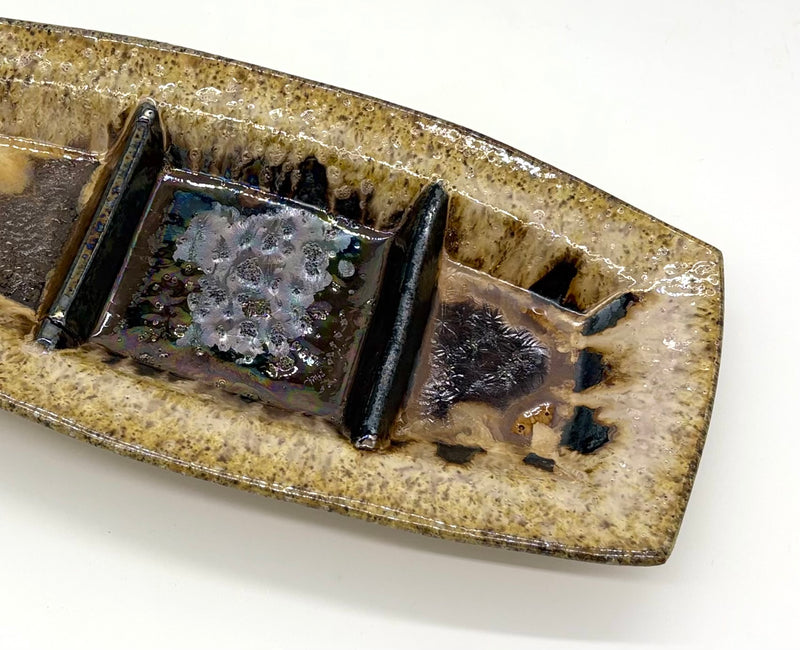
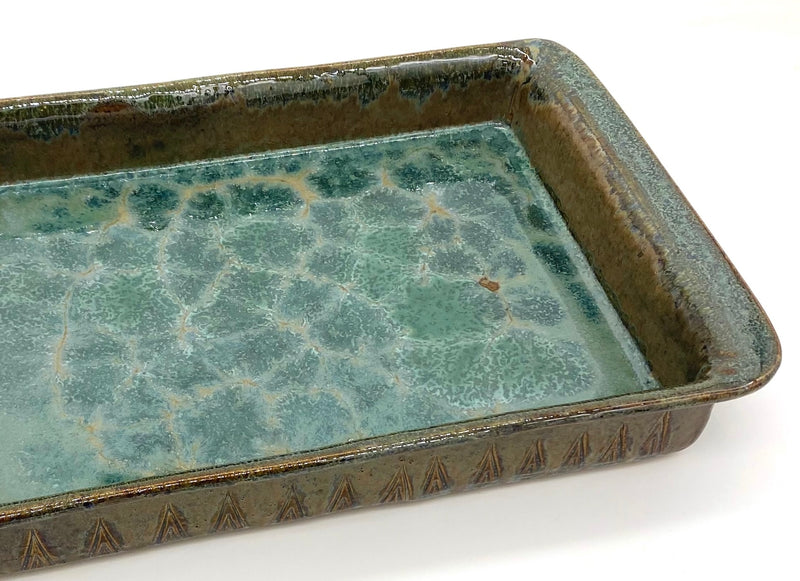
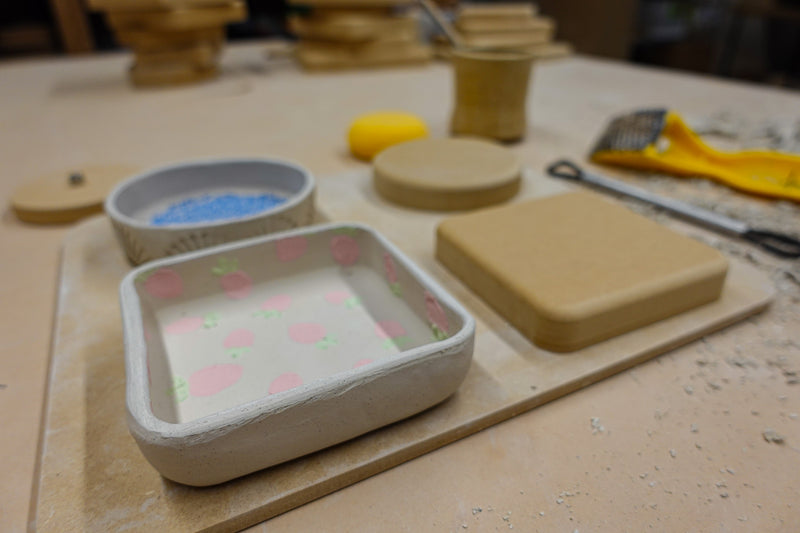
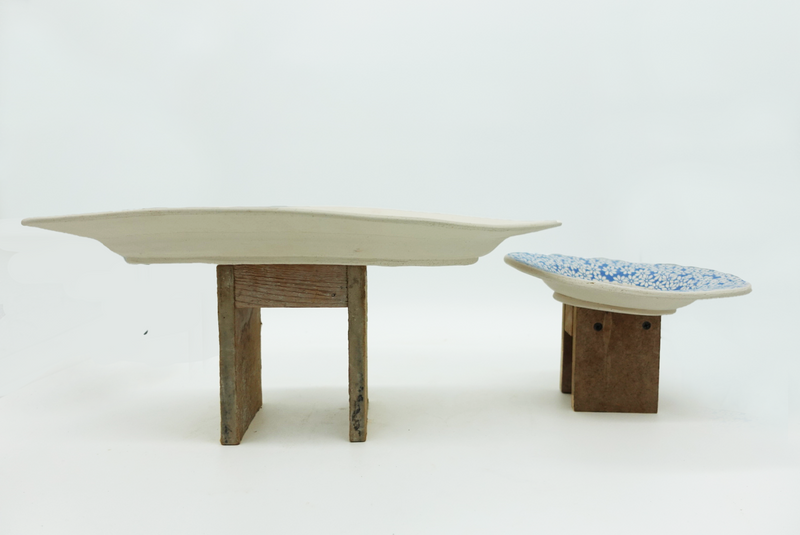
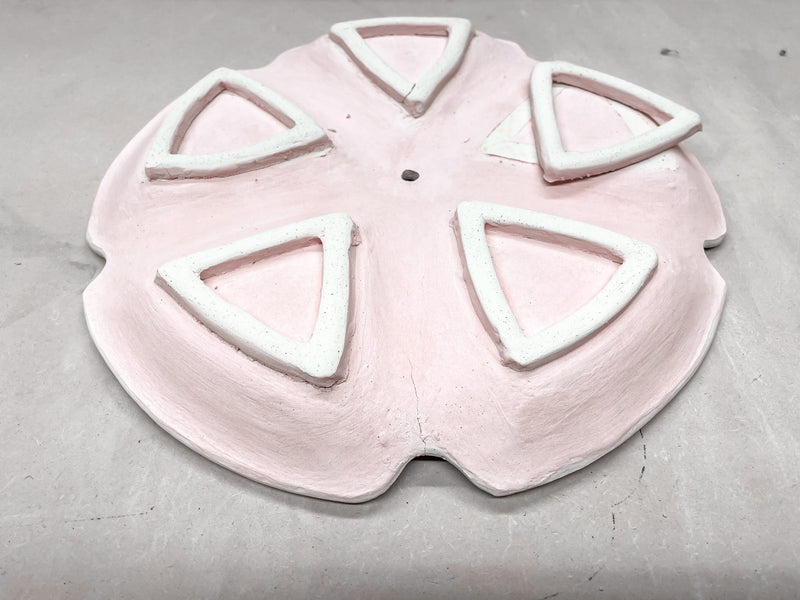
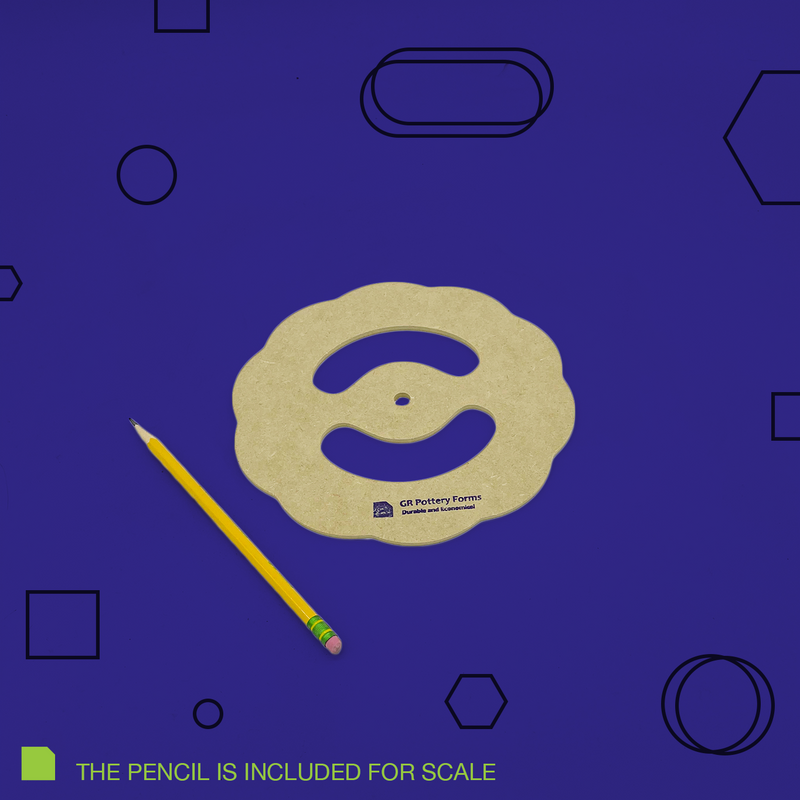
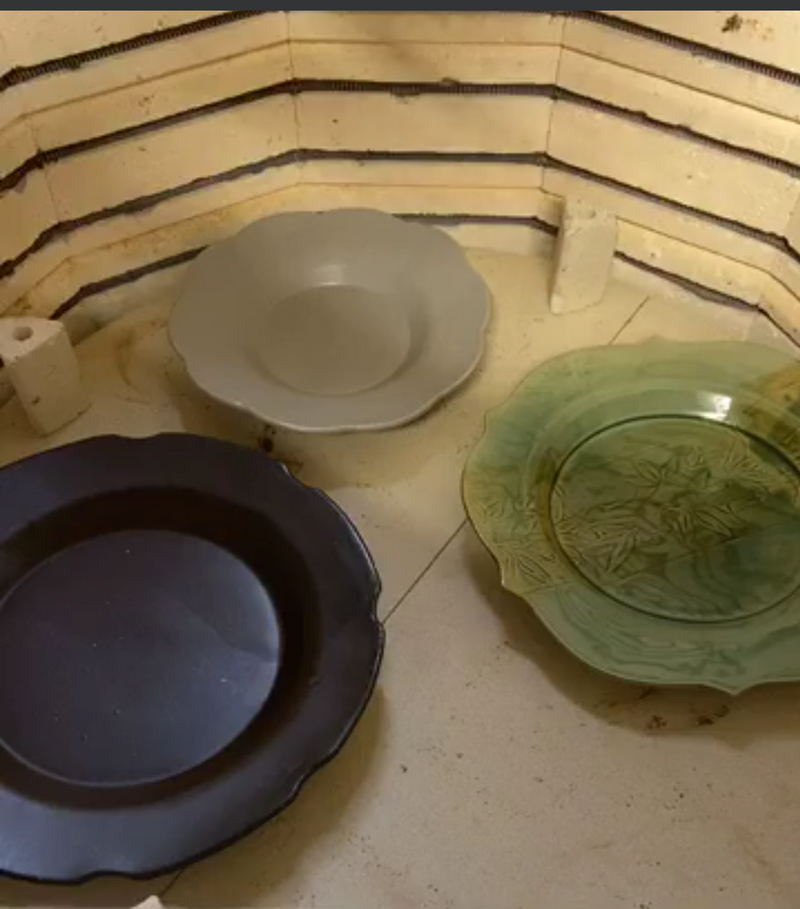
Diamond Core Tools created three New Wall Tools that work great with our Rectangle Forms to create Functional Segmented Trays! These Diamond Core Tools are called the Wall Shapes XL Clay Extruders (R210, R211 and R212) which help to create a sort of Wall within your piece.
(Scroll to the bottom of this blog for a Full Video Tutorial)
This is the type of Wall each of the Wall Tools creates:
210: Flat Top/Trapezoidal Wall
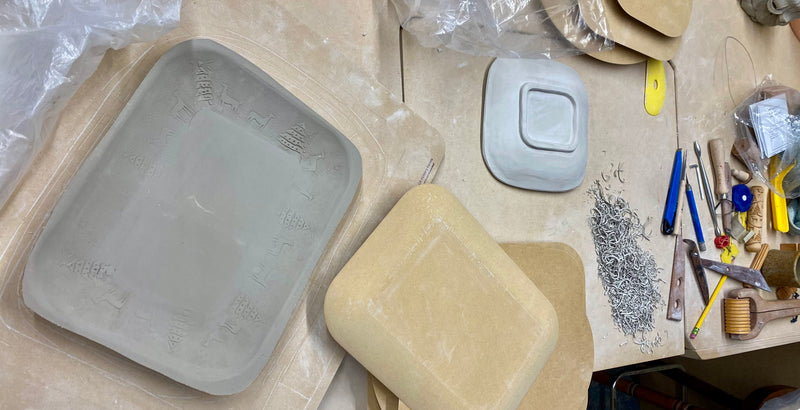
To begin by making this Segmented Tray, start by creating a piece using one of our Rectangle Forms of your choice. Once you've created a rectangular tray, wait until it's a stiff leather hard before you begin to cut your clay strips.
Using the Diamond Core Wall Tool of your choosing cut a few strips from a slab of clay. Let the clay strips sit out for about 20 minutes before attaching so they will be stiffer and easier to attach.
Next, you will take one of the clay strips and cut it with a knife so that it fits in the tray. To do this, make a small mark on the clay strip on where the edge of the tray is. Then, make another small mark on that same clay strip to mark where the bottom of the tray is. Then cut at an angle so the top mark meets the bottom mark. Once both strips are cut, place them in the tray to make sure they fit correctly. Before fully attaching the clay strips, make sure to measure with a ruler to make sure the strips are evenly spaced from each other.
Once they are evenly spaced, make a little mark so you know where to slip and score. Use whatever score tool that you prefer, we recommend using our Wire Brush tool for scoring. Next, score on the mark you made on the tray and on the bottom of the strips clay. Add water or slip to the score marks. Then take your strips and attach them to the piece, make sure they are well attached.
You can now use the back end of the Diamond Core extruder tools to smooth out the attachment seams. Finally, get creative and have fun decorating your new piece!

