1. Compress the Clay with a Rib Tool
Start by rolling out a slab of clay to your desired thickness. Use a rib tool to compress the clay, ensuring the surface is smooth and uniform. Compression helps to remove air pockets and gives the clay strength, which is crucial for a sturdy casserole dish.
2. Use the Casserole Form as a Guide and Cut the Clay
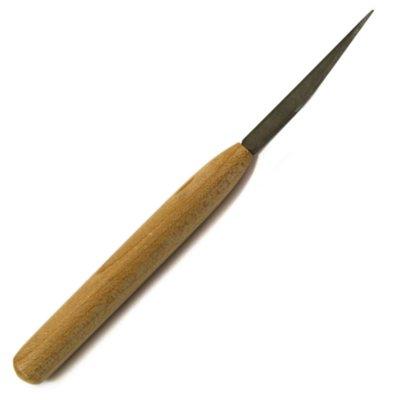
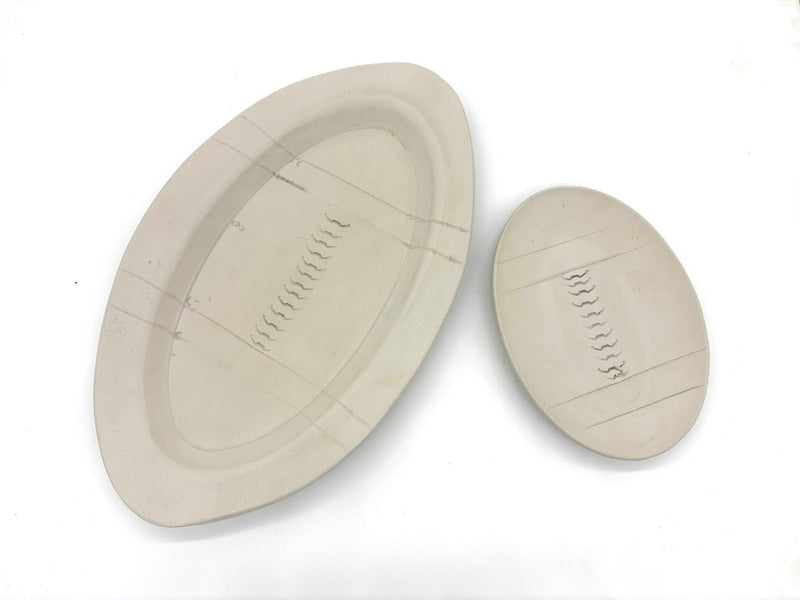
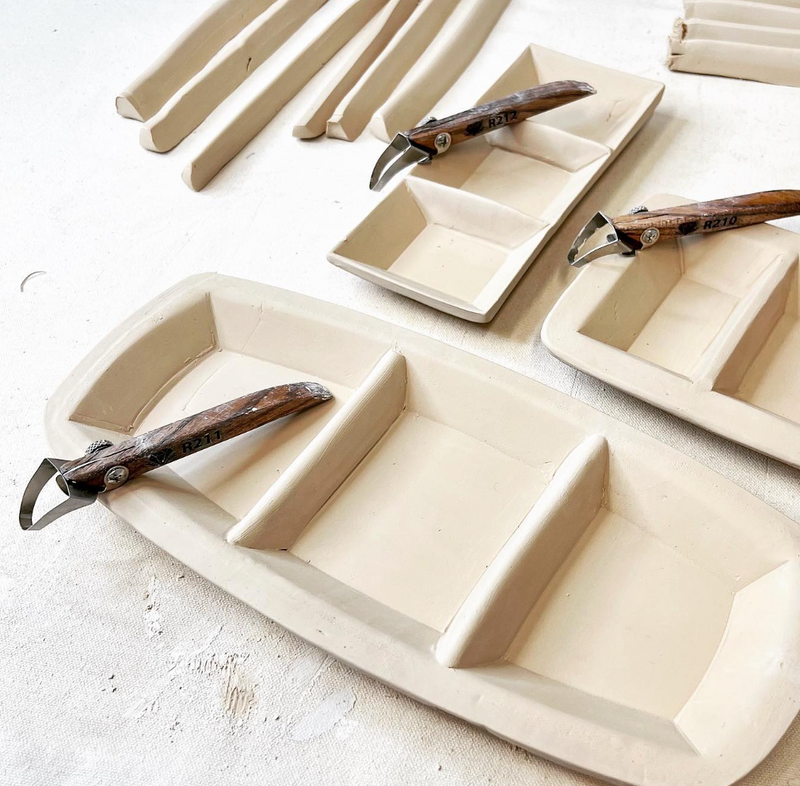
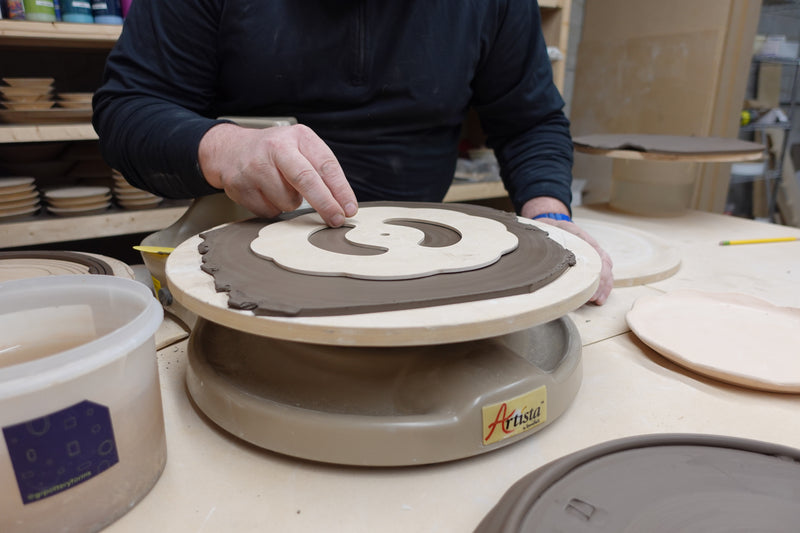
Place your Casserole Form onto the slab of clay to make a mark of where the edges are. Then use a Loonie Clay Knife or clay cutting tool to trim the clay around the form. Leave a little extra around the edges to accommodate the form’s height, which will allow you to create a lip or rim for your dish.
3. Compress the Clay to the Form
After cutting the slab to shape, gently press the clay onto the casserole form using your hands. Be sure to mold the clay into the curves of the form as evenly as possible. Once the clay is in place, use your rib tool to apply even, consistent pressure across the surface. This helps compress the clay further and smooths out any inconsistencies.
4. Add Extra Clay to the Corners and Edges (If Needed)
Check the corners or edges of the casserole dish. If any part of the dish looks too thin or uneven, add small amounts of clay at the same moisture level. Smooth the added clay into place to maintain the dish’s shape and integrity. This is especially important around the corners of the Casserole Form.
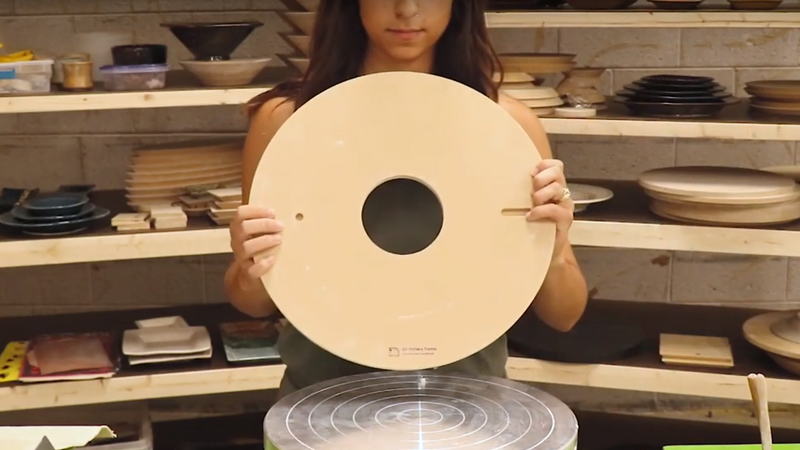
5. Stabilize the Piece Between Studio Boards and Flip
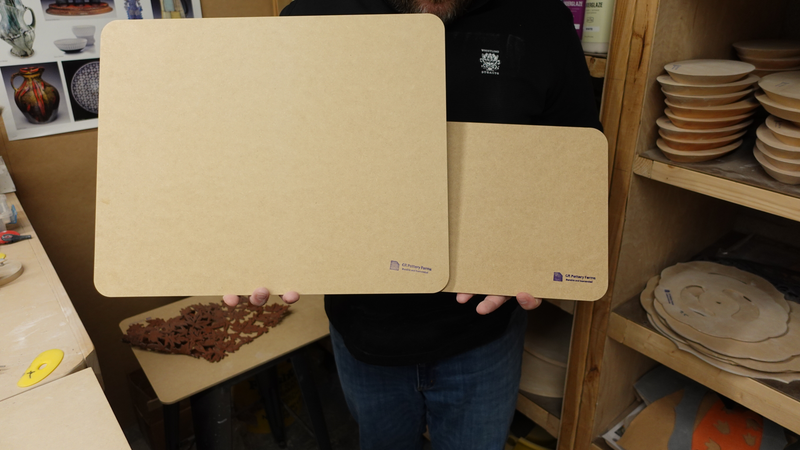
Place the casserole dish between two studio boards to help keep it flat and stable. Gently place some pressure on the boards to keep the clay in place then flip the boards over.
6. Release the Edges from the Form
Carefully release the edges of the casserole dish from the form. Be mindful not to distort the shape as you remove the form.
7. Optional: Add Texture or Decoration
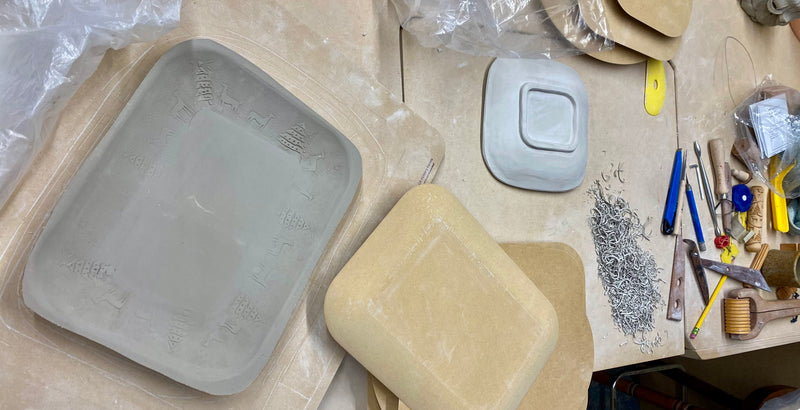
If you’d like to add texture or decoration to the casserole dish, now is the time. You can press a stamp or texture mat into the clay around the edge or on the body of the dish. This could add a lovely, decorative element to your piece. Gently press to ensure the pattern is clear and even.
8. Remove Form and let dry
Remove the Casserole Form from the clay and allow the clay to dry slowly to prevent warping.
9. Smooth and Refine with a Grinding Stone
Once dry inspect your casserole dish for any rough areas or inconsistencies, especially along the edges. Use a grinding stone or sandpaper to smooth out any imperfections, ensuring the dish has a refined, polished surface.
10. Clean the Surface
Before glazing, use a soft brush to remove any dust or debris from the surface of the dish. This ensures the glaze will adhere evenly and prevents any particles from marring the finish.
11. Apply Wax to the Bottom
To prevent glaze from adhering to the bottom of your casserole dish, paint a thin layer of wax on the bottom surface. This will create a resist that allows you to dip the casserole dish in glaze without affecting the clean, unglazed bottom.
12. Mix the Glaze Thoroughly
Make sure your glaze is thoroughly mixed before dipping. Stir the glaze well to ensure all particles are evenly distributed. This ensures an even coat when you dip the casserole dish.
13. Dip the Casserole Dish into Glaze
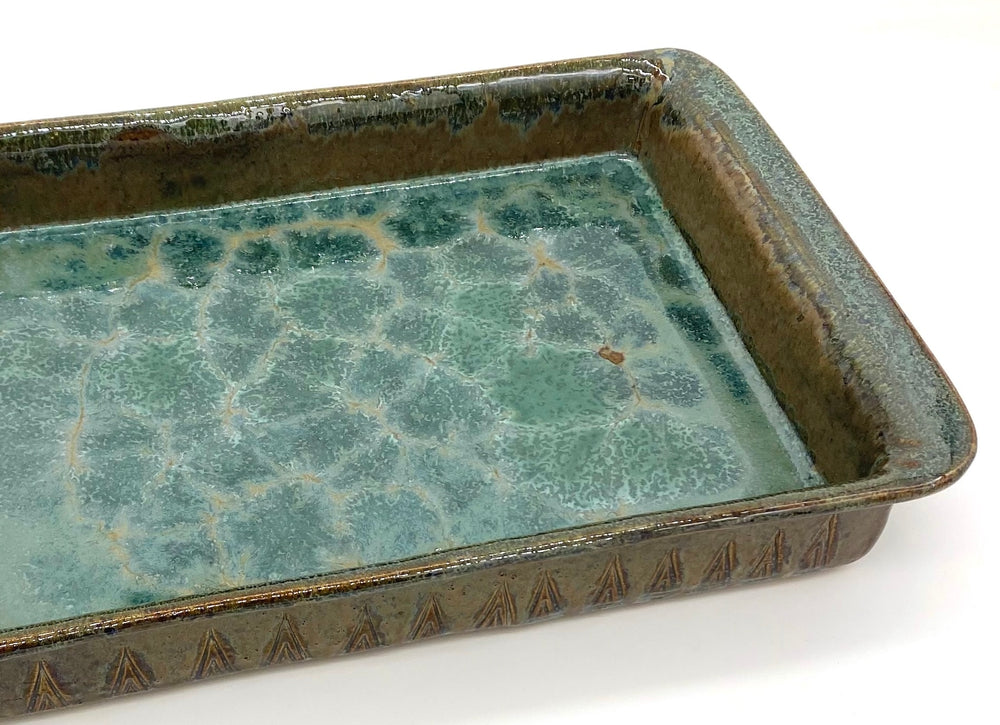
Carefully dip the casserole dish into the glaze, making sure to coat the outside evenly. You can dip the dish partially, if you want a contrast between the glazed top and bottom, or fully for a uniform glaze.
14. Wipe Off Excess Glaze from the Bottom
Use a wet sponge to carefully wipe off any glaze that touched the bottom of the casserole dish.
We hope these steps were helpful on how to create Casserole Dishes. Here is a tutorial video that goes through the above steps:
Tools used in this blog:
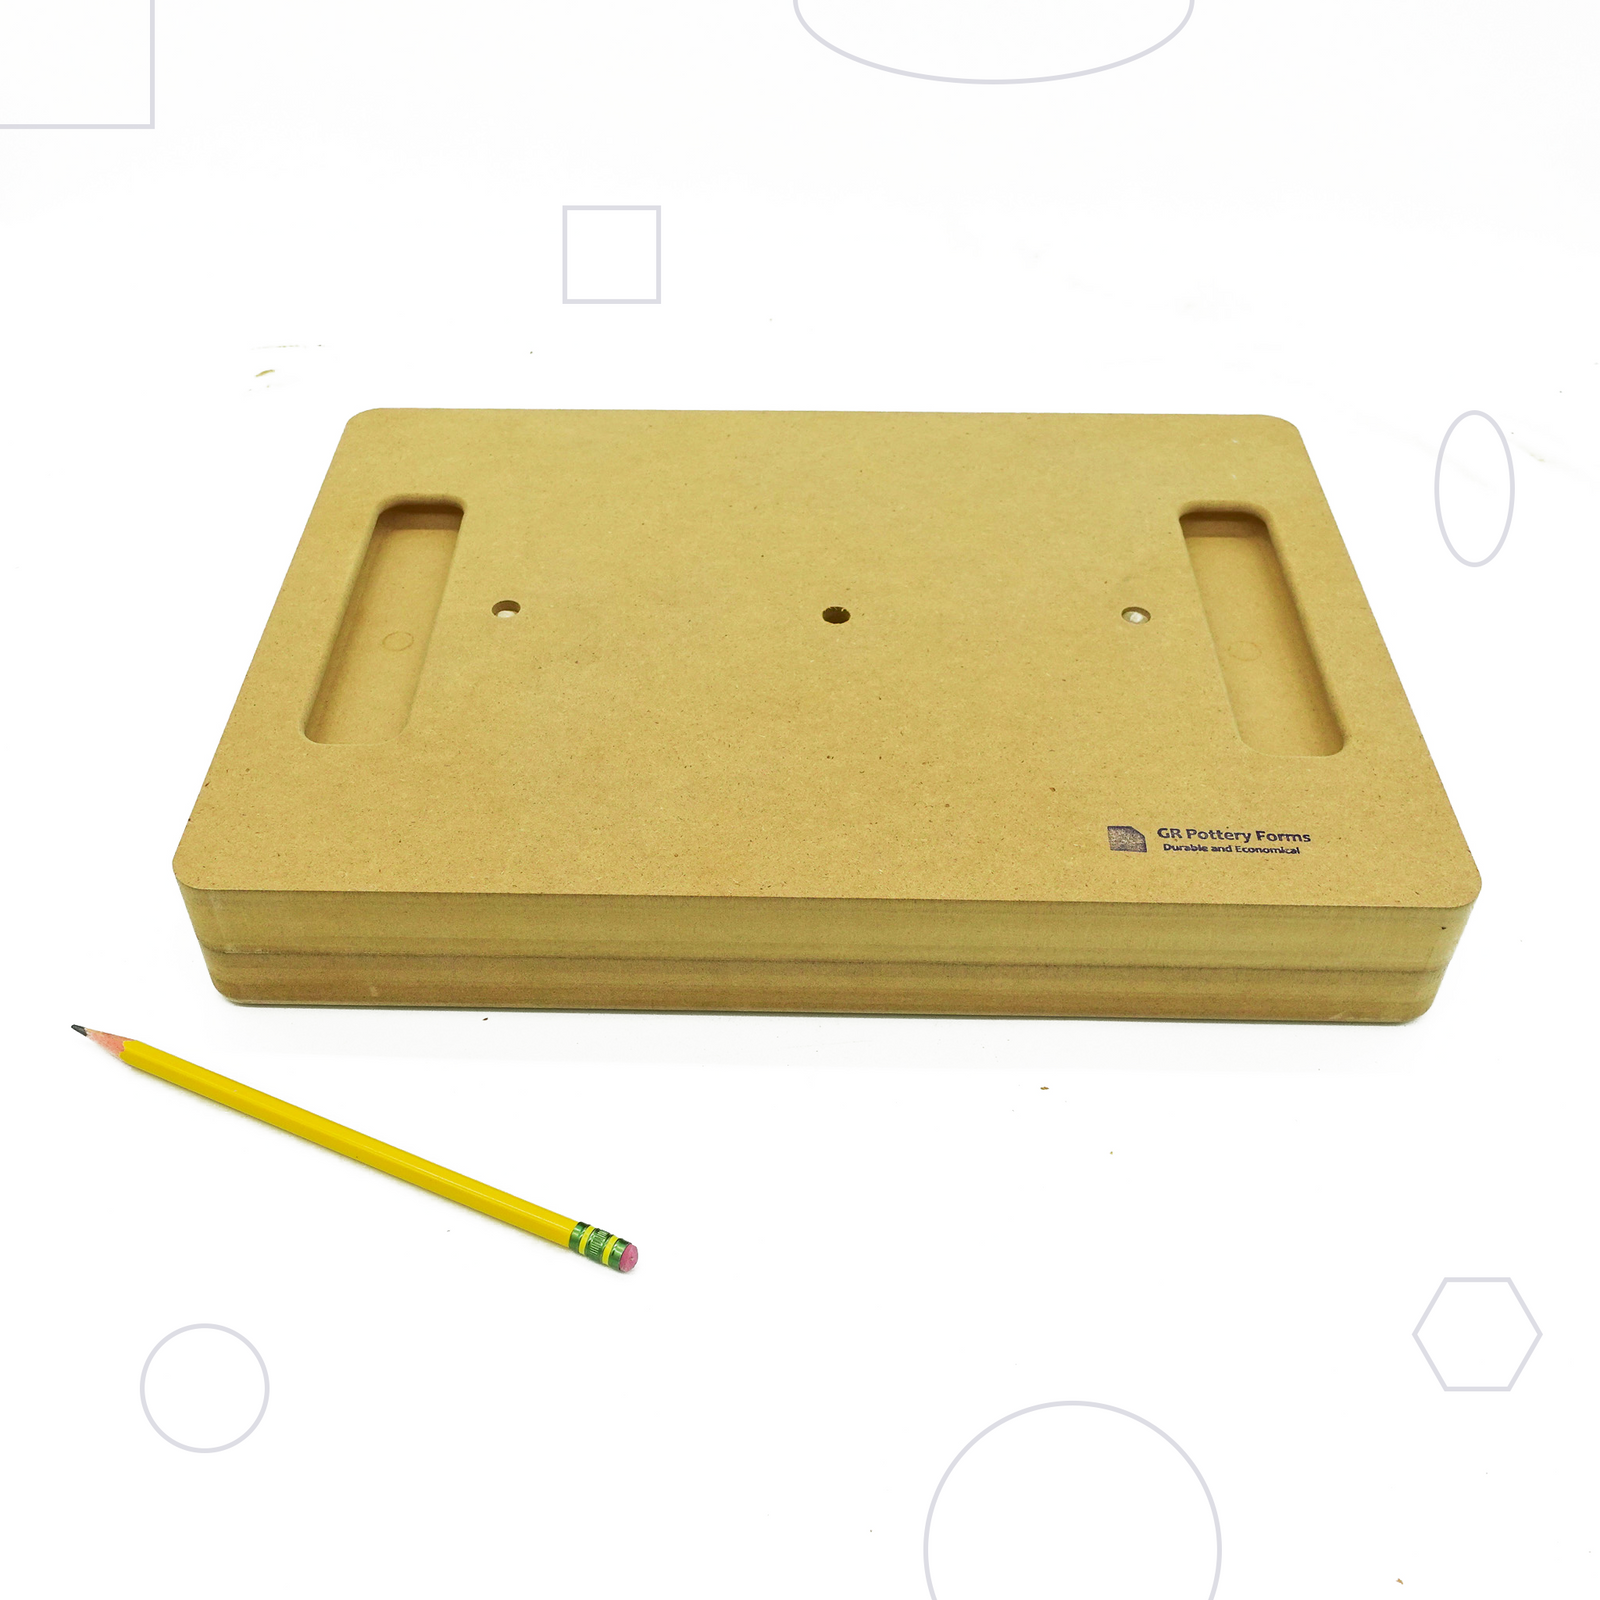
Wallie Casserole Form 10x14" - https://grpotteryforms.com/products/wallie-casserole-10x14?_pos=1&_sid=8ec0f2f4c&_ss=r
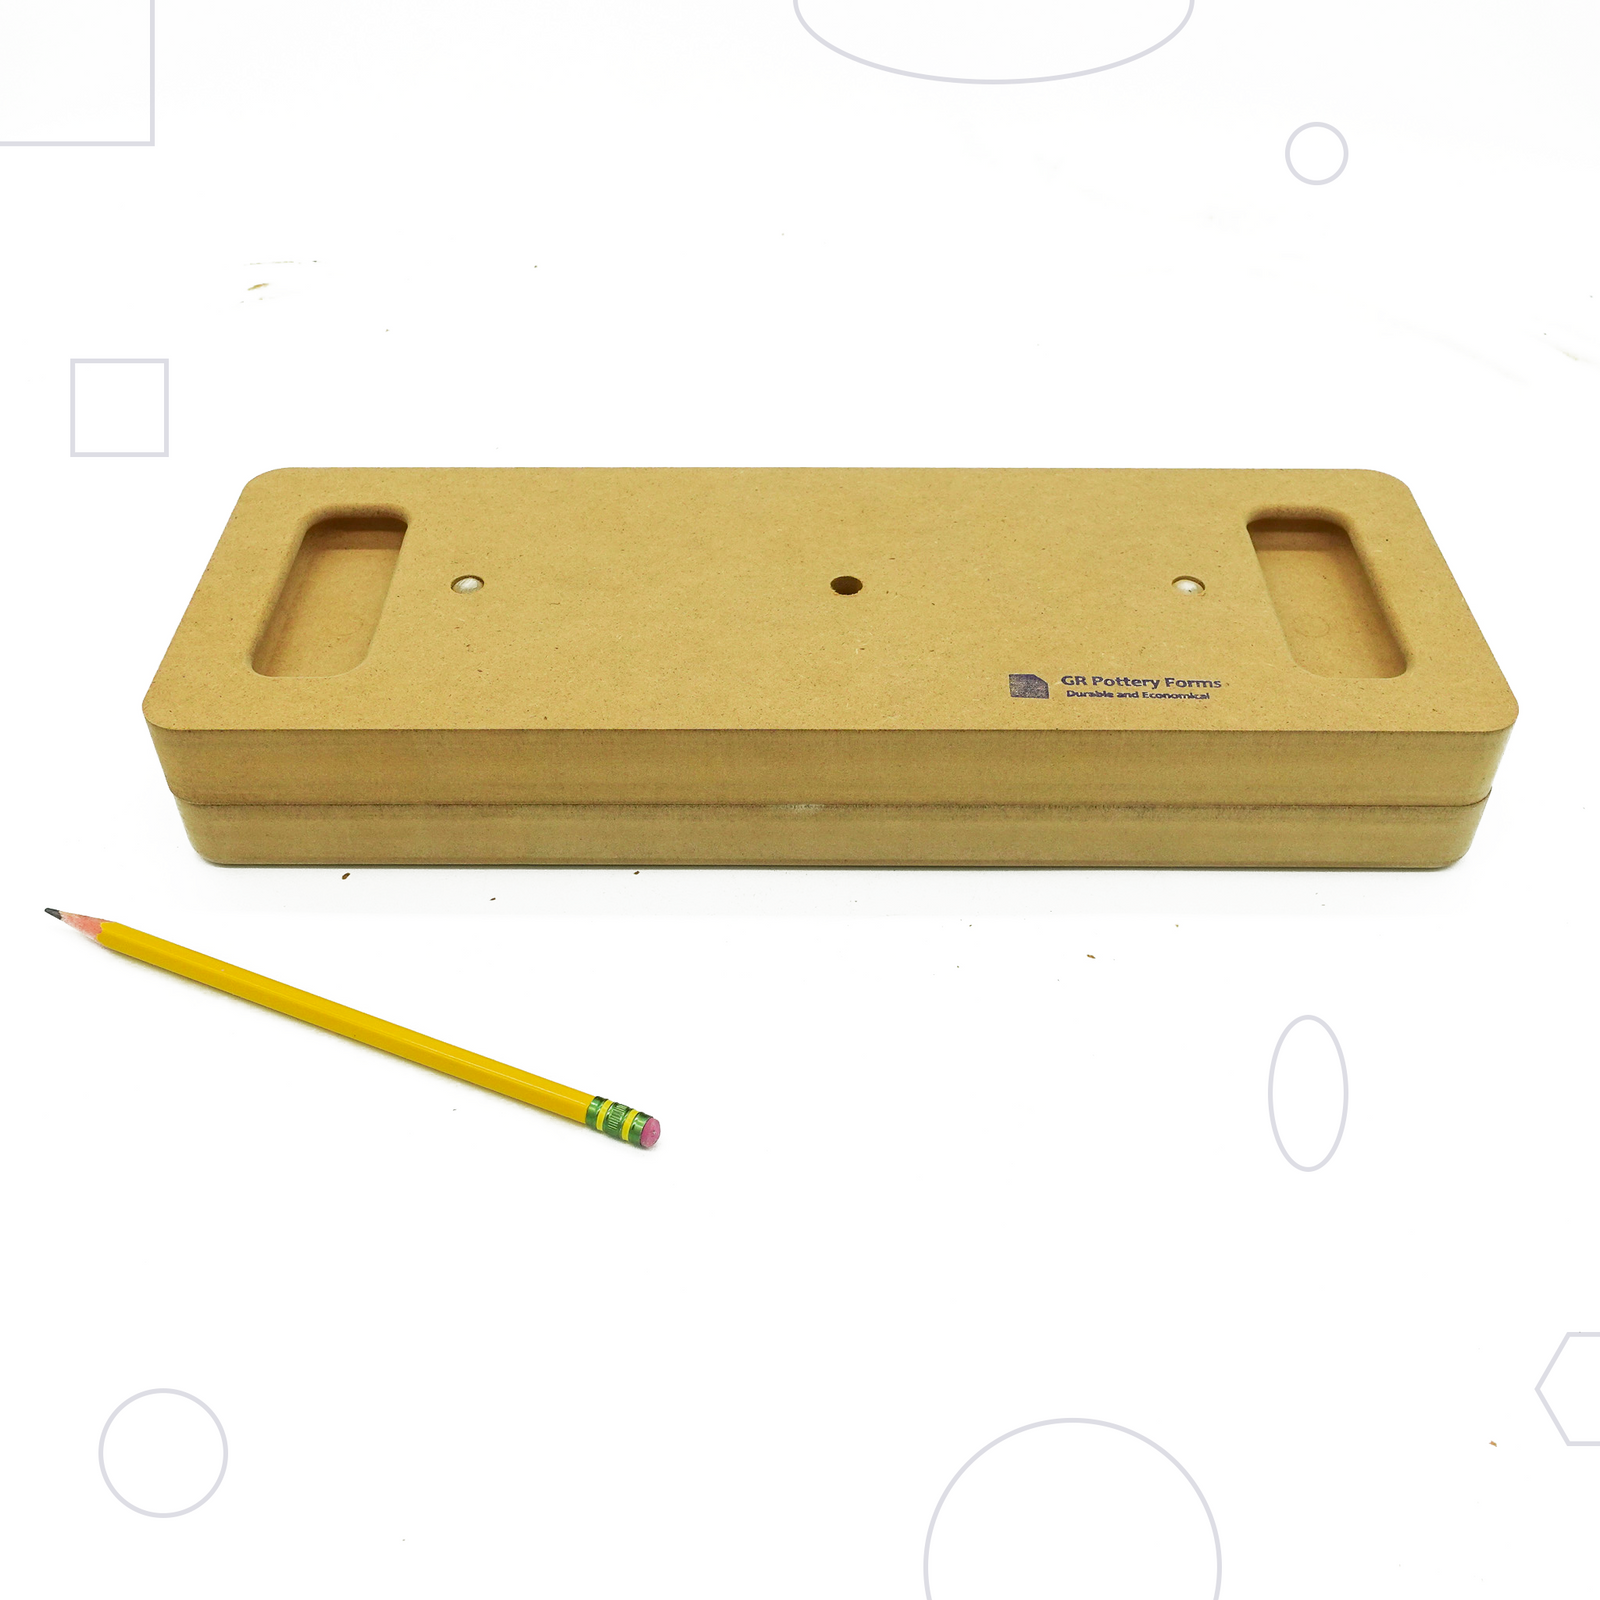
Wallie Casserole Form 5x14" - https://grpotteryforms.com/products/wallie-casserole-5x14?_pos=2&_sid=8ec0f2f4c&_ss=r
Mudtools Rib - https://grpotteryforms.com/products/mudtools-rib-medium-1
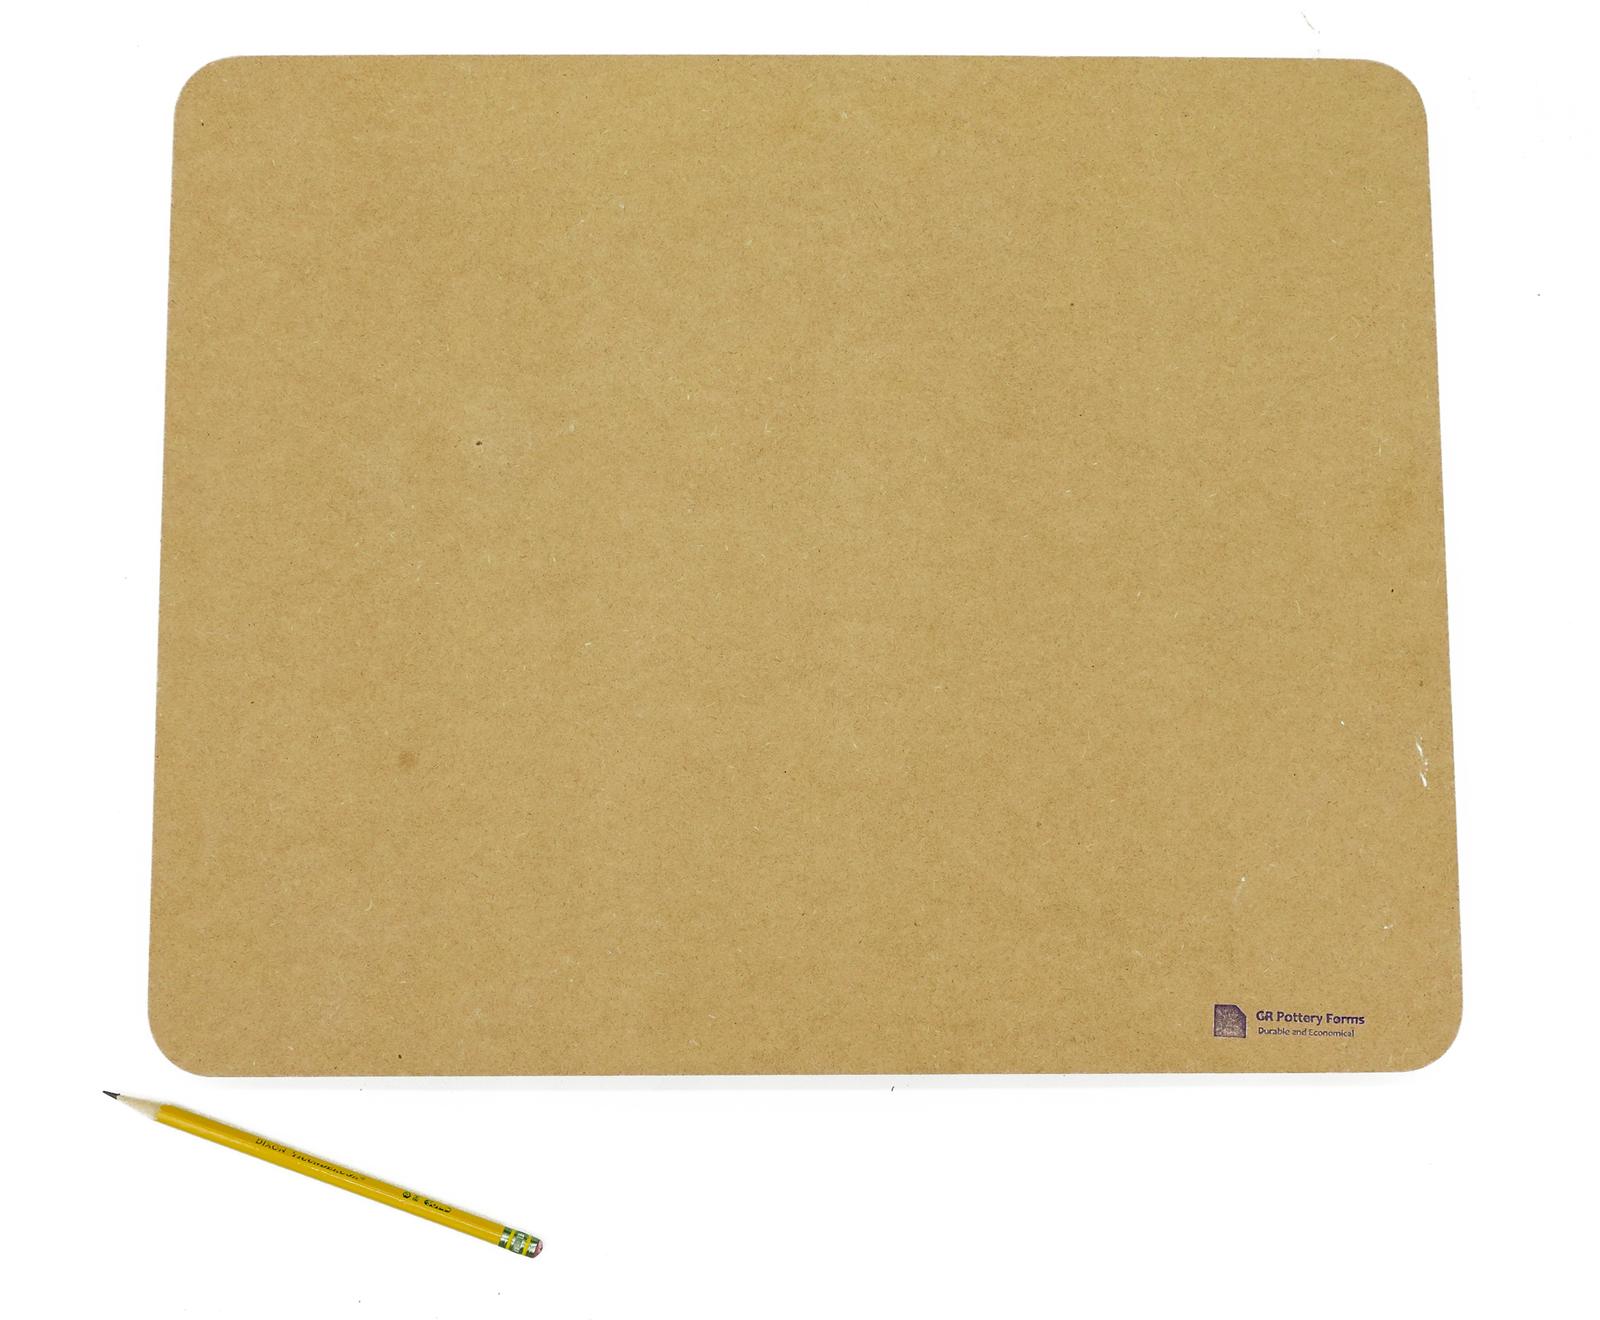
Studio Board 20x16" - https://grpotteryforms.com/products/work-board-20x16?_pos=1&_sid=d7eac1646&_ss=r
Loonie Clay Knife - https://grpotteryforms.com/products/loonie-clay-knife

